Taelpar Rest Area
Do whatever fishing/shopping you wish to do, then return to the Regalia and drive down the road to the west. When it forks turn north a bit and you’ll find the Taelpar Rest Area, which boasts a branch of the JM Market, a Culless Munitions detatchment and a Crow’s Nest Diner. First things first, stop off at the diner and select the “Talk” option to gain intel, then check out the hunts in the area. From the intel you recieve you’ll be able to note two Treasure spots nearby, the one to the east, north-east yields a Mega Phoenix, while the one to the south-east can be plundered for a Bulletproof Suit.
Hunts - Taelpar Resst Area
| Hunt Name | Hunt Level | Rank (Stars) |
|---|---|---|
| Horned Hunting Hazards | 23 | ** |
| Hunters of Secullam Pass | 34 | *** |
| Reclaiming Schier Heights | 37 | *** |
| A Roaring in the Night | 37 | *** |
| Old Denizens of the Woods | 63 | **** |
The Culless Munitions store is also interesting, as it sells a variety of new weapons. If you’ve been holding off on buying weapons, this might be a good time to relent and purchase some upgrades, as only the Assassin’s Daggers you found earlier are likely to be superior to the arms sold here.
Culless Munitions - Taelpar Rest Area
| Item Name | Price |
|---|---|
| Rune Saber | 600 Gil |
| Flame Tongue | 800 Gil |
| Claymore | 600 Gil |
| Rapier Lance | 600 Gil |
| Storm Lance | 800 Gil |
| Mythril Knives | 600 Gil |
| Mythril Pistol | 600 Gil |
| Power Shield | 600 Gil |
| Ice Shield | 800 Gil |
| Carbon Bangle | 2,000 Gil |
| Garnet Bracelet | 800 Gil |
| Fencer’s Anklet | 2,000 Gil |
| Bulletproof Vest | 1,500 Gil |
| Angel Earring | 1,000 Gil |
| Power Stone | 2,000 Gil |
As for the Taelpar Rest Area branch of JM Market, the only thing of note they sell is “Memories of FFVI”, which will doubtlessly please many long-time Final Fantasy fans.
JM Market - Taelpar Rest Area (Items)
| Item | Price |
|---|---|
| Potion | 50 Gil |
| Hi-Potion | 100 Gil |
| Elixir | 400 Gil |
| Hi-Elixir | 800 Gil |
| Phoenix Down | 1,000 Gil |
| Antidote | 10 Gil |
JM Market - Taelpar Rest Area (Auto Parts)
| Item | Price |
|---|---|
| Memories of FFVI | 100 Gil |
A Rocky End
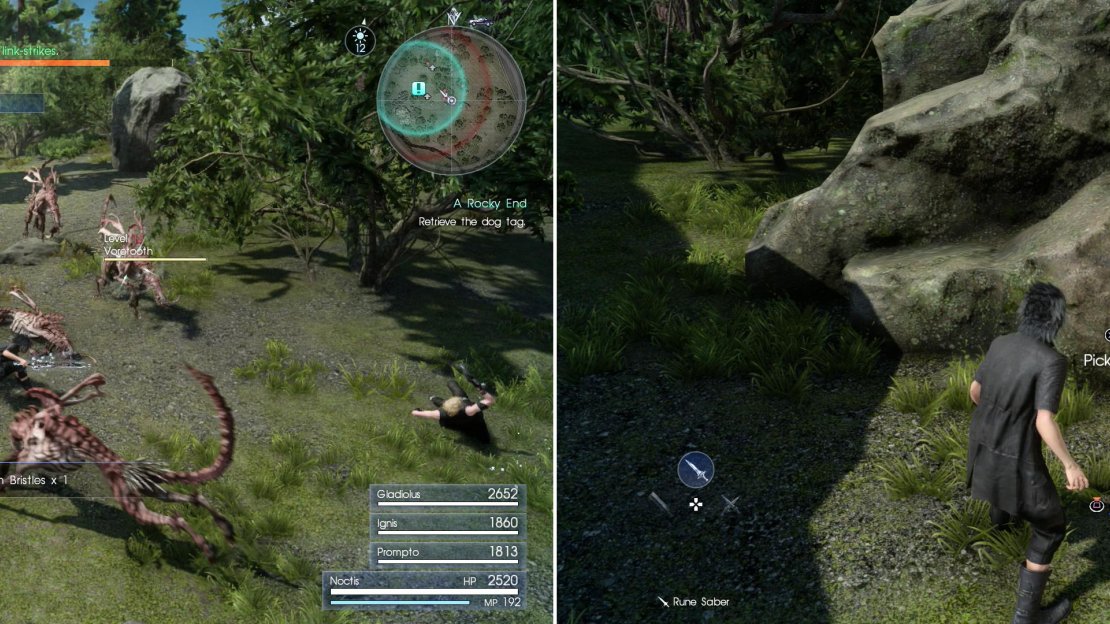
From here on you can have Ignis drive again, since you’re traveling to a known location and don’t need to make any stops along the way. Drive north from Taelpar Rest Area and exit near the quest marker for “A Rocky End”, which is near a three-way split in the road. Make your way south-west into the wilderness between the western and southern roads to find a sizeable pack of Voretooths. Slay them, then search near some rocks along the south-western edge of the search area to find the Scorched Dog Tag good ol’ Dave wants. Return to Dave at your leisure for the quest reward below.
| Objective | Reward |
|---|---|
| For Finding the Scorched Dog Tag | EXP 1,000 / Hil-Elixir x 10 |
Fight through a pack of Voretooths (left) then grab the Scorched Dog Tag near the boulder (right).
Swallowed by Shadows
Before you leave the area where “A Rocky End” took place (get it, the name was alluding to the location of the Dog Tag?), search south-west of where the quest took place to find a Treasure Spot west of the road (Mega Phoenix). Another Treasure Spot can be found near the three-way split, which can be plundered for some Strong Whiskers.
After you hand over the Scorched Dog Tag to your best friend Dave you’ll find him waiting for you later at the Taelpar Rest Station. He of course has another Dog Tag for you to track down, and if anybody less dynamic and adorable than Dave was asking, this would all start to seem like very tedious fetch quests. This starts the quest “Swallowed by Shadows”.
Sadly, this quest forces you to backtrack, but some back-tracking was unavoidable if you had a mind to clear all the current quests in Duscae. Hop in the ol’ Regalia again and set your destination for the quest to get you close, ideally disembarking on a dirt road north of the quest marker. This road is just south of the crater which houses The Archaean’s Mirror Fishing Spot.
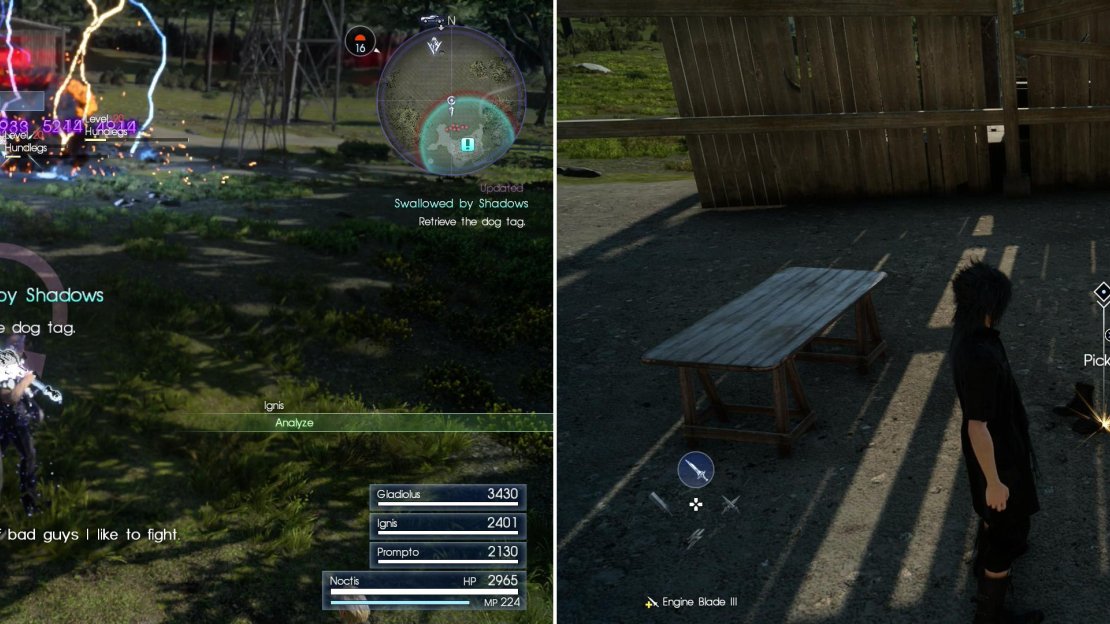
From there hop the fence to the south and make your uphill to find a logging shelter, which is currently infested with Hundlegs - giant caterpillar-like critters. They can poison you, but otherwise they’re not too strong. Squish them, then search the shelter to find a Twisted Dog Tag on the ground between some cut logs and a table. Return it to Dave (Dave!) for another reward.
| Objective | Reward |
|---|---|
| For Finding the Twisted Dog Tag | EXP 1,000 / Hil-Elixir x 10 |
A group of Hundlegs is just begging to be zorched by some magic (left). Once the centipedes are gone, retrieve the Twisted Dog Tag (right).
The Jolly Joyrider
So much Dave in so little time… but try to collect yourself and press on with your side quest tour, this time by driving north past the three-way fork near which the quest “A Rock End” took place. Continue driving until you reach the Secullam Pass Parking Spot, at which point park and you’ll find another motorist in distress. These ugly green cars seem to be awfully prone to breaking down, don’t they? Give him a Repair Kit to see him on his way and earn yourself a tidy profit.
| Objective | Reward |
|---|---|
| For Helping the Stranded Motorist | EXP 350 / GIL 900 |
The Tomb of the Just
That’s not nearly the best reason to stop off at Secullam Pass, however. Follow a trail to the north-west and you’ll find yourself outside “The Tomb of the Just”. What dangers await you as you attempt to claim your third Royal Arm? Well, you could get your hands dirty opening the door, but that’s about it. Really, just open up the tomb and claim the Shield of the Just, your third Royal Arm.
Coernix Station - Cauthess
After claiming the Shield of the Just, return to the Regalia and continue driving north until you find the Coernix Station - Cauthess… not to be confused with the Coernix Station - Alstor or the Cauthess Rest Area.
| Objective | Reward |
|---|---|
| For indulging Prompto | EXP 250 |
Here you can find another branch of Culless Munitions, which sells identical weapons to what was sold at the Wiz Chocobo Outpost, although there are a few new accessories to look at.
Culless Munition - Coernix Station - Cauthess
| Item | Price |
|---|---|
| Airstep Sword | 300 Gil |
| Blade of Brennaere | 300 Gil |
| Mythril Lance | 300 Gil |
| Cutlasses | 300 Gil |
| Calamity | 300 Gil |
| Kite Shield | 300 Gil |
| Iron Bangle | 1,200 Gil |
| Garnet Bracelet | 800 Gil |
| Warrior’s Anklet | 1,500 Gil |
| Bulletproof Vest | 1,500 Gil |
| White Sage | 2,000 Gil |
| Amulet | 200 Gil |
Coernix Station - Cauthess is also one of those odd outposts without a Crow’s Perch Diner, so you won’t be getting any intel or hunts here. You’ll just have to satisfy yourself with the Mini-mart, which sells two Final Fantasy IX soundtracks, but is otherwise fairly uninteresting.
Mini-mart - Coernix Station - Cauthess (Items)
| Item | Price |
|---|---|
| Potion | 50 Gil |
| Hi-Potion | 100 Gil |
| Elixir | 400 Gil |
| Hi-Elixir | 800 Gil |
| Phoenix Down | 1,000 Gil |
| Antidote | 10 Gil |
Mini-mart - Coernix Station - Cauthess (Treasures)
| Item | Price |
|---|---|
| Repair Kit | 100 Gil |
Mini-mart - Coernix Station - Cauthess (Auto Parts)
| Items | Price |
|---|---|
| Memories of FFIX (Disc 1) | 100 Gil |
| Memories of FFIX (Disc 2) | 100 Gil |
Mini-mart - Coernix Station - Cauthess (Leisure Goods)
| Items | Price |
|---|---|
| Spider Silk | 30 Gil |
| Needle 1,000: Cactuar | 50 Gil |
| Needle 1,000: Metal Cactuar | 50 Gil |
| Needle 1,000: Gold Cactuar | 50 Gil |
Pilgrimage
After your undoubtedly short stay at the Coernix Station - Cauthess, you may be happy to learn that your travels are almost at an end. Only one more side quest to do before driving off towards Lestallum, Ignis’ quest “Pilgrimage”. Get in the Regalia and set the destination for that quest (or drive yourself, as you wish) and Ignis will drive you up north, then east to the Disc of Cauthess. Unfortunately, tourists aren’t exactly being welcomed in by the imperials who have taken the place over.
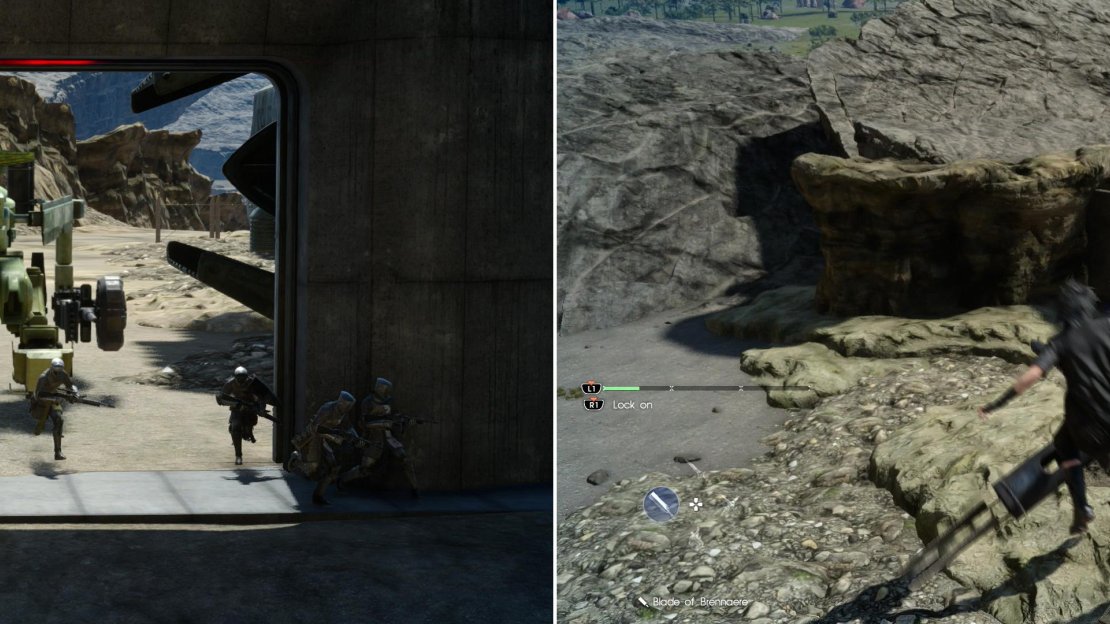
Naturally, you aren’t going to be friends with the filthy imperials… it probably doesn’t help that they’re robots that shoot on sight and all that. The main threat is the MA-X Maniple, which is joined by an assortment of fodder ground troops. Just be wary of the missles and the lightning attack it does (after charging up for a bit) and you’ll be fine.
| Objective | Reward |
|---|---|
| For Visiting the Disc of Cauthess | EXP 500 |
When you reach the entrance to the Disc of Cauthess you’ll be greeted by some occupying imperials (left), the real threat here is the MA X Maniple (right).
After the fight, Gladiolus will bother you and ask if you’re ready to go to Lestallum yet. Respond how you will, you’ll be left to your own devices either way. It’s just a reminder that Lestallum awaits, but it is a fine note on which to finally embark for the city.
Mystery Map X
There’s no reason you can’t score a bit of treasure along the way, however. From the entrance to the Disc of Cauthess drive back down the winding road to the west until it bisects another road just south of the Cauthess, the Disc Parking Spot. At this three-way intersection, turn south and drive along the edge of an imperial fort until you reach another fork. This time turn down the road to the west and follow it as it turns north until you reach the Taelpar Crag Parking Spot.
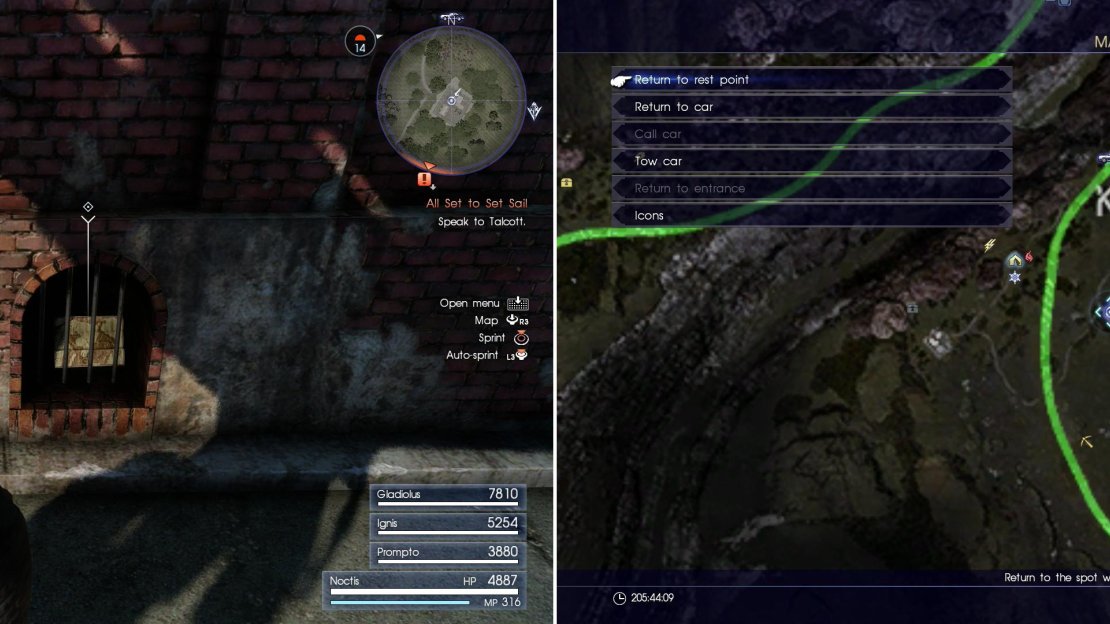
You can find Mystery Map X in the Kelbass Grasslands, in a grate along a red brick building, which itself is located between Aracheole Stronghold (an imperial fort) to the east and the highway to the west (left), on the spot indicated on the map (right).
Park here and head south-west down the road a bit until you find two sets of stairs leading down off the highway. Go down the south-eastern stairs and follow a dirt path down to the south-east, where a sign helpfully informs you that you’re in the Kelbass Grasslands. Neat. Continue down the road until you reach a water tower, under which are several shacks. Follow another dirt road south, then south-west and you’ll reach a fenced-off area with two red brick buildings. Search a grate along the south-western end of the north-eastern of the two building to find Mystery Map X , in the process starting “Scraps of Mystery X”. With that done, the last distraction before you reach Lestallum is out of the way.


No Comments