Exterminating Pests
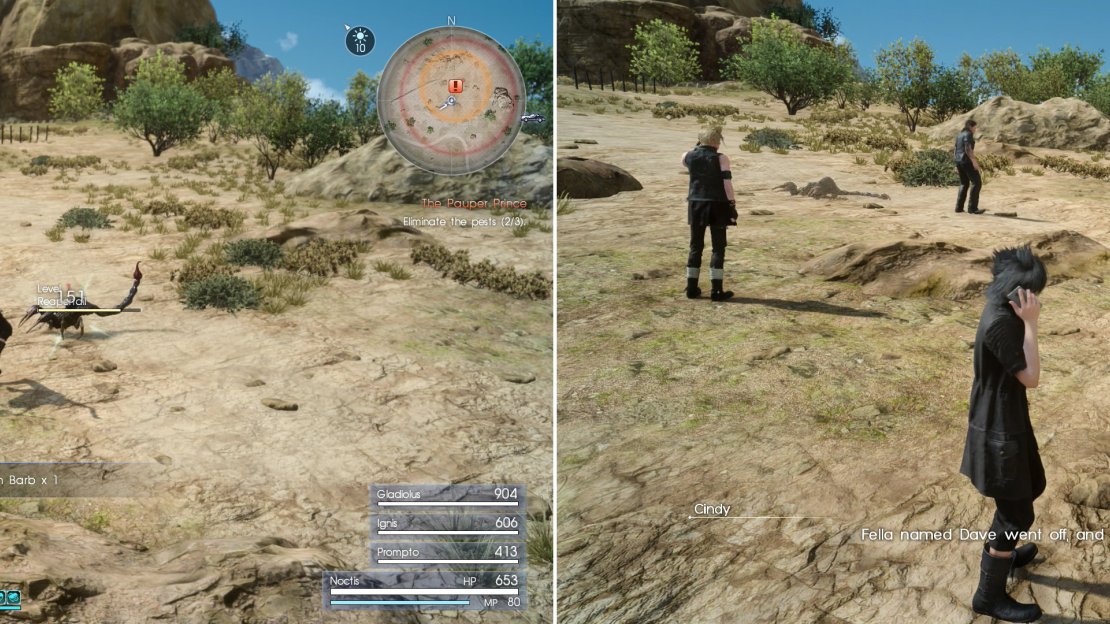
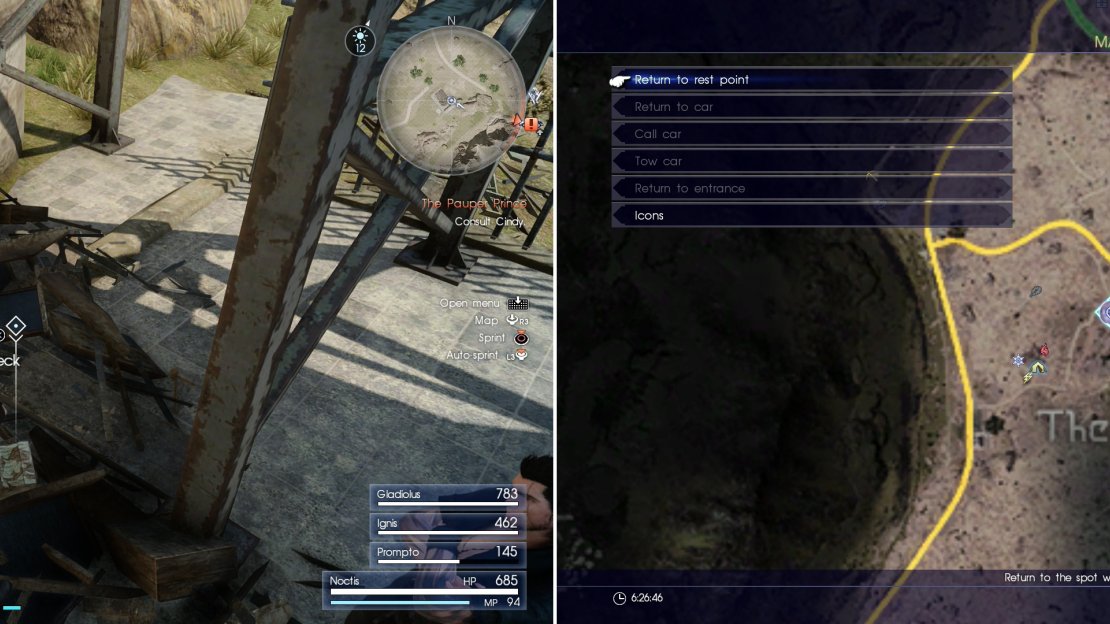
Time to earn some money! Wait… you’ve been doing hunts and earning plenty of money that way? Fair enough, but those extermination jobs don’t help your car get repaired faster. To do that you’ll need to turn your attention to the main quest “The Pauper Prince”. Select the quest via Menu - Quests, then run on over to the marker on your map and you will find some enemies called Reapertails waiting for you. Switch to your Greatsword to quickly finish off the slow-moving critters, then head to the next marker, where there will be a few more Reapertails than in the previous location. Do the same thing at the third location and after you’re finished, Cindy will call you up and ask you for one more favor: to find a hunter named Dave. Dave? No fancy Latin name?
| Objective | Reward |
|---|---|
| For exterminating the pests | 100 EXP |
Head out into the wilderness and strike down the varmints (left) after which you’ll be asked to go look for a missing hunter (right).
Hunter Becomes the Hunted
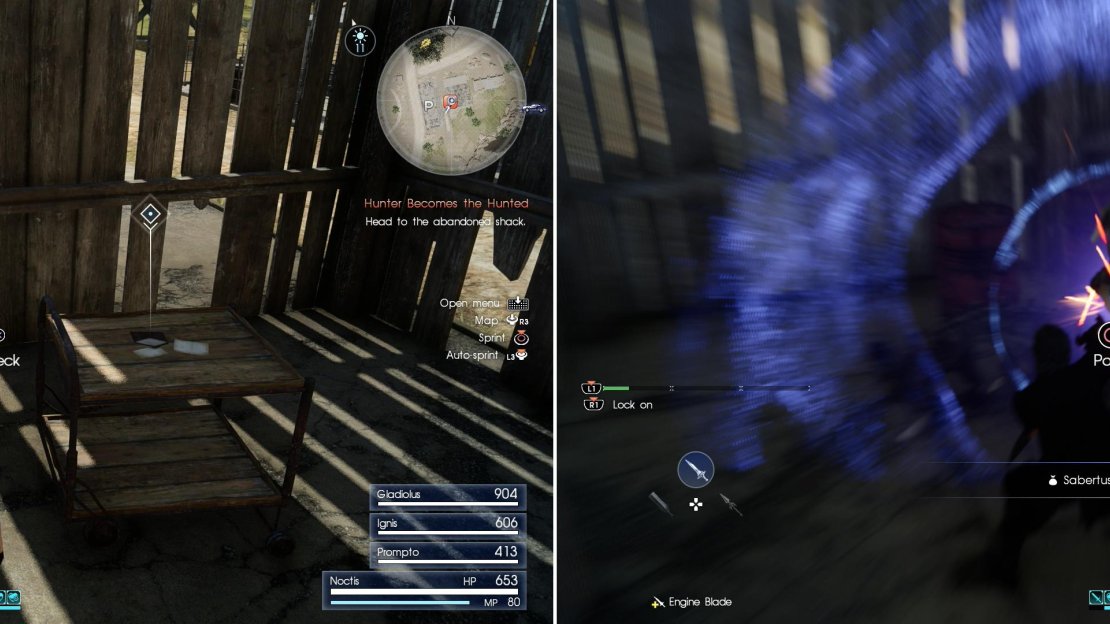
She suggests Dave might be holed up in a shack somewhere and lucky enough, there’s one near your position. Run south-west to the shack and go inside and check out some letters on a cart describing a mutant Dualhorn named “Bloodhorn”. Before you can act on this information, however, you’ll be ambushed by some Sabertusks. This battle can be annoying, as you are in a confined space, so a weapon like the Greatsword might be ideal because of its wide swings and heavier damage. Alternatively, you can lure them outside where there’s more space. When you’re finished with them, another shack will be pointed out to you, which is very close. As you approach the shack, you’ll find some more Sabertusks circling around it.
Search the shack to find some documents (left) then fight off the Sabertusks that ambush you (right).
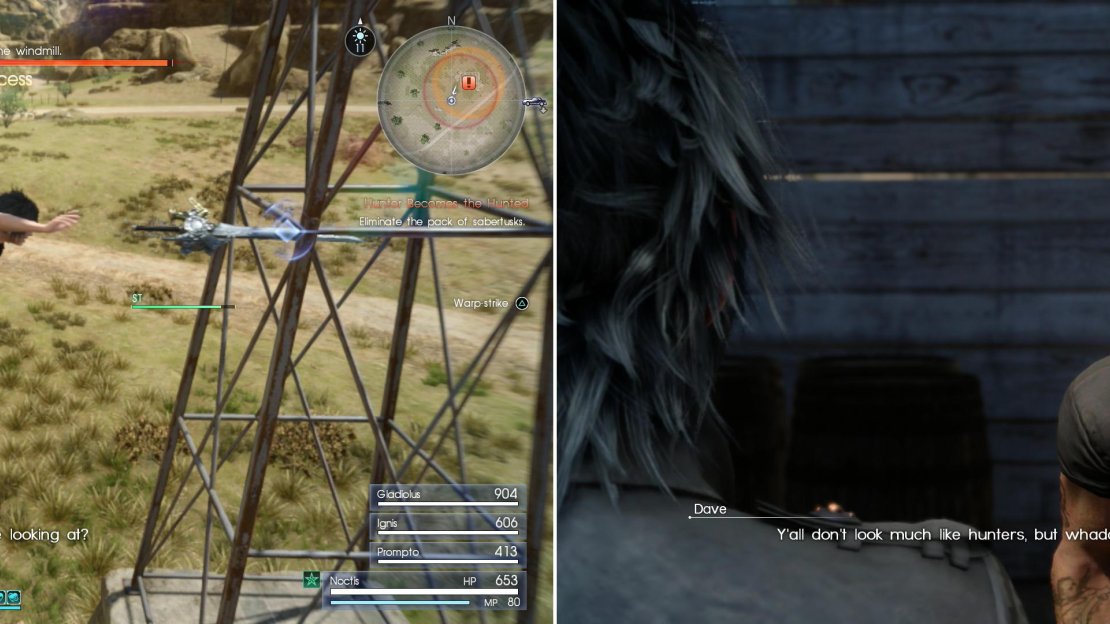
As you approach you’ll be instructed by Ignis to warp up to the windmill, which will give you a tactical advantage. To do this, look at the windmill and get close enough until you have a button prompt, then hold down Triangle/Y (it won’t work if you’re locked on to an enemy, so keep your fingers off the R1/RB). Once you’ve warped to a high spot you’ll quickly recover any lost HP/MP, and you can Warp Strike back down at a foe for extra damage.
Make quick work of them, then Dave will show up from inside the shack, offering his thanks for taking out the riff-raff. Apparently, he hurt his leg trying to go after that unique Dualhorn mentioned in his letters and offers the hunt to you, should you choose to accept (you have to do it). Choosing the option about payment will result in you gaining 2 AP, which is harder to come by than EXP, something the other two options dish out, so go with that. Dave will also hand you a Magic Flask (which comes pre-stocked with a potency 99 Fire spell), allowing you to craft an additional spell. Score! This ends “Hunter Becomes the Hunted” and begins “The Mutant Marauder”. As you start making your way towards the marker, Ignis will pester you again and suggest that you stop to rest. Agree and an objective marker will direct you down to the south-east, to the Merrioth Haven. For now, however, you probably have daylight to burn, and there’s one more thing worth turning your attention to, first…
| Objective | Reward |
|---|---|
| For rescuing Dave | 150 EXP, 2 AP, Magic Flask |
Warping to a vantage point will allow you to score a devastating first strike (left). Rescue Dave - everybody’s favorite hunter - and he’ll give you the honor of finishing the hunt for Bloodhorn (right).
Blade of Brennaere
Instead of heading towards the haven to the south-east, turn north-west, as there’s some exploring worth doing. Bring up your map and note that you’re right along the text of “The Three Valleys”. These three valleys from which the area’s name is derived are clearly marked on your map - you’re interested in the middle, western-most of them, which is north-west of where you rescued Dave. Head over to the valley (which is surrounded by rock formations, forming an enclosure of sorts) to find that the valley is occupied by beasties, including a large pack of Sabertusks and a flock of Daggerquills.
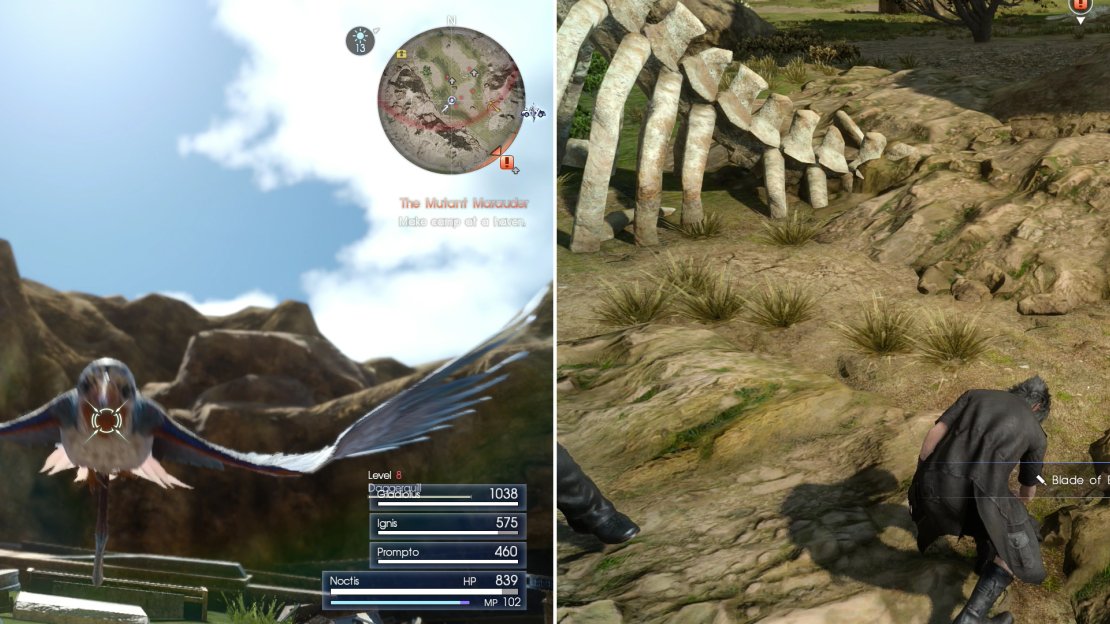
The former you’ve dealt with before, although when they’re in numbers this high, you might want to try a pre-emptive strike with magic, which can potentially wipe out several of them in one cast (they’re weak against ice, by the way). The Daggerquills are flying nuisances that are best brought down with with Warp Strike, after which they can be slain by conventional means. Alternatively, you can just play defensive and wait for them to perform an attack you can counter, which will inflict heavy damage to them.
Once the enemies are dead, search the valley: there’s a Mineral Deposit along the south-eastern end of the valley, a Food Spot to the north and a Treasure Spot to the west. The last bit is what you’re interested in, as this Treasure Spot happens to yield a Blade of Brennaere - a fire elemental Greatsword that will serve both Noctis and Gladiolus well.
Daggerquills may prove difficult to fight due to their aerial prowess, but can easily be dodged, blocked and countered (left). After clearing the valley, search a Treasure Spot for the Blade of Brennaere (right).
Mystery Map V
Before you make your way to camp (assuming you’ve got some time left), there’s one more item worth picking up nearby. Head to the north-western end of the valley to find an opening in the rocks encircling the valley, through which you should pass. Continue north-west and you’ll find a humble dirt road, immediately south-west of which is a large pipe jutting out of the ground near a ruined building. Search some rubble near the pipe and you’ll find a “ Mystery Map “, which starts the side quest “ Scraps of Mystery V “. Don’t worry about these quests right now - there’s fourteen such maps you’ll need to find scattered through the game, and while they’ll be picked up as you explore, completing their objectives will be postponed until you have them all, as there’s some rather nasty monsters you have to fight at some of the locations the maps point you to.
Search for the Mystery Map V (left) at the marked location (right).
Mega Phoenix Looting
There’s one more stop worth making before setting up camp, if you have the time, and it happens to be fairly near Merrioth Haven, where you’ll want to inevitably set up camp. Run over to Merrioth Haven and from there head south-east along the rocky cliffs that contain the southern-most valley. Eventually you’ll come to a protruding section of rock at which you can turn east to find a natural stone arch. Head through, kill any Sabertusks in your way, and make your way around the rocks to the south, then west to find a Treasure Spot. This Treasure Spot will yield a Mega Phoenix , which is a lovely restorative item that’ll revive your entire party in a pinch, making it a great ward for pesky game-overs. You should harvest them whenever you get the chance.
The Mutant Marauder
Make your way back north-west to the Merrioth Haven Campground and set up camp. When you get the option to have Ignis prepare a meal, choose something that will give you increased attack for the next enemy you’ll be facing. You already have the ingredients for a Croque Madame, boosting attack by 30, but if you’ve explored, you might have run into some Dualhorns and received a Dualhorn Steak upon defeating it. This will give Ignis an idea for a new recipe (Spicy Long-Bone Rib Steak) that not only increases attack by 50, but it also boosts maximum HP by 200. Failing that, if you bought some Luncheon Meat back at the Hammerhead outpost earlier you can make some Mystery Meat Sushi, which will increase your attack by 50 and your maximum HP by 100.
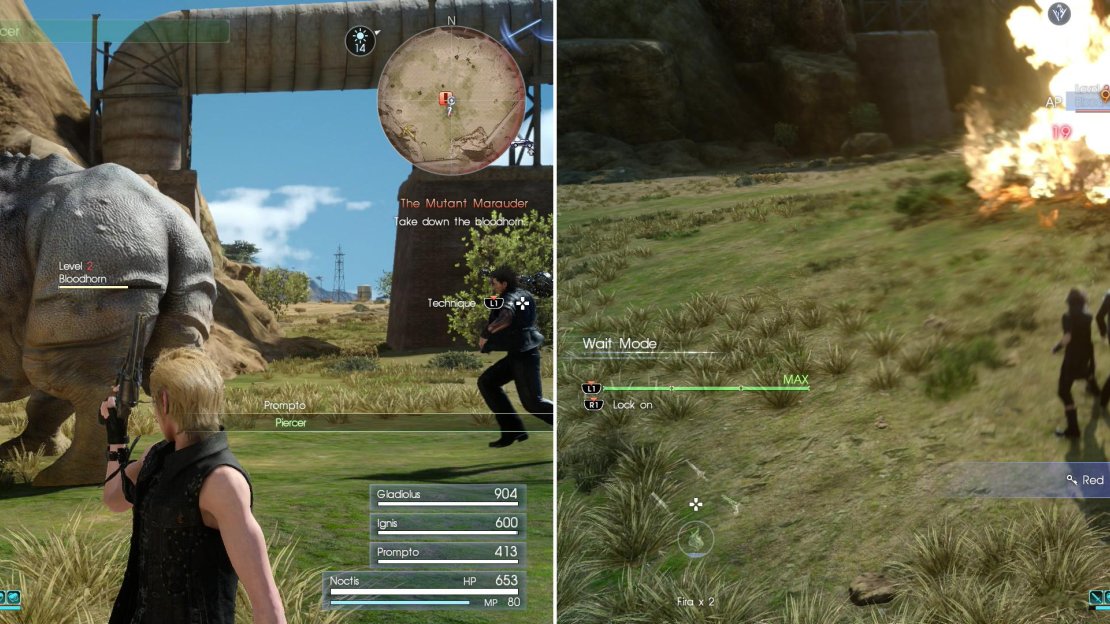
As your Technique Gauge fills you’ll be able to expend gauge fragments to perform powerful techniques (left). Or, for a more direct approach, Bloodhorn is weak against fire magic (right).
Whatever you choose, finish up with the camping session and be on your merry way north towards the Bloodhorn’s location. This Dualhorn, like others of its ilk, is weak to fire, hence the detour to get the Blade of Brennaere, and presumably why Dave was packing a Magic Flask with potent Fire magic in it. If you don’t have any on hand, it might be a good idea to prepare some Fire magic before you engage the beast. When you get close enough, a short scene will trigger, introducing you to Techniques, after which the fight will commence.
Once again, Dualhorns are weak to fire, so use some magic at the outset of the fight to weaken it. Warp Strikes will prove effective, too (especially if you’re packing that Blade of Brennaere), but otherwise get behind the beast to perform blindside attacks and make it less likely to hit you. You can also deal some damage to it by blocking (and parrying) its charge attack, but be warned - if you block but miss the parry, you’ll be knocked into the air, where you’ll have to perform a Warp to descend safely.
As the fight progresses note the yellow bar on the left-hand side of the screen: the Link Gauge. It’s split into three parts, and performing different techniques can take up one to three of those links. Consider pulling those out when parts of the Link Gauge are charged - it otherwise costs you nothing, levels up the skills as you use them, and can deal heavy damage to foes. The more you use them as you play through the numerous trivial encounters you’ll find yourself in through the game, the more powerful they’ll be for the big fights when you really need them.
Once the Bloodhorn is pushing up daisies, you’ll receive another call from Cindy, who mentions that Dave is safe and that the Regalia is ready. Convenient, that. Before you run off, though, search this northern valley to find a Mineral Deposit to the west, a Food Spot to the east and a Treasure Spot to the north, the latter of which will give you some Avengers ; an upgrade for Ignis if you didn’t buy them from the arms merchant at the Hammerhead outpost.
Highway Helper
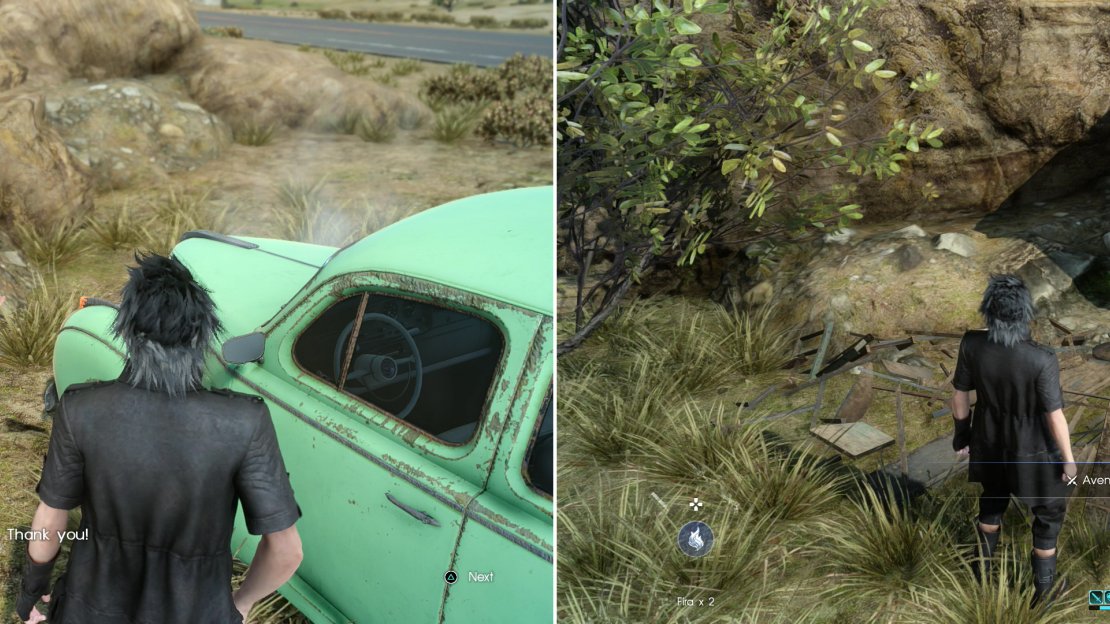
From this Treasure Spot head east to the highway, where you can knock off some more side quests along the way. Near the road you’ll find a peasant standing near his ugly green car. Daddy can’t buy everybody a sweet ride. Talk to him and give him a Repair Kit, if you bought it from the Mini-Mart at the Hammerhead Outpost. What a generous prince you are.
| Objective | Reward |
|---|---|
| For helping the stranded motorist | 300 EXP, 500 Gil |
On your way back to the Hammerhead outpost, help a stranded motorist (left) and pick up some new daggers for Ignis (right).
Search and Rescue
Make the trek back towards the Hammerhead, following the highway but running through the wilderness south and west of it. Eventually you should hear a Hunter calling out for help, whom you’ll find sheltered near some rocks, near where the highway (currently running south and marked by a green line on your map) is bisected by a more humble dirt road (marked by a yellow line on your map). Talk to the Hunter and give him a Potion to complete the quest.
| Objective | Reward |
|---|---|
| For providing a Potion to a person in need | 300 EXP, 500 Gil |
A Cry for Help
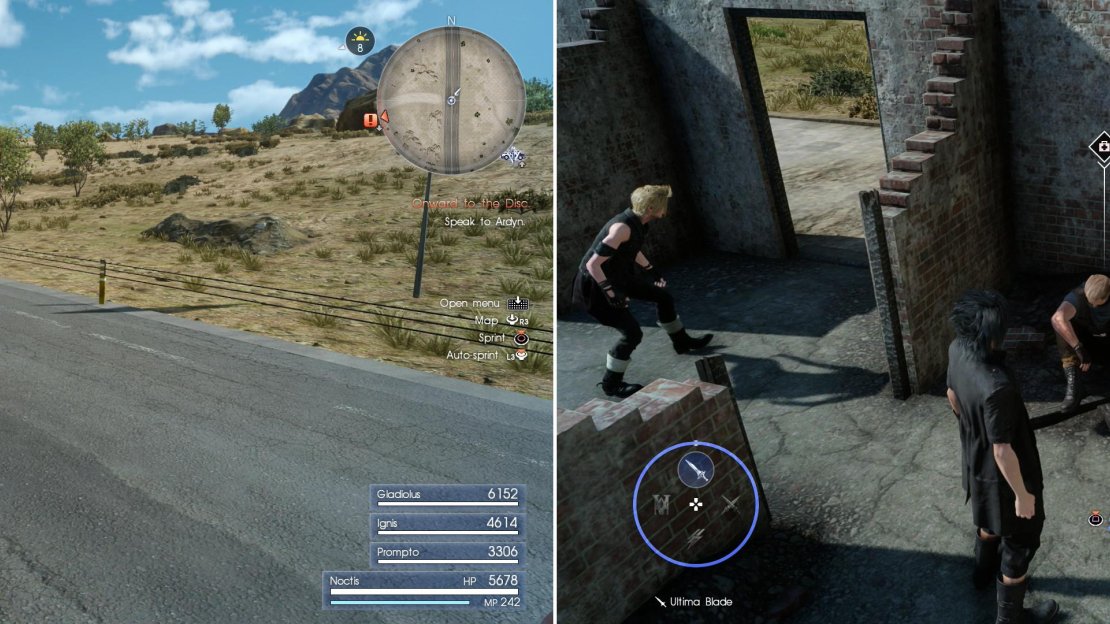
Head over to the highway at the point where the highway (green line) is bisected by the nearby dirt road (yellow line) and from here turn north-west to spot a large pipe in the wilderness. Head over to this pipe and you’ll discover some ruins in its shadow, from which some more crys for help emanate. Are these hunters good for anything? Enter the ruins to find the Hunter, who, like the one across the street, can be helped out by offering up a Potion for an identical reward.
| Objective | Reward |
|---|---|
| For providing a Potion to a person in need | 300 EXP, 500 Gil |
Look north-west from the highway to spot a massive pipe in the wilderness (left), then investigate the ruins near said pipe to find an injured hunter (right).
On the Road Again
Well, that was a nice bit of Gil and EXP for very little work. Time to return to the Hammerhead outpost, for real this time. You’ll be distracted briefly by three halves of a very large critter, but otherwise, it’s smooth sailing. Or walking, anyway. When you return to the outpost talk to Cindy to finally complete this main quest, after which she’ll promptly set you on another quest: she’ll ask you to deliver a package to the motel near Longwythe Peak, which is on the way to your destination, so agree to do it. Afterwards, Ignis will give you the opportunity to drive the car, so take him up on that offer if you want. Before you finally leave, you can customize the Regalia by talking with Cindy.
| Objective | Reward |
|---|---|
| For defeating the Bloodhorn | 200 EXP |
Once you’re done pimping out your ride (if you bothered, anyway) it’s time to hop into the Regalia and move on. Where you go next depends on what, exactly, you wish to do. If you want to continue with the story, skip ahead to the section “The Errand Prince”. On the other hand, if you want to score some more loot and go fishing, continue with the next section, “Exploring Ostium Gorge”. It’s advised that you go through the next section, however, as there’s loot you can get there with less hassle now. Also, there’s a driving tutorial. Who wants to miss that?


No Comments