Time to leave The Vesperpool behind… sort of… and explore another dungeon. It’s a short dungeon, but be wary, as it does have a guardian, unlike Ravatogh. Make your way back towards (or to, if you wandered off to upgrade the Auto Crossbow) The Vesperpool - West Bank Fishing Spot, south of which you’ll find a trail running north-west/south-east. Follow to road north-west and it’ll eventually lead you to the entrance to the Myrlwood dungeon.
Pass through a rocky cleft and the party will comment about the dungeon ahead, after which you’ll have to continue down a rocky passage, after which the quest “The Myrlwood” will begin. Follow the linear path ahead into the jungle, where you’ll shortly encounter some of the foes that infest this woodland: Glamhoth (advanced Goblins) and Crème Brûlée at night, and Mandrakes and Mushussu during the day. Neither of these pairs of foes should trouble you in the slightest.
When the constrained linear entrance tunnel ends you’ll find yourself in an large open area which comprises a good deal of this dungeon’s overall area. There’s also a definite - albeit unmarked - trail that runs through the area starting after you exit the entry tunnel. Follow this trail and keep your eye to the north to spot a loot spot ( Treant Branch ) near some rocks along the eastern end of the area. Grab it, then continue north to reach the rock wall that serves as the area’s boundary. Follow it north-west until you find another loot spot ( Megaphone ) along the northern boundary wall, next to an elevated ledge.
No Pain, No Gem
Fortunately much of the treasure in this area is found along the cliffs that confine it, which will make it easier to find. Speaking of which, return to the entrance tunnel at the eastern end of the area and follow the southern wall south-west until you stumble across a Mineral Deposit. Here you’ll find the Ruby Stone that Dino wants, which will finally allow you to progress his questline, even if just a bit. Since his next quest, “A Treasure Beyond Measure” asks you to go to Costlemark, however, you’ll be putting it off for a while. Poor Dino…
| Objective | Reward |
|---|---|
| For giving Dino a Ruby Stone | EXP 2,000 / Ruby Bracelet |
Pectriche Haven Campground
Continue walking along the edge of the dungeon to the south-west until you find another loot spot ( Sapphire Bracelet ) then make your way to the western end of the area to find another tunnel leading deeper into the dungeon. Ignore it for now and instead leap up the ledges to the north to find yet another loot spot ( Oracle Ascension Coin ) between the boundary wall and a boulder.
Return to the western tunnel and continue through, killing whatever opposes you - either some Liches and Crème Brûlée (at night) or Mushussu and Mandrakes (during the day). Eventually the path will fork, and if you take the southern path you’ll find yourself at the Pectriche Haven Campground, which the obligatory elemental deposits. If you’re somehow worn down by all the feeble opposition in this dungeon, feel free to rest up. You can also find the Myrlwood Falls Fishing Spot here, which, as usual, means there’s also two loot spots - one with a random lure and one with a random line. Be warned, however, that since the Fishing Spot is in a dungeon you won’t be able to save… except via autosave by resting, anyways.
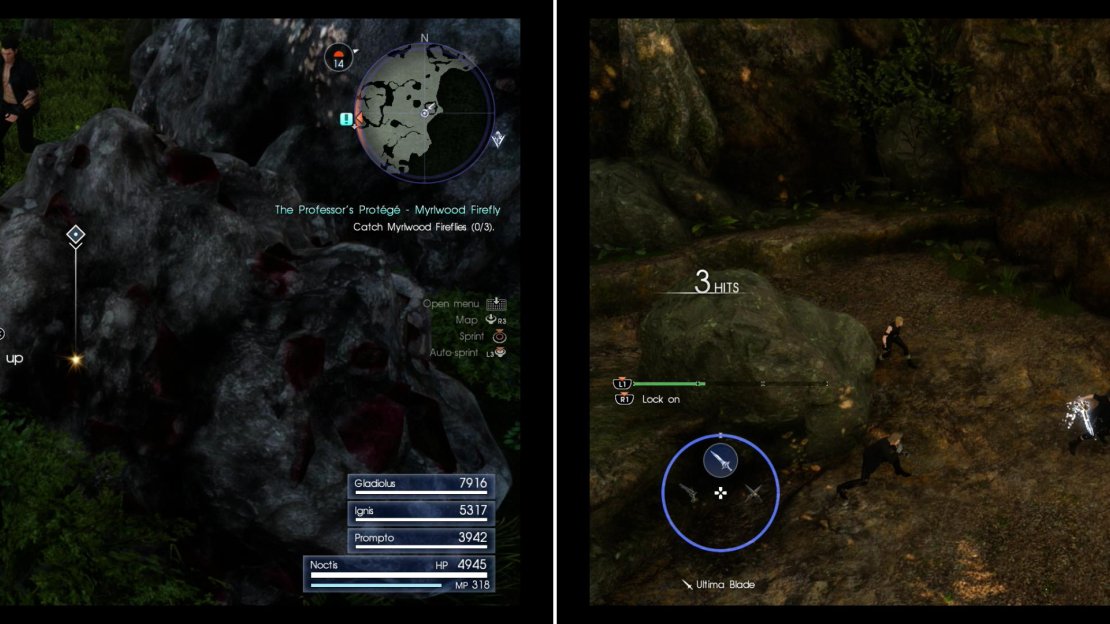
Search the Myrlwood to find a Mineral Deposit containing the Ruby Stone Dino want (left). In the furthest depths of the Myrlwood you’ll encounter a Treant (right).
Boss Battle: Treant
Fish, eat, sleep and when you’re ready return north up the tunnel and at the fork head down the previously neglected north-western branch, which leads uphill and ultimately to another open area, albeit far smaller than the main chamber back east. Kill whatever foes await you at the end of the tunnel and continue west to overlook the area below you an nab a loot spot ( Gold Bangle ). When you’re ready, drop off the ledge or head north down a slope. Either way, continue west and a Treant (level thirty-eight) will drop in on you.
If you’re expending a slow, plodding treefolk… well, this ain’t Tolkien. This Treant is a pernicious, agile tetrapod with a tail, and it’ll use its tail to sweep, its claws to rake and it’ll also perform leap attacks. Despite being fast, the Treant isn’t much of a heavy-hitter, and many of its attacks can be blocked and countered. It’s weak to greatswords, machinery and fire, and resistant to lightning and holy. Other than that, just be wary, as it can inflict Confusion with its howl, which isn’t nearly as dangerous in this game as it was in previous Final Fantasy titles.
Tomb of the Rogue
Once the Treant has been turned into kindling, search near the base of a tree in the center of the area to find a loot spot (Mega Phoenix), then continue west to find the Tomb of the Rogue. Isn’t it convenient that basically every dungeon has a tomb at the end? Enter the tomb and claim you prize - the Star of the Rogue .
| Objective | Reward |
|---|---|
| For investigating the Myrlwood | EXP 3,000 |
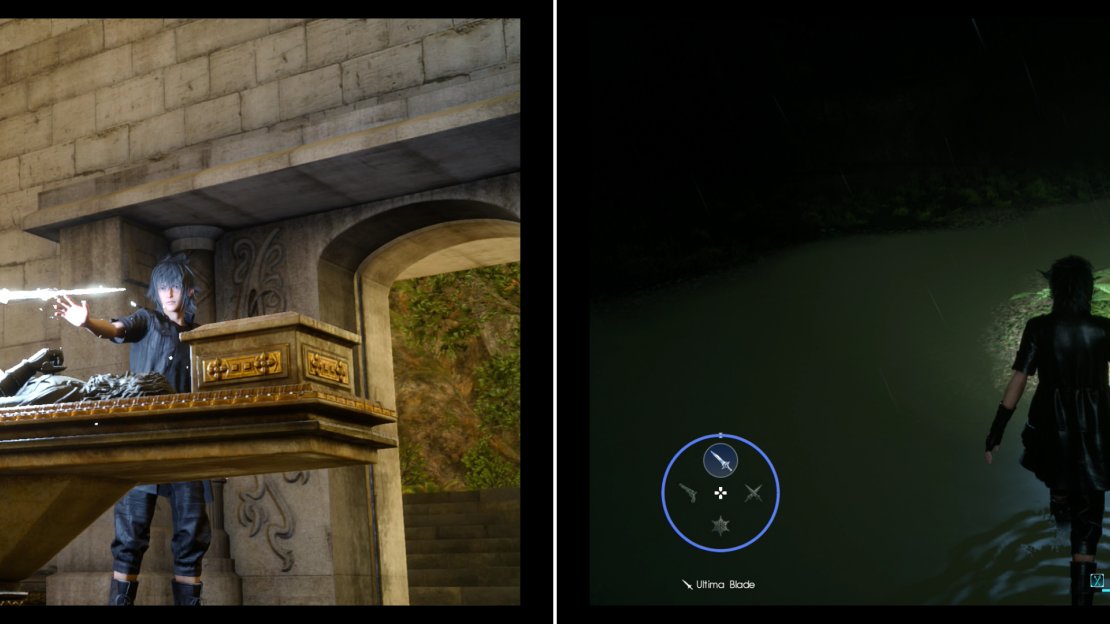
Claim the Star of the Rogue from the sarcophagus within the Tomb of the Rogue (left). Wait until night and you’ll be able to easily hunt down the Myrlwood Fireflies Sania wants (right).
The Professors Protégé - Myrlwood Firefly
You’ve scoured the Myrlwood, killed the boss, claimed another Royal Arm… what could be left to do? Well, if you’re the smart sort that reads subheaders, you’ll already know. Sania sent you out to find some Myrlwood Fireflies, and as their name subtly suggests, they live in this dungeon. In the area where you fought the Treant, to be precise. Of course, they aren’t active until night, so if it’s day time you’ll just have to wait around until the sun goes down. Fortunately, that’s half of every twenty-four hour cycle now, so… yeah. When it’s night, the fireflies will start glowing, making them easy to find:
- Near the tree in the center of the area, surrounded on three sides by water.
- North of the previous firefly, near some ferns.
- Along the southern edge of the area, on a ledge behind a rock.
Grab all three bugs and return to Sania and turn them in for a hefty experience reward. She’s basically the experience version of Vyv, and she’ll have another quest for you soon. So lucrative are her next two quests (the last of which requires much backtracking and running about) that they’ll be given their own section.
| Objective | Reward |
|---|---|
| For finding three Myrlwood Fireflies | EXP 10,000 / Golden Hourglass |


No Comments