All the quests in this section are an assortment of quests the various merchants in Lestallum will give you after you complete the quest “A Stroll for Two”. Your reward for these quests is typically experience, and a discount at the store you did the task for.
Van, Interrupted
| Where | When | Reward |
|---|---|---|
| Lestallum | Finish “A Stroll for Two” | 2,000 EXP |
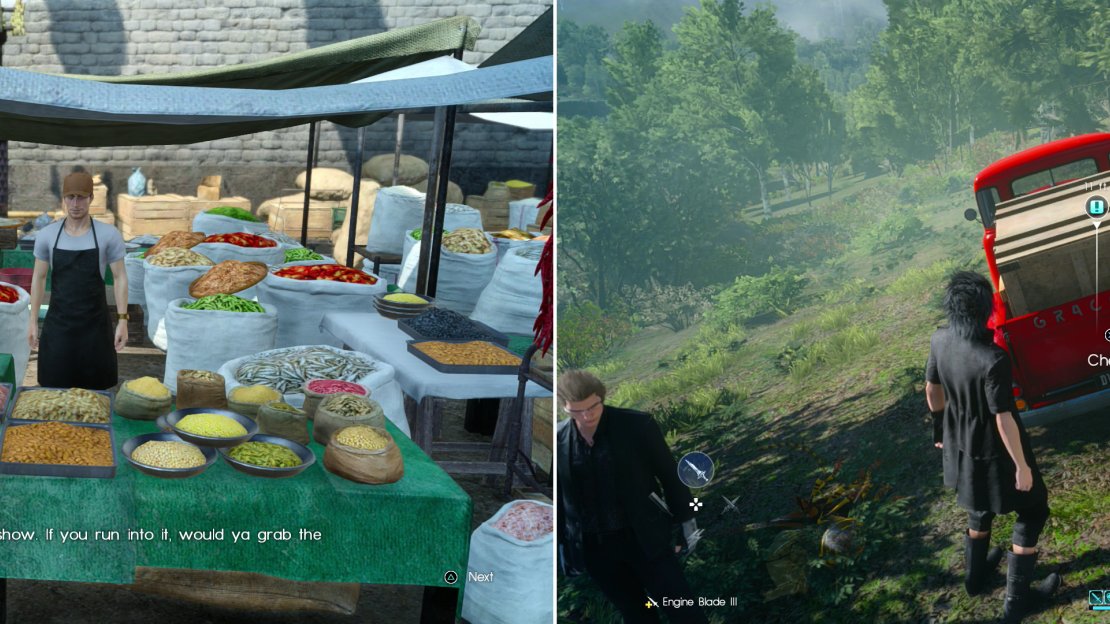
To pick up this quest you’ll need to talk to the proprietor of the Prissock Gerneral Store, a stall in Lestallum near the Tostwell Grill. Make your way to the Wennath River Parking Spot (west of Lestallum) and park the Regalia there. From where you parked head south to find some stairs leading down into the wilderness along the Wennath River. You’ll find the van to the north, guarded by a group of Killer Bees.
The owner of the Prissock Gerneral Store will tell you about various lost vans (left) which you’ll have to find and secure the area around to reclaim its cargo (right).
Van, Interrupted Again
| Where | When | Reward |
|---|---|---|
| Lestallum | Finish “Van, Interrupted” | 2,500 EXP |
Same thing as the last quest, you need to find some van that went missing and reclaim its cargo. You’ll find this van near the fork in the highway east of the Swainsmere Fishing Spot, which itself is south of the Wiz Chocobo Outpost. Drive there, clear out the Voretooths guarding the van, then return to the proprietor of the Prissock General Store.
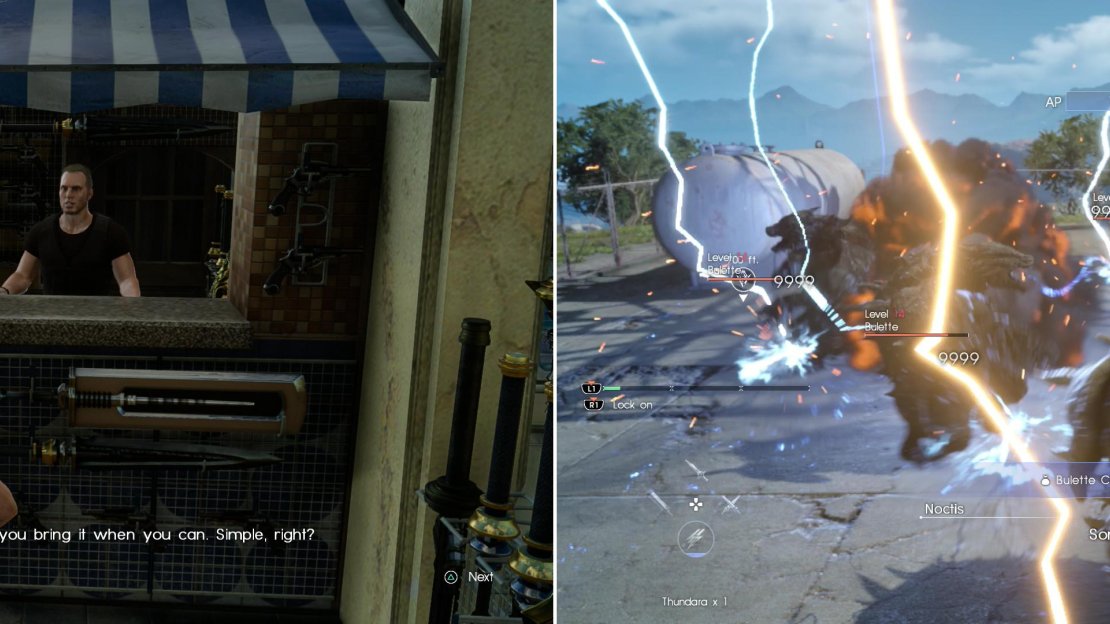
The vendor at the Culless Munitions store tasks you with recovering monster bits (left), starting with a Bulette Carapace (right).
Ace of Carapace
| Where | When | Reward |
|---|---|---|
| Lestallum | Finish “A Stroll for Two” | 1,500 EXP |
Talk to the Culless Munitions - Lestallum vendor to get this quest. Apparently the guy is in the habit of asking his customers to put the arms he sells to good use by killing beasties and harvesting their parts. Specific beasts, mind you. Unlike many other sidequests, you can’t just go kill any critter for their drop, you’ve got to kill the specific ones at the indicated quest marker. In this instance your target is a herd of Bulettes, from which you need to harvest a Bulette Carapace. Your goal is a radio tower south-west of the Wainterre Haven Campground, which itself is south-west of the Taelpar Crag Parking Spot, both of which are south of Lestallum.
Tails Spin
| Where | When | Reward |
|---|---|---|
| Lestallum | Finish “Ace of Carapace” | 2,000 EXP |
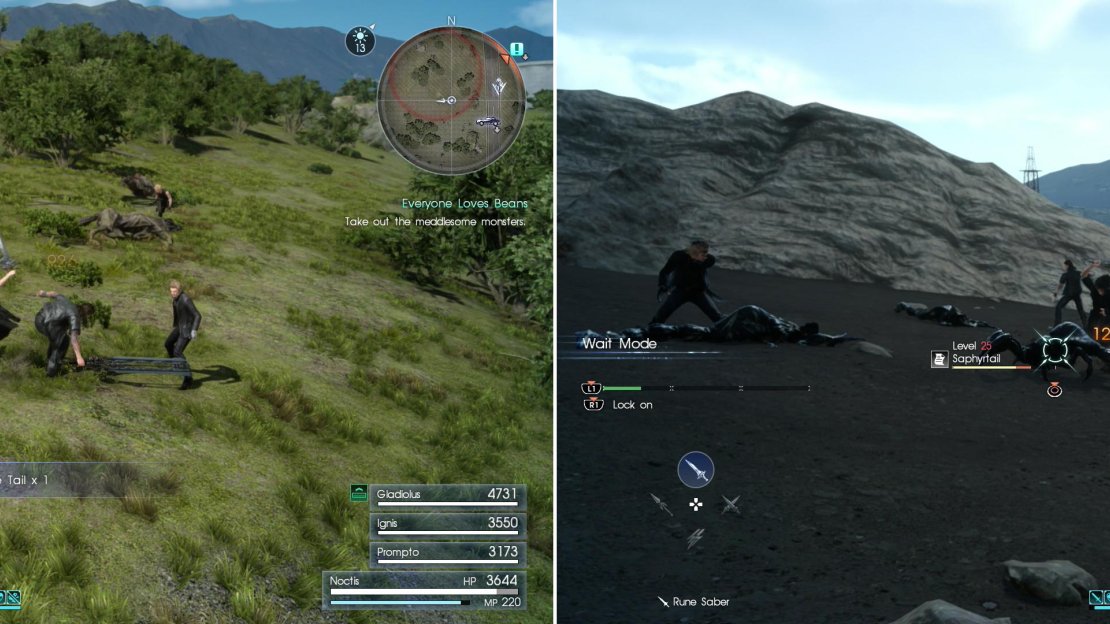
The second quest from the vendor of the Culless Munitions - Lestallum shop has you hunting some Supple Tails, which can be unwillingly supplied by some Spiracorns. The particular herd you need to cull is on an island south of where the Wennath River splits, north-west of the Rachsia Bridge Fishing Spot.
Kill Spiracorns to obtain their Supple Tails (left), while Saphyrtails will yield Scorpion Stingers (right).
Sting Your Praises
| Where | When | Reward |
|---|---|---|
| Lestallum | Finish “Tails Spin” | 4,000 EXP |
The last quest you’ll get from the proprietor of the Culless Munition - Lestallum shop will force you to travel to Ravatogh… or at least its outskirts. Make your way to the Vernias Outpost - Ravatogh, and from there head north-east to find a group of Saphyrtails, which are higher-level versions of Reapertails. Exterminate them, gather their Scorpion Stingers, then return to the weapons merchant at your leisure to finish this quest and earn another discount at this store.
On the Hunt for a Harvest
| Where | When | Reward |
|---|---|---|
| Lestallum | Finish “A Stroll for Two” | 2,000 EXP |
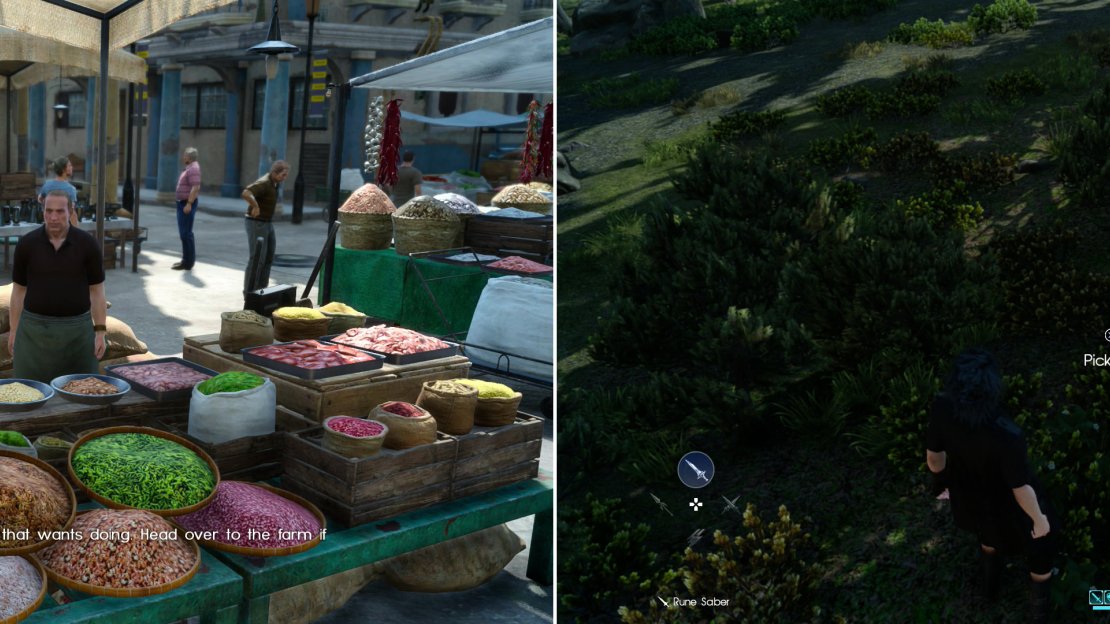
Perhaps the most menial tasks you’ll be given in the entire game come from the proprietor of Furloch Farms, who will request your help… bringing in the harvest. Fortunately, this is more than humble farm work (although not by much), so accept the job and head to the Saxham Outpost, which south of the Coernix Station - Cauthess. Make your way to a collection of houses where a “man” will tell you to do his work for him. Of course. Once done, head south-west into another pen to find a pack of Voretooths that are keeping the farmers from the tasks and exterminate them. Once done, pick up the Fresh Green Peas from a patch of Eos Green Peas to satisfy the Furloch Farms vendor, then talk to the farmer again so he can state the obvious to you.
The proprietor of Furloch Farms will send you on a variety of missions with the goal of bringing in the harvest (left), sometimes leaving you to do the actual harvesting bit (right).
Wild About Onions
| Where | When | Reward |
|---|---|---|
| Lestallum | Finish “On a Hunt for a Harvest” | 2,500 EXP |
Give the proprietor of Furloch Farms his coveted Eso Green Peas, then get in the Regalia and set your destination as the quest location for his next quest, “Wild About Onions”, an incredibly banal quest. You should come to a stop on the road east of the Turncouth Haven Campground, west of the Swainsmere Fishing Spot. From there, make your way south-east to find a farm, where you’ll find a Food Spot (Wild Onion), where you can find the Bulbous Onion you’re after. Well, that was easy…
Vegging Out
| Where | When | Reward |
|---|---|---|
| Lestallum | Finish “Wild About Onions” | 3,000 EXP |
Next quest is another simple one, drive to the Quest Location for “Vegging Out” and you’ll make your way past the Cauthess Rest Area before coming to a stop along a highway to the south. Leave the Regalia and make your way west through the forest, past a fenced-off radio tower to find a Food Spot. Near the Schier Tumeric Food Spot you’ll find the object of your employer’s desire - an “Aromatic Root”.
Mind the Trap
| Where | When | Reward |
|---|---|---|
| Lestallum | Finish “A Stroll for Two” | 1,500 EXP |
Fair warning, this quest is easily the most difficult of the quests the Lestallum merchants ask you to do, potentially far more difficult than its “recommended level” lets on. Pick the quest up from the proprietor of Veenon’s Trading - or rather, his grandson - and he’ll tell you about some supply channels he hired a hunter to clear. The hunter went incommunicado, so you’re now being tasked to find out what’s up.
The quest starts out simply enough - ride to the Taelpar Rest Area and talk to the hunter standing around to the north. The holdup? Apparently the delivery route take him through the wilderness to the south, and over-zealous trapping has made it hazardous.
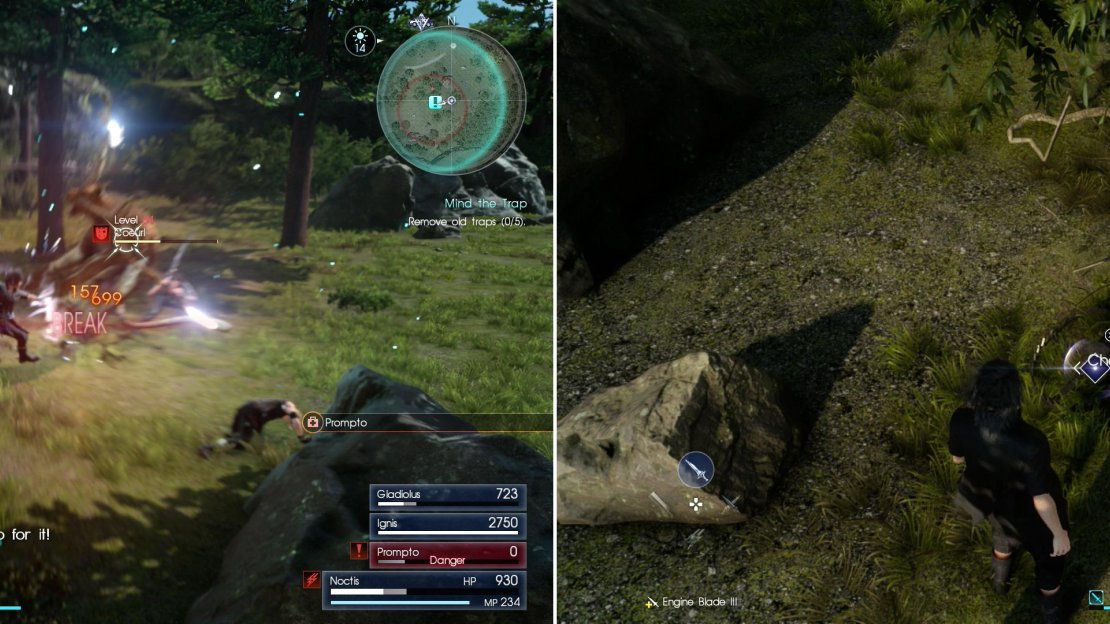
The traps are there for a reason, however, as the marked area on the map (south of the Taelpar Outpost) is crawling with beasties. If you’re lucky, it’ll be a pair of Hundlegs. If not, it’ll be a pair of Coeurls. Their level is intimidating enought (level thirty-four), but you may have tackled an Iron Giant (level thirty) by now. If so, you’ve got a false sense of confidence in what can be done, as Coeurls are much stronger than their level indicates. They’re fast, have their good old fashioned “Blaster” attack which can kill in a single hit, and their normal attacks aren’t too shabby, either. If they’re sitting, leave them alone, as they’re ready to counter a Warp Striking Noctis with a lethal counter attack. Many of their attacks can’t be dodged at all, being area effects, and in general, if you see their whiskers glowing, you probably just want to warp away, as it’s a good indicator that they’re up to no good.
Coeurls are far more dangerous than the recommended level of this quest (left), but if you can defeat them, you can disarm the traps nearby (right).
If you can kill them, great, you can go about searching for the traps and you may also get some Coeurl Whiskers, which are needed to upgrade the Drain Lance and complete “A Better Drain Lance II”. Since you know where some Coeurls are now, that quest can be done as soon as you’re capable. If you’re fortunate, however, you won’t find them here and can get to looking for the traps.
Start out by searching near the center of the search area, right near the exclamation point, where you’ll find a tree. The first trap is just north-east of this tree. The next trap can be found to the north of the center of the search area, between a tree and a fence. Disarm it, then head east, through some trees, past some rocks and search for the third trap hidden in some small bushes. Once done, find number four west of the center of the search area, just past a tree and next to some more small bushes. Finally, head south-west towards the Huldagh Nutmeg Food Spot, where you’ll find the trap near a large stone.
Once you’re done you need merely return to the hunter at the Taelpar Rest Area, then return to the kid at Veenon’s Trading.
No Comments