Delta Daggers
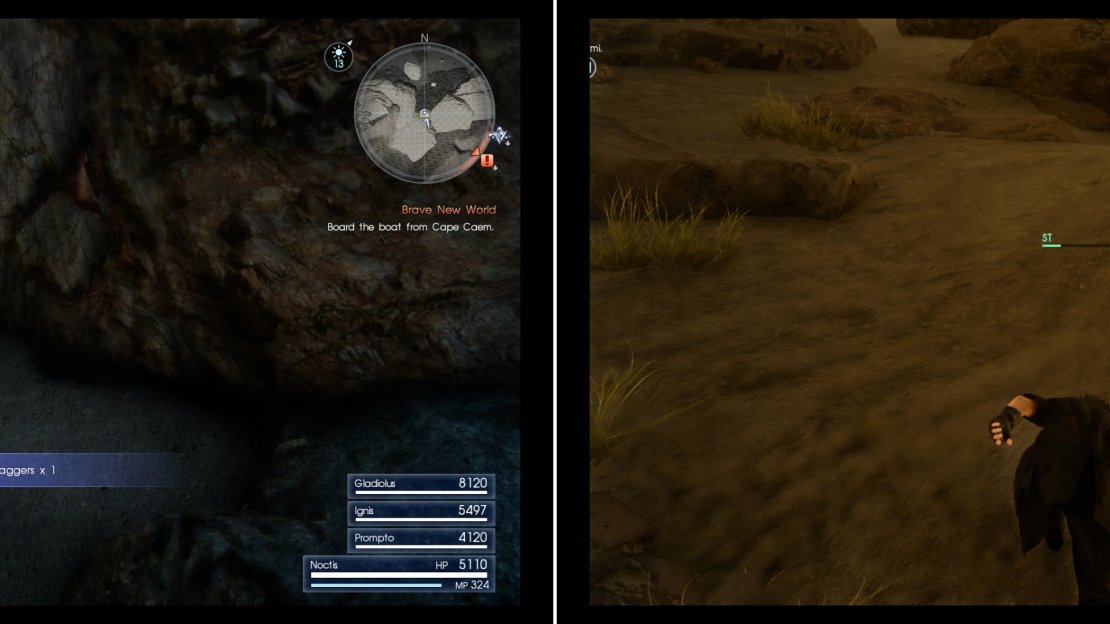
When you’re done questing around the Verinas Outpost, it’s time to leave the Ravatoghan Trail behind and turn your attention west, to the volcano itself. The entrance to the dungeon is a cleft in the rocks west of the Verinas Outpost, north-west of The Rock of Ravatogh Parking Spot, which is a fine place to park your car. When you approach the entrance to the dungeon you’ll get a bit of commentary, but before you continue on follow the southern wall to the north-east, then around a corner to the south-east, then south to find a Treasure Spot ( Delta Daggers ). As long as you hug the rocks south of the Ravatogh dungeon entrance you should find them just fine. The daggers are a slight upgrade over the Assassin’s Daggers and should serve Ignis and Noctis well enough for now.
Ravatogh Entrance
Return to the entrance to The Rock of Ravatogh dungeon and after more banter you’ll start the quest “The Rock of Ravatogh”, which provides you with more incentive to reach the summit. Continue climbing uphill to the west but keep your eyes to the north if you want to grab a loot spot ( Tiny Feather ). Once you’ve claimed that loot, keep following the path west, then south, smiting some pesky Saphyrtails as you go and eventually the path will open up a bit. Interrupt some Spiracorns and Saphyrtails who are busy squabbling and put them both down, then note the fork in the path. The route south is a dead-end from this direction, serving as the obligatory one-way egress out of this dungeon. If you’re impatient, however, you can go up that direction and plunder a loot spot ( Ammonite Fossil ).
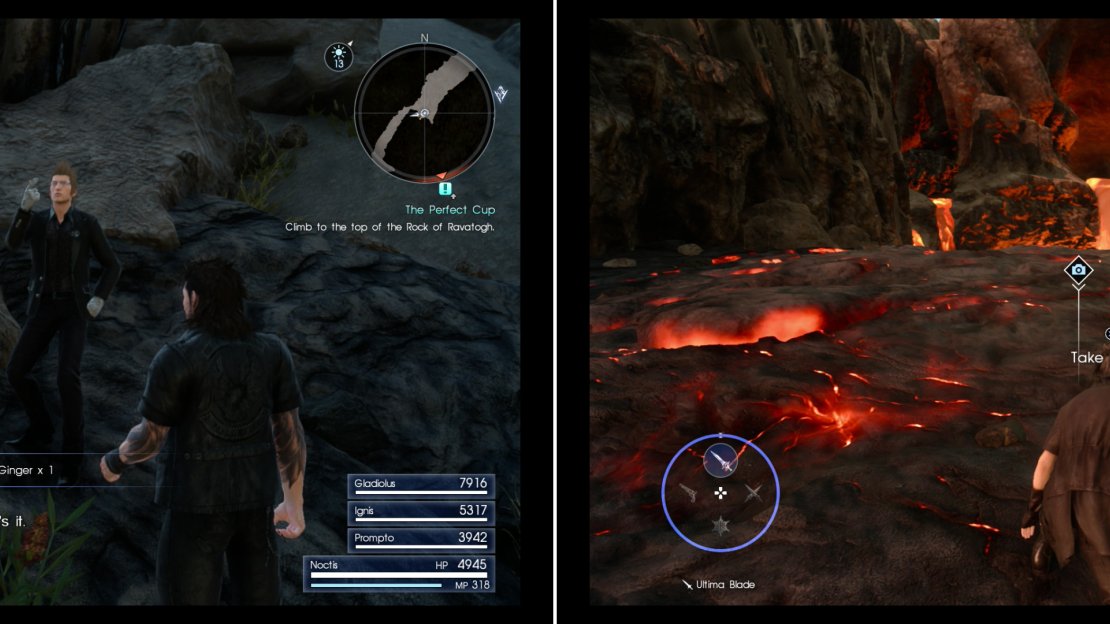
Make your way south-west and grab a Building Stone off some rocks before proceeding uphill until you find a food spot ( Kettier Ginger ). Might as well loot this Ravatogh-exclusive foodstuff, as it’ll inspire Ignis to concoct the “Blazing Braised Gizzard” recipe.
Before you enter the dungeon, search a Treasure Spot to find some Delta Daggers (right). You’ll have to expend stamina to ascend a steep incline (right).
Climbing the Rock
The path further on narrows and becomes significantly steeper, robbing you of much of your maneuverability and draining your Stamina while you climb. Pressing the R3 button at the right time will, as usual, quickly recover your Stamina. Keep climbing and mind your Stamina to avoid sliding back down the slop and, if you’re greedy, score a loot spot ( Strong Bone ) on a ledge to the east. When you reach the top, cross a natural stone bridge to the east and turn north to find another loot spot (Tiny Feather) then continue to the south, stopping only to nab some more Kettier Ginger along the way.
Vyvs Volcanic Inspiration
When the path opens up again you’ll spot another Spiracorn/Saphyrtail skirmish, which you can settle. Do so, then search the solid rock platforms to the east to find a loot spot ( Oracle Ascension Coin ), then continue up some ledges to the east to find another loot spot ( Tiny Feather ). Grab those items and continue along the eastern cliffs to the south until you find another fork in the path. You’ll need to go up the eastern path to reach the summit, while to the south-west lies the fiery remains of a relatively recent eruption, with a slope of hardened - but not cool - igneous rock running uphill. Despite Prompto’s complaints, you won’t take that much damage by walking uphill, and there’s plenty of incentive to do so.
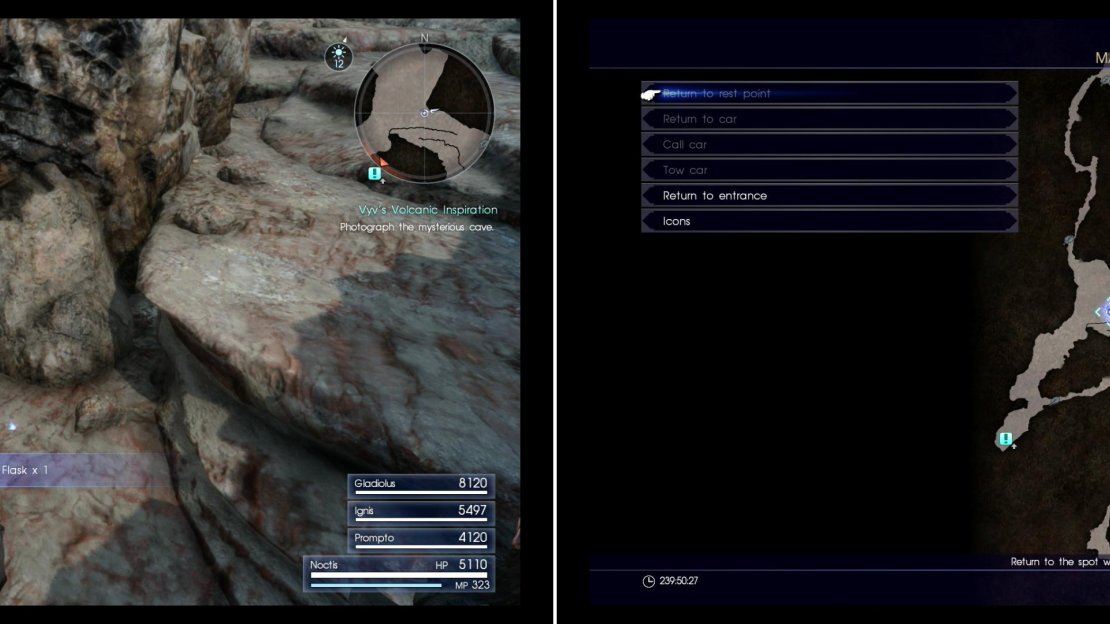
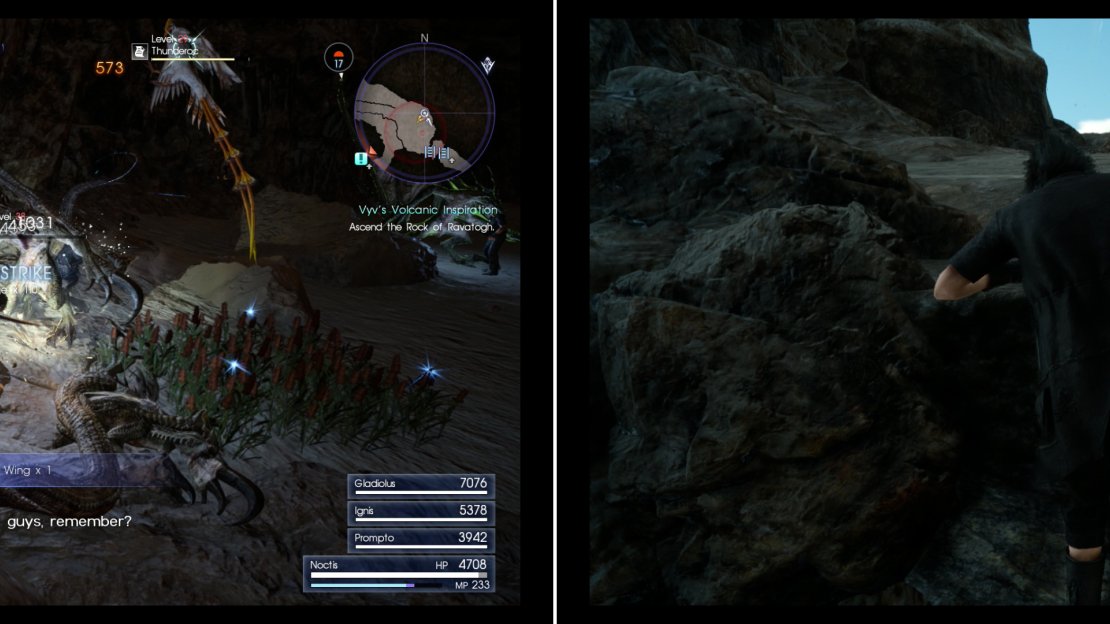
First grab another loot spot ( Magic Flask ) on the solid rocks at the entrance to the eastern fork, then brave the heat and head uphill, stopping along the way to score a loot spot ( Silver Ore ). Shortly afterwards you’ll have to fend off a flock of Thunderocs (effectively stronger Daggerquills), the most dangerous thing about which is probably the risks of falling if you engage them in the air. Once they’ve had their wings clipped grab a loot spot ( Building Stone ) on a rock to the south-west and use the lava-free ground beyond to recover your Hit Points, if necessary.
Search a loot spot for a Magic Flask (left) at the marked location on the map (right).
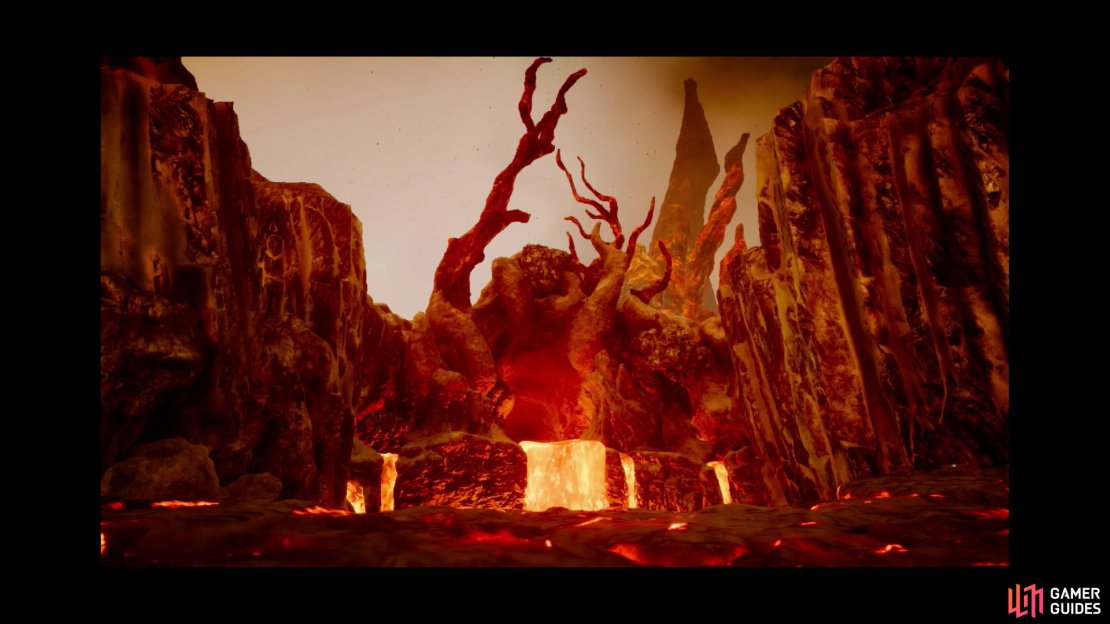
When you’re ready, continue uphill to the south (ignore a side route to the east for now) and when you reach a dead-end snap a photo of the lava flow for Vyv… assuming it’s day time, anyways. Before you head back down hill explore up to the edge of the lava and nab another loot spot ( Ruby Bracelet ). That’s a dangerous task Vyv sent you on this time, but the payoff is worth it… once you find the time to run back to Lestallum and cash in, anyways.
| Objective | Reward |
|---|---|
| For taking a picture of the Ravatogh summit | EXP 3,000 / 15,000 Gil |
Grab some Kettier Ginger during your climb to teach Ignis a new recipe 9left). After braving a fiery slope you’ll be able to snap the photo Vyv wants (right).
Wyverns and Thunderocs
Backtrack to the north-east and hit the previously-ignored eastern path, which will loop back to the north-east, more specifically to the beginning of the area with the lava flow, atop a winding path looking over the eastern path that will lead you to the summit. Along the way be sure to grab some more Kettier Ginger and score a loot spot ( Greenstone Crystal ).
Head down the winding path to find a mixed group of foes, including Wyverns and more Thunderocs… or you can just Warp Strike down onto them. Keep in mind Sania’s request for a Wyvern Wing and with any luck you should get one here. In any event, once the flying foes have been felled, loot another Food Spot (Kettier Ginger) then investigate a loot spot ( Quality Building Stone ) on a nearby rock.
Owlyss Haven Campground
After the foes are dead turn your attention to the cliffs to the south-east, which you’ll need to climb to continue on. Climb up two sheer cliff faces, then make your way south-east to reach the Owlyss Haven Campground, stopping to grab a loot spot ( Quality Building Stone ) along the way. Rest here if you need a break and draw whatever elemental energy you might be lacking, being sure to search behind the fire elemental deposit to find a loot spot ( Glass Gemstone ), then continue down the trail to the south-west.
Kill Wyverns to harvest Wyvern Wings for Sania (left). To reach the summit of Ravatogh you’ll need to climb some sheer cliffs (right).
Ravatogh Wasp Path
This part of the dungeon is fairly linear, just continue downhill to the south-west until you encounter a pack of enemies, including some Killer Wasps and a Wyverns. The latter you’ve encountered before, although it might be a welcome opportunity to harvest some more Wyvern Wings. The former can also drop important items - Barbed Scythes , which can be used to upgrade the Plunderers daggers you could have traded some carrots for, but they’re somewhat more annoying to fight. First, they fly around, which is always a nuisance, given how vulnerable you are to being knocked down, often suffering fall damage. Worse still they can poison you with a sting or puff clouds of noxious green gas that can cause confusion. Nasty.
Zus Nest
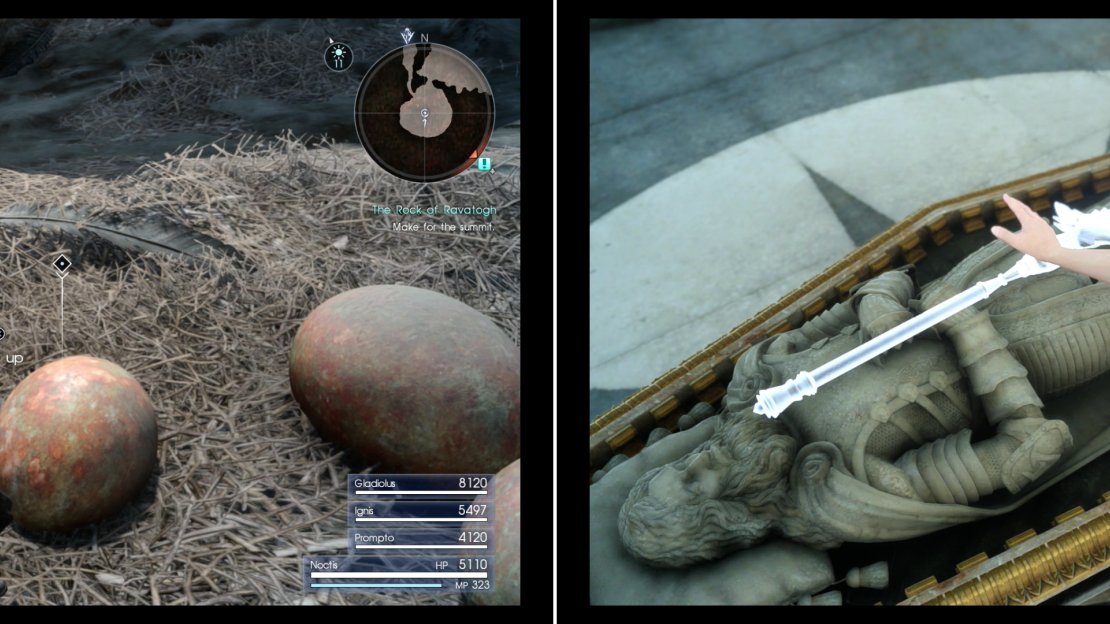
Eradicate them and continue south down the linear path ahead until you find some ledges. No point in going back, so slide down to reach a nest. The size of those eggs should suggest the stature of whatever laid them, but fortunately for you, it’s not home right now.
If you told Gladiolus your favorite ingredient was “Eggs” during “A Need for Noodles” (hence starting the egg variant of “The Perfect Cup”) you’ll find an extra egg here, and Gladiolus, never one to accept mediocrity, has none other than these eggs in mind for his perfect Cup Noodle meal. Just think of the omlettes you could make with one of those… Anyways, grab one of them to get a Glimmering Zu Egg , (how are they carrying that egg off? Where did they put it?) then turn north and slide down another slope to reach a smaller, lower, barren nest. Drop down one more time to large, flat expanse.
Tomb of the Fierce
This area kind of seems like an arena, doesn’t it? Oh well, it won’t be fulfilling that purpose today. Instead, seek a way out and you will, with a bit of searching, find a large chute to the north that will take you to the beginning of the dungeon. Before you ride the chute down, however, search the eastern end of the arena to find a hole in the wall, beyond which is a trail running south that leads to The Tomb of the Fierce. Name makes sense - you’d have to be fierce to build a tomb up here. Enter the tomb and plunder it to obtain the Mace of the Fierce .
| Objective | Reward |
|---|---|
| For reaching the Ravatogh summit | EXP 4,000 |
If you picked the “egg” variant of “The Perfect Cup” you’ll find a Zu Egg you can plunder (left). Beyond the Zu’s nest you’ll find the Tomb of the Fierce, where you can obtain the Mace of the Fierce (right).
Ravatogh has now been plundered, so return to the arena and make your way north to reach the chute that’ll take you to the entrance to the dungeon. Ride a chute down, then run north down a large tunnel and when you reach daylight continue north along a pathway, enjoying the scenic view to the east as you go. Eventually you’ll find another chute, which finally puts you near the entrance of the dungeon, south of where the first group of Spiracorns and Saphyrtails were fighting.
Post-Ravatogh Wrap Up
Exit the dungeon and turn in whatever quests you may have finished (the vendor at Culless Munitions - Lestallum, Sania, Vyv, etc.), after which Vyv will give you another quest “A Place to Call Home”. Check on your carrots, and with any luck, report back to Cid to collect whatever weapon he was upgrading, if any. Now would be a fine time, for example, to get Cid started on upgrading your Plunderers, provided you extracted some Barbed Scythes from the Killer Wasps that infested Ravatogh.
| Objective | Reward |
|---|---|
| For giving Cid a Barbed Scythe | EXP 800 / Plunderers II |
The Perfect Cup (Egg Variant)
Once all that’s done, be sure to rest at some campground so Gladiolus can finally enjoy his exquisite Cup Noodles, assuming, of course, you went after the egg. Aside from completing the quest and earning some experience, all you’ll gain from the affair is a new and improved Cup Noodles recipe… along with the recipe for whatever variant you made. Also, completing this quest will allow you to take on the hunt “Feathered Giant of the Firesmoke” at the Verinas Outpost, but at this point in the game, it’s probably nothing more than suicide-by-proxy to attempt it.
| Objective | Reward |
|---|---|
| For sating Gladiolus’s taste for exquisite Cup Noodles | EXP 4,000 |
No Comments