Shortcuts in the Sewer
Two down, two to go, and there’s one more long-overdue dungeon in Leide: Crestholm Channels. East, south-east of the Hammerhead outpost you’ll find the Crown City Checkpoint Parking Spot. Drive to the latter area and continue down the road towards the Crown City, where you’ll have to dispose of the laughably under-powered garrison that’s still stationed there. Crush them, pass through the checkpoint they were guarding, then turn south-west and go through a gate and down some stairs to reach the ladder leading to the Crestholm Channels dungeon.
There’s no two ways about it - this place is a maze. The multi-level layout is enough of a hassle (and there’s no elevator to help you get around, this time!), but worse you’ll be plagued by locked doors, one-way ramps that deposit you deeper into the sewer, and consoles you need to find and activate if you want to confront the beastie inhabiting the darkest depths of this dungeon.
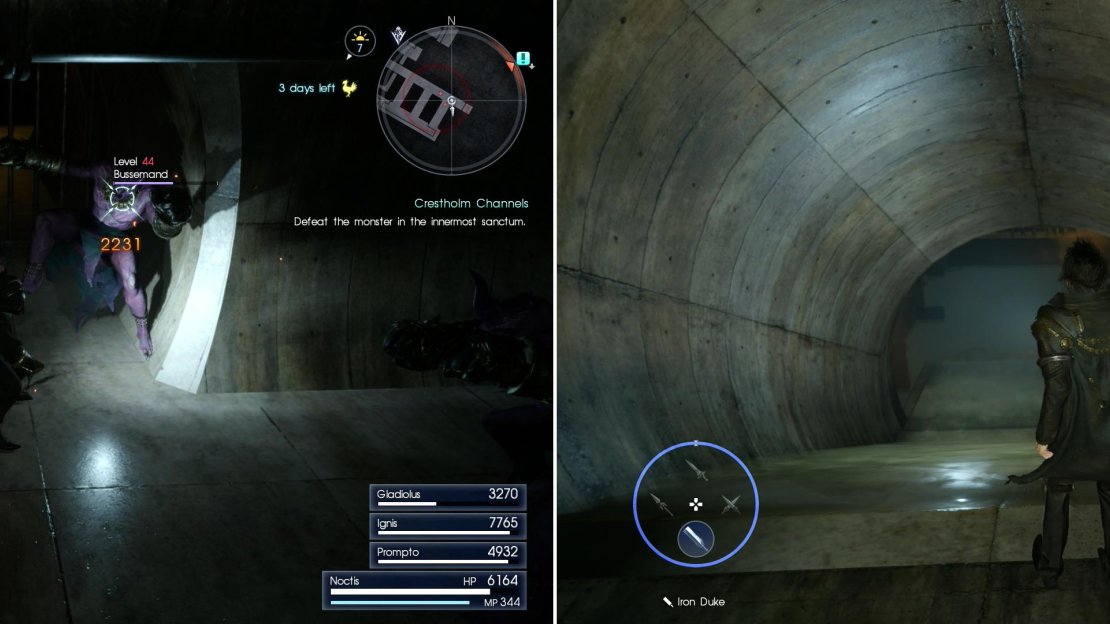
Bussemands are one of the most common enemies plaguing Crestholm Channels - be wary, as they can steal items from you (left). Going down is easy, in Crestholm. Getting back up can prove more difficulty (right).
Better get to it, then. From where you start you’ll immediately have two directions you can go. Since going north-east just leads to a dead end, head south-west from the starting ladder to reach another fork in the path. Turn north-west to score a loot spot ( Chrome Bit ), then head down the opposite direction. Climb the first flight of stairs you see and climb them to reach a walkway running alongside the channel below and search a dead-end half-tunnel to the north-east to find a loot spot ( Elixir ), then continue down the walkway to the south-east to find your first console. Activate it (it’ll be marked with a check mark on your map when you do) then continue south-east past a locked gate to endure some chatter about an elevated metal walkway.
Drop off the walkway and fend off two Bussemands, but be wary of a slope to the south-east - it’s a one way trip, so you don’t want to fall down there. Direct combat elsewhere, then note the stairs beyond this slope, at the south-eastern end of the channel. More importantly, note the low section of wall you can crouch down and walk under, which will lead you to an “L”-shaped dead-end where a loot spot ( Red Choker ) lies hidden.
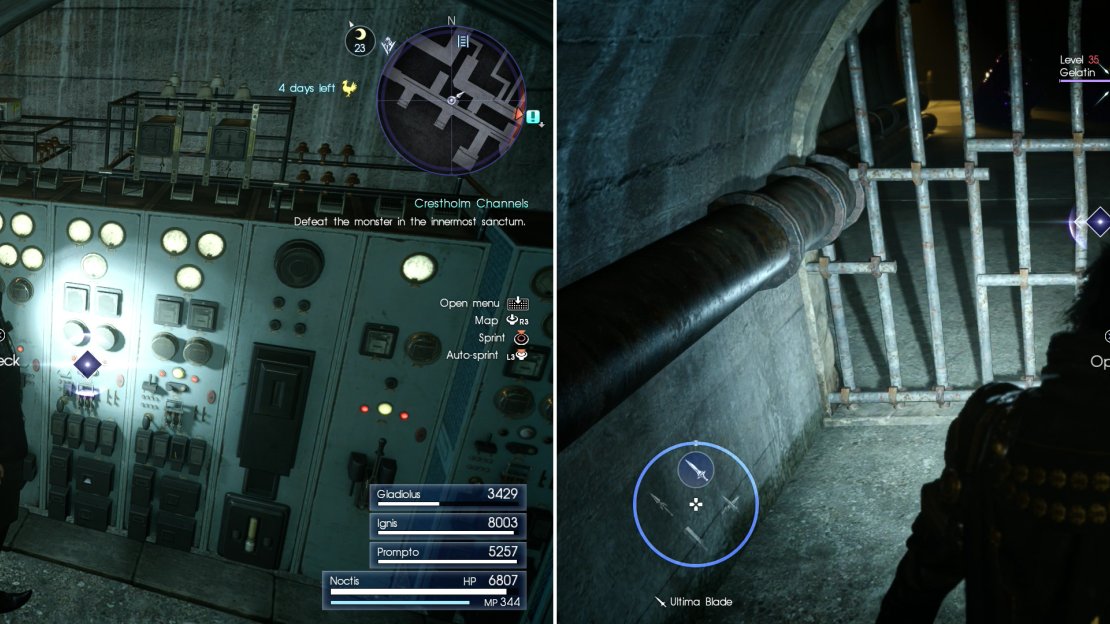
Find a console in one of the first channels you explore - you’ll need to activate all of these to reach the depths of Crestholm Channels (left). Some doors, however, must be opened other ways (right).
Return back north-west through the low chute and climb the stairs you neglected earlier, then head into a tunnel to the south-east, where your allies will chatter about the headlights Cindy sent you after. Continue down the tunnel until you find a branch running west, which is ultimately another dead-end with a loot spot ( Hi-Potion ) waiting to be plundered. Continue south-east down the previous tunnel and eventually it’ll bisect another tunnel.
Unfortunately you’ll have to drop down to enter this new tunnels, and there’s no going back the way you came… because for some reason, Noctis can’t warp in situations where it would make navigating dungeons easier. Drop down into the new, dry tunnel and turn north-east to find another low section you can crawl under, after which you’ll be rewarded with another loot spot ( Oracle Ascension Coin ).
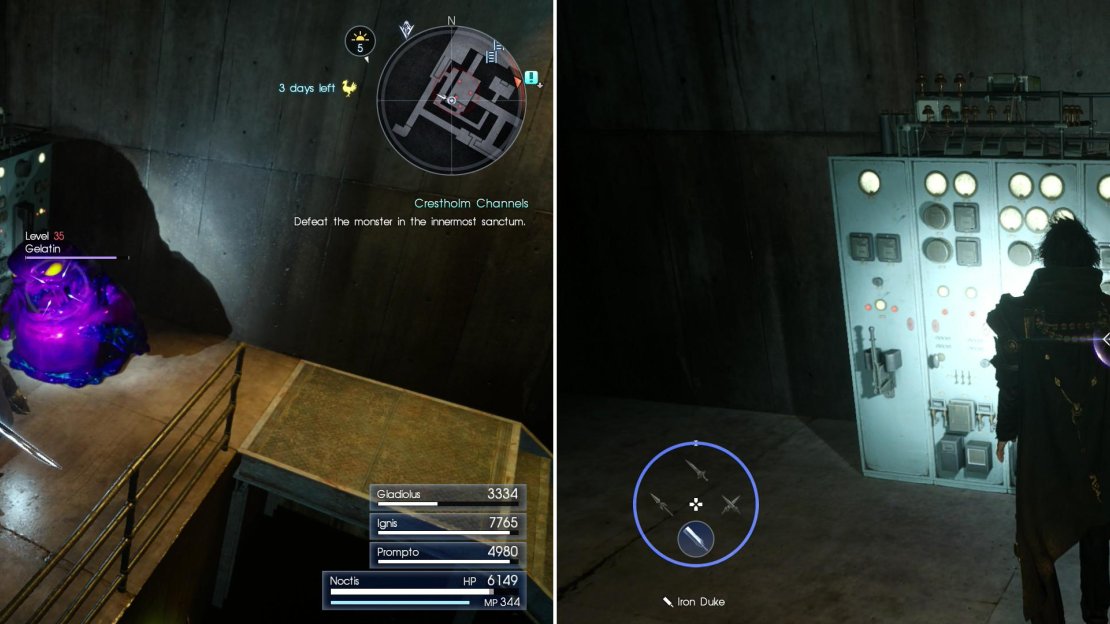
Return to the larger tunnel and continue south-west until you find a ramp up to the north-west, atop which you’ll be greeted by some Gelatin foes. Liquefy the slimes, then advance north-east, then around a corner to the north-west, where you’ll encounter three Bussemands. Kill these advanced hobgoblins and continue into a smaller hallway to the north-east, going up some stairs and crossing over a metal walkway - the same metal walkway you spied earlier near the first console.
Go up another flight of stairs and eventually this passage will end with a drop-off into a tunnel below, where you’ll immediately have to contend with a quartet of Gelatin monsters. Once these foes are smote, turn south-west to find a loot spot ( Mythril Shaft ) beyond which is gate. It wouldn’t open earlier, but now that you’re on the right side of the gate, it’ll provide you access to the first channel you explored in this dungeon, opening up right next to the first console you activated.
Joy and celebration! Shortcuts! Now that your way back is secured, head back through the gate - time to keep pressing on. There are two ways you can proceed, but heading to the north-west will allow you to unlock another shortcut, so head that direction first. Turn a corner almost immediately to the north-east and nab another loot spot ( Rusted Bit ) as you go, then open another cage door. This leads to the tunnel north-east of the ladder you descended to reach Cresholm Channels, and unfortunately it’s still as uninteresting now as it was when you first ventured into the Crestholm Channels dungeon… but at least you opened the door, providing a shortcut in the off-chance you need it.
Return back to the previous split and this time venture down the previously-unexplored passage to the south-east, until you arrive at a four-way intersection. The north-eastern path leads to a dead-end, as there’s an unyielding cage door that can’t be opened from this side. The same applies for the smaller passage to the south-east, although you can score a loot spot ( Rusted Bit ) near the cage door, as well as provoke an encounter with some more Bussemands and some Gelatin foes.
Scraps of Mystery IV
More importantly, search the north-western corner of this south-eastern tunnel to find “Sylvester’s Map Piece D” . This is arguably the most difficult of the map pieces to obtain, and if you’re following this guide chronologically, this is also the first one you’ve picked up. There’s no reason you can’t go after the rest of the map pieces, but first… you might as well finish Crestholm Channels and Costlemark Tower before starting that scavenger hunt.
Be on the lookout for Sylvester’s Map Piece D as you explore near the four-way fork (left). Bussemands will sometimes try and ambush you, calling your attention to new avenues of exploration (right).
Deeper into Crestholm
With all other options exhausted, return to the four-way split and head south-west, following this route as it zig-zags until you reach a cage door. Before you can open it, however, some Bussemands will pop through a grate in the floor and attack. Teach them to respect their betters, then go through the door they were protecting. Continue down the tunnel beyond the door to the south-east, then south-west into a chamber where three Bussemands lurk. Exterminate them and turn north-west to reach a channel you’ve been in before - albeit a previously inaccessible walkway.
Turn north-east to find a loot spot ( Hero’s Shield ) and ignore the stairs to nowhere nearby. Next head south-west and plunder another loot spot ( Wyvern Lance ) in the second half-cylinder tunnel before heading into a tunnel to the north-west. Go down a flight of stairs, then turn north-east and descend a second flight of stairs to reach a ledge overlooking a watery room. Grab a loot spot ( Chrome Bit ) to the south-east, then descend a ladder to the north-west, opening up a shortcut in the process.
You’re now spoiled for choices, so let’s rule out some dead-ends and grab some loot before heading down the “right” path. Right now you’re in a “T”-shaped chamber, and to the south-east is a one-way chute you’ll want to avoid for now. Instead, head north-east under a waterfall (just pretend it’s only water) to find a series of tunnels, which largely just form a square with a few dead-ends thrown in for good measure. At the first fork head south-east until this tunnel ends, at which point turn north-east, then south-east again to reach a dead end with a loot spot ( Moogle Charm ) on a pipe.
Slide down a slope near the beginning of the dungeon (left) and you’ll find yourself in a fight (right). Daemons punish carelessness and expediency.
That’s all the loot down this route, but if you want to chase that fog of war and reveal the map… well, have fun. When you’re done messing around return to the “T”-shaped chamber and venture to the south-west, passing by some stairs and continuing into a tunnel beyond them. Turn south-east when you reach a dead-end and eventually you’ll spot two ramps leading up to the north-east. They both go to the same place, to ascend either one and dispatch some Bussemands awaiting you in the dry tunnel above. Once they’re smote, note the route to the north-west lead to a room full of baddies. Ignore it for now and head south-east instead until you eventually find a hallway to the south-west, which leads to a walkway running around the chamber with the chutes you ascended earlier. Work your way around the walkway clockwise, then cross a metal slab to reach a ledge with a loot spot ( Target Scope ).
Kill the daemons near the second console (left) then activate it (right).
Drop down into the water below, climb back up either one of the chutes, then head north-west into the monster-filled room you neglected earlier. Apologize to the Bussemands and Gelatins you ignored earlier by smacking them around, then head up some stairs to find the second console in this dungeon. Activate it, grab a loot spot ( Elixir ) to the south-east then head into a tunnel to the south-west (ignore the passage to the north-east, as it just leads back to the “T”-shaped room). Head down some stairs to the south-east, then another flight to the north-east to reach a small chamber where a pair of Bussemands will try and ambush you by leaping through a hole in the floor. Punish them, then drop down the hole they leaped up through.
You should land on a walkway overlooking a dry channel below you. Cross some metal braces to the south-west to score a loot spot ( Elixir ), then drop off the walkway into the dry channel below. Follow the channel south-east, then north-east before dropping down into a watery chamber, where you’ll be greeted by a host of enemies including some Bussemands, Gelatins, and a Yojimbo - another Ronin-type enemy best defeated by constantly countering his attacks. Defeat them, then head up some stairs and into a dead-end tunnel to find a loot spot ( Friendship Band ) before heading back into the watery chamber. Nowhere to go now but down a one-way chute along the south-eastern end of the chamber, but you’d better be ready before you drop down, as a dangerous beastie awaits you.
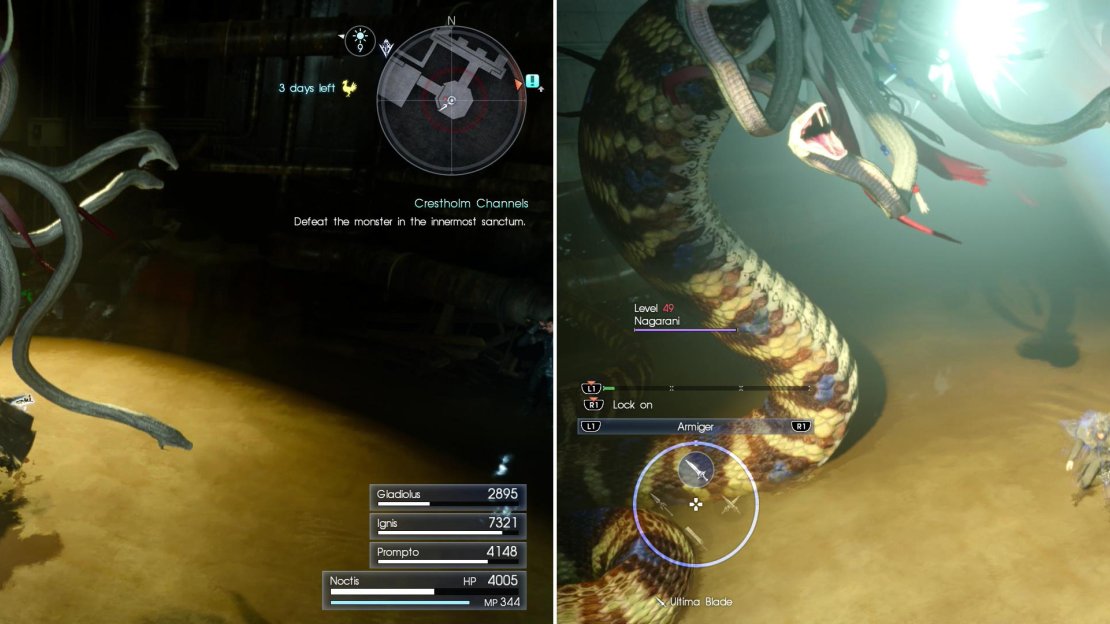
The Nagarani’s lair doesn’t provide an ideal battleground, but you’ll need to exterminate it if you want to continue on (left), in addition to its melee attacks, be wary of its ability to turn characters into frogs (right).
Nagaranis Lair
Heal up, then drop down the chute to reach a small chamber. The landing will cause a hefty bit of damage, but even worse is the Nagarani that shows up. She’s a large beastie and this isn’t an ideal battleground, and while you can flee from her temporarily by running down a tunnel to the north-east, this won’t be the last you’ll see of her if you do. She’s weak to swords, shields, ice and royal arms, while being resistant to Fire, and fights similarly to lesser Nagas you’ve fought - complete with the ability to turn party members into frogs.
After she’s been defeated (or evaded) continue down a tunnel to the north-east, then turn north-west and head up some stairs, absorbing some ice elemental energy from a canister along the way, if you need to. Once atop a walkway that encircles the room, follow the walkway clockwise and search the half-cylinder cubbys for a fire elemental canister, a lightning elemental canister and a loot spot ( Iron Shavings ), in order from nearest to farthest. One those have been claimed, return to the stairs and continue up some stairs to the south-west, then another flight to the north-west before you eventually reach a damp, mud-filled room.
Enter the room and you’ll be welcomed by a pack of Bussemands. Dispatch them, then search the north-eastern wall to find a loot spot ( Mythril Shaft ), after which turn south-east and climb a ladder to reach a tunnel that leads to a ledge overlooking the room where you fought (and/or fled from) the Nagarani. Of course, if she’s not dead, she’ll still be there, impeding your progress by forcing you into combat. No two ways about it - you’ll need to get rid of her if you want to continue.
Climb ladder, sidle across ledges and balance across pipes (left) to reach the third console above where you fought the Nagarani (right).
Once you’re on this ledge (and there’s no pesky Nagarani bothering you) turn south and climb a ladder, then turn north and sidle across a narrow ledge. When you’re back on more stable footing look south-east to spot a pipe you’ll have to carefully walk across - clumsiness will be punished with pain and a long walk back. Make it to the other side, then continue south-east off a ledge into a room occupied by several Ereshkigals. Exorcise the daemons, then search the western corner of the room to find a loot spot ( Blood Sword ) near some stairs.
Search the north-eastern wall to find a ladder, then climb up into an elevated passage and head up some stairs, around a corner and ultimately up several more flights of stairs. Eventually you’ll wind up in another damp room, this one being occupied by a massive Black Flan. Pulverize it, then grab the loot spot ( Auto-changer ) along the north-western edge of the room. Climb another ladder along the south-western edge of the room and you’ll find yourself on a higher ledge overlooking the room where you fought the Nagarani. Turn west and ascend yet another ladder to reach the third console. Activate it, then continue east to find a cage door, which you can fortunately open from this side.
Final Four Tunnels
Venture back up the hallway to the north-west to reach the four-way intersection near which you found “Sylvester’s Map Piece D”. There’s only one place left to explore: continue north-west and you’ll find a depression to the north-east, behind a guard rail. Leap over the rail and you’ll find yourself near four tunnels, there are two shortcuts to unlock and two pipes lead to the same area, so let’s get that out of the way before continuing on down the right path.
Go down the south-easternmost tunnel, head up some stairs and jump a railing to reach a small room. Go up some stairs, nab a loot spot ( Pendulum ), then open a cage door to the south-east. Head down the tunnel to the south-west, then turn north-west and jump back over the guard rail into the depression. Now go into the north-western most tunnel and follow the winding hallway beyond until you exit onto a ledge. Search a loot spot ( Earth Pendant ), then descend down a ladder to open up a shortcut to the passage north-east of where you entered the dungeon, killing some Bussemands, if necessary.
Backtrack the way you came and go down the only unexplored tunnel left, the south-eastern of the middle two tunnels. Go down some stairs and when you reach a small chamber with a grate floor turn north-west to find the “Enhanced Headlights” Cindy wants. You’ll get to that in a bit, but for now, continue south-west into another chamber with a grate floor, which happens to house the fourth and final console you need to fidget with. Do so, then continue south-west to reach a ledge overlooking the “T”-shaped room. Grab a loot spot ( Mythril Shaft ) then kick down a ladder to open up a shortcut to and from the room below.
Now that all four consoles have been activated, it’s time to finish this dungeon off. To do so, you’ll need to backtrack to the vertical shaft at the bottom of which the Nagarani dwelt. Ascend (or descend) back to the room just after pipe running across the Nagarani chamber you have to balance across. Once here, note that a gate has opened up to the north-east, next to the ladder. Slide down a ramp and you’ll reach a watery room in which the boss of this dungeon dwells.
Boss Battle: Jormungand
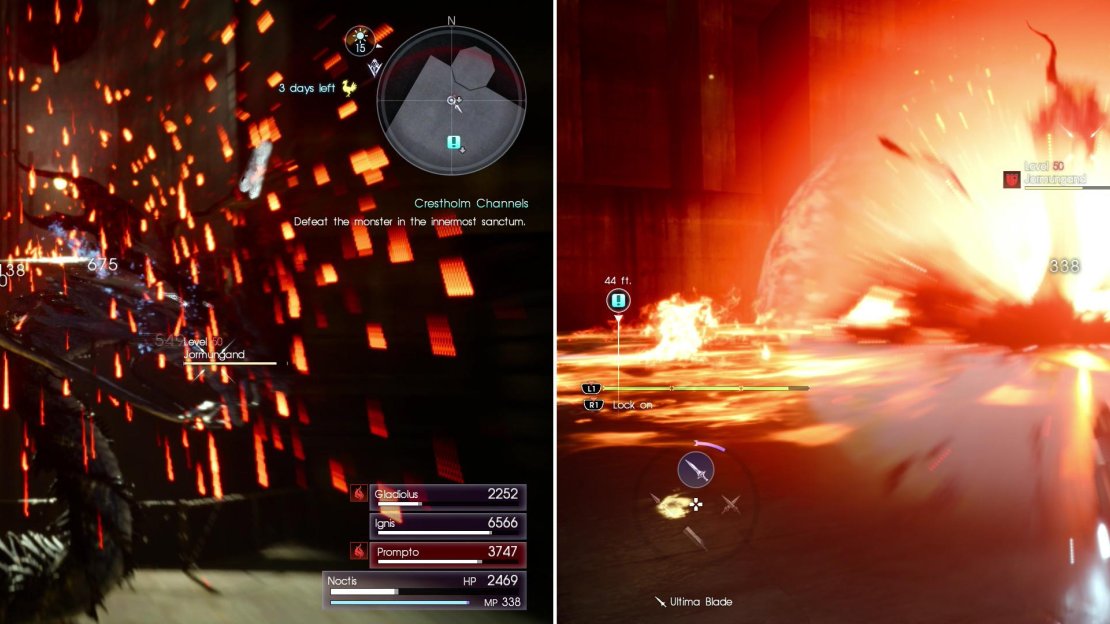
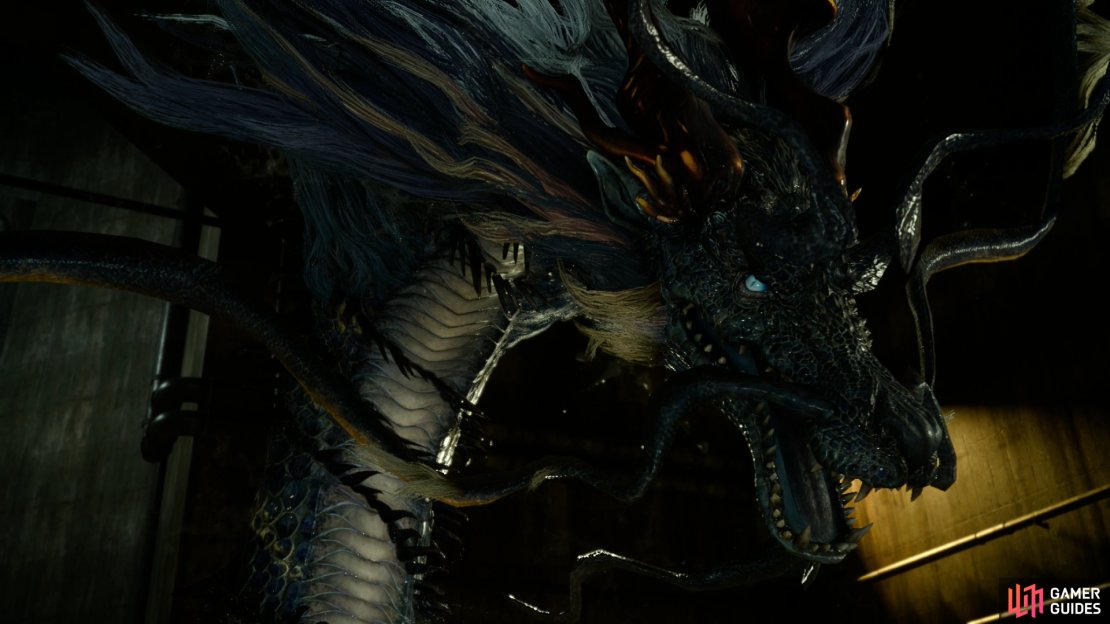
This giant, whiskered, hairy snake-beast fights nearly identically to its more mundane cousin - the Midgardsormr. Makes sense, both are big snakes with names rooted in Norse mythology. There’s one important difference, however: the Jormungand employs fire elemental attacks instead of poison, in many cases outright replacing one with the other. The Midgardsormr spits lines and squirts diffused blasts of poison into the air, directly hitting or raining down upon its foes - the Jormungand does the same with fire. Expect to take much more damage up-front from this boss than from the Midgardsormr, however. This boss also has a fiery blast attack it can charge up, centered on itself.
Jormungand likes using fire, including attacks like spitting fire into the air to have it rain down upon you (left), it can also create a blast of fiery energy centered on itself (right).
Otherwise, expect the normal bites, constriction attempts and tail-lashes you’ve come to expect from this sort of foe. If you want to trivialize this fight, camp somewhere and prepare up the “Lasagna al Forno” meal to render Jormungand’s fire attacks ineffective. “Green Curry Soup” and “Sweet & Spicy Cygillan Crab” are fine alternatives that’ll significantly reduce fire damage, while “Sweet Saltwater Crustacean Curry” and “Garden Curry” are passable dishes that will cut the damage in half. The Jormungand is weak to swords, daggers and ice elemental attacks, while being immune to fire damage.
| Objective | Reward |
|---|---|
| For clearing the Crestholm Channels | EXP 8,000 |
You’re now done with the Crestholm Channels dungeon - only one left. You can, of course, search the northern corner of the arena where you fought the Jormungand to find a ladder leading down to this dungeon’s obligatory sealed door, but you’re better off cleaning up some sidequest and tackling Costlemark before you mess with any such challenges.
The Ever Illustrious Regalia
Leave the dungeon and return to Hammerhead and give Cindy the Enhanced Headlights she’s long been waiting for. As you might expect, these headlights will allow you to travel at night without being impeded by daemons. Better late than never, right?
| Objective | Reward |
|---|---|
| For giving Cindy the Enhanced Headlight | EXP 3,000 |
No Comments