Off the Rails
Things don’t start off very well, considering the events that unfolded at the end of the previous chapter. After everything is said and done it’ll be several weeks later, and you’ll be on a train en route to the imperial capital. After some bickering you’ll be free to explore the train, with your goal being to mostly pass the time. Continue north through the cars and read discarded newspapers to get caught up on developments that occurred and get some foreshadowing on what lies ahead.
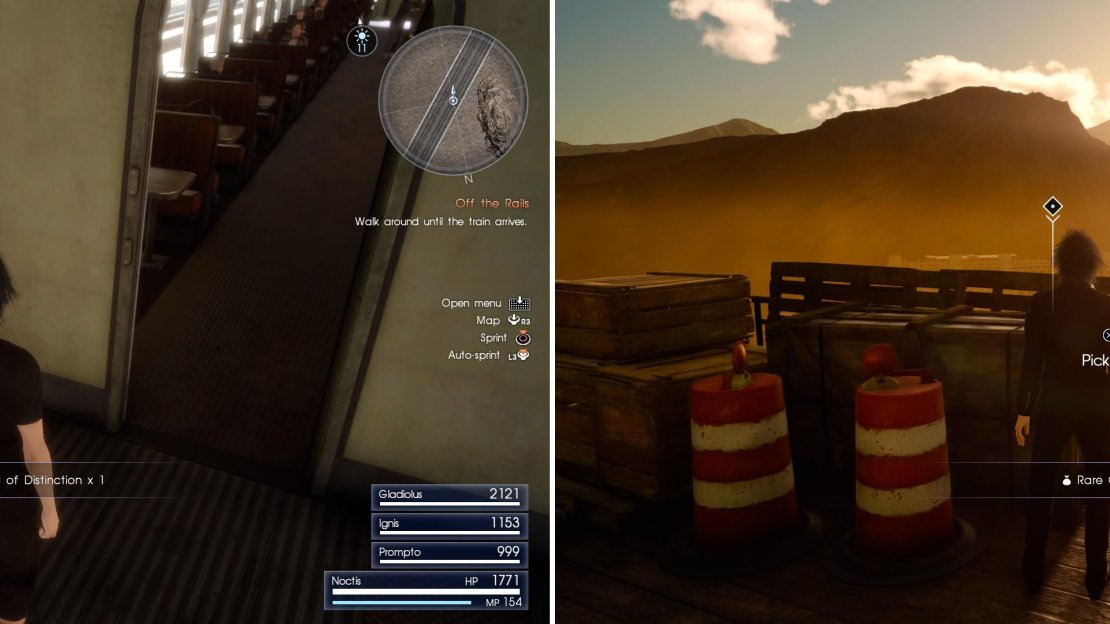
Eventually you’ll reach a car with some private cabins (after an awkward encounter!), beyond which, in the transitional area between two cars you’ll find a Hi-Elixir . Grab it and continue north into a dining car, where you can find a radio you can listen to on a counter, near which you’ll also find a Remedy . Continue north into another transitional section to find a Gralean Medal of Distinction on the ground, which can just be used as a catalyst when crafting magic. If the train hasn’t stopped by then, just keep walk around until it does.
| Objective | Reward |
|---|---|
| For enduring a train ride | EXP 1,000 |
Look around the train car for items (left) and also the station when you arrive (right).
When you arrive at the station, go all the way to the southern-western end of the platform to find a Mega-Potion . Return to the train you rode in on and note that if you enter the vehicle again you can rest at one of the private cabins, as well as indulge in one of your last chances to “Call Umbra” and return to the past. You can also return to the dining car (the Vagone Ristorante Giussoli) and talk to the chef there to learn some intel and eat a rather plain meal. Ignis certainly isn’t cooking in his condition.
Leave the train car again and make your way south-west along the wooden part of the platform adjacent to the train to find some green trash cans, on top of which you’ll score a Chrome Bit . Continue south-west and you’ll find more loot - a Remedy on the wooden train platform and a Debased Banknote on a rack of planks. Return to the entrance to the train and from there head north-east to find some more trash cans, upon which a Mega Phoenix rests. To the north-east you’ll find to shops, but ignore them for now and continue alongside the train to the north-east to find another loot spot ( Ether ). One last bit of loot ( Beautiful Body ) lurks further to the north-east.
Armeria Madiani
Return back south-west to the stores, which you should now turn your attention to. The weapon shop - Armeria Madiani - sells identical weapons to the Culless Munitions - Altissia store, but there’s also a few accessories you’ve probably ignored at other stores.
Armeria Madiana
| Item | Price |
|---|---|
| Blood Sword | 5,000 Gil |
| Thunderbolt | 5,000 Gil |
| Wyvern Lance | 5,000 Gil |
| Delta Daggers | 5,000 Gil |
| Flame Gun | 5,000 Gil |
| Hero’s Shield | 5,000 Gil |
| Titanium Bangle | 2,500 Gil |
| Heliodore Bracelet | 2,000 Gil |
| Talisman | 1,500 Gil |
| Knight’s Anklet | 2,500 Gil |
| Oracle Card | 2,500 Gil |
Articoli da Viaggio Machialga
Next turn your attention to the item shop, which has nothing new of note, but if you need to stock up on restoratives… well, here you go.
Articoli da Viaggio Machialga
| Item | Price |
|---|---|
| Potion | 50 Gil |
| Hi-Potion | 100 Gil |
| Elixir | 400 Gil |
| Hi-Elixir | 800 Gil |
| Phoenix Down | 1,000 Gil |
| Antidote | 10 Gil |
| Gold Needle | 50 Gil |
| Smelling Salts | 50 Gil |
| Maiden’s Kiss | 100 Gil |
| Ether | 100 Gil |
| Remedy | 500 Gil |
Shop to your heart’s delight, then head down some stairs to the north-east to find an elevator that’ll take you down to the dungeon you’re here to plunder. Ignore the elevator for a bit, however, and head down some more stairs opposite the elevator and grab a Rare Coin off the ground near some green trash cans, then continue north-west to find a Broken Harmonica on top of a crate. Turn south-east and go down two flights of stairs, after which you should immediately turn north-east to find a Mythril Shaft near the railing, then continue south-east and grab a Chrome Bit off the ground near an elevator door.
When you’re ready, go to the elevator and choose to descend, where you will be give a choice as to whether to leave Ignis behind or not. It doesn’t matter what you pick, as he will come anyways. Be prepared for the next dungeon!
Fodina Caestino
This dungeon can be somewhat complicated, what with all the paths you can take, but what makes it even more annoying is… well, Ignis is kind of a liability right now. Due to his impairment, he’ll be tottering along slowly, with Prompto hanging back to aid him. If you run ahead, Gladiolus will complain. Not that there’s any in-game penalty for being an inconsiderate jerk and running again (aside from Gladiolus’s aforementioned scolding), but after a bit of repetition, this can be a nuisance. Be considerate and take it slow or don’t - it’s your call, but the AI’s ability to correctly navigate the convoluted dungeon doesn’t exactly help matters along.
From where you appear in this dungeon head uphill by using the switchback trail, heading north-west, then south-east. When the trail turns back north-west, continue south-east onto a rocky hill and search near some saplings to find a Titanium Bangle . If you turn north-west you’ll find the exit to the dungeon, which you can safely ignore. Return back north-west to where you began this dungeon and from there head north-west, then south-east down the slope. When the path turns north-west again, continue south-east through a pond to find a loot spot (Hi-Potion ).
Turn the north-west to find another, defunct bulldozer near a pond. Search to the north to find a loot spot ( Rough Scales ) near some trees, then turn back south and head down a slope to the east. You’ll find yourself in a large, shallow pool of water infested with Gurangatches, Sahagin-type enemies which are weak to greatswords, firearms and ice. Exterminate them and continue east, north-east, east again, then south, chasing the quest marker as it leads you deeper into the dungeon. Eventually you’ll find your way blocked by some machinery. Inspect the machinery, then return to where you fought the Gurangatches and head up some stairs to the east to find consoles you can fiddle with. Unfortunately, it seems you’re going to have to get a generator key out of a shed.
No sense in designing a big ol’ dungeon if you don’t give people an excuse to explore the whole thing, eh? Wade through the water and pick your way down a slope to the north, then turn north-west to reach some water, and more importantly, a split in the path. Turn south-west and head uphill, then continue uphill to the north until you reach a split in the path. At this split turn south-west and plunder a dead end to find a loot spot ( Star Pendant ), then return to the fork and head north to find some metal stairs. Climb them to find a fire elemental deposit, then turn north to find another loot spot ( Megalixir ).
Return to the first split in the path (the watery area just north of where you fought the Gurangatches) and take the northern path now until you come to some stairs. Climb the staircase and you’ll find… another series of metal stairs! Search under this second staircase to find a loot spot ( Strong Bone ), then climb the stairs. Once you reach the top of this staircase head up a slope to the north to find a pond, east of which is a loot spot ( Mega Phoenix ).
Climb down the two staircases and when you’re back on the watery ground continue downhill to the east. When you reach a fork, if you turn north-east you’ll find a lightning elemental deposit. Keep going south-east and you’ll encounter some Falxfangs wading in some muck (Sabertusk-type monsters) near some ruined machinery. If it’s night time, you’ll instead find Snagas, which are goblin-type creatures Kill them, then climb up a rocky ledge south of the machinery to find a loot spot ( Earth Gemstone ), after which continue uphill to the north to reach a second pool of water, then turn north-east to find a third. From this pond turn south and search another watery depression to find a loot spot ( Mega-Potion ).
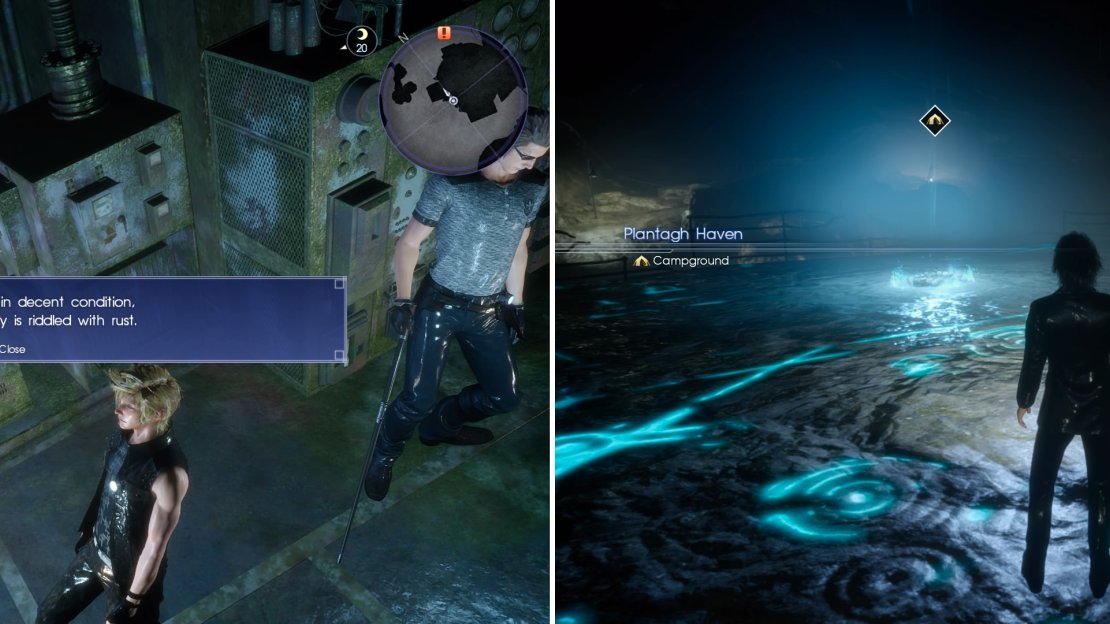
Return to the larger pool of water to the north and look north-east to find a slope running south-east, then east. Pass a lightning elemental deposit and continue east until you reach a split in the path, at which you can venture north to find the Plantagh Haven Campground. Rest up if you need, but don’t expect anything riveting in the way of cooking - you’ll get to enjoy the contents of a “Chilled Food Tin” unless you have some pare Cup Noodles lying around.
The control panel here (left) needs power and a key. Thankfully there is a Haven in this dungeon (right) where you can recover. You’ll need it.
When you’re ready to move on, take the south-eastern path uphill, past an ice elemental deposit to find… another fork! Turn north and eradicate another pack of Falxfangs (or Snagas), then search a shelf along the southern side of a small white shed to find the “ Generator Key “. Nab a loot spot ( Ruby Bracelet ) east of the shed, then return to the fork and from there continue south, south-west to find yet another group of Falxfangs (or Snagas). Kill them, then turn south-east and scale some rocky heights to find a dead-end with a loot spot (Splendid Building Stone ) near the end.
Climb back down to where you fought the third batch of Falxfangs and continue south-west past a giant root, beyond which is a Gigantoad. Annihilate the over-sized amphibian and continue west to find more machinery. Interact with it to turn it on, and you’ll be informed there’s one more console you need to fiddle with… but instead of heading to the next quest objective, you might as well explore the rest of this area to find some more loot.
From the machinery make your way east to find some railing overlooking a chasm. Follow the railing south and when the railing ends continue up a slope to the south to find a small pool of water, on the edge of which is a loot spot ( Beautiful Bottle ). If you keep following the edge of the area to the east, then south, you’ll come across an ice elemental deposit. Keep following the edge of the area south, then west until you find a narrow walkway sandwiched between some cliffs to the south and another chasm, to the north. At the eastern end of this walkway you’ll find another loot spot ( Remedy ) near some bushes. Continue across the walkway to the west and when you can go west no further, turn north and continue to follow the boundary of the dungeon until a path opens up to the west again. Carry on to the west until you find a fire elemental deposit, south of which is a third loot spot ( Remedy ).
Return to the fire elemental deposit and from there continue north to find some more railings. Follow them east, then north to find some stairs down, which you can descend to reach a landing upon which the second console you need to fiddle with is located. Flip the switch to restore the power, then head downstairs to reach the pool near the beginning of the dungeon where you fought the Gurangatches (which have probably respawned by now). Kill them if you must, then return to the machinery they were guarding, which you can now operate to move the machinery that’s blocking your way.
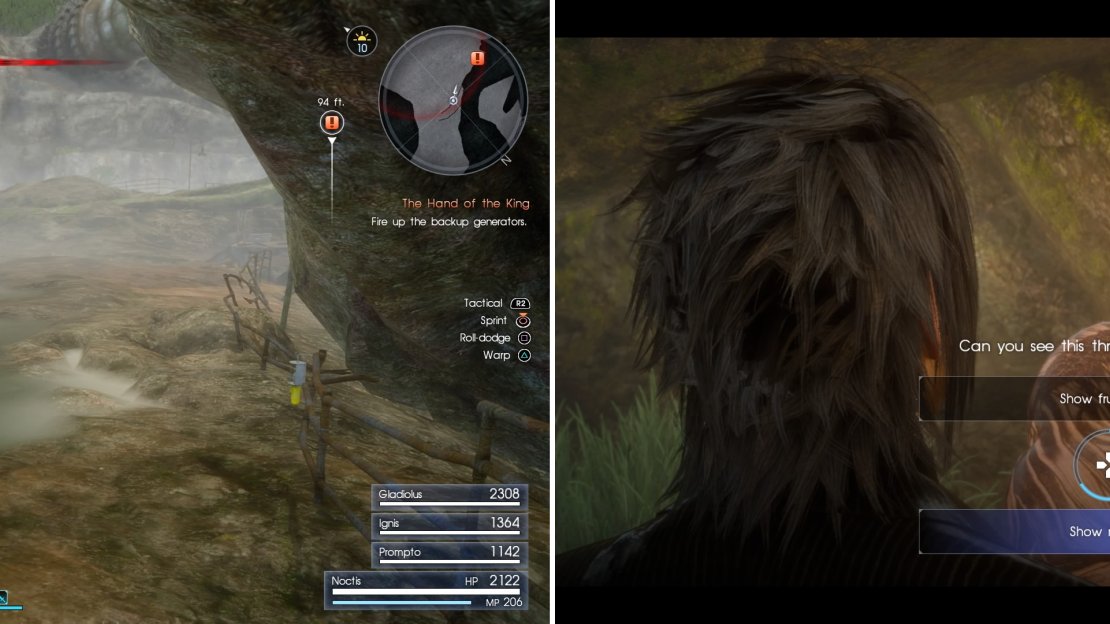
The Gigantoad (left) is blocking the path to the generator. Later, when Gladio speaks to you, select “show resolve” to receive a Vitality boost.
Make your way back to the blockage and on the way there, you’ll be stopped by Gladio and asked a question. If you respond with “Show resolve” Noctis will get a buff increasing his Vitality by 50%, while if you respond with “Show frustration” Noctis will get riled and his Strength will temporarily be boosted by 50%. After you’re done being bullied by Gladiolus, continue south down a steep slope past the blockage. At the bottom you’ll find a shallow body of water, which, of course, is occupied by a bunch of Gurangatches. After sending them packing, examine some eggs east of the slope you descended. Naturally, whatever laid these eggs doesn’t appreciate you poking about, and your intrusion will cause a friggin’ Malboro to rise out of the muck behind you!
Boss Battle: Malboro
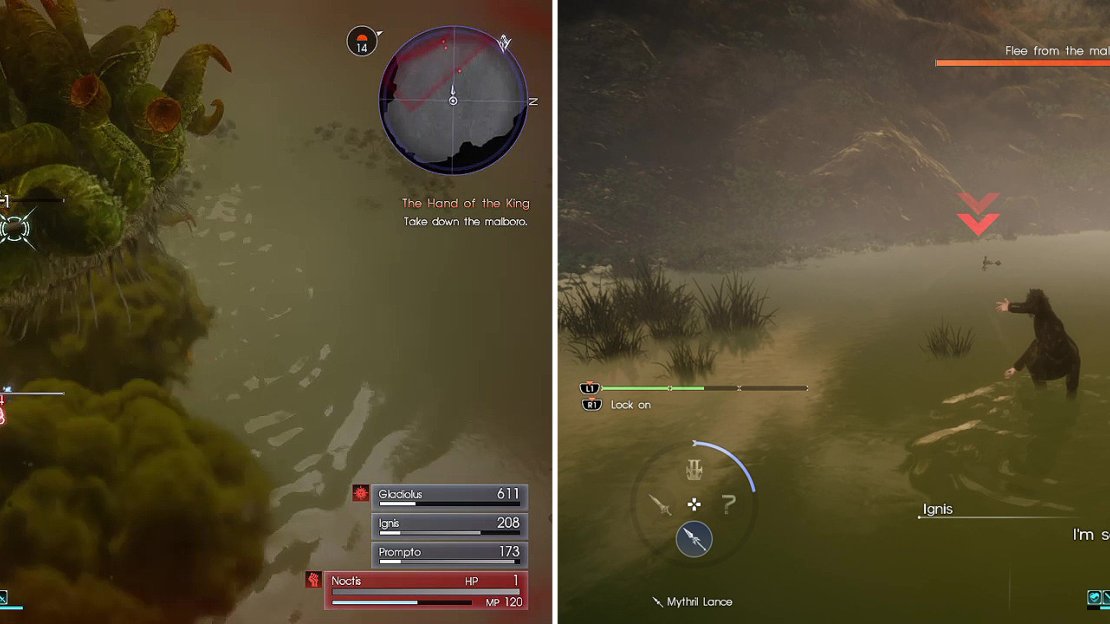
You will find that the Malboro can be quite the challenging foe, as its bad breath attack can easily knock you down into Danger status, while also inflicting various status ailments. You know this attack is going to happen whenever you see the Malboro inhale, so quickly move away from it before you get caught in it. It is weak to greatswords, machinery and fire, while being strong against ice. You will also find that the Malboro will spawn little babies, called Malboro Sprouts.
These things have the same weaknesses as Mama Malboro, but they aren’t strong against ice, but rather weak to it. Keep fighting the Malboro, stepping away when it does Bad Breath and once you reduce its HP to zero, you will win…or not, as the thing won’t die. Instead, it will restore some of its life back and the battle will continue. After the second time, some dialog will happen and you’ll get both a bonus objective and message promptly saying that you need to retreat and regroup. DO NOT leave the actual arena, but instead look for some red arrows in-game (not on the map). Go here to trigger a badass scene from Ignis, finally ending the battle and giving Ignis a new ability, Libra Elementia .
Watch out for Bad Breath (left) as this can decimate your party. Later in the battle, look for the red arrows (right) when you’re told to regroup.
Return to the Royal Tomb to have Noctis torch the eggs, freeing you to head inside and obtain the Royal Arm you came here to get: the Katana of the Warrior . Exit the tomb to trigger a scene, where Ignis will come to a decision based on his condition. Afterwards you’ll get a prompt to return to the station, which you should take if you’ve explored this place thoroughly (or if you don’t care to). When you’re ready to go, speak with the train station employee with the quest marker over his head to depart… just keep in mind, that you can’t return here once you leave.
| Objective | Reward |
|---|---|
| For obtaining the Katana of the Warrior | EXP 4,000 |


No Comments