After you’ve dealt with all the dungeons, there’s one last string of sidequests worth doing - the Scraps of Mystery quests. Throughout the walkthrough you’ve picked up clues pointing you all over Lucis, the only thing holding you back was the relative difficulty of Crestholm Channels. Now that you’ve plundered that dungeon (and all the others, presumably) it’s time to go on one more scavenger hunt to complete all these quests. They’ll be completed in chronological order, from “Scraps of Mystery I” to “Scraps of Mystery XIV”.
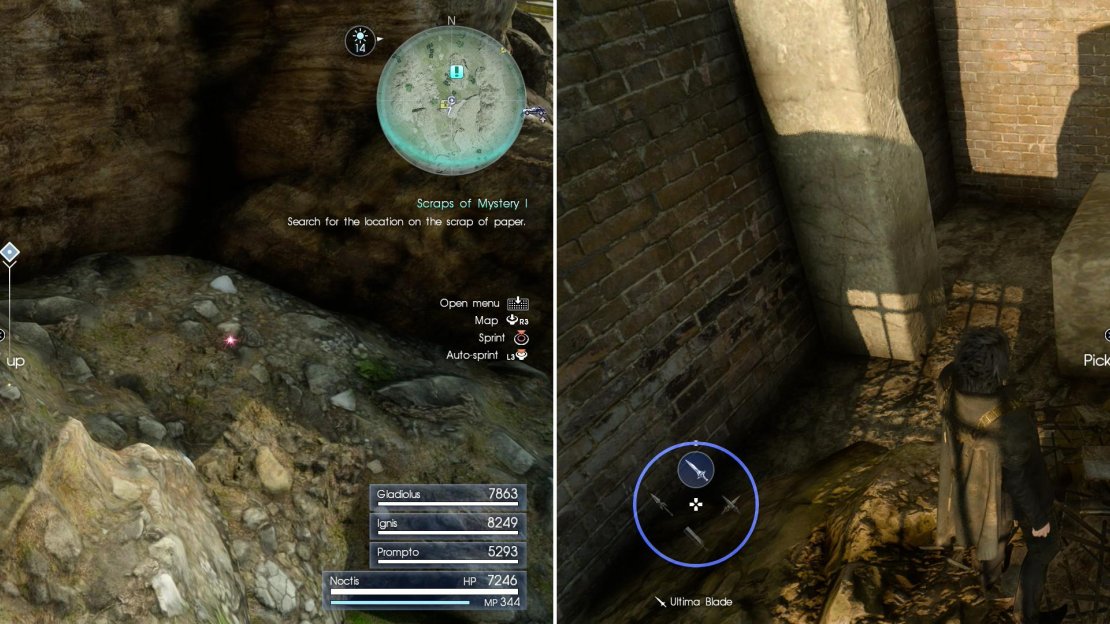
Find Sylvester’s Map Piece A (left) and Sylvester’s Map Piece B (right).
Scraps of Mystery I
The first Scrap of Mystery’s search area points you to a location west and slightly north of the Balouve Mines Parking Spot. Head there and make your way to the center of the search area, and from the quest marker head south to find a Treasure Spot (Hi-Elixir), near which you’ll find “Sylvester’s Map Piece A” .
Scraps of Mystery II
To pick up the next map fragment, make your way to the entrance to the Keycatrich Trench dungeon, and from there head east and somewhat south to find this quest’s search area. The map you’re looking for ( Sylvester’s Map Piece B ) is just east of the search area, near a cart amidst some rubble.
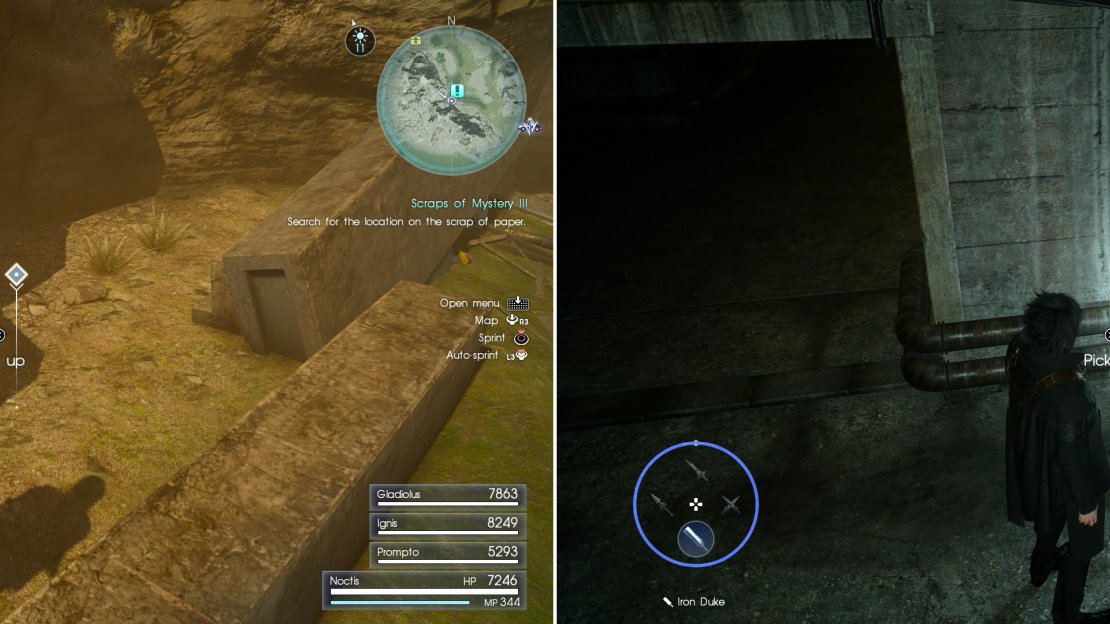
Consult the image to find Sylvester’s Map Piece C (left) and Sylvester’s Map Piece D (right).
Scraps of Mystery III
The third map scrap is in The Three Valleys area, just west of The Three Valleys Parking Spot. Head over to the quest marker and search just south of it to find “Sylvester’s Map Piece C” near some scrap.
Scraps of Mystery IV
To get this map you’ll have to go through a sizable chunk of Crestholm Caverns, and it’s exact location is detailed in the walkthrough for “Crestholm Channels”. Get past the first set of locked doors by circumnavigating behind them, then head to a four-way fork and go down the south-eastern tunnel. You’ll find “Sylvester’s Map Piece D” on the ground in the north-western corner of this tunnel, near the fork.
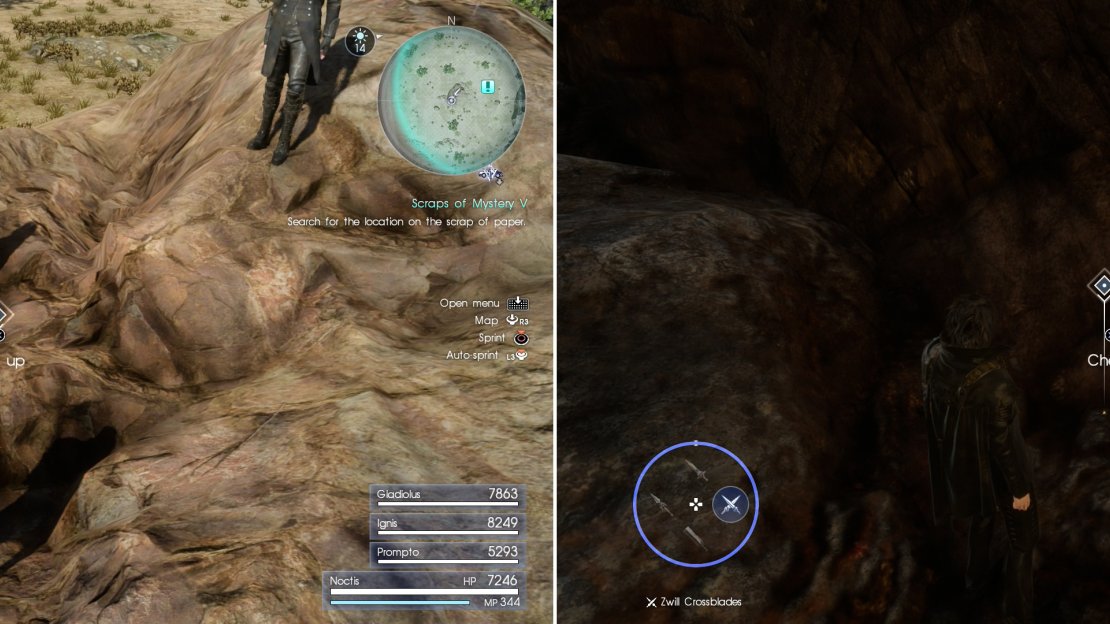
Sylvester’s Map Piece E can be found atop a rock (left) while Sylvester’s Map Piece F (right) can be found at the base of one of the stone archs that decorate Duscae’s landscape.
Scraps of Mystery V
Head down to the Longwythe Rest Area and from there follow a dirt road (marked with a yellow line on your map) north to the western side of Longwythe Peak. Make your way to the quest marker and from there head west and slightly south to find a rock, upon which you’ll find “Sylvester’s Map Piece E” .
Scraps of Mystery VI
The next mystery map takes you west, into Duscae, where you can find a search area along the western-most reaches of the Alstor Slough, sandwiched between two highways north-west of the body of water south-west of Neeglyss Pond. Head to the quest marker and search north of it, where you’ll find “Sylvester’s Map Piece F” nestled along the base of the large stone arches that decorate Duscae.
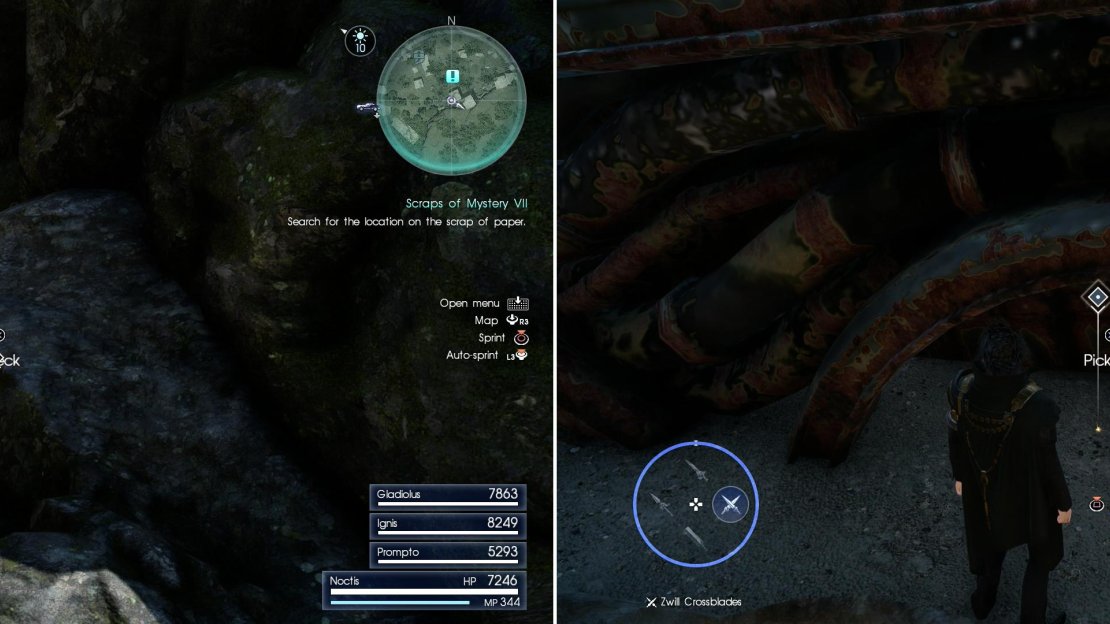
Sylvester’s Map Piece G can be found near Foclaugh Hollow dungeon (left) while Sylvester’s Map Piece H is near a dropship west of the Disc of Cauthess (right).
Scraps of Mystery VII
Travel to the Wiz Chocobo Outpost and from there head east to the entrance to the Foclaugh Hollow dungeon. The search area for this quest is nearby, so head to the quest marker, near which is a large, rectangular boulder. Search the rocks along the south-eastern end of this giant rock to find “Sylvester’s Map Piece G” .
Scraps of Mystery VIII
The next part of the map is along the western edge of the Disc of Cauthess area, amidst the rocky upheaval caused by the meteor’s near-impact. Specifically, you can find the quest marker south of the “e” and the “n” in “Mencemoor” on the map. Head to the quest marker and you’ll note that it’s centered at a downed dropship. You’ll find “Sylvester’s Map Piece H” along the eastern side of the dropship, nestled in the dirt near some of its flanges.
Search north of the Daurell Caverns dungeon to find Sylvester’s Map Piece I (left), while on some rocks north-west of the Coernix Station - Cauthess you’ll locate Sylvester’s Map Piece J (right).
Scraps of Mystery IX
The search area for another map piece can be found north of the Daurell Caverns dungeon, just drive to the Taelpar Rest Area, then from there head east through a tunnel and park the Regalia. Hop off the highway and head south to find the search area. This one can be a bit tricky to spot, as it’s well-hidden in some shrubbery west of the quest marker, along the edge of some rocks. You might have better luck finding this map piece if you head west once you’re off the highway until you find a rock formation, which you can then follow south. In any event, pick up “Sylvester’s Map Piece I” when you find it.
Scraps of Mystery X
This map fragment actually isn’t too far away from where “Scraps of Mystery VIII” took you, as the search area is just north-west of the Coernix Station - Cauthess. Make your way to the quest marker… or as close to it as you can get, anyways, as the actual quest marker is amongst some unscalable rocks. Fortunately, “Sylvester’s Map Piece J” is just east of the quest marker, on a rough slope of mossy rock.
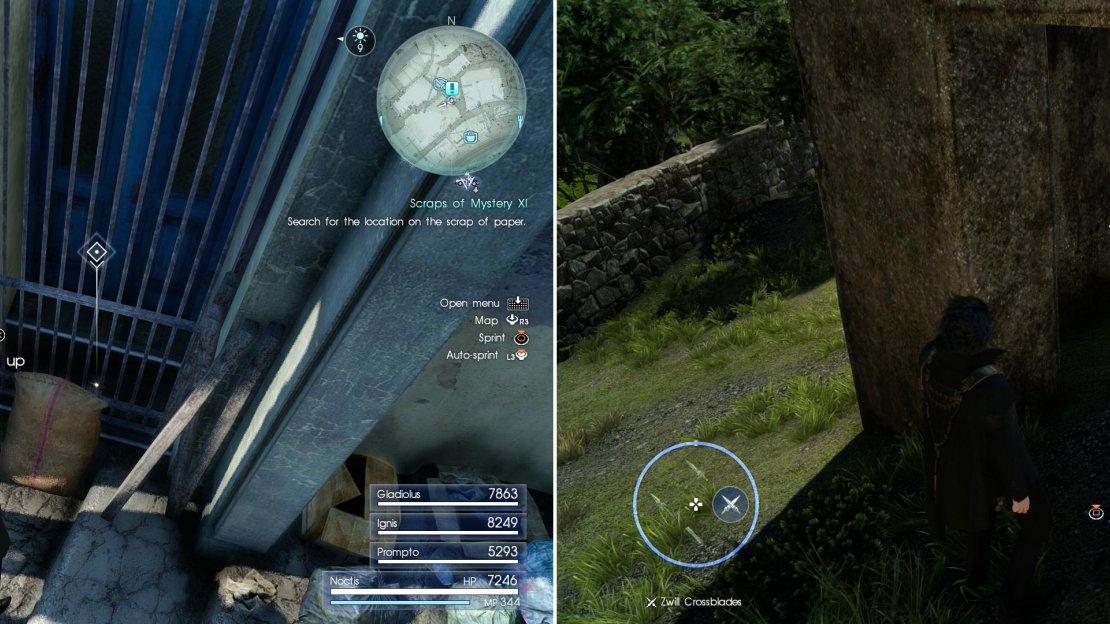
Sylvester’s Map Piece K can be found in Lestallum, behind a gate (left). North-west of the Apline Stable Parking Spot you’ll find Sylvester’s Map Piece L in a concrete structure (right).
Scraps of Mystery XI
Make your way to Lestallum, more specifically to the Tozus Counter restaurant on the sidewalk near the highway. From there head down the street to the west until you reach a yellow building, at which point turn north down an alley, then turn west when you reach a “T” intersection shortly on. Continue west until you find some stairs to the north, which you should ascend. As you climb, however, keep an eye to the west until you spot a gated-off door with a brown bag leaning against it. Search behind the gate to locate “Sylvester’s Map Piece K” .
Scraps of Mystery XII
Drive north from Lestallum to reach the Alpine Stable Parking Spot. North-west of this parking spot the road will turn abruptly south, and the search area for the next map piece is in the pocket of wilderness formed by the road reversing direction. Make your way to the quest marker, north-east of which is a small concrete building, inside of which you’ll find “Sylvester’s Map Piece L” .
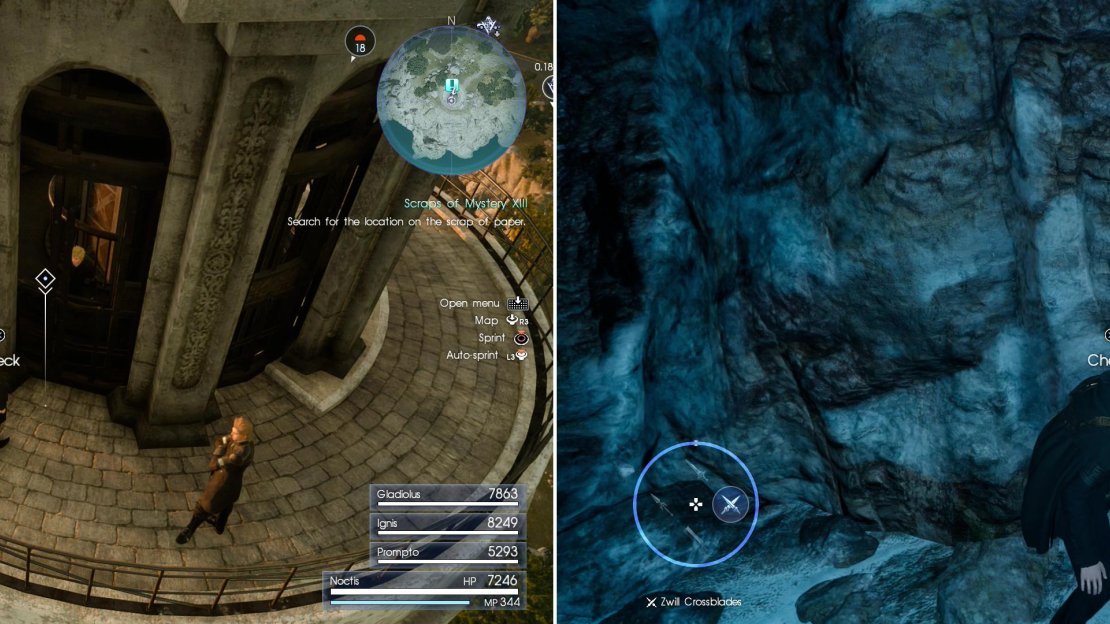
Sylvester’s Map Piece M can be found atop the light house at Cape Caem (left), while Sylvester’s Map Piece N is hidden in the Greyshire Glacial Grotto dungeon (right).
Scraps of Mystery XIII
Travel to Cape Caem, enter the lighthouse and ride the elevator up to “2F - Deck”, then walk around to the southern end of the lighthouse and search along the wall to find “Sylvester’s Map Piece M” . Easy-peasy.
Scraps of Mystery XIV
Like with “Scraps of Mystery IV”, you’ll need to enter a dungeon to get this map piece. Fortunately it’s the rather easy Greyshire Glacial Grotto dungeon in north-western Cleigne. Make your way back into that dungeon and ride the two ice chutes down. From where you fought the Arachne (where the second ice chute deposits you) head south, south-west past an ice elemental deposit, after which turn west, north-west down a slope the first chance you get. Shortly afterwards you’ll need to turn north (passing the quest marker on your map in the process) then head west, north-west until you reach a dead-end, where you’ll find “Sylvester’s Map Piece N” .
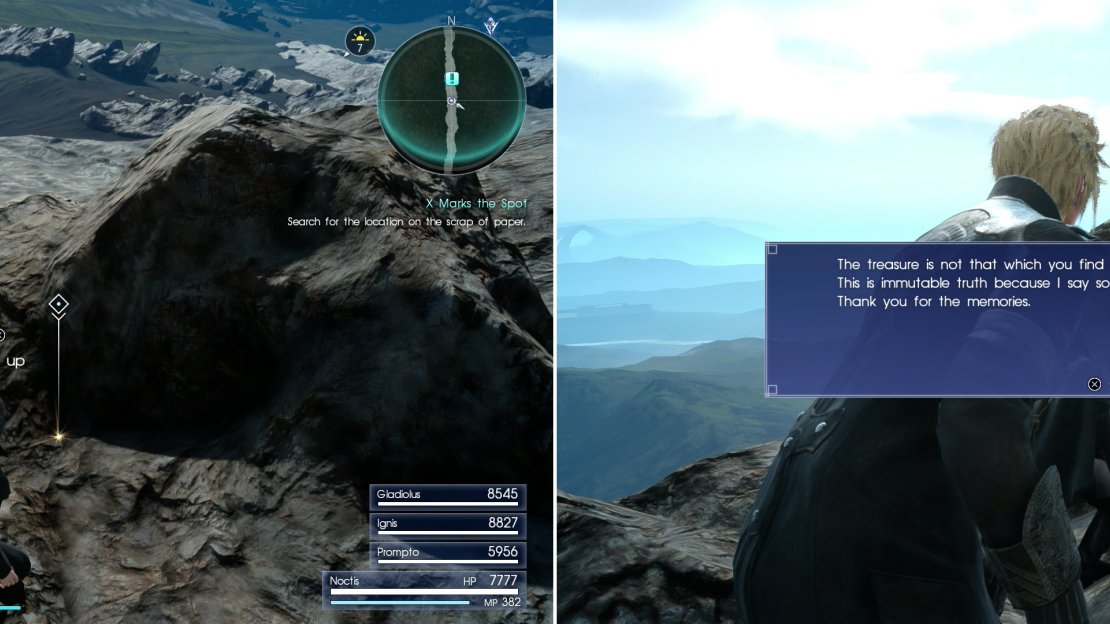
Search near the Tomb of the Fierce to find Sylvester’s treasure (left), which might not be quite all you had envisioned (right).
X Marks the Spot
After you’ve collected all fourteen map pieces the quest “X Marks the Spot” will begin, directing you to the Rock of Ravatogh dungeon. Head back there, but if you’re hoping for a short trip… well, discard that hope, as this quest will take you through most of the dungeon. Make your way to the huge arena below the Zu’s nest and head out to the trail leading to the Tomb of the Fierce. Make your way to the quest marker and search the trail just south of it to find a Mythril Ingot . The 50,000 gil and 5,000 Experience is a more substantial reward for this quest, the the Mythril Ingot itself can be sold for an additional 20,000 gil, or used in Elemancy, as you wish.
| Objective | Reward |
|---|---|
| For finding Sylvester’s treasure | EXP 5,000 / 50, 000 gil / Mythril Ingot |

No Comments