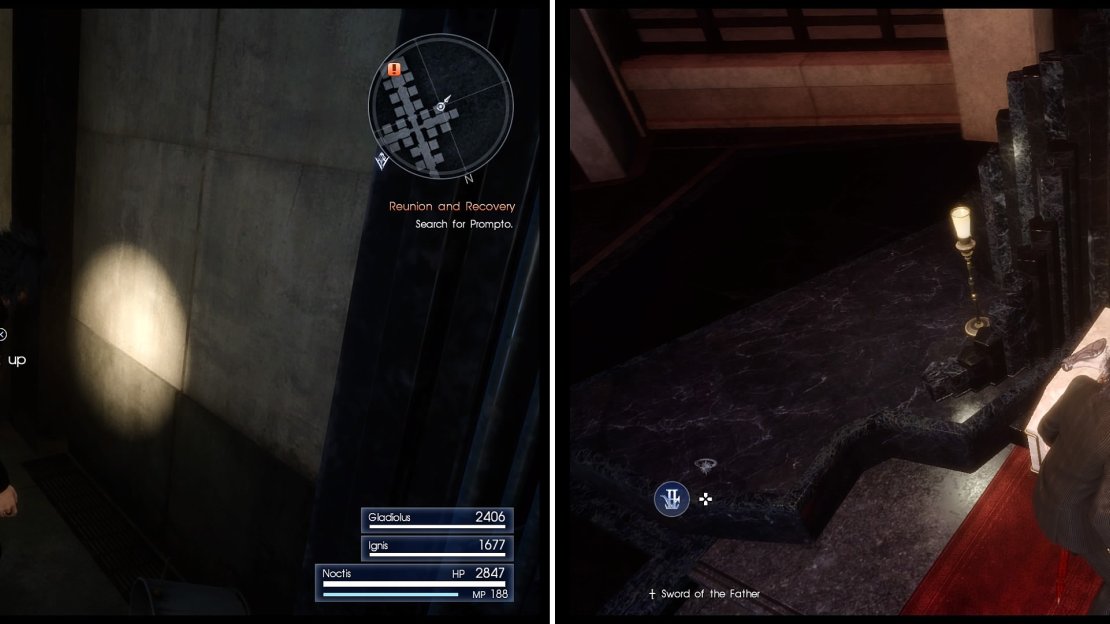
With your friends, two of them at least, finally back with you, it’s time to track down the final one. If you feel like you need a rest or save after that ordeal, backtrack to the rest area and do so. Otherwise, run down the eastern hallway to come to a crossroad, only two of the doors are locked. Head north for now, picking up the Hi-Potion and Muscle Stimulant , then a Bulletproof Suit in the bigger room. Back at the crossroads, look for the control panel that has a red light on it, which is the one you can interact with to open the southern door.
Check the side room to find a Scattered Timepiece and Muscle Stimulant , then enter the jail area. You can nab some items in the eastern and western little hallways ( Flesh Fortifier and Old Book ), and the final piece of the puzzle, your dear friend Prompto, is to the south. The whole gang is finally back together now, so the only thing left now is to regain your powers, since you’re still left with the Sword of the Father and the Ring of the Lucii.
Luckily, that won’t take long, as the device you saw earlier (the big red thing) is what you need, so head back to the big, circular room and Prompto will open up the door. Some deep and touching dialogue will happen and once it’s over, head inside the room. Go around the eastern side of the throne to discover an Imperial Medal of Honor , then inspect the big machine on the western side of the room. Noctis will destroy the Wallbreak and his powers will finally be destroyed, so you can swap out the Ring and Sword for your normal equipment, if you want.
Check the jail for items (left) and don’t forget to look behind the throne for another (right).
What better way to test your restored powers, than against the very same Gargantua that sent you plummeting to an almost certain doom earlier. At its side will be a few Snagas, along with an Uttu and Reaper on the northern side of the circle, although they might not spawn until after the Gargantua is destroyed. Return to the room north of the jail area, knowing that you’ll be fighting plenty of enemies along the way, including some Reapers in the mix in the mentioned room. Exit that room via the east and you’ll come to paradise, or as close as you can get to one in this hellhole.
You will find two vendors here, one for items and another for weapons, as well as deposits for all three elements. Once you’re finished, follow the southern hallway to a room, where an old nemesis will show up, the Foras. It will show up with three Alberichs, which are similar to Hobgoblins, so take care of them first before you concentrate on the Foras. You should be familiar with its moves, so they won’t be explained here and it can prove to be a challenging battle, especially because of space constraints. When it’s over, go south to find a rest area, so do that and save, especially after that previous battle.
Take the elevator at the marker to appear back at the hangar, where you will encounter the next boss.
Boss Battle: Ravus
Boy oh boy, you are in for a very difficult battle here, as Ravus is a meaty tank that can shoot giant balls of fiery death. Ravus has a lot of health and it’s going to take a lot of time to whittle it down to nothing. He starts out rather tame, as far as his attacks are concerned, with a dash that you know is coming because of the block prompt. In addition, he has a jumping overhead slash and can do another overhead attack where he extends his sword. One of the more annoying and damaging moves is where he sticks his sword in the ground, causing an oozing spike of some kind to come up from underneath your position, dealing two big damage numbers.
One of the major advantages you have for this fight is that Ravus is very slow, meaning it’ll be extremely easy to get behind him to perform a Blindside attack. In fact, doing these constantly will allow you to deal major damage to him. Unfortunately, you can’t control you allies, so they are going to be hurting a lot and could even die a few times, so you should have a good assortment of healing items in your inventory.
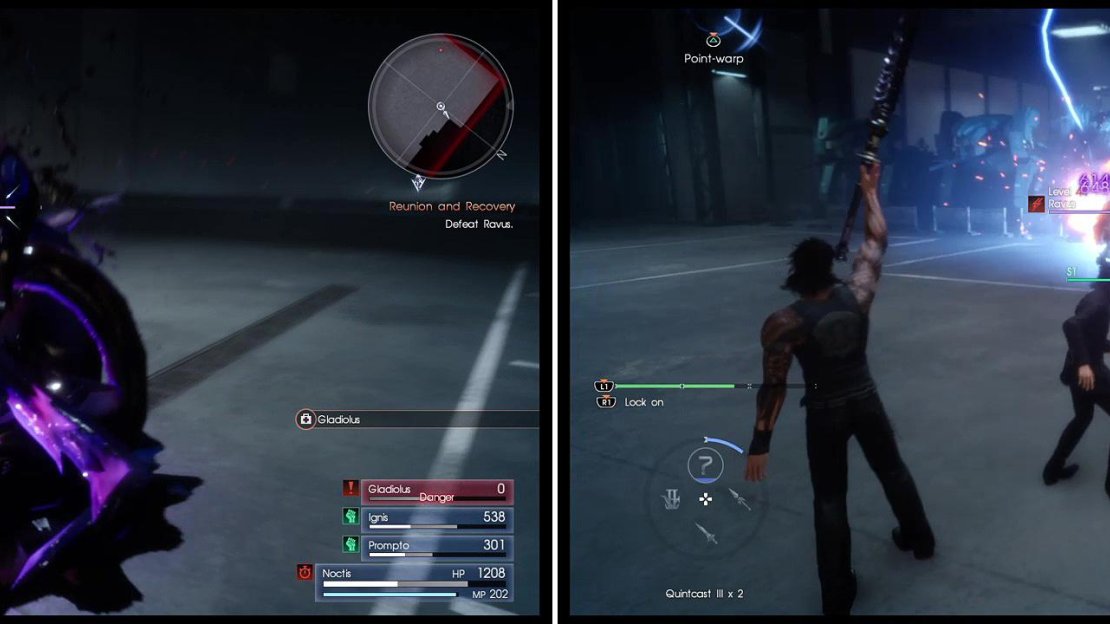
Watch out for the block prompt (left) before Ravus dashes at you. Make use of the Warp points (right) in this fight to avoid damage.
After taking enough damage, it seems that Ravus will step it up a notch, gaining two new moves. The first is that he will perform multiple dashes in a row, unless you happen to block and parry one. The other attack is probably the second most dangerous, as Ravus will gather up some energy, easily shown as a dark aura, then unleash it around him. The easiest way to avoid this is to point-warp to one of the spots, should you be able to; you can also initiate an L1/LB move to give yourself and an ally some invincibility.
By far, the worst move will come later in the fight, where it looks like Ravus is about to perform a dash, but he continues charging up energy and then unleashes it in an area of effect, with an ice look to it. Should you happen to get hit by this, then you’re going to be in serious pain and likely put into Danger status. In fact, it could even kill a character if they are low on max health. As usual, point-warping will save you from this attack, as will the L1/LB maneuver. Since you are usually always within sight of one of the point-warp spots, you can continually do this throughout the battle to have an easier time.
If you see anything like this dark aura (left) be quick to move or heal as it is massively damaging. Using strong magic (right) will deplete his HP fairly quickly too.
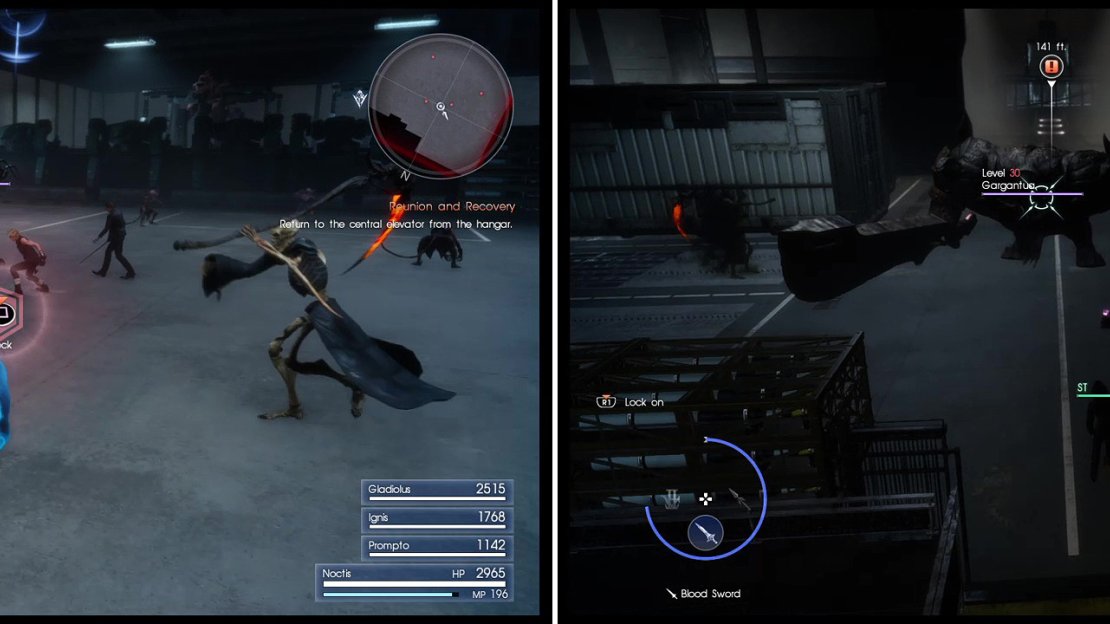
Unfortunately, before you have time to celebrate your victory, a whole bucketload of daemons will spawn. Feel free to start fighting them, but not long into this jamboree, your friends will urge you to go on your own. When the mission says to get to the elevator, that’s your cue to run to it, where it will take you to the area below. To make matters worse (as if it wasn’t bad enough), the gates to the hangar will start closing, so you have to get there within the time limit. Of course, daemons will spawn to impede your progress, so just ignore them and keep moving.
When you make it, the doors will close and you are free from the enemies, so get to the elevator in the center of the circular platform and take it. You’ll arrive just before a long hallway, which will lead to the very Crystal you’ve been seeking. Interact with the Crystal and watch the following cutscenes, where you get to ask some questions, should you wish. Noctis will now appear on Angelgard, which is the island off the coast near Galdin Quay. Run out of the stone prison to find Umbra waiting for you with some paper in his mouth, reading “Waiting in Hammerhead.” You will finally arrive at the end of this long and grueling chapter.
Immediately after the battle with Ravus, daemons will pour into the hangar (left). After a while, you must keep running to escape with Noctis, dodging everything (right).
| Objective | Reward |
|---|---|
| For finding the crystal | EXP 5,000 / Mark of the Draconian |


No Comments