Hunts in EXINERIS
First up, you might as well see to the few new side quests in Lestallum. Now that you have access to the EXINERIS Power Plant, two new hunts will have opened up. The Tostwell Grill will give you the hunt “In a Heat Haze of Glory”, while Surgate’s Beanmine will offer “Help Needed in EXINERIS”. The former is probably too much for you to handle right now, but the latter should be well within your means, even if neither quest really offers great rewards.
Hunts - Lestallum (Post-EXINERIS)
| Hunt Name | Hunt Level | Rank (Stars) |
|---|---|---|
| Help Needed in EXINERIS | 24 | ** |
| In a Heat Haze of Glory | 52 | **** |
Steam Valve Inspection
Make your way up to the EXINERIS Power Plant, where you’ll find Holly, who has more EXINERIS-related work for you. This time with the trivial busy-work of checking some valves throughout the city. This starts the quest “Steam Valve Inspection”, and since it doesn’t require you to leave Lestallum, it make sense to deal with now. The locations of all the valves are below, which are always on groups of three blue pipes running along the walls of buildings:
- From the EXINERIS Power Plant head south-east up one flight of stairs and down another flight, turn south-west down an alley, then turn south-east again to find some pipes on your left.
- From the EXINERIS Power Plant head south-east up one flight of stairs, down two flights of stairs, then continue south-east to find the pipes, merrily bellowing steam.
- From the EXINERIS Power Plant head south-east up one flight of stairs, down two flights of stairs, then turn right to find the pipes you’re looking for.
- North-east of Surgate’s Beanmine.
- In the alley south-west of the Culless Munitions - Lestallum shop, the alley that connects Culless Munitions - Lestallum to Surgate’s Beanmine.
- In the alley south-west of the Culless Munitions - Lestallum shop, the alley that connects Culless Munitions - Lestallum to Surgate’s Beanmine.
- Between the Tozus Counter restaurant and the Moatte’s Odds ‘n’ Ends shop is an alley running north. These pipes are on the wall north of the alley.
- From Fallstar Foods head down an alley to the north-east, the pipes are to your right.
| Objective | Reward |
|---|---|
| For checking the pipes | EXP 2,000 / 2,500 Gil |
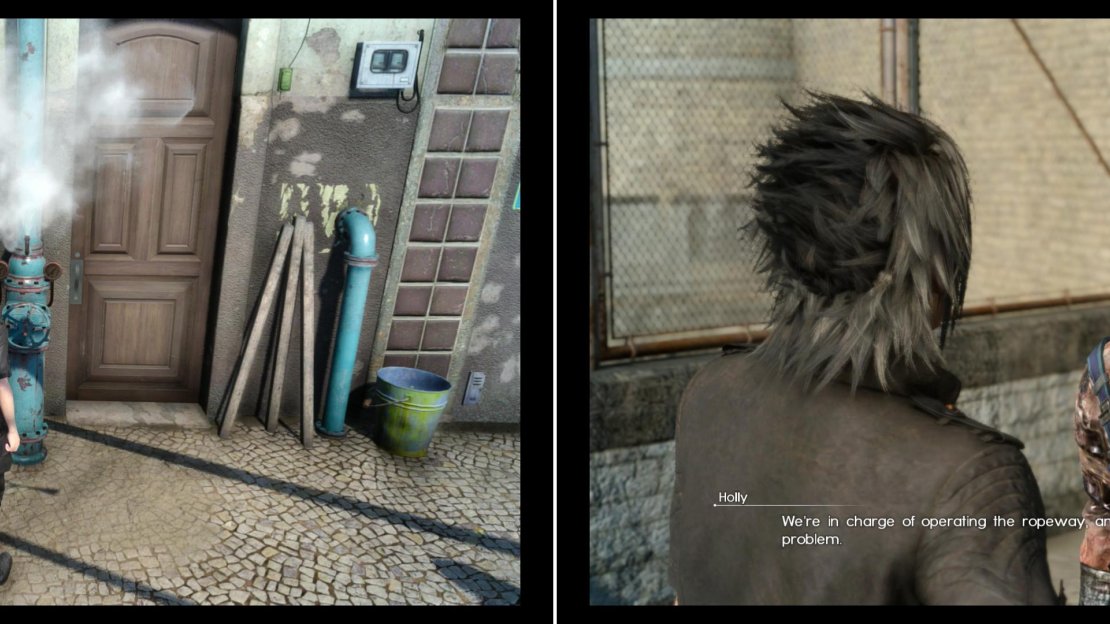
Locate and, if necessary, repair eight valves across town (left) then return to Holly for a reward… and another quest (right).
Power to the Pylons
When you’re done wasting your time doing busy-work for Holly, return to Holly to claim your reward… and start another chore. This time you’ll be asked help fix the ropeway by checking out various pylons. Apparently infrastructure that was built just fine without your help can no longer be maintained by the quarrelsome workers, but at least it gives you something to do. This starts four quests, all of which can be safely lumped together under “Power to the Pylons”, which is the overarching quest. The three sub-quests (“Power to the Pylons I, II and III”) require you to visit three different pylons in Cleigne.
No sense in putting it off, head over to where the Regalia is parked (ignore Iris for now) and set your destination as the Quest Location for “Power to the Pylons I” to get Ignis to drive you south-west from Lestallum, where a massive search area looms. As is standard for this game, there’s no ambiguity in where you need to go, just head over to the center of the search area (where the on-map icon is) to find some pylons… although these aren’t quite the pylons you’re looking for, as there’s no means of scaling them. It might seem that Noctis could just warp up there, but as you’re well aware by now, warping is strictly a combat-only convention that must be swiftly ignored in any other sort of sensible context.
Anywho, look up and you’ll see the ropeway line, which you should follow west to find another pair of pylons, which in this case are blessed by a ladder. Plunder a Treasure Spot to obtain a Mega Potion , then climb the ladder and interact with the machinery on the landing you climb to.
That’s one down, two to go. Tedious, unrewarding work, but at least these quests count towards the “Weaving a Tapestry” trophy/achievement. Anyways, get back in the Regalia and have Ignis drive you to the quest location for “Power to the Pylons II”. He’ll drive you south, to a fork in the road just north of the Old Lestallum outpost. From the fork near which he stops look north-east to spot the ropeway car sitting near a pylon along the northern edge of the search area - this pylon is your destination. Climb the ladder, plunder a loot spot ( Ice Crest ) then inspect the machinery to rule this pylon out, too.
Get Ignis to drive you to the quest location for “Power to the Pylons III” and you’ll drive right under your objective: a pylon near the fork in the road just south-west of the Rachsia Bridge Fishing Spot. Let Ignis drive you (most likely down the road to the south-west of this fork) and backtrack to the fork or force him to stop nearby, then, from this fork continue east down the road and head to the nearby pylon, which is just south of the road. Climb the ladder on this pylon and examine the machinery to finally find - and fix - the problem. Who knew Noctis was a mechanic certified to repair the ropeway line?
| Objective | Reward |
|---|---|
| For sorting out the pylon problem | EXP 3,000 / 5,000 Gil |
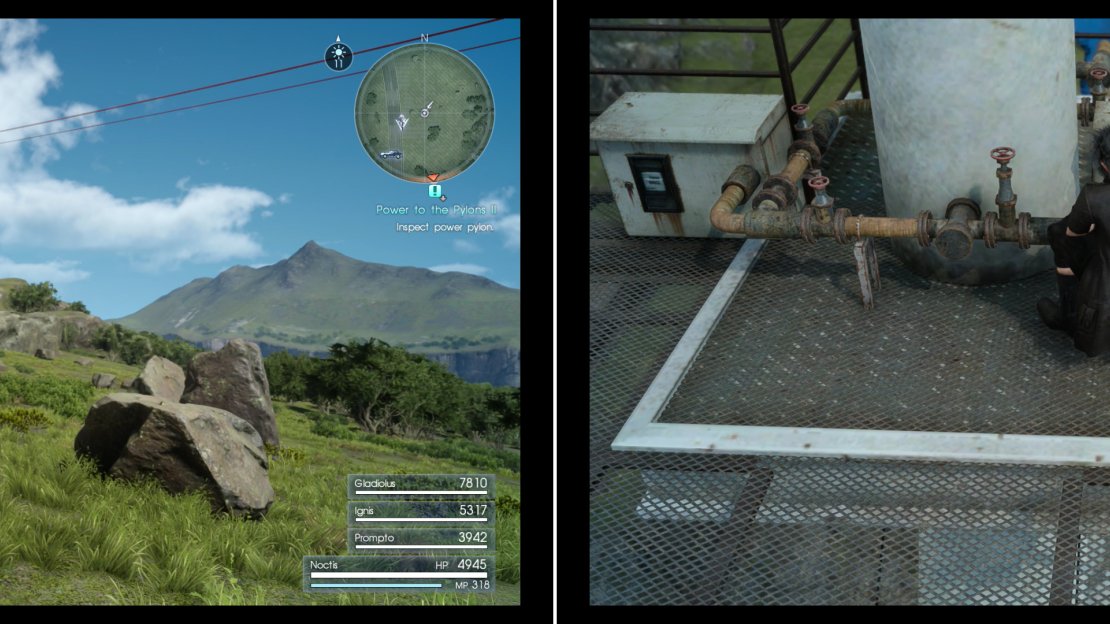
Find the pylons with railcars near them (left) then climb up and investigate the machinery to ensure it’s all in working order (right).
Holding Back the Dark
Return to Holly to claim another, rather generous quest reward and everything will end happily ever after, right? Of course not, she’s got another quest for you, but considering her pay so far, it’s hard to complain. Talk to her again and it seems she bit off more than she could chew by taking an assignment from “the company” that would see her away from the safety of town overnight… and hence, at risk of attack by daemons. Since you’re such a nice guy (and because she’s offering a whopping 10,000 Gil!) Noctis will agree to do the job for her.
This one is pretty simple, especially if you’re willing to fast-travel, which will save both time and gas… but if you’ve got time to spare and want to jam to some music while earning some AP (if you have the “Roadrunning” ability, anyways)… well, it’s up to you. First stop is the Burbost Souvenir Emporium, where you’ll need to search some fenced-off machinery next to the outpost’s namesake shop to find that this, of course, isn’t the source of the problem. Next make your way to the Coernix Station - Cauthess and search an electrical box in a parking lot north of the outpost’s caravan.
After that’s been inspected, you’ll need to move on to the third spot: Cauthess Rest Area. From the Crow’s Nest Diner - Cauthess, head north past some fuel tanks, leap a railing, then make your way to the eastern wall of the warehouse to find another electrical box. While you’re inspecting it a pack of Voretooths will show up, which by now should be little more than nuisances to be swept aside at your leisure. Still, looks like Holly was justified in fearing fiends and sending you in her stead.
Report back to Holly again and she’ll decide that she’s done taking on more tasks than they can accomplish and reveal some of her backstory, after which she’ll give you the hefty reward that made this worthwhile. True to her word, she’s done giving you quests.
| Objective | Reward |
|---|---|
| For checking out the lights for Holly | EXP 4,000 / 10,000 Gil |
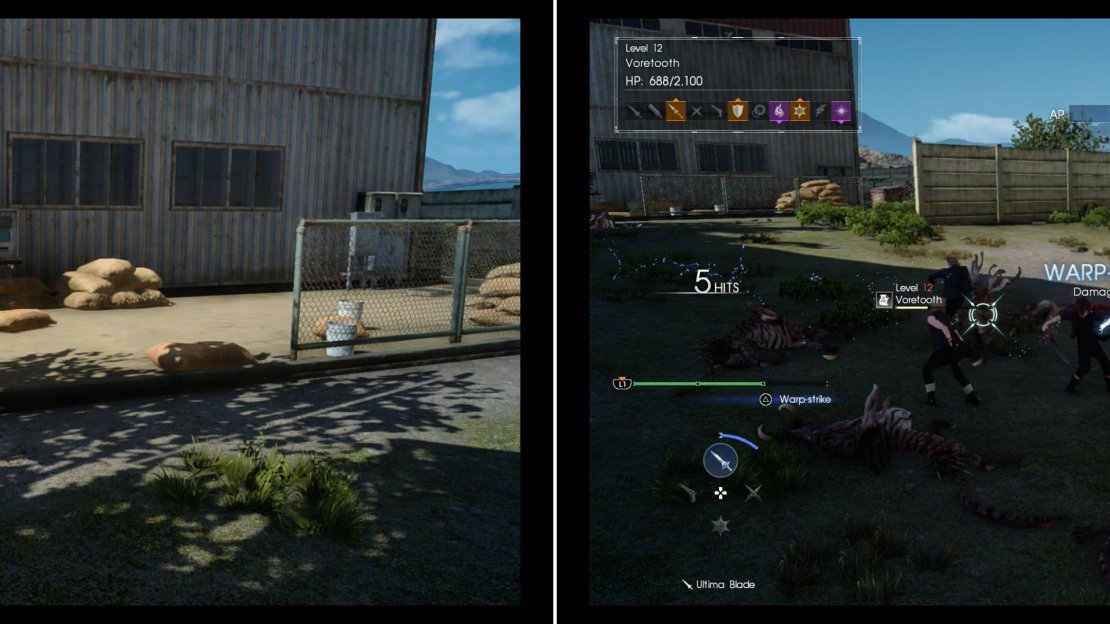
Go to each site and check to see if it’s functioning properly (left), and at the Cauthess Rest Area you’ll encounter a pack of Voretooths (right).
A Need for Noodles
Before you leave Lestallum, however, the Amicitia family has some trivial affairs for you to see to. First, let’s indulge Gladiolus by heading to the Noodle Wagon along the highway running through Lestallum, where you can talk to Gladiolus about his obsession - Cup Noodles. After he gets done shilling for this real-world product placement he’ll ask for your input on your favorite ingredient, with which he hopes to create the ultimate Cup Noodles. This ends “A Need for Noodles” and begins “The Perfect Cup”.
The Perfect Cup
This choice actually does have some impact on the quest, as the means for procuring each ingredient varies. If you pick “Shrimp” you’ll have to fight a Rogue Karlabos (level forty), a giant lobster monsters near Cape Caem, if you pick “Meat” you’ll need to track down a Rogue Behemoth (level thirty-five), which is east of the Norduscaen Blockade Parking Spot (south of the Prairie Outpost). Finally, if you pick “Eggs” you’ll have to plunder a rare specimen from the Rock of Ravatogh.
The latter option is the easiest and most convenient, as it provides another fine excuse to go to Ravatogh, although you’ll also be heading to Cape Caem shortly. The specifics of gathering each ingredient will be left to you to do at your leisure, with notes provided as you complete other quests. Whatever you choose, you’ll need to visit the Surgate’s Beanmine restaurant to gain intel on your chosen ingredient, which is a necessary first step to advancing the quest.
| Objective | Reward |
|---|---|
| For gathering an exquisite ingredient | EXP 4,000 |
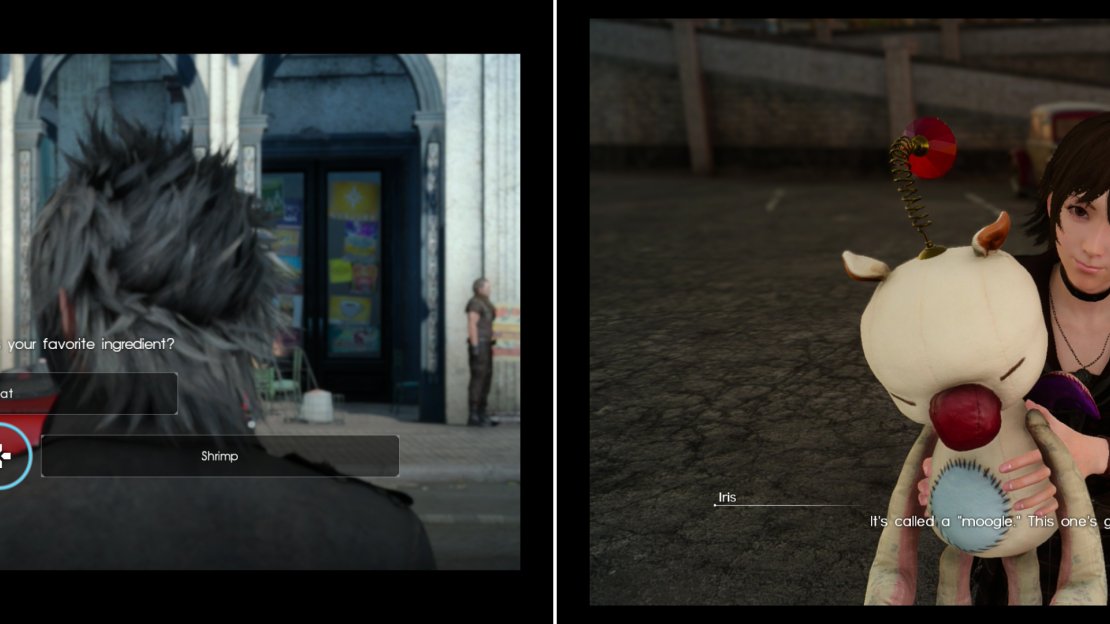
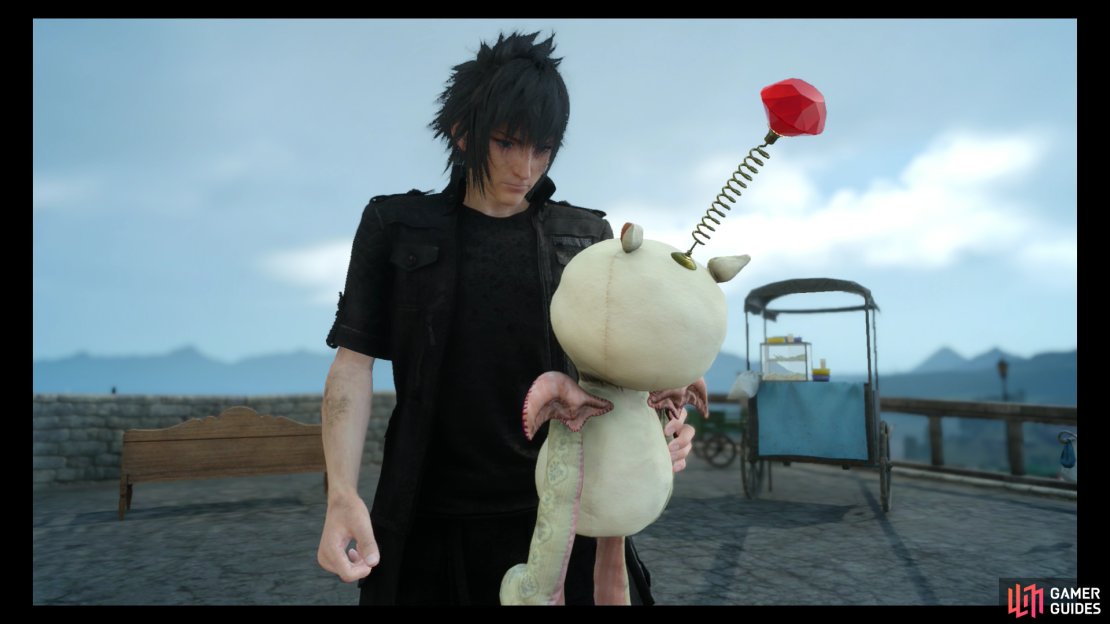
Pick your favorite ingredient to start one of three variants of “The Perfect Cup” and talk to Iris to get a Moogle Doll (right).
Iriss Lucky Charm
After you done picking your chosen ingredient and starting “The Perfect Cup” (be sure to get intel from Surgate’s Beanmine while you’re here!) head down some stairs near the Noodle Wagon shop and head south to find Iris, who will reveal what she picked up when you escorted her around the market… a moogle. This little toy can be used as a decoy in combat (press R2/RT) to access the combat menu to use it. Use them up and you’ll have to visit Iris for more. With that, Iris will run off to Cape Caem. Not much of a quest, but there’s still a bit more work you can do before you bother with any dungeons.
No Comments