This next section has the goal of finishing up - for now at least - all the side quests in the area before moving on to Lestallum. It’s less densely packed that the previous areas (Alstor Slough, The Nebulawood, The Malacchi Hills) have been, and because of that there’s going to be more exploration and more ground being covered than previously. The first stop is the Cauthess Rest Area, after which a loop will be made (primarily using the highway) from the Causcherry Plains to the Schier Hieghts, Secullan Pass and finally the Saxham Outpost before finally making your way back to where you started, in the Coernix Station - Alstor outpost.
Cauthess Rest Area
First thing you should do when you arrive at the Cauthess Rest Area is talk to the restauraunteur who runs the local Crow’s Nest Diner. “Talk” to him to update your map, then check out his hunts. Heh. Nope.
| Hunt Name | Hunt Level | Rank (Stars) |
|---|---|---|
| Hammer the Cannibals | 38 | *** |
| Things from the Past | 41 | *** |
| Baby Snatchers | 44 | *** |
| A Daemonic Orchestra | 52 | **** |
| Cruel Giants of Duscae | 65 | **** |
| *Fiend of the Fallgrove | 66 | **** |
| Devils Cry Curses | 72 | ***** |
*Only available after “Crestholm Tower”.
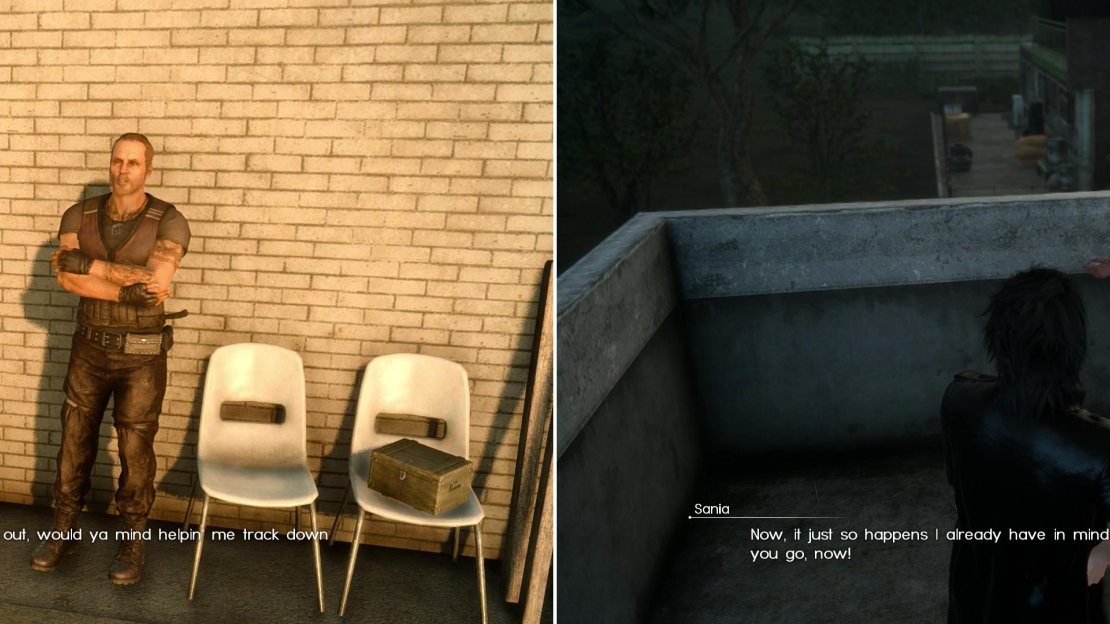
Once that’s done, it’s time to pick up some new quests, and what better place to start than with your old friend Dave! From the Crow’s Nest Diner head across the street to the south-west to find Dave standing there, as only Dave can. Dave! He’s great! And of course, he needs you to find more Dog Tags. Anything for you, Dave! This starts the quest “A Rocky End”.
Now it’s time to pick up a side quest from a less interesting character. From the diner head south-east to find a multi-level building. Head up to the second floor to find Sania waiting for you, who naturally wants you to go find her more frogs… this time yellow ones. So begins the quest “The Professor’s Protégé - Yellow Frogs”. No points awarded for creativity there, guys.
The most loveable hunter ever, Dave (left) and Sania (right) both have new quests for you.
Mystery Map VIII
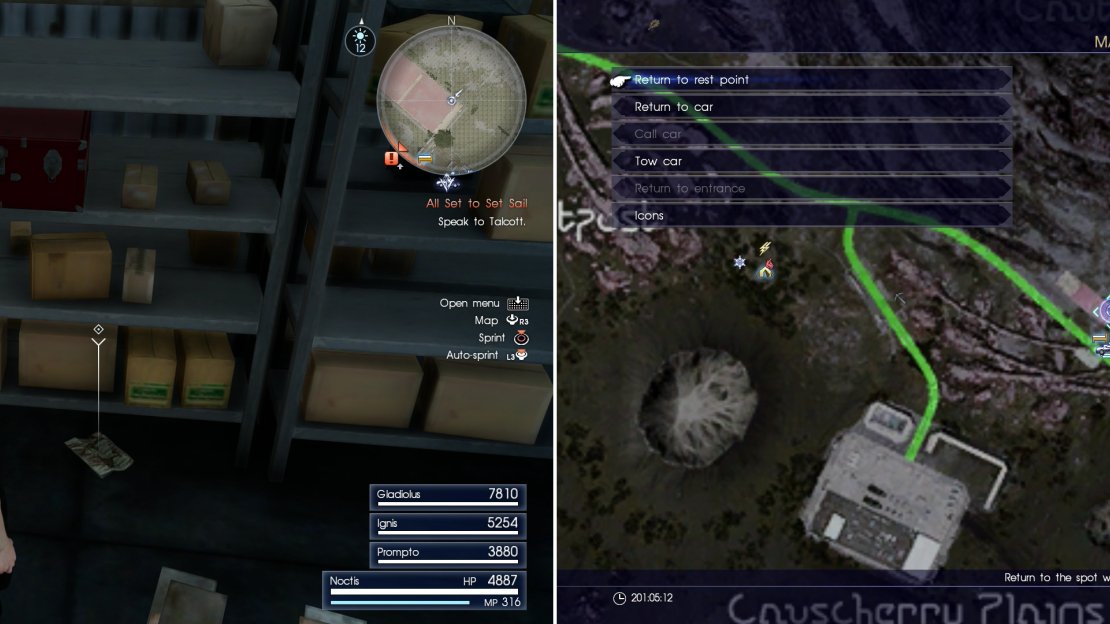
Before you leave the Cauthess Rest Area, there’s one more thing to pick up here. From the Diner turn north-west to spot some warehouses, which are behind a fence beyond the caravan. Head into the first warehouse (closest to the caravan) and search the metal shelves in the north-eastern corner to find Mystery Map VIII , which starts the quest “Scraps of Mystery VIII”.
Find Mystery Map VIII in the warehouse near the Cauthess Rest Area (left) at the area indicated on the map (right).
The Archeans Mirror
While your ultimate goal is to continue south, then loop around west, there are some places worth exploring to the east, first, culminating in a hunt for Sania’s new amphibian acquisition assignment. Fortunately there are some interesting places to stop along the way, namely in several craters that dot the map to the west, south, south-east and east of the Cauthess Rest Area. Head to the south-eastern one, first, as the southern one is uninteresting save for a few loot spots.
In the south-eastern crater you’ll find that water has accumulated, and somehow, so have fish. Not only is there a Fishing Spot here - the Archean’s Mirror Fishing Spot - but there’also a merchant who runs “The Fisherman’s Friend” shop, selling a variety of fishing goodies, including the new, superior Dragon’s Beard fishing line. Given its price you should only use this line on more difficult fish. Other than that he sells a handful of lures, old and new. Unfortunately the fishing here isn’t great, so you might want to try them out elsewhere.
The Fisherman’s Friend - Archean’s Mirror (Leisure Goods)
| Item Name | Price |
|---|---|
| Spider Silk | 30 Gil |
| Super Baleen | 100 Gil |
| Dragon’s Beard | 500 Gil |
| Bomber: Bomb | 50 Gil |
| Bomber: Ice Bomb | 50 Gil |
| Bomber: Thunder Bomb | 50 Gil |
| Needle 1,000: Cactuar | 50 Gil |
| Needle 1,000: Metal Cactuar | 50 Gil |
| Needle 1,000: Gold Cactuar | 50 Gil |
Bulette Crater
Search the eastern end of the crater pond to find a Treasure Spot (Earth Gemstone) then leave this crater and head north-east to find another crater. This crater doesn’t bear anything as fancy as a lake with a new Fishing Spot, but you can find Bulettes in and around the crater. They’re not tough foes, and killing them can yield Shield Spikes (which sell for 1,200 Gil) and Bulette Shanks, which will inspire Ignis to concoct the “Fried Frontier Skewer” recipe. Before leaving this second crater, search it to find a Treasure Spot (Ancient Dragon Tooth).
The Professors Protégé - Yellow Frogs
Leave the Bulette crater behind and head east, cross the highway and continue east to find the Forgotten Pool Fishing Spot, which is south-east of the Malacchi Pond Fishing Spot. You can haul in some pretty large Rainbow Trout and Spotted Catfish here, if you care to bother, but what you’re really here for is the Yellow Frogs Sania wants.
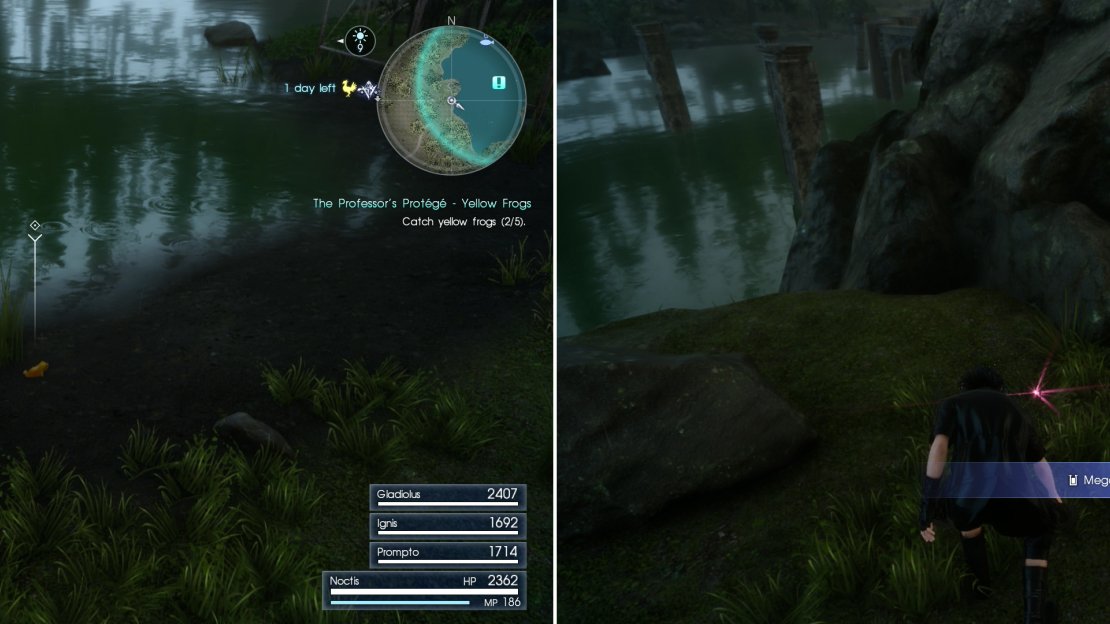
You’ll find one along the northern end of the pond, north-west of the Fishing Spot, a second can be found near some rocks along the western end of the pond. The third is partially obscured by some grass and nestled in between some rocks along the southern end of the pond, while the fourth is also obscured by grass, on a rocky shelf along the south-eastern end of the pond. Finally, the fifth one can be found along the northern end of the pond near a Treasure Spot, just east of the Fishing Spot.
Once you have all five frogs, plunder the Treasure Spot for a Megalixir, then return back to the Cauthess Rest Area and tell Sania the good news. Dave’s quest, “A Rocky End” is to the west, so now is the time to put the Regalia back to work and get to driving the roads.
| Objective | Reward |
|---|---|
| For Finding Five Yellow Frogs | EXP 4,000 / Rainbow Pendant |
Search around the Forgotten Pool Fishing Spot to find yellow frogs (left), and while you’re here, search a Treasure Spot to find a Megalixir (right).
Daurell Fishing Spot
From the Cauthess Rest Area drive east, then go down the first road to the south, which eventually turns south-west and meanders uphill a bit. It’ll eventually lead into a tunnel (marked by a blue line on your map, right above the words “Schier Heights”), but you’ll want to hop out of the Regalia before entering the tunnel. There are no Parking Spots nearby, so just leave the Regalia on the side of the road (good thing you don’t have to worry about grand thef auto!) and head south into the wilderness to find the Daurell Spring Fishing Spot, near which you’ll also find the Dory of the Deep shop. Near the end of the fence along the southern side of the highway you’ll find some stairs leading down, near which is a path that leads right to this Fishing Spot and bait shop.
At the Dory of the Deep shop you can buy various fishing gear (left). You can also indulge in a bit of fishing nearby (right).
This wonderful little store sells two items that every aspiring angler must purchase - the Hell Blazer and Acubens, and upgraded rod and reel, respectively. A superior rod will give you “defense”, reducing the durability damage your line takes while fishing, while the upgraded reel will give you more “attack”, increasing the speed at which you reel fish in. It’s a necessary upgrade if you plan to seriously try for rarer, larger fish.
Dory of the Deep (Leisure Goods)
| Item Name | Price |
|---|---|
| Spider Silk | 30 Gil |
| Super Baleen | 100 Gil |
| Burrower: Mad Pink Sandworm | 100 Gil |
| Burrower: Green Sandworm | 100 Gil |
| Burrower: Abyss Worm | 100 Gil |
| Whiskers: Pearly Moogle | 50 Gil |
| whiskers: Crystal | 50 Gil |
| Whiskers: Chocolate | 50 Gil |
| Fatal Roulette: Ahriman | 50 Gil |
| Fatal Roulette: Floating Eye | 50 Gil |
| Fatal Roulette: Bloody Eye | 50 Gil |
| Sweet Jamming: Mousse | 50 Gil |
| Hell Blaster | 1,500 Gil |
| Acubens | 2,250 Gil |


No Comments