You have some very nice weapons on-hand and probably some decent experience, so it’s time to start delving into more of the postgame content. This time, you will be concentrating on accessing one of the game’s secret dungeons, Pitioss Ruins, but to get there, you’re going to need a major upgrade to the Regalia. As you progressed through the main story, you conquered two imperial bases, Aracheole Stronghold and Fort Vaullerey (Chapters 5 and 6 respectively). You should have received two key items from these fortifications, Warped Wings and Unstable Stabilizer .
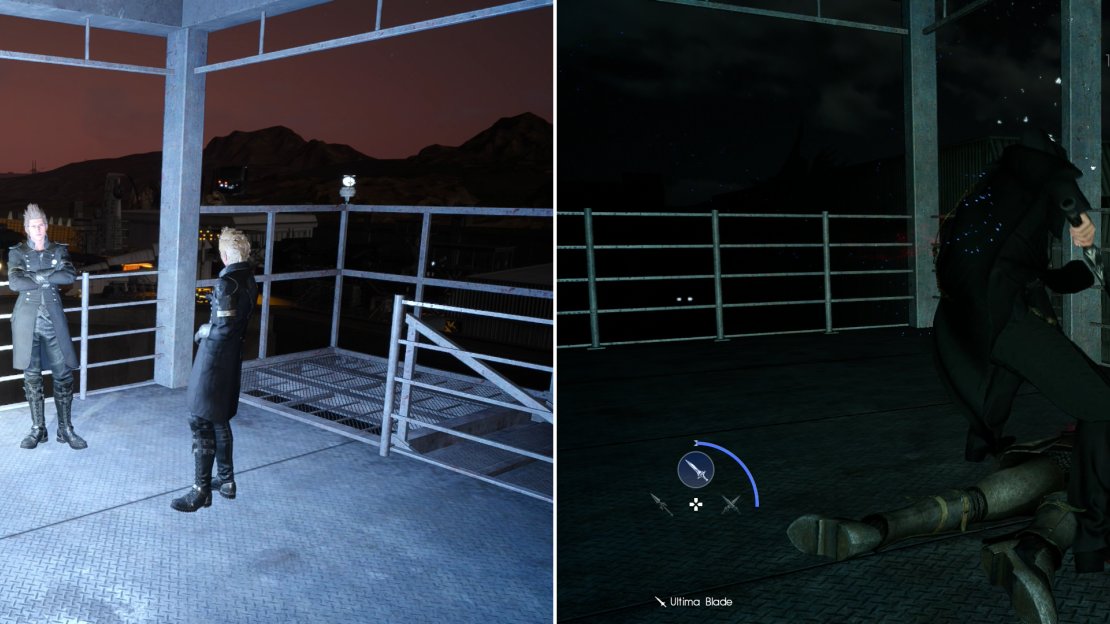
These two items are a key component of that necessary Regalia upgrade, but you are missing the third piece. As you might have guessed, you’re going to have to raise a ruckus at another imperial stronghold and you may have come across this place during your travels. Formouth Garrison is located southeast of the Prairie Outpost in Liede and whenever you approach the place, you should get a sidequest put into your log, similar to some of the dungeons in the game. It might be a good idea to use the nearby camp to get a nice food buff. When you’re ready to infiltrate the base, climb the guard tower on the western side and you’ll be able to start the infiltration.
Gather on a watch tower outside of Formouth Garrison to prepare for your infiltration (left), after which you can go about eliminating imperials stealthily (right).
Formouth Garrison
The attack on this base is similar to the ones in the main story, in that, you enter it under the cover of darkness to do a stealth run. While it’s possible to do it stealthily, there is really no reason to do such a thing, as it just prolongs matters in the end. Follow the path into the base and at the first opportunity, get seen by one of the enemy guards, which will send a bunch of soldiers and a few mechs after you.
Your first two targets should be the level 46 MA Veles Bis mechs, as they post the biggest threat. Warp-strike their legs to ground them, then try and cut off their missile launchers on their back to not only negate their strongest attack, but also deal major damage. Things are definitely hair and despite the remaining enemies just being level 18 Magitek Swordsmen and level 3 Imperial Riflemen, the damage they do can potentially add up to put you into Danger, although that entirely depends on your overall levels and equipment.
Once you clear out all of the riffraff, you should hear some familiar voices (or not so familiar, since they were hardly ever present). Loqi and Caligo return and send waves of enemies after you via dropships. The first wave is potentially the most dangerous, since it features some Imperial Snipers (not a problem at this stage) and level 47 Magitek Assassins, the definite threat. Be extremely careful with these, as they can unleash a flurry of attack up close that can easily put you into Danger at almost any level. Bait out this maneuver, then go on the offensive.
The second wave consists of a level 45 MA Hoplomachus and another level 46 Veles Bis. The former is a fairly rare sight, but can still be taken out in a similar manner to all of the other mechs you’ve likely fought thus far. Both can fire missiles and that should be one of the things you remove from them, should they still be alive after your onslaught. The third, and final, wave consists of Imperial Troopers, Battery Soldiers and Imperial Snipers, all of which should go down with a single warp-strike. With that wave done, it is time for the boss fight!
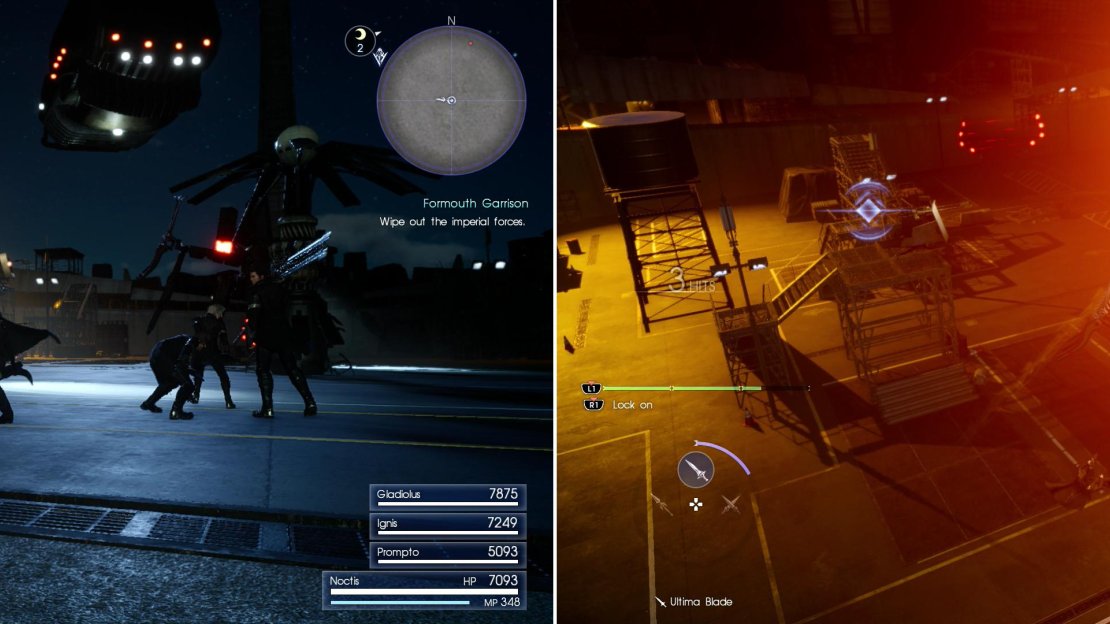
After defeating waves of lesser imperials, you’ll have to face MA-X Cuirass and MA-X Dux (left), both of whom will employ defensive fire to keep your aerial assaults at bay (right).
Boss Battle: Loqi and Caligo
Both Loqi and Caligo drop in with two big mechs, the MA-X Cuirass and the MA-X Dux. They both are level 51, have 108,500 HP and share the same weaknesses (shields and machinery) and strengths (holy). They also both share similar attacks, especially with the rocket launcher on their backs, so that should be one of the first things you remove. Normally, you’d target the legs until they fall, but with Wait Mode, you can cycle through all of the parts until you rest on the rocket launcher and continually warp-strike it until it breaks.
Doing this will leave that particular mech vulnerable for a few seconds, so you are killing two birds with one stone. The Cuirass has a shield-like thing on one of its arms, which will charge up and deploy an electric area-of-effect attack that can be blocked/parried/countered. The Cuirass also has a chainsaw attack, where it will swing its other arm back and forth. The Dux, on the other hand, can fire some small missile-like projectiles into the air, which come crashing down around it, causing some major damage. Because of their tendency to counter warp strikes by firing these shells into the air, you should perform hit-and-run attacks. Lingering around is just asking for trouble.
As with the majority of the mechs in this game, targeting the legs and dealing enough damage will cause them to break, leaving the mech vulnerable for a few seconds. Additionally, the mechs have other parts that you can break to make the vulnerable, such as the rocket launchers on both and the shield thing on the arm of the Cuirass. You want to not make it so you break the spots that grant free hits while it’s already down, so keep an eye on that in case. With both Loqi and Caligo down for the count and never to be heard of again, you are finished with Formouth Garrison and receive the key item, Strange Engine .
| Objective | Reward |
|---|---|
| For routing the imperials at Formouth Garrison | EXP 9,000 / Strange Engine |
Now that you have all three items you can plunder from imperial bases, the quest “Into the Unknown” should trigger. Before you run off to Cindy, however, there are a few things worth grabbing in Formouth Garrison. First, it should be noted that your reward for trashing those powerful mechs included a Magitek Shield , a potent defensive accessory that boosts Hit Points by +1,000 and Vitality by +60. Fortunately, there’s another such item located in this base, just head north-east from the central section of the base to find an enclosed area with two MT Veles. Scrap the mechs and continue north-east to find another Magitek Shield on the ground.
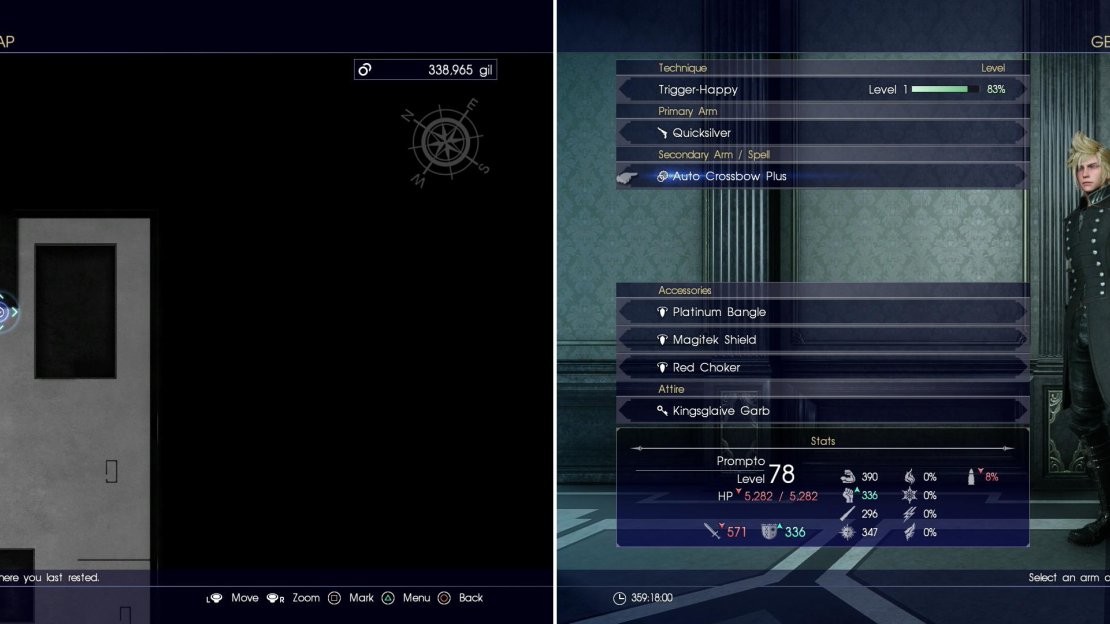
To find the other item worth noting in this area you’ll have to head to the south-eastern wing of the base (the right wing of the base). Make your way to the north-eastern end of this wing to find a warehouse and head to the left side of this structure. Turn north to spot a small shed near a fence, on the floor near which you’ll find the Drillbreaker weapon.
Search at the area indicated above (left) to find the Drillbreaker (right).
A Better Drillbreaker
Time to return to Hammerhead, where you now have two quests you can peruse. First, talk to Cid and show him that fancy Drillbreaker you find, which requires a Magitek Core to upgrade, which you should have found during Chapter 13. You’ll also be finding a new one shortly, if you somehow didn’t get one in Chapter 15. If you have it now, wonderful - turn it in to Cid and over time he’ll give you a call and inform you that your upgraded Drillbreaker is ready.
| Objective | Reward |
|---|---|
| For giving Cid a Magitek Core | EXP 2,000 / Drillbreaker Plus |
Now that you have all three key items (Warped Wings, Unstable Stabilizer and the Strange Engine) in your possession, talk to Cindy and she’ll comment on your strange treasures before taking them off your hands. After spending some (instantaneous) alone time with the Regalia, she’ll have finished making major overhauls to your chariot. Airships have been a staple of Final Fantasy games for a long time, but in Final Fantasy XV, you’ll have to settle for an air-car.
The Regalia Type-F’s main feature is that it can fly, but it’s a bit fragile. Note that you can switch between the normal Regalia and the Type-F by talking to Cindy. As you’re driving the Type-F, you will notice an extra button prompt on the left side of the screen, that normally is grayed out but becomes lit after you gain enough speed. Press the Circle/B button to take off, and you’ll start flying. The Regalia doesn’t consumer fuel while flying, nor do you have to worry about daemon attacks.


No Comments