

Moving Spike Wall of Death
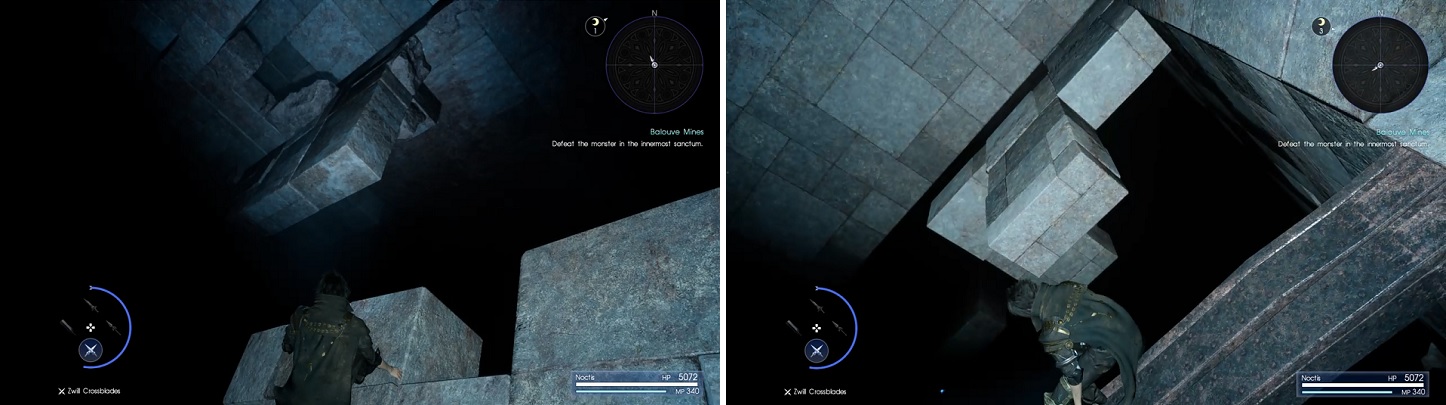
That is certainly a large and dangerous obstacle here in this room that you will need to constantly watch at the beginning here. Go up to grab the item right in front of you ( Chrome Bit ), then look below to see a beam with another item. Wait for the wall of death to move away from you before dropping down and grabbing that item ( Moon Pendant ), then go to the north end to find another item ( Rare Coin ). The next part is a bit tricky, as you need to move very fast. Back at the beginning, look to your south and there will be some platforms there. Quickly make your way down to these platforms and then to a pillar and to another platform that will be low enough so the large moving wall will pass over you.
Once it does, swiftly move up the stairs and onto the metal bars that are connected to the moving wall. When it stops at the one end, get off and grab the items (some Hi-Potions and a Metal Scrap ), then wait until it starts moving away from you again. Although not as tight, run/jump fast so you can get on another platform that makes the wall pass over you. As before, wait for the wall to pass by and go up the ramp and inside the actual wall itself. Upon getting off again, ignore the caged area (can grab a Rusted Bit from the outside) and follow the path to a dead end.
Wait for the moving wall to be next to you and use the little ledge sticking off of it to cross the large gap you couldn’t jump across. Grab the 2 Elixirs right there, then the 3 Oracle Ascension Coins in the corner over the slight gap. At the top of all of the stairs will be another Rusted Bit and that’s all there is for this small area. Instead of going inside the moving wall again, follow the path down and around to find a shortcut statue. Snatch the 5 Ethers where the statue was, then go back up to get inside the moving wall again.
Go up the ramp and turn around, jumping onto the higher platform. When you see the moving wall pass by an item, go and fetch it to get some more Potions , then follow the stairs nearby. Jump into the area with the metal bars and pick up the Rare Coin , then wait for the moving wall again to go inside of it. Before ascending the ramp there, wait for it to go to the other side so you can pick up some more items ( Malboro Vine , Earth Gemstone , and Iron Shavings ). Now, the path inside of the moving wall will put you on top of it, but before doing anything else, ride it to the one shut door and jump off there.
Although you can’t see the items too well, there are two sandwiched between the pillars and wall ( Ether and Hi-Elixir ). Get back on top of the moving wall and hop to the top of the skull on the opposite side. Once the wall gets to the far side with a slope, jump on that and be careful not to fall off of the top. Leap to the platforms below until you come to another shortcut statue, so break it and enter the little alcove surrounded by the bars to retrieve an Iron Shavings and 2 Mythril Shafts . Return to where you destroyed the statue and climb the ramps to the top of the room, grabbing the Metal Scrap on the far side.
Yep, you’re still not done here and you should see a small platform on top of the moving wall of doom when it stops near you. Jump on it and when you see stairs off to the side, hop over to them, as staying on the moving wall will send you plummeting below due to some blockage. As you reach the top, you will find yourself face-to-face with some narrow beams. Hop onto the first one and pick up the Elixir and Hi-Elixir , then get to the stairs, taking them higher. At the top, walk onto the beam and while holding Square/X, drop off onto the lower beams.
You may see a beam nearby with three items on it, but it might be a little dangerous to leap onto it from the side. Instead, leap onto the beam to the east and keep going east to the end to find 4 Ascension Coins . Now, go south and before heading up the incline, you should be able to make the jump to the three items ( Rainbow Pendant , Moogle Charm and Sky Gemstone ). Climb the slanted beam to the end and drop down to the moving wall when it’s underneath you, then quickly leap over to the next platform before the wall pushes you off from behind. From here, it’s a quick jump to the area with the orange switch, where you will now be in the next section.
Scores of Slopes
To the one side is a wall and to the other is a statue shortcut that you can’t get from this side. The only way to go is down, so do that and you’ll be on a slanted slope. Don’t worry about falling off and get used to it, as the entire next section will revolve around them. From where you drop off, look behind you to grab an Ascension Coin underneath the previous flat platform. Head south and you should see two slopes now. Despite the confusing nature of this room, you can walk on both sides.
There will be 2 Mythril Shafts around the corner, then an Elixir after jumping down below to another platform. After jumping a second time, head through the narrow passage and when you emerge again, drop down onto the narrow platform. Grab the Ruby Bracelet , then go in the opposite direction to come to another enclosed space that will bring you to some metal bars. Cross them and keep following the linear path until you come to a piece that juts out and isn’t connected on one end. At the end here, jump to the platform that’s above the bunch of metal bars. Note that you can carefully walk on top of the bars, where you can grab 2 Oracle Cards and jump onto that area to get a Hi-Elixir , too.
The area with all of the slopes can be a bit disorienting, but you’ll end up getting used to it.
Drop down to grab two more items ( Metal Scrap and Rusted Bit ), then follow the path south. From the short beam, you should see another platform you can get to by jumping, then one more below. There is yet one more platform below you to the east that you can drop to, so do that and snatch the Chrome Bit . From there, you should see a thin metal beam straight ahead and you can actually hop onto it. Follow this to the top and turn around, then jump onto the ledge behind you. If you’re in the right spot, you should notice a bunch of items in front of you, so go ahead and pick them up ( 2 Rare Coins , a Metal Scrap , 3 Ascension Coins , some Hi-Potions , an Earth Pendant , and 4 more Ascension Coins ).
Beyond the last item, there is a narrow ledge in the same direction, with even more items ( Rusted Bit , Iron Shavings , 3 Mega Phoenixes , and a Catoblepas Fang ). Hop onto the nearby platform at the end and at the top, you can break that shortcut statue you saw earlier (pick up the Anti-darkness Inners underneath it). You should now be back at the beginning of this entire section, so you have two choices. You can make your way through all of that again or backtrack to where you jumped on that one thin metal beam. Near where you jumped to the beam is a path that will lead you out of this section and into the next.
2D Platforming Time
This entire area, while not particularly long, takes place on a 2D plane, but you can still move around in a 3D manner, so you’ll need to be extra careful not to fall off the edges. If you fell down already, you missed an item, as it’s on the slope to the left of the initial wheel. To get to it, when you’re right before the 2D section, look over the edge and jump on top of the wheel to reach the item ( Elixir ). Drop down and right before the second wheel, there is a ledge to the right you can jump to with 10 Ammonite Fossils .
Go left, pick up the Building Stone and try to get on top of the second wheel. Jump on the ledge just past the second wheel and pick up the 3 Ancient Dragon Teeth , then get on top of the platform moving up and down. From here, leap to the topmost platform and on the second one, you can find a Chrome Bit and Sky Gemstone . When the up/down block is at its lowest point, jump to the platform to the right. Drop down to the left, pick up the Quality Building Stone and get on the left side of the nearby wheel to find a Building Stone ; there’s an Iron Shavings on the little ledge right next to it.
Fall into the void to restart from the beginning of this section, returning to the block moving up and down. When it reaches a low point, you can pass through a “doorway” to your left. Do this and jump on the two wheels here to reach the area in the upper right, where you will find some items ( Elixir , Mega Phoenixes and an Earth Gemstone ). To the left of the wheel at the top is a block moving left to right. Follow this block to the left and fall down the hole, stopping on each ledge to find some items on the way down to the bottom ( Rare Coin , Hi-Elixir , Splendid Building Stone and a Mythril Shaft ). Take the slide to the bottom and there will be one last run, with some gaps in between (look at the bottom), with just a single Ether along the way. Right before the final hallway into the next section, you will find a Hi-Elixir , Iron Shavings , 3 Mega-Potions , a Building Stone , Mythril Shaft and a Megalixir .
Goddess Statue Room
Follow the narrow pathway pass two enclosed areas and onto a beam that will eventually bring you to this giant room. As you jump onto the platform, the floor will shift and become slanted; don’t worry, as it will stop and not toss you off…yet. There are two ways to go at the start, but the eastern path leads to a dead end, so go west. Fall down at the end and continue north, climbing up until you reach another dead end. At the very edge, look south to see another path extending before you, so take this until you find another platform to jump to, which causes the room to start rotating again.
It is very possible to fall into the void here, putting you back at the very beginning, so watch the platforms ahead of you and leap to them whenever they are stable enough to stand on. At the very end, you should be on stone flooring and the room will have stopped rotating. This next part is very tricky to describe and will lead to the first of two items found here. Go far enough east to make the room start rotating again, but run back to the other side and go straight north, taking it slow enough as the room continues to rotate. You will want to follow the contour of the path and once the room finally stops, you will be able to reach a metal pathway that leads to the treasure, a Crusader’s Anklet .
Jump off to reset the room, as while you can finish it now, you won’t be able to grab the other treasure, which is a lot better in the long run. Get back to the spot you were at just after the metal platforms and the first big rotation. Keep going east and then south, dropping down as the room rotates. Continue north and once it has moved enough, go south and then north again. You should end up in a “hole” and have some metal bars situated above you. Go into the “hole” and use the narrow path to go south and jump onto another narrow path.
South leads to the end of this area, so ignore that and walk north. Look to your right to spot a metal bar ledge you can leap to, so do that and keep snug against the wall as you move straight north, which will eventually lead to the second treasure, 12 Oracle Ascension Coins ! Thankfully, you can recover from this by going back up to the dead end and looking over the edge to the west, where you can find a spot below to jump down to (this is near the beginning). From here, continue west and follow the path you can to reach the southern end of the entire room and right in front of the big statue.
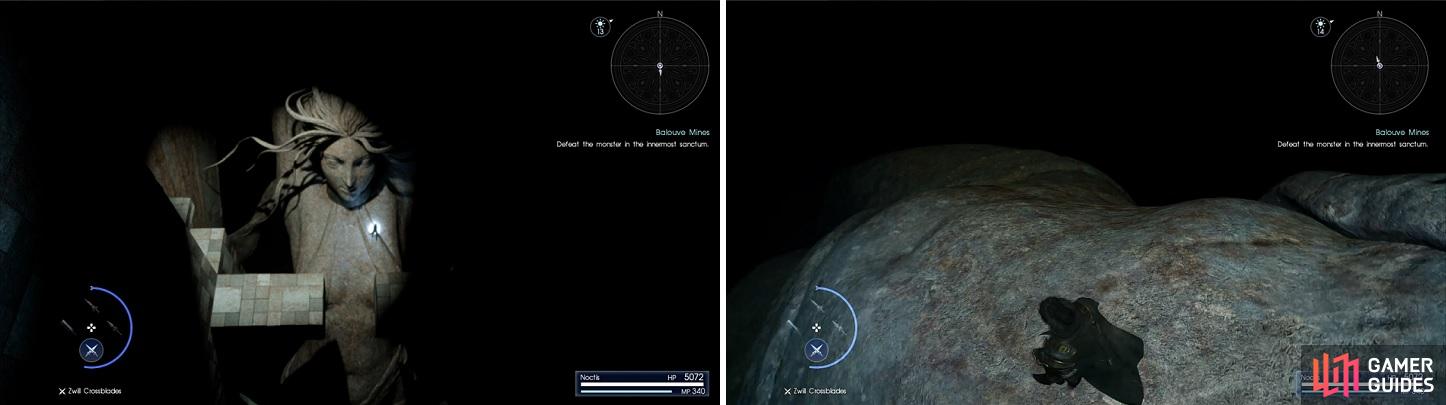
Jump onto the large statue at the end (left). Don’t forget to grab the Genji Gloves from its belly button (right).
You may be confused as to where to go, but you can actually jump on the breast area of the large statue, causing it to fall over. Once it stops, walk north to find some Genji Gloves in the belly button. Walk up the western arm, hopping over the armband, and position yourself in the center of the bars at the top. Walk right off the edge straight north to end up gliding all the way down to an enclosed room. This is an elevator and will bring you up to a hallway with a lot of items. You will acquire a Safety Bit , Blue Choker , Mythril Shaft , Glass Gemstone , Silver Bangle , Fireproof Inners , 4 Ascension Coins , and a Megalixir .
Reaching the End
You are nearing the end of the dungeon and the following room can be one of the more challenging spots. Walk off the edge and onto the platform below, going north to an incline going up, which leads to a dead end. Instead, go behind that incline to find a Chrome Bit , and another platform (metal bars) below you. Drop down and follow this path, jumping to another platform that has an item (another Chrome Bit ). You will now want to drop to the section below, but you need to be careful where you land, as you might slide right off and into the abyss, making you have to start over from the beginning of this section.
Once you have landed, the path before you is fairly straightforward, so keep going until you see another slope going up. Look behind it for another item ( Rare Coin ), then walk up the incline to the end to see that demon-looking statue off to your right. Grab the Golden Hourglass accessory off of its horn, then carefully make your way to the end of the little beam connected to the statue. This next jump can be a bit difficult and you definitely don’t want to fall off after landing it, so make sure you’re holding down the Square/X button to keep Noctis from moving.
Look to the west to see another beam, which is where you want to go and once you get on that one, go to the top tip and look north to another platform you can now reach. When you jump to that one, continue in the same direction and then look behind you for some metal bars. Leap to that and follow the path ahead of you to arrive in a tight corridor that brings you to some stairs. The rest of the way will bring you to a drop with a white switch and a chest containing a Gold Bangle .
The switch opens the door right in front of you, where you’ll end up back in a familiar place. As soon as you step on the door, look to the east to find some ledges you can now reach. Go on this path to find some Hi-Potions and Iron Shavings , as well as bring you to a narrow pathway between some dangerous spikes. You will find more beams, one of which has Warm Inners at the end, and another ramp going up. Ignore that for now and follow the path next to it to a shortcut statue and some chests ( Ether , Elixir , Chrome Bit , and Rare Coin ; Emerald Bracelet underneath the shortcut statue).
Back at the ramp, go up to find a series of tight jumps ahead of you, including some narrow platforms and small ledges. Once you get past two tiny pillars, you will reach a beam that will eventually bring you to another shortcut statue. After opening it up, retreat back to the stairs to find more narrow platforms to jump to, with a Pendulum accessory on the final one. Just past that is another area with plenty of spikes, with some stones on the lower set. On the first safe slope, hop to the lower safe slope and then onto the stones.
From the two-high stone, you can do one of two things. If you look down, you can see a platform moving up and down. Jump to that, then to a ledge along the eastern wall and to the second vertically-moving platform. Alternatively, you can hop to the stones straight ahead of you and then to the second moving platform. Move forward very carefully on the little ledge and jump to a pillar with a white switch on it to open a door. Leap onto the door and then the ledges along the wall, collecting the Rusted Bit , and look on the wall above the closed door to see an orange switch.
You should have no problems hitting that orange switch with a jump, which will open up the door and likely sending you to the area below. There’s a chest with a Platinum Bangle past the door you just opened, as well as 2 Behemoth Horns inside of the area opened by the door by the last white switch. Even though you’re down below, you can reach the top of the second door by using the beam by the stairs. Once you’re back on top of the door, traverse the beams to reach some more pillars.
The jump to the north is a bit tricky, as you have to land on a beam, and from there you can reach a pillar with a white switch after two more jumps, opening a third door ( Red Choker inside). From the top of this door, follow the ledges along the wall to find a lot of items on a beam ( Glass Gemstone , Megalixir , Ether , Hi-Elixir , Mega Phoenix , Hi-Potion , Sky Gemstone and Insulated Inners ). Jump down to the final statue shortcut ( Oracle Ascension Coin underneath), then grab the goodies on the stairs ( 10 Hi-Elixirs , 7 Chrome Bits , 4 Rare Coins , and 10 Mega Phoenixes ). Hit the switch at the end to activate another elevator that will bring you to your final prize, the Black Hood , and the end of the dungeon!
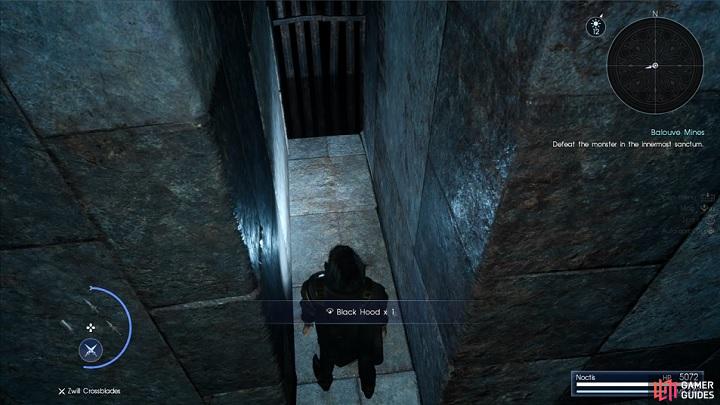
You have reached the end and claimed your ultimate prize, the Black Hood!
No Comments