Continuing off from where you left off, it’s time to finally reach the upper levels via the central elevator, except a Gargantua makes a surprise visit, destroying the catwalk you’re on, sending you plummeting to the depths below. When you wake up, you find a sword that you can use, which happens to be one of the Royal Arms. While it still drains your HP when you attack, it means that you don’t have to rely on the Ring of the Lucii as much anymore. Look around the room to find some notes on the ground that sheds some light on the daemon situation, as well as an Elixir on the southern end.
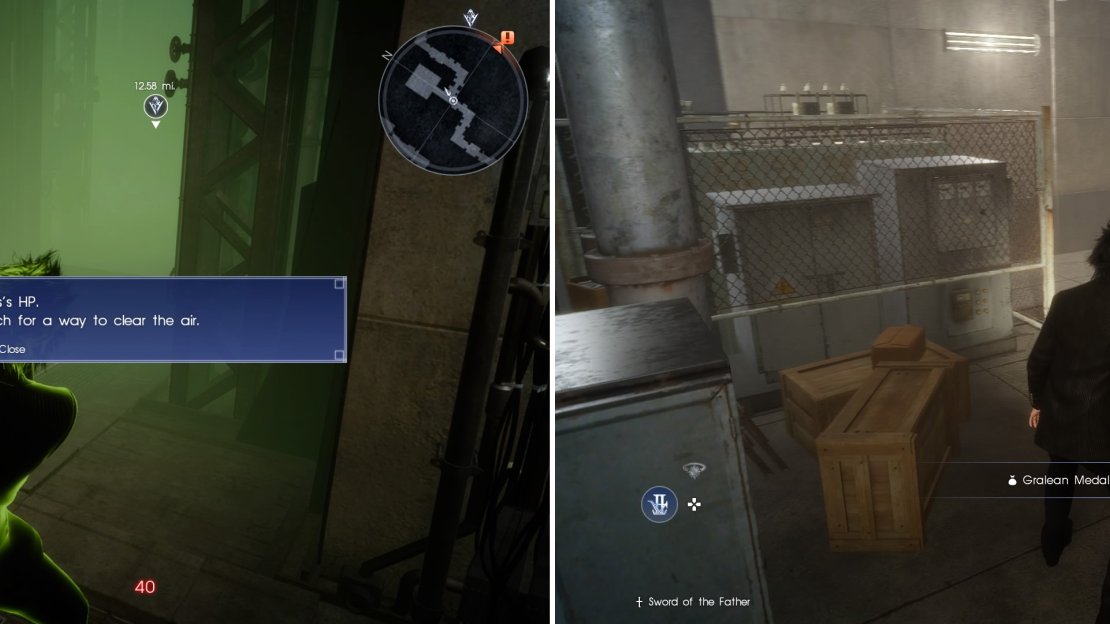
You will get your first chance to test out the Sword of the Father, as two Axemen reanimate as you try to exit the room. There’s a Mythril Shaft in the next room, as well as a Hi-Elixir , but you will also have to fight some Snagas. You will find a rest area while trekking through the next hallway and beyond that, some gas will start spilling out. As you can guess from the green color, this will periodically poison you while you’re searching for a way to shut it off. Head north first and you’ll come to an empty room, where you can find some Snagas and a Reflex Enhancer .
Continue east, destroying the Snagas in your way, and grab the Megalixir at the end of the hall. Quickly find the room and hit the switch to get rid of the poison gas, then quickly defeat the Snagas that appear. Whew, that’s a nice sigh of relief and one less thing you have to worry about now. Before exiting the room, grab the Magitek Booster and head south to the dead end to snatch a Muscle Stimulant. Return to the split near the rest area and go south this time, entering the lone room for a Gralean Medal of Distinction , as well as a Metal Scrap right before the next door.
Some poison gas (left) will leak out, seeping your life away. Collect the Gralean Medal of Distinction (right) before continuing.
Not long after that, an Axeman will come to life, and there will also be a Shock Trooper that comes after you. Be extra careful around the latter, as they will activate as you approach and are designed to blow themselves up if you can’t kill them in time, so you could just get right next to them and back away until they go boom. Keep going and when you reach the room with the marker, you’ll need to fight two more Axemen. With them down, enjoy the brief peace and enter the room to find a vending machine with healing items! If you’re in need of them, sell off some treasures and other things you can acquire easily and add to your stockpile.
Vernditio Instrumentorum (Items)
| Item | Price |
|---|---|
| Potion | 50 Gil |
| Hi-Potion | 100 Gil |
| Elixir | 400 Gil |
| Hi-Elixir | 800 Gil |
| Phoenix Down | 1,000 Gil |
| Antidote | 10 Gil |
| Gold Needle | 50 Gil |
| Smelling Salts | 50 Gil |
| Maiden’s Kiss | 100 Gil |
| Ether | 100 Gil |
| Remedy | 500 Gil |
To continue, upgrade your security clearance on the machine next to the vendor and you’ll be able to go through the northern door now. When you enter the area just past the bridge, you’ll have to do battle with a bunch of Rogue Axemen and Shock Troopers. Trigger the Shock Troopers to explode, while you concentrate solely on the Axemen. In the next room will be a few Snagas and you then have the option to go down a path to the west.
Do that to find another rest area, but there are a number of other side rooms here. The northern one has a few Snagas, but you can also pick up an Imperial Medal of Honor and Megalixir here. The western room has a Chobram Armor and more Snagas, while the southern room has a Mega-Potion . Of course, some of the Axemen in the room will come alive, so be on the lookout for those when switching between the rooms. Once you’ve cleared the place out, head back to the circular rooms and you’ll come to an elevator. Call it and while it’s coming down, a large daemon will appear.
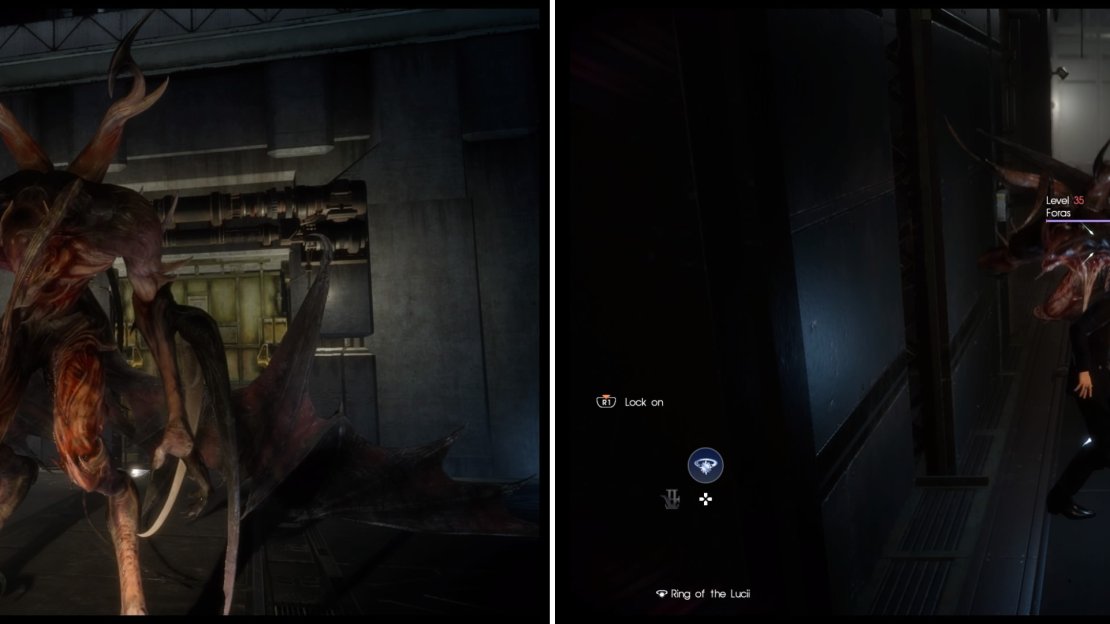
This is Foras and he is strong enough to send you into Danger status in a few hits. It has one move where it can charge, giving a block prompt, so keep an eye out for that. Its most dangerous move is when it disappears, as it will come crashing down on Noctis after a few seconds; this move is very difficult to dodge, so you might take a hit or two. The biggest problem with Foras is that you can’t beat it right now, so just keep dodging its attacks and when the elevator finally arrives, quickly get in it to move onto the next area.
As you move down the hallway, the power goes out, which means all of the doors won’t open, so head straight for the quest marker. In that room, defeat the two Snagas that spawn, then pick up the Ether and hit the switch to turn the power back on. Go back out and you’ll see that the Foras has followed you up to this area, so you’ll need to dodge his attacks in a very tiny space, although it seems it can’t follow you into the side rooms. To the north is a rest area and the room next to it contains a Superior Restorative .
Meet Foras (left), the massive, winged daemon who will continually follow you (right) throughout the Keep. Get used to dodging in tiny spaces.
Enter the next room you come across to find a Reflex Enhancer , and two Snagas. As you head west, you’ll find a Mythril Shaft in the upper of the double rooms, and a Megalixir in the bottom of them. Thankfully, the Foras will stop giving chase whenever you reach the stairs, but the bad news is that the power will go out again. In the very first room, an Uttu will show up, which is a lot easier now that you have a weapon to slice and dice the arachnid with. Since the power is off, the only way to proceed is to the north, where you’ll eventually reach the quest marker.
Pick up the Rare Coin and turn the power back on with the switch, then get ready to run, as you know who decides to show its ugly mug again. Return to the main room and through the southern doorway, where you’ll be free once you reach the top of the stairs. Grab the Chrome Bit along the way, then enter the elevator at the end. On the next floor, grab the Mythril Shaft as soon as you enter, then head into the next room. This is the central room in a three-by-three grid, with most of the rooms being locked.
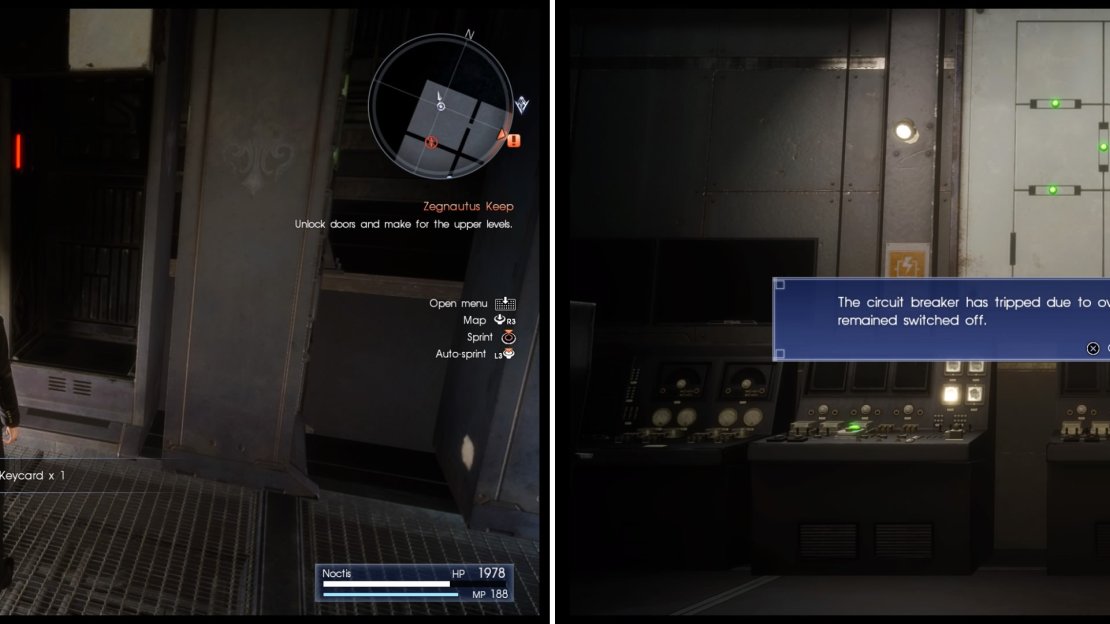
You will find some switches on the one side of the room, although you will need to defeat some Snagas before you can do anything, which operate the locks for the entire grid. Unfortunately, you only have access to Switch A, as you need to find keycards for the other two. From the center room, go north, grabbing the Broken Harmonica and reading the files you can find for some back story, then enter the northwestern room to find the Panel B Keycard . Return to the center room and activate circuit panel B to make more doors accessible.
The next keycard is in the northeastern room, but go south from the center first. Snag the Gralean Medal of Distinction in the first room, then a Mega-Potion and Hydraulic Cylinder in the southwestern room, after fighting off the Snagas that appear. The only other room you can go to right now is the northeastern one, where you will find two Axemen waiting. Defeat them, then pick up the Hi-Elixir and the Panel C Keycard . Alright, back in the center room, turn on circuit breaker C, except the breaker has tripped due to an overload.
What this means is that one of the circuit panels will need to remain off, so it’s time to think a bit. There are three panels, A, B and C, which means there’s only three pairings total. Since you’ve already done the AB pairing, all that’s left is to pair A and C, as well as B and C. The only rooms you haven’t been in are the western one and the southeastern one, the latter of which leads to the exit. So, turn on panels A and C to get to the western room, where you’ll get a Muscle Stimulant . With that done, turn off A and then turn on B, then go to the exit (after killing more Snagas).
You must find the keycards (left) in this area so you can operate the circuits. However, the circuit will become overloaded (right) if you switch them all on.
There will be another vending machine with items in the next room, so restock any items you need and proceed from there. Defeat the Axeman on the stairs and pick up the Magitek Booster before the next door. Immediately to your south will be a much needed rest area, so sleep and make sure you save. Enter the first room to the north of the rest area to find an Axeman waiting, as well as a Chrome Bit . At the quest marker, pick up the Mega Phoenix and update your security clearance to 5 in the smaller room. Follow the northern path now to reach a big, open area with a lot of what look like pods.
Before you touch anything, you will find a Megalixir at the northern end and a switch on the northern side of the inner circle. Hit this and the entire platform will rise, but doing this will also trigger an alarm, causing dormant Magitek soldiers to be thrown onto the main platform. Of course, four of these will come to life and attack you, which might be a little much for normal attacks with the Sword of the Father, so it might be better to resort to the Holy counter with the Ring of the Lucii. After finishing them off, you can’t go north and you can’t access the central room.
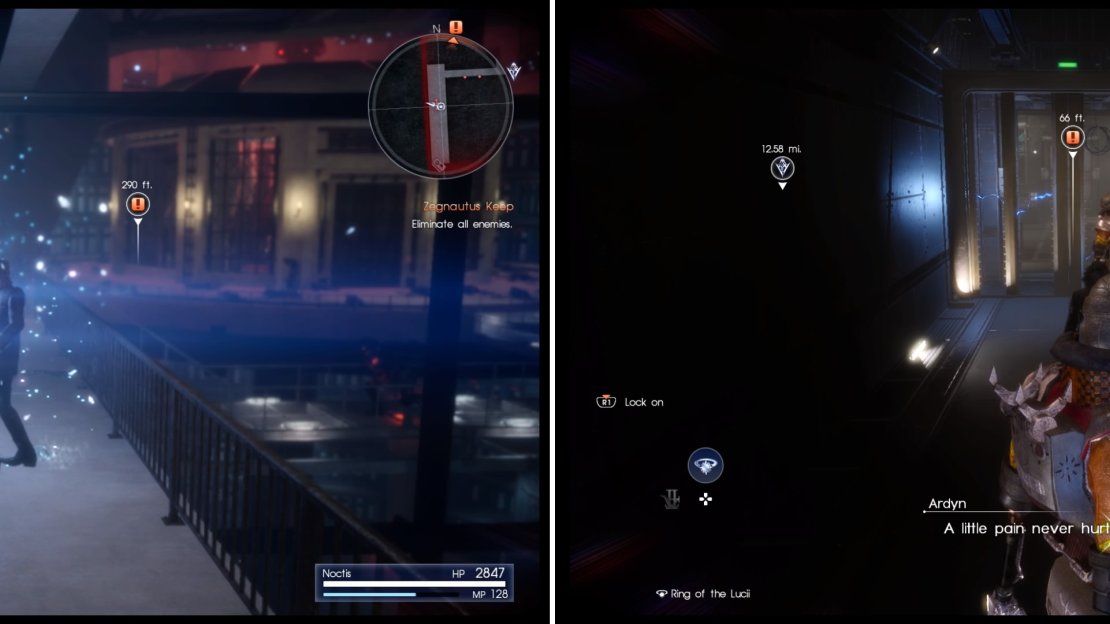
So, that only leaves one choice, which is the southern catwalks. The eastern of the two pathways has a Muscle Stimulant and Hi-Elixir , while the western one has another Muscle Stimulant and a Flesh Fortifier . There is also another device to update your security clearance to level 6 next to the final item above, which will cause some Axemen to appear and likely congregate on your location. This is another job for the Ring of the Lucii, so use either Holy or Alterna to vanquish your foes.
Use Holy to wipe out the masses of Axemen (left) then when you’re trapped, kill the Shock Troopers (right) quickly.
Upon returning to the central platform, a Wraith will spawn, as well as a bunch of Rogue Axemen and Shock Troopers. This is quite overwhelming and if you want to kill them all, run to the northern end and have the Axemen funnel to the walkway there. Once again, Holy or Alterna will be ideal here, although Holy might be hard to get off with all of the attacks coming at you. After taking out the Axemen, you can concentrate on the Wraith and then pick apart the Shock Troopers, although you will want to watch out for any stray ones that get too close and activate their self-destruct sequence.
Whew, that was certainly a fun battle, so once it’s over, enter the door to the north and you’ll come to another rest area. There’s a Reflex Enhancer before the next room, and a Hi-Elixir to the room in the north. As you enter the long hallway, the voice that’s been haunting you throughout this entire dungeon will say that a trap is waiting. When you reach the end of the hallway, electric barriers will be erected and the bodies strewn about will come to life. Defeat the Shock Troopers before you to dissipate the barrier, then do the same thing in the next section. Do this quickly, or else the one that’s moving will crush you and you’ll die. At the end, it appears you are still trapped inside of the device, but if you wait and defeat the final enemy that appears, you’ll be freed and reunited with your friends. Finally!
| Objective | Reward |
|---|---|
| For reuniting with your fiends | EXP 3,000 |


No Comments