An Eye on the Imperials
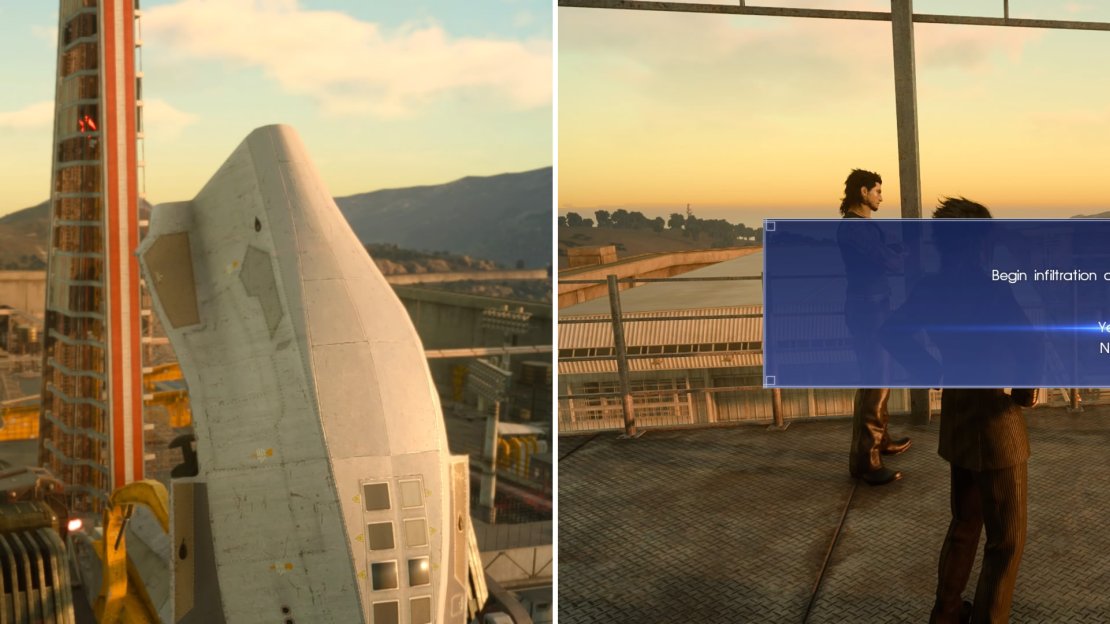
Your first plan of action is to survey Fort Vaullerey, so head west, south-west across a bridge, then south along the eastern edge of the fort. Next turn south-west and make your way through the outskirts of the fort until you spot a watch tower, which is a fine spot from which to survey the base. Kill any Battery Soldiers, MA Veles units and Imperial Snipers that pester you and make your way to the top of the tower, where Ignis will concoct a plan. Ignis’ plan is to divide the party into two groups of two, with Gladio and Prompto being a diversion. The goal will be to catch a commander to find out some answers, so tell Ignis you’re prepared when you’re ready to go.
Now the fortress has been surveyed, you can begin the mission.
Capturing Caligo
You will see the target for this mission, whose name is Caligo, who is merrily whining about some “mercenary” to his robotic henchmen. Unfortunately, it’s another stealth section, as you will need to trail Caligo and should you happen to get caught, then you’ll have to flee… with really isn’t much of a penalty. Make your way south and wait as Caligo stops the first time, after which continue on to the south and stop again until he passes by the guard nearby, after complaining about everybody’s favorite Chancellor. Once he does, perform a warp kill on that guard and head west onto a catwalk. Further west on the catwalk is another guard you can warp kill, after which turn south-east to find a third imperial on the stairs of a guard tower.
Caligo will now continue west, and you’d do well to follow. Turn south-west and you’ll see another catwalk, on which is yet another imperial you can warp kill, serving the dual purpose of eliminating a snitch and advancing with Caligo. Turn north-west and watch Caligo walk past with his escort. When he’s advanced enough, note the small metal tower to the north-west, next to which is another imperial on the ground. Ignore the guard for a moment and instead warp onto the tower above the guard and wait for Caligo and company to comfortably clear the gate before you warp kill the guard below you.
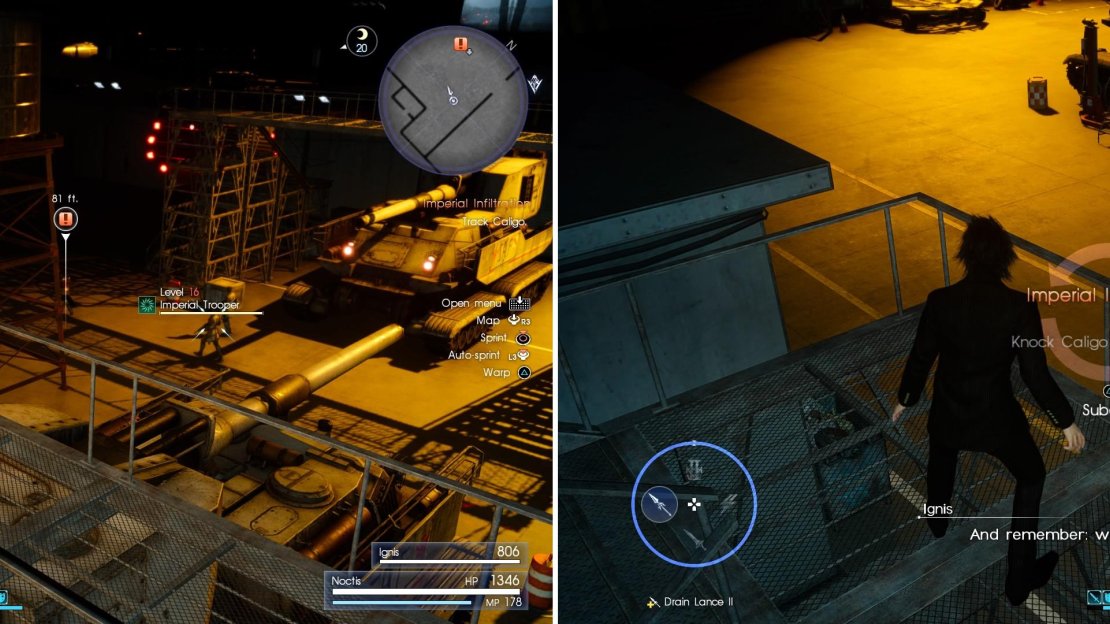
Do not advance through the gate on foot, as there is a guard right inside and to the right. Instead, warp to the catwalk beyond the gate to the south-west, wait until Caligo and company clear the tanks below you, then warp kill that previously mentioned guard. Warp back onto the catwalk you were on earlier (to the south-west), then head west before warping onto another catwalk to the north-west, keeping an eye on Caligo as you go. Eventually he’ll stop at a gate to indulge in some more mindless chatter before leaving his guards to do their job - which, for the record, isn’t listening to an imperial officer bitch about his insecurities - then warp onto another catwalk to the west, beyond the gate. Wait until Ignis give you a prompt to subdue Caligo, then comply by warp… smacking him?
Make sure to warp to the catwalks so you survey the soldiers (left). When prompted, take out Caligo (right).
With Caligo down and out it’s time to regroup with the others, although Ignis will stay behind and tend to Caligo. Backtrack east, avoiding conflict as best you can, or, failing that, beating up the woefully weak Battery Soldiers, Imperial Snipers, and an MA Veles. Once you’re finished here turn north and head towards the Magitek Generator, where you’ll be reunited with Prompto and Gladio, with one additional and unwanted guest, an MA X Maniple. As already said, you should have had enough practice with these, so continually attack a leg until it falls down, after which, you can begin dissecting it piece by piece. With the mech dismantled, head up to the generator and press X/A to shut it down. Well, that wraps things up here, so return south to the previous area, where you’ll meet the mercenary Caligo spent so much time whining about.
| Objective | Reward |
|---|---|
| For defeating the imperials at Fort Vaullerery | EXP 5,000 / Unstable Stabilizer |
BOSS - Aranea Highwind
Boy, oh boy, is Aranea relentless and quite deadly with her attacks. If you use scan her, you find out that she has no weaknesses, plus she also has around 46,000 health, so you’re in for the long haul. Of course, with no weaknesses, you’re free to use whatever weapon(s) with which you’re comfortable. Aranea will begin the battle by just performing combos with her lance, but these aren’t short combos and the damage can rack up if you aren’t phasing through/dodging them.
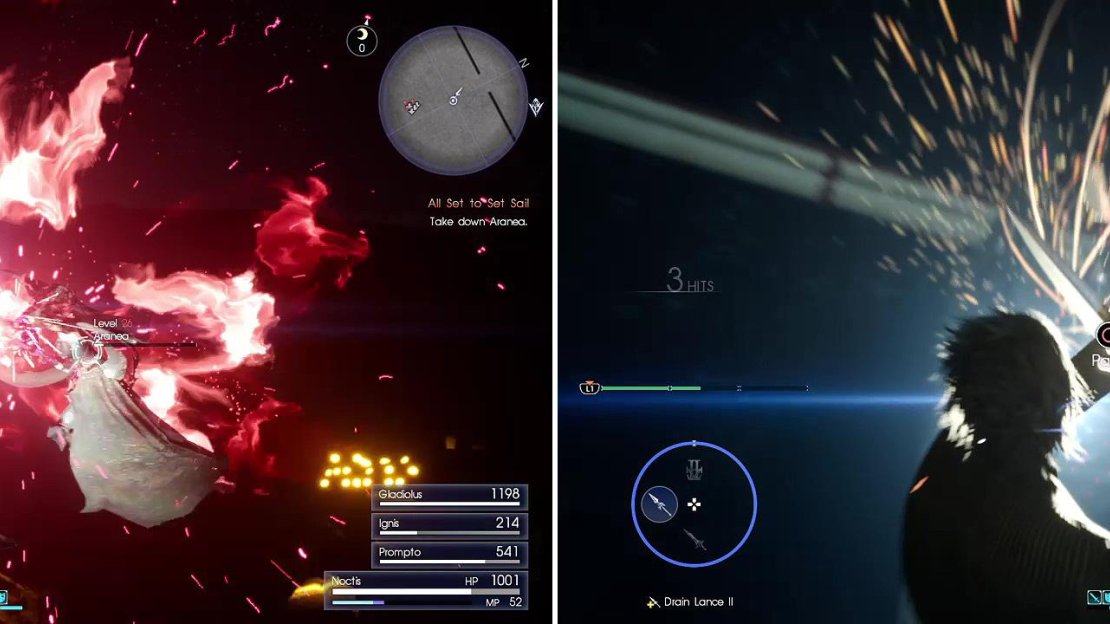
You will notice that there are points where you can warp-point to get away from the action, but it seems Aranea doesn’t take too kindly to this. She usually retaliates by launching into the air and crashing down on whatever structure you’re clinging to, destroying it in the process. If you’re on a catwalk, you might see a blocking prompt pop up, which is a good idea to do, as the quick button prompt to parry after a successful one will leave Aranea vulnerable for a few seconds.
You can Warp Strike Aranea and fight her in the air (left) but beware her Jump attack and Parry it if you can (right).
During the fight some Imperial Soldiers will show up to pester you, and if their gunfire is bothering you, try to take them out in between bouts with Aranea. She will pretty much continue her repertoire of combos and sky-high jumps throughout the battle, so be on the lookout for opportunities to block and parry to get the best chances at damage. When her HP reaches zero, she will say something about time being up and leaving, ending the battle and your infiltration of the compound.
| Objective | Reward |
|---|---|
| For sparring with Aranea Highwind | EXP 3,500 / Bulletproof Vest |
With everything over, you’ll automatically return to Iris and rest at the inn, applying the experience you’ve accumulated thus far. Note that Iris is actually a guest character in your party for now, and while not as fleshed-out as the normal foursome, she will contribute in battle, and has her own technique “Eclipse” you can make use of while she’s around. She’ll also randomly pepper you with healing. Shame she doesn’t stick around.
Plundering Fort Vaullerey
Before you continue on your grand adventure to Cape Caem, it might be worth your while to return to Fort Vaullerey and gather some of the loot, a task that’ll be easier now that you’re not tailing enemy officers at night. That’s not to say the place will be unoccupied, however, as the same variety of imperials and Magitek Armor units will have repopulated the base in your absence.
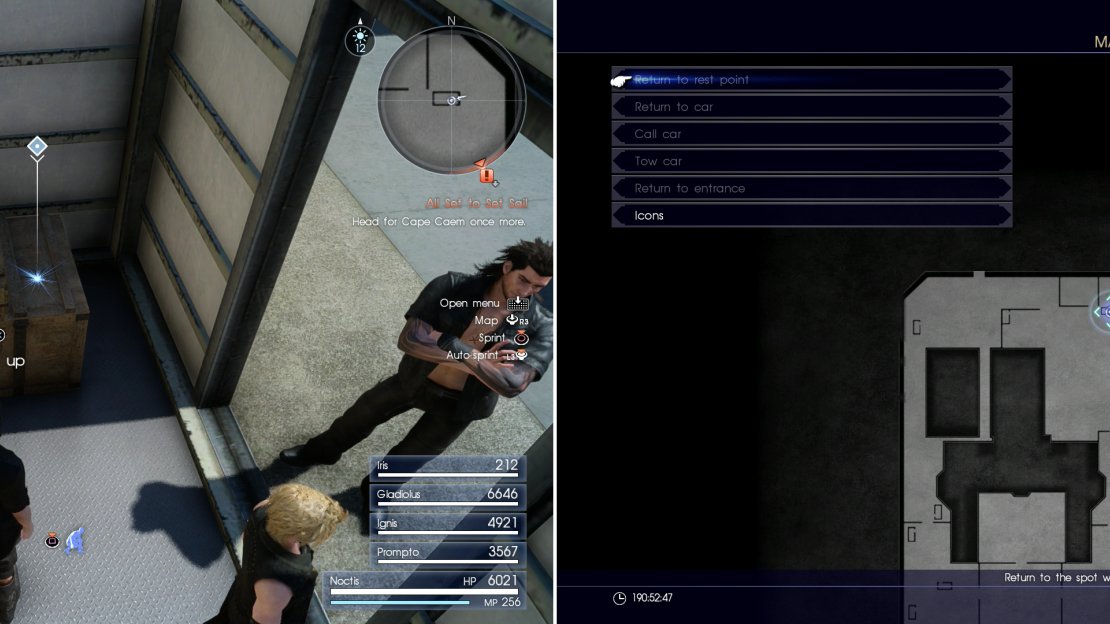
The Cerberus, a sniper rifle only Noctis can use (left) can be found at the area indicated on the map (right).
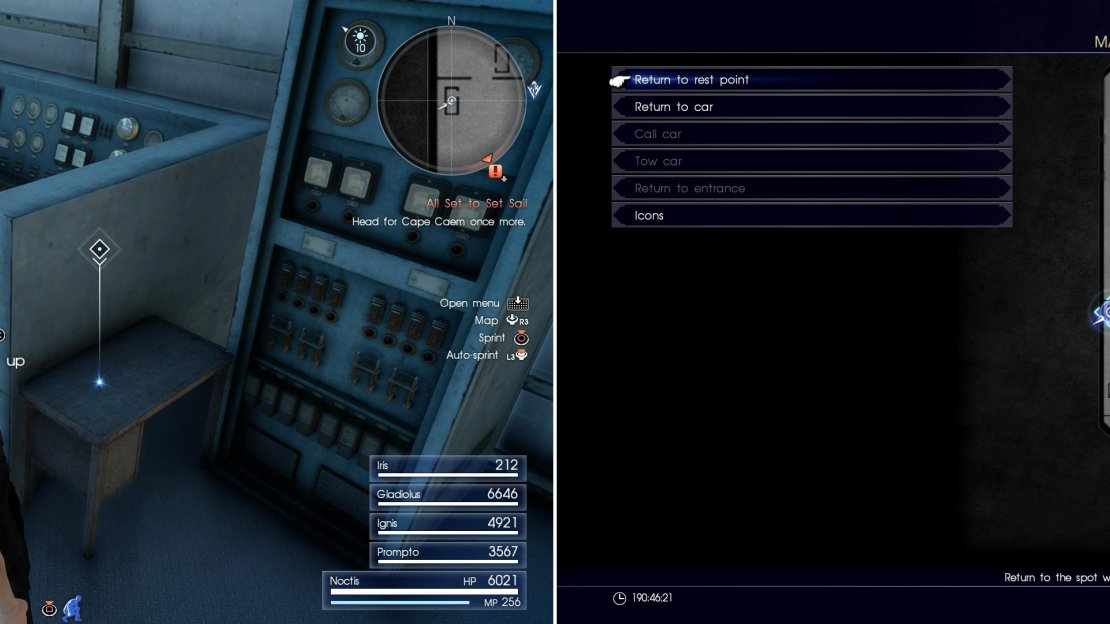
The first treasure you can get is on the grounds north of the base itself. Along the north-eastern end of the base you’ll find a helpfully marked Treasure Spot (Megalixir) . In the base, meanwhile, you can find all sorts of trivial loot hidden around, but the best items happen to be two new weapons. First, along the north-eastern end of the fort’s interior you’ll find a shack south of a watch tower, inside of which is Cerberus , a sniper rifle that only Noctis can use. In the south-western end of the base you’ll find three shacks. Inside the northern-most of these three shacks is the Noiseblaster Machinery. Grab these two weapons and whatever else you want, then leave the base.
You’ll find the Noiseblaster (left) at the indicated area on the map (right).
No Comments