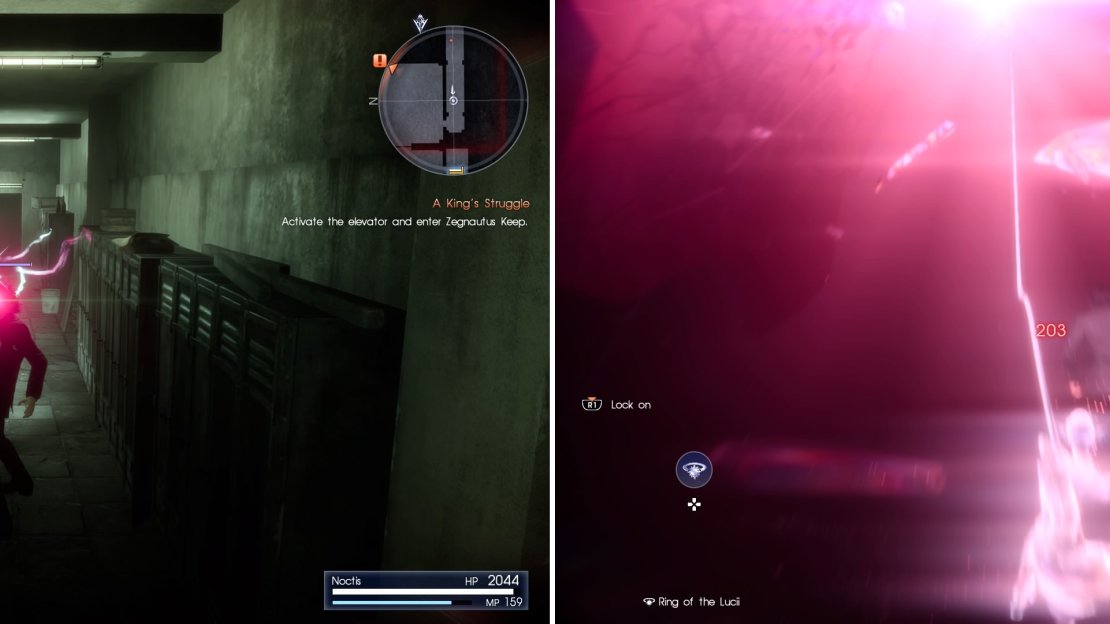
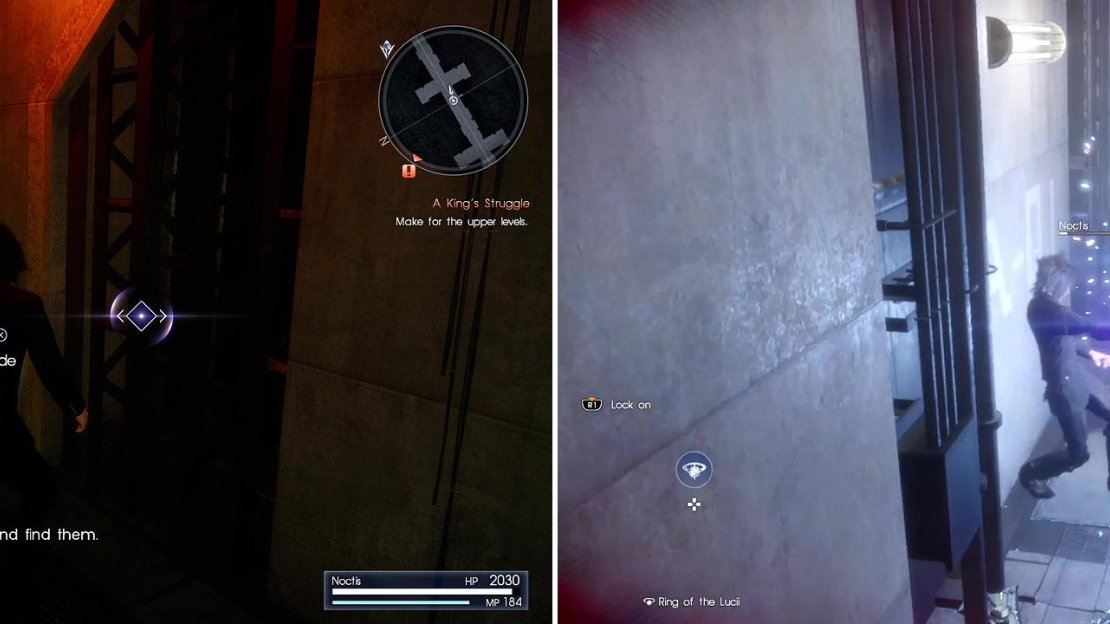
Noctis finally decides to put on the Ring of the Lucii, which grants him some new abilities. Holding down Circle/B will drain the life force of an enemy, so test it out on the daemon ahead. Pick up the Ether and Beautiful Bottle in the room, then continue down the path, where another daemon will pop up, so use the Ring on it. Upon arriving at the marker, you will be directed to the switch to your left. You’ll need to find these switches to power up doors and elevators in order to continue on to Zegnautus Keep, which is where the Crystal is being held.
The door that opened was in the initial room, but look for a side path on the way back to grab a Hi-Elixir from a dead end. Open the door and follow this long hallway to another switch, but don’t forget to grab the Flesh Fortifier right in front of it. This switch will open the two other doors in the main room. The northern one leads to your next objective, while the southern one is the way forward after that, so go north first. At the end, hit the switch to open another door, then return to the main room and go south now. You’ll learn about Holy, another of the Ring’s spells, on the way, which is activated when you hold down Square/X, as if you were phasing.
On the way back through the hallway, some daemons will pop up in front of you, so suck their life force out of them. As soon as you enter the southern area, turn right and snag the Debased Banknote off the ground. South of where you are is a rest area, so enter it and take a short breather (you can also save here). When you’re ready to go, continue west and into a large, open area. Here, a few daemons will attack you at once and you’ll learn of the Alterna spell for the Ring of Lucii. Basically, hold down R1/RT and then press/hold Triangle/Y to banish a group of enemies.
The only downside of this spell is that it drains all of your MP, so if an enemy manages to not get caught in it, then you will need to run around for a bit until some replenishes for you to use the Death spell. After taking care of the enemies, you’ll find an Elixir at the northern end and an opening on the southern end. As soon as you pass through the opening, pick up the Debased Silverpiece next to you, then walk east to find a Laser Sensor by the stairs. Climb the stairs and you’ll spot a Mega Phoenix in this little area.
The Death spell (left) can restore health as well as kill an enemy. The Alterna spell (right) will banish a group of enemies to the void but use all MP so use it wisely.
Find the door on the western side and go through it, picking up the Iron Shavings and then going through the next door. Snag the Hi-Elixir and Rare Coin in the room before activating the elevator, only to find three daemons in it. Use Holy and Death to disintegrate them, then step onto the elevator to take it to the next area. Move down the hallway, checking the little alcoves for a Rare Coin and Laser Sensor , and also making note of the areas where you can hide, as they might come in handy shortly. You will come across another item ( Chrome Bit ) and when you reach a little bit after that, you will see Ardyn walk away, while something comes alive.
This is a Rogue Axeman and as the game says, they patrol along a set route. If they see you, they will attack, but you can use the little hiding spots to sneak past them if you want. They can be rather easy to defeat, since their attacks are fairly easy to dodge, meaning you’ll counter with Holy. Kill him if you’d like, then continue north, ignoring the western path, until you come to a room, where you can loot a Mythril Shaft and Old Book . Now use the western path, picking up the Potion along the way, and enter the room straight ahead to find another resting spot.
Look for hiding spots (left) if you don’t wish to fight the Axemen though Holy (right) is very effective.
From the rest area, go east and pick up the Security Card , which is important and kind of baffling why the game didn’t mark it as an objective. This will make another Axeman spawn in the hallways, so do whatever you need to do and continue west until you come to a circular room with two locked doors. If you look at the locked door, it has “A-03” written on it, which is tied to the security level on your card, so you’re going to need to update it. Pass through the southern door and you’ll spot some bodies on the ground.
Continue past them and enter the first room you come across to find a Megalixir . A friendly face will appear around the bend and as you get close to the body here, it will grab you. Quickly spam the button on your screen to avoid taking damage. Note that you can usually tell which bodies on the floor will either come alive or attempt to grab you, although sometimes it can be confusing. Anyway, keep going through the big room and into the next hallway, entering the small southern room to find a Shattered Timepiece . Ignore the path leading north and enter the room at the other end to find a machine that can update your card’s clearance level to 2. Sweet!
Return to the split and go north, looking out for another Axeman here. If you’re caught, then three more will come after you, so you can either take them all on or try to sneak past the initial one. Sometimes, one of them will try to grab you while self-destructing, so be on the watch for that. Now, go all the way north to find another rest area and when you’re ready to press on, head west and up the stairs to find another Axeman. Unfortunately, you can’t look through the side rooms here yet, since they all require a level 3 security clearance, so continue south and to a room where you can see your friend, but sadly, the door is locked from this side.
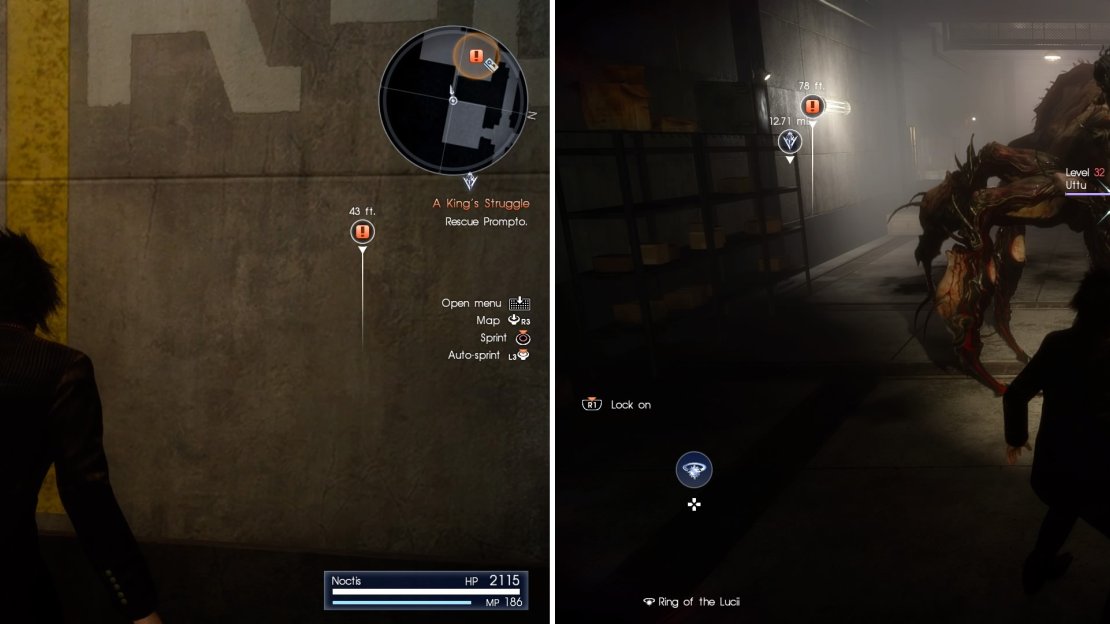
Enter the room along the way east to find a Hi-Elixir and in the little alcove just north of it is a Flesh Fortifier . At the end of the hallway is a Magitek Core and a Superior Restorative , so snatch them and return to the room where you found the Elixir. In the southwest corner, there is a small gap you can squeeze through to reach the room with your friend, but before you can do anything, a Rogue Axeman and Uttu spawns. The Uttu is the exact same enemy as the Arachnes you’ve fought earlier in the game, except you lack weapons to fight it properly.
Squeeze through here (left) to try and reach Prompto. This path isn’t very obvious. You will be accosted by an Uttu (right) which is just like an Arachne.
The best thing to do is to probably let the Axeman grab you, so you can do the quick-time event to get rid of it, then try and keep your distance from the Uttu as you attempt to use Death on it. Alternatively, you can keep dodging its attacks with Holy. After taking them out, find the gap in between the boxes to get to your friend, who turns out to not really be him. If only things were that easy. Update the clearance of your security card on the machine nearby. You can now check out those side rooms from before to acquire a Mythril Shaft , Debased Banknote and a Magnetron . Watch out for the Snaga in the room with the last item.
| Objective | Reward |
|---|---|
| For giving Cid a Magnetron | EXP 2,000 / Noiseblaster Plus |
Make your way back to that circular room on the floor below, where there were two locked doors. Note that there will be one Axeman patrolling and one on the ground that grabs you on the way back. Take the elevator up to the next area to arrive at a big room with another elevator in the center. Unfortunately, this elevator is not powered, so you need to find another way. Check out the small platforms in this room for some items, mainly the northwest for a Muscle Stimulant and the southeast for a Laser Sensor . The northwestern platform has a control panel to operate the elevator, but you don’t have right the keycard at the moment.
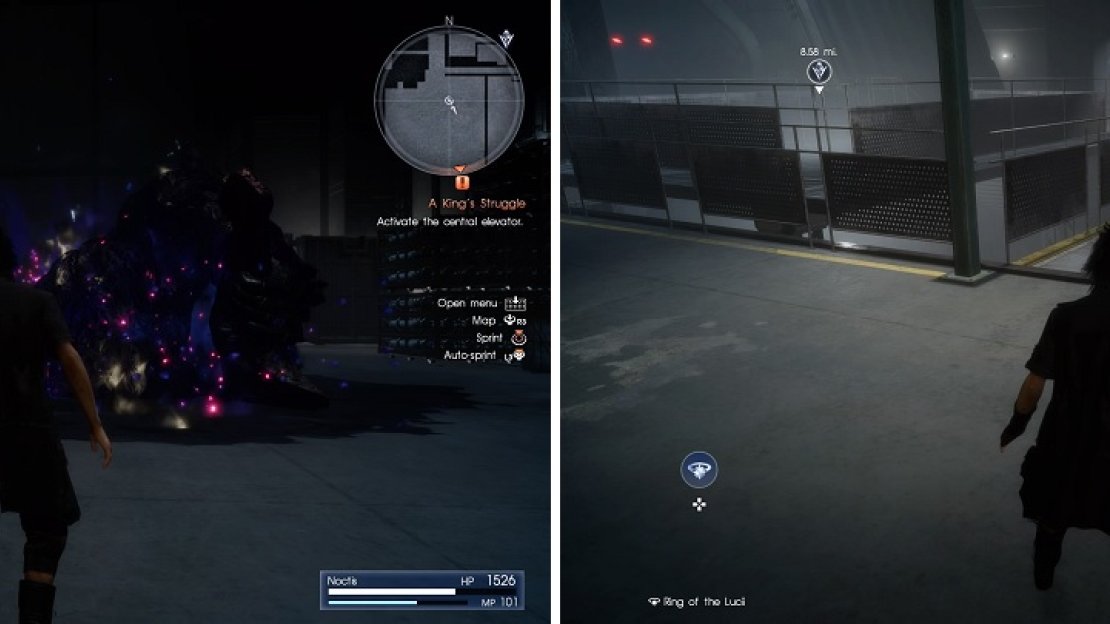
That means the only option left for you is to take the path going east, where you will see a large Iron Giant-like daemon, which is called a Gargantua. It’s in your best interests to avoid fighting this thing, as you are limited to what you can do, and it takes a lot of Holy or Death to even kill it. To make matters worse, it actually respawns should you happen to kill it, without any reward whatsoever. From where you enter, go north to the end of the room and look for a passage that you can take to some stairs that lead to the bottom portion of the room.
The Gargantua will endlessly respawn (left). Find the walkway to get past the area with the Gargantua (right).
At the bottom of the stairs, go west and then north to pass underneath where you just came from and find another set of stairs, which leads to a platform with a Dynamo . Take the big ramp down to a large area with a lot of cargo, where you’ll encounter a few Axemen patrolling the place. Feel free to get rid of them, as they don’t respawn. From the bottom of the ramp, go northeast for find a Flesh Fortifier , then navigate your way to the southern side. The following item ( Hi-Elixir ) isn’t on the southernmost side, but a bit north of the southeastern corner, on the north side of the cargo you find on the southern end.
In the northeast corner will be some stairs and if you follow the eastern wall to the south, you can find a Tempered Shield . This accessory will boost your HP by about 800 and your Vitality by about 40, so it might be a nice improvement over what you have equipped now. Climb the previously mentioned stairs now and follow the path here to find a Muscle Stimulant and an elevator, which takes you back down to the area with the ramp.
Remember where you first came down into this area to escape from the Gargantua? Make your way south to find a path that leads to more stairs, but ignore the elevator and keep going to eventually find another Flesh Fortifier up at the end. Use the elevator to get to a section where you can grab a Generator Keycard , which will be used in the area with the central elevator, so make your way back there now to use the keycard to partially restore some power, ending this long and arduous story quest.
| Objective | Reward |
|---|---|
| For advancing through Zegnautus Keep | EXP 3,000 |


No Comments