Dominator
Before you go after those Tonberries, though, it’s a good idea to round up some more nice weapons (and even an accessory). Travel to the Alstor Slough Parking Spot and look to the north-west to spot a giant radio tower behind some trees. Head north into the wilderness to find a trail and follow the trail to an outpost, where you can now find a Treasure Spot ( Dominator ) near a building. This greatsword has holy attributes, making it great for daemons, but you might want to switch to another when fighting enemies during the day.
The location of the Dragoon Lance on the map (left) and in-game (right).
Dragoon Lance
For the next weapon, head to the Coernix Station - Cauthess parking spot. Start following the road north and as it curves west, stopping once you see a crater to the north of you on the map. Instead of going to the crater, head straight south from there to find a little valley of sorts. You’ll know you’re in the right place when you find a harvesting spot for Wild Onions and some Voretooths. Once the area is cleared, look for the upper area you can reach by jumping, which is where you’ll spot the treasure spot with the Dragoon Lance .
Diamond Bracelet
The next item is going to be an accessory, one of the strength-enhancing kind. The closest parking spot is the Taelpar Rest Area, but that requires you to run a fair ways away, but it’s a good starting point. You can ride to the east and once you get right outside of the tunnel (blue on your map), you should see a path off to your right, with a broken down car (not the quest kind) to your right. This accessory, the Diamond Bracelet , is right next to that car.
Champions Anklet
If you wish to grab a Champion’s Anklet, first travel to the Cauthess Rest Area and look to the southeast on your map to spot a large crater. Make your way there to find a fishing spot called The Archaean’s Mirror and look for the large rock right next to the fishing hole, where you’ll find the Champion’s Anklet .
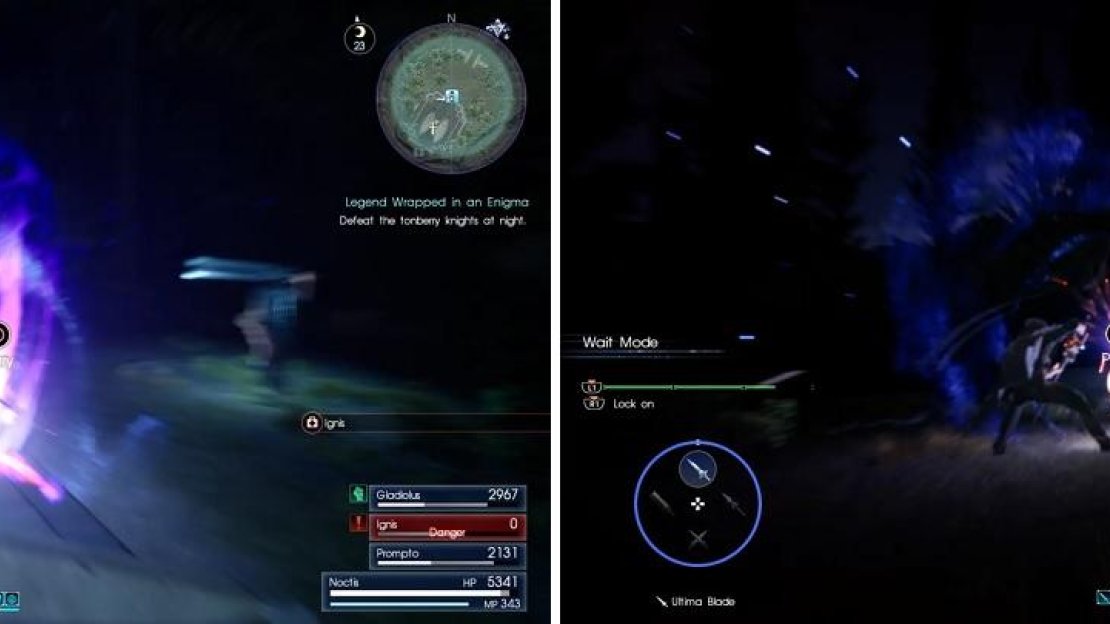
Most of the time spent against the Sir Tonberries will be blocking and parrying their attacks.
Legend Wrapped in an Enigma
You can now continue with Randolph’s third quest, but the target only appears at night, so you might need to wait around… or visit a tipster and pick up a nighttime hunt, as it will ask you if you want to wait until night. Naturally this means you won’t be camping, so food buffs aren’t going to be a factor. When you’re ready, travel to The Fallgrove parking spot and head to the Tomb of the Tall, to encounter two “Sir Tonberry” foes in front of the tomb. If you didn’t do the Master Tonberry hunt in Altissia, then you might think these are similar to lesser Tonberries you may have encountered. They’re not.
First thing to note is that these foes are far more sturdy than their unknighted counterparts, as they have 372,000 Hit Points. You will find that they are weak to daggers and holy, while being strong against greatswords, fire, ice and lightning. Obviously magic isn’t much of an option, either. All in all, the ideal weapon to use against them might be the Ultima Blade, since most of your damage is likely going to come from parries and Linkstrikes.
Speaking of which, you will quickly find out that Sir Tonberries like to do their trademark stabby move, which triggers a blocking prompt. They’ll often do this two or three times in quick succession. They will also be flipping around with a lightsaber of sorts, doing one of two combos, one of which ends in a blocking prompt and the other not. The biggest problem with this fight is that you won’t get many opportunities to attack the Tonberries on your own, so you’ll have to play defensively, countering their attacks and using Phoenix Downs and Mega Phoenixes, as necessary. As usual, make use of techniques, your Armiger and summons as they become available and when they fall you’ll be able to return to Randolph for another toy: the Ziedrich .
| Objective | Reward |
|---|---|
| For bringing the Chef’s Knife to Randolph | EXP 12,000 / Ziedrich |
Cursed Legend
Talk to Randolph again to get the next quest, “Cursed Legend”, then travel to the Cauthess Rest Area. From there head up the road to the north-west past the imperial fort, then turn south to reach the Fallaughns Haven Campground, which is a fine place to rest and get some food in you. Again, general buffs work fine for the upcoming battle. When you’re ready head south-west past a crater to find the Phalaris.
This massive critter is a stronger version of the Kujata, which itself is already a dangerous foe. Assuming you haven’t fought one before (they can be found near the road leading to the Disc of Cauthess), they are large and very slow… and quite powerful as you might’ve guessed. It’s very possible that one or two hits, depending on the move, could send you into Danger status. One of its more annoying moves is when it rolls to the side, as this particular one cannot be phased through, so warp if you see it rolling. It’ll also attempt to gore you with its humongous horns (accompanied by a charge, of course), an attack you can block and counter, making it an opportunity to score some damage. Since the beast is so slow, it’s easy enough to get behind to perform Blindside Links, and don’t forget about using your Techniques and the Armiger.
Keep chipping away at the beast and when it eventually falls you’ll end up in possession of a Resplendent Hollowhorn. Take this trophy back to Randolph and he’ll reward you with a Soul Saber, which is the first sword you’ve obtained since the Ultima Blade that’s really worth mentioning. The Soul Saber has a lower Attack rating, but it does gain power the lower Noctis’s Stamina is.
| Objective | Reward |
|---|---|
| For pummeling the Phalaris | EXP 15,000 / Soul Saber |
Wizards Shield
Get Randolph’s next quest, then promptly ignore it in favor of getting your hands on some new gear. This requires a bit of traveling about, but… well, some weapons are worth a bit of running about. Travel back to the Verinas Mart - Ravatogh and from there head to the entrance to the Rock of Ravatogh dungeon. From the entrance to the dungeon turn north and search a dead-end to find a Treasure Spot ( Wizard’s Shield ), which boosts it’s bearer’s Magic, Vitality and Ballistics resistance.
Hyper Magnum
Next make your way to Old Lestallum and from there drive, walk, or ride a Chocobo down the highway to the west, south-west. When you reach a fork in the road turn south, but keep your eye on the white wall to the west. When it ends, disembark and head uphill to the west, alongside (then past) the white wall until you reach a fence. Run north along this fence to find a Treasure Spot ( Hyper Magnum ). This is a fine upgrade for Prompto, and it’s the last high-quality weapon you’re going to get without a fight.
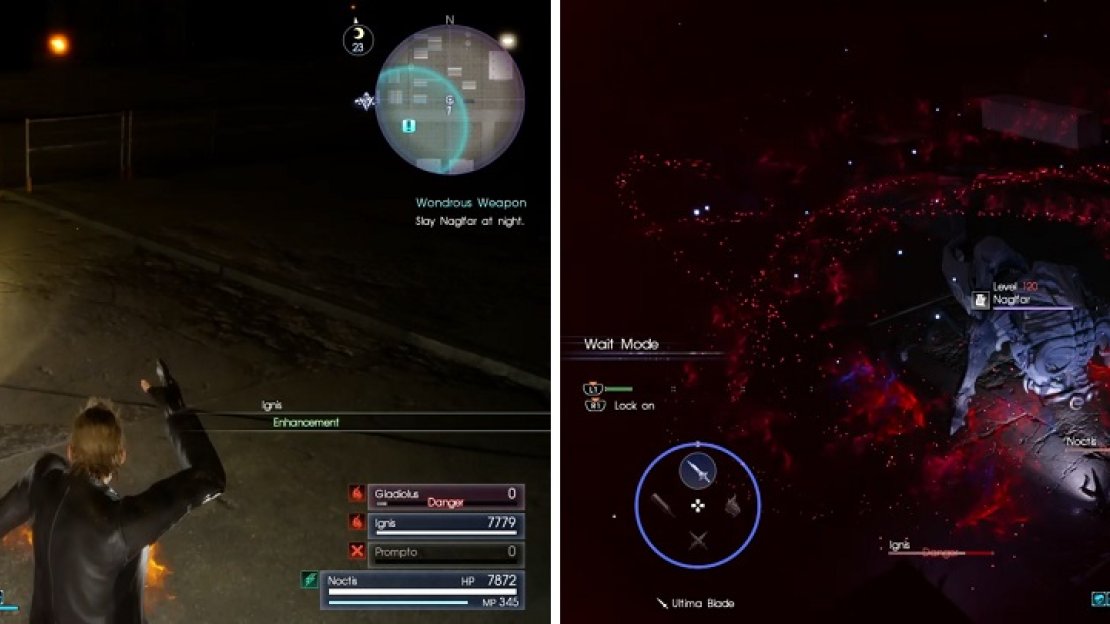
Enhancement (left) will let you deal more damage. Watch out for Naglfar’s swirling claw attack up close (right).
Wondrous Weapon
The final monster Randolph wants you to kill is in Fort Vaullerey, as luck would have it, but before you mess with the Naglfar, you’d best come prepared. This creature - all 875,000 Hit Points and 120 levels of him - is no joke. He’s resistant to all weapon types, but he takes extra damage to fire, lightning, ice and holy. Spells, particularly Quintcast varieties, will come in handy here. Even better, if you’re willing to complete the hunt “Feathered Giant of the Firesmoke” you can harvest Zu’s Beaks, which will allow you to create Limit Break spells (Flare, Electon, Freeze). It’s helpful, but not strictly necessary. You should also go eat yourself a meal, ideally one that increases your damage outpost. Depending on how you wish to do damage to Naglfar, that could mean boosting Strength, Magic or Critical Hit Rate (the “Crispy Zu Skewers” meal does this admirably).
If you’re hoping for a clean, short fight, you’re probably not going to get that, so be sure to bring plenty of healing items (Phoenixes and Mega Phoenixes - Naglfar does too much damage to really bother with any other sort of healing). The terrain of the northern end of Fort Vaullerey, cluttered with railings, buildings, and other impediments, isn’t ideal for this fight, and will doubtlessly complicate things for you. As for techniques you should have ready, make sure Ignis has Enhancement (three applications of this will greatly boost your damage), and Prompto should have Piercer ready to go (it lowers Naglfar’s defense). Gladiolus should equip Tempest, although it’s only worth using if there’s no other possibility.
Naglfar is an ultra-powerful Deathclaw, a boss critter you fought in Chapter 12. It’s attacks will all likely do around 7,000 - 9,999 damage to you, and largely consists of a variety of laser and claw attacks. You could be a bit more sloppy and aggressive with the Deathclaw. Not so with Naglfar. How, then, to fight this beast? First, being near it is just begging for trouble, due to its close range area-of-effect claw flurry attack. Not that you’re safe at a distance, but you can deal with its attacks from afar. Stay away and wait for it to attack: if it uses it’s sweeping laser attack, you’ll have to warp through it. If it shoots off lines of lasers, phase through the first (vertical) assault, then warp out of the range of the horizontal ones that return - this is likely its most dangerous attack, since it covers a wide area and the terrain will sometimes affect your ability to avoid it. If it shoots its claw at you, block it, then counter. This attack will be one of the better ways to damage Naglfar and charge up your Armiger. Just keep in mind that one mistake will probably coast you a Phoenix Down.
As for your companions… they probably won’t last too long, and it’s really not worth the hazard of trying to raise them. When your tech bar is full, raise Ignis and immediately use three Enhancements to greatly boost your weapon. Stay on the defensive, but note that you should usually have the opportunity to Warp Strike Naglfar after it completes an attack. After you do, however, be sure to immediately warp out of the way, as it’ll certainly counter attack. If your whole party goes down, don’t be shy about using a Mega Phoenix, and if you have technique bars to spare, use Prompto’s Piercer attack, or Gladiolus’s Tempest. Armiger and summon when you can, just don’t expect the battle to end in either case - this fight is a large matter of being patient, dodging and warping constantly, and whittling Naglfar down.
If you can’t defeat Naglfar now, don’t fret - he’s not going anywhere, and you’ve already scored a great deal of new gear with which to challenge new dungeons, doubtlessly resulting in you claiming even better gear and perhaps packing away a few more levels. If you do defeat Naglfar, however, return to Randolph for a reward fit for such a feat: the Zwill Crossblades . These daggers boast an impressive Attack rating of 345, and they’re even stronger when their wielder is at full health.
| Objective | Reward |
|---|---|
| For bringing a Squirming Bone to Randolph | EXP 20,000 / Zwill Crossblades |


Actually, Lost canvas and the hunt unlocks after every other quest for Vyv is completed