Before setting off for Costlemark Tower, there are a few things you should do prior to it that will make things easier on you in the long run. If you’ve leveled Ignis’ cooking skill to nine, then you have a recipe called Lasagna al Forno, which has the Resistant buff on it; this nullifies fire, ice and lightning attacks and will greatly increase the chances of survival in the dungeon. The best thing about this recipe is that all of its ingredients can be bought; Jabberwock Sirloin can be purchased at Meldacio Hunter HQ and the other two, Cleigne Darkshell and Fine Cleigne Wheat can be bought at Cape Caem.
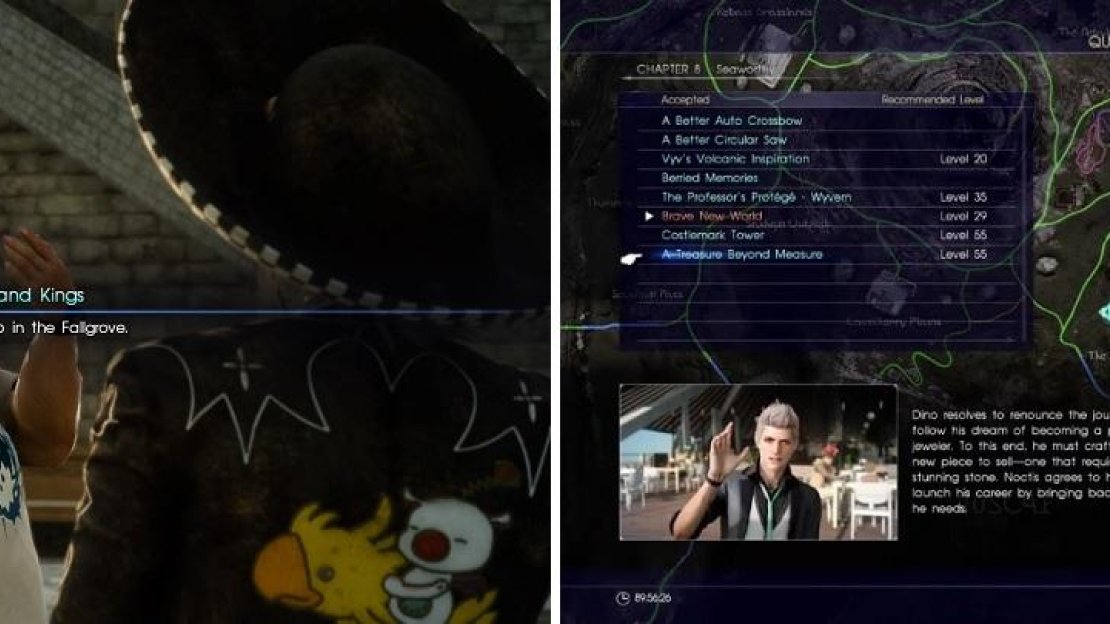
Both Vyv (left) and Dino (right) have sidequests that will have you either near or going inside Costlemark, so grab them before heading there.
The other thing you will want to do is do Vyv’s and Dino’s sidequests until you get to Of Gods and Kings and A Treasure Beyond Measure , respectively (Dino’s sidequest has you going inside Costlemark). Vyv will direct you to the Tomb of the Tall, which is one of the Royal Tombs you need for one of the Royal Arms. Fulfill Vyv’s request and take the necessary photos, but once you head inside, you will notice that the weapon isn’t there. Inspect the note on the tomb itself to learn that some fiends likely took it with them to Costlemark Tower, your next stop. Note that the entrance to Costlemark is only open at night, so you might not have a full food buff from the Lasagna al Forno, but it helps immensely.
Inside Costlemark Tower
Inside of the very first room, you will encounter five level 35 Gelatins. Despite their very good resistances (lower damage against all physical weapons and no damage with fire and ice), they only have 5,000 HP and should go down fairly easily without having to resort to magic or anything else. Once they are jelly, move into the next room to encounter more of them, as well as some Galvanades. This room has the potential to be a huge pain in the butt, as it could be very dangerous due to the Galvanades.
The reason these enemies (and any other -nades) are so dangerous is that while they do explode like normal Bombs, they don’t die. Instead, they release a bunch of normal Bombs of the same element, so things can get pretty hectic, especially with other enemies being in the same area. So, should they get the chance to unleash their little minions, concentrate on killing the Galvanades so they don’t do it again. Once the room is finally clear, look to the northern side of the room for an item, which is a Radiant Lance .
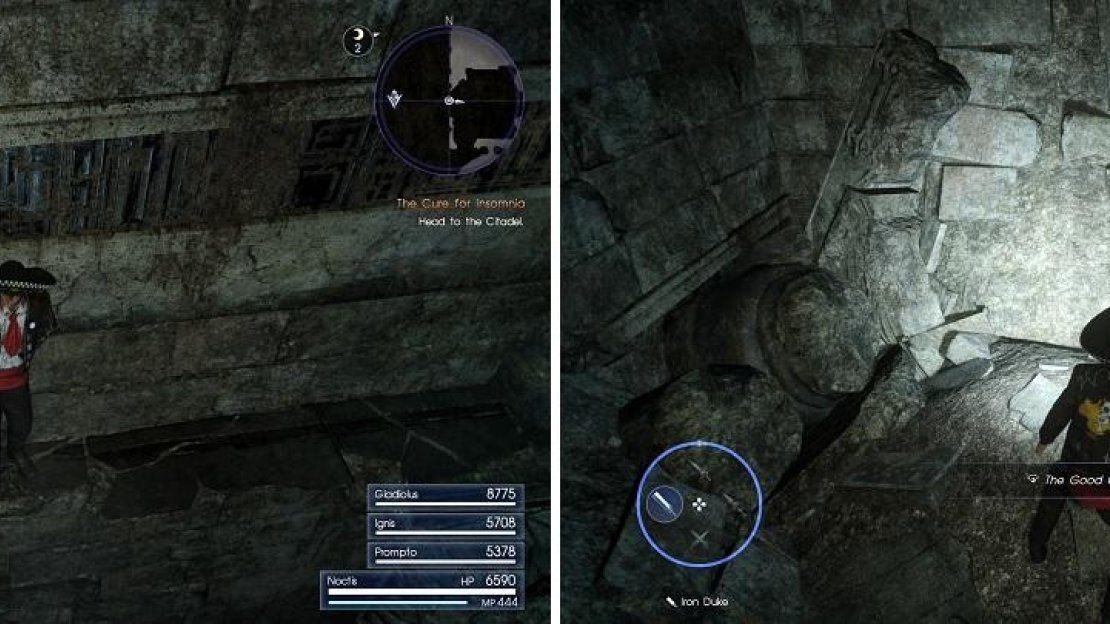
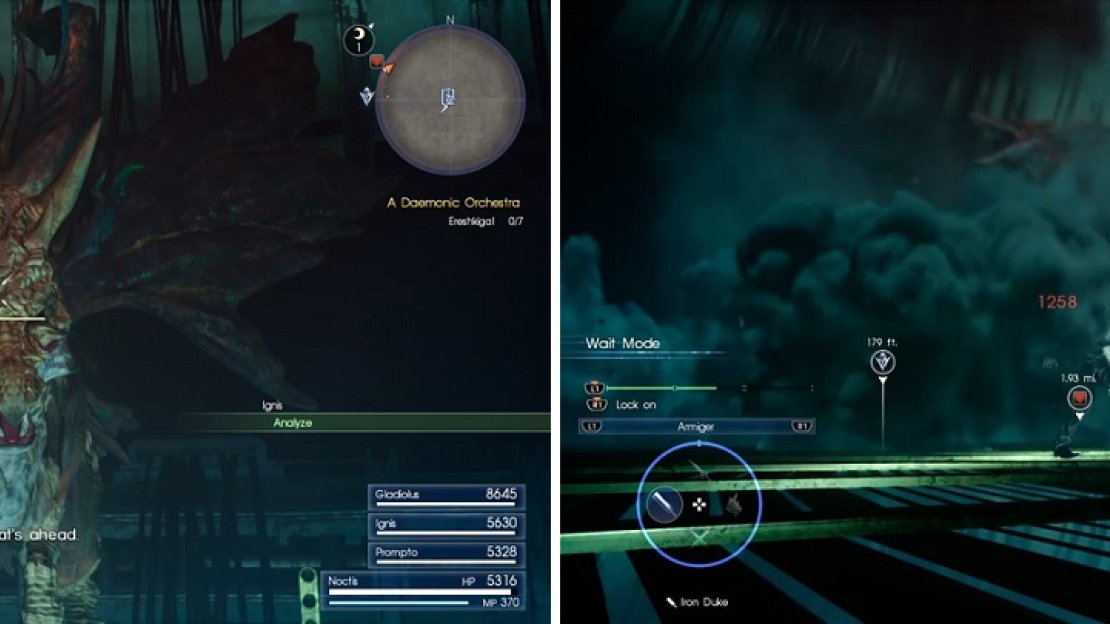
As you would think, you’ll encounter some more enemies in the next room, but these are only Ereshkigals. Despite their frail appearance, their quick movements and somewhat mediocre numbers can prove to be challenging. They are level 39, weak to swords, shields, fire and holy (a nice place to test out that Radiant Lance, perhaps?), while being strong against lightning. You have two ways to go in this room, a path to the southwest and another to the southeast. Take the southeastern one first, sidling across the narrow ledge to grab the Thieves’ Way II accessory for Noctis.
After sidling to get Thieves’ Way II (left), drop down to find a door that houses The Good Chamberlain accessory (right) for Ignis.
The other path in the room will have you balancing your way across a pillar and will lead further into the dungeon. The staircase you come across will pit you against some Bussemands, which are similar to the Hobgoblins you’ve fought earlier in the main story, should you remember them. Despite being level 44, they don’t have a lot of health and are weak to greatswords, machinery, fire and holy, while being strong against only lightning. Take out all of the enemies first, then look at the very top of the staircase, at the dead end, for some Orichalcum daggers (another weapon good against daemons).
One annoying thing about fighting the Bussemands is that they might stay out of the battle area and you will get free shots against them, since they won’t fight back when they are outside of the area. At the bottom of the staircase, go to the end and fall out to get ambushed by some Galvanades and Bussemands; remember to go after the Galvanades first to limit the number of enemies here. Snatch the Mega Phoenix on the ground and then drop through the opening in the railing to find some more Ereshkigals waiting for you.
Defeat them all, pick up the Hi-Elixir and when you go to open the door, the floor in the middle will crumble, presenting you with another choice. Drop down to face off against more Bussemands, as well as a Yojimbo, an enemy type you should be familiar with now. Take them all out and loot the Platinum Bangle , then head north to find an ice-elemental deposit and another fork. Go west and up the stairs to find the previous floor you were on, where you dropped through the floor. Take the eastern path in this room to find more Bussemands and in the northwest corner, you will find an Oracle Ascension Coin .
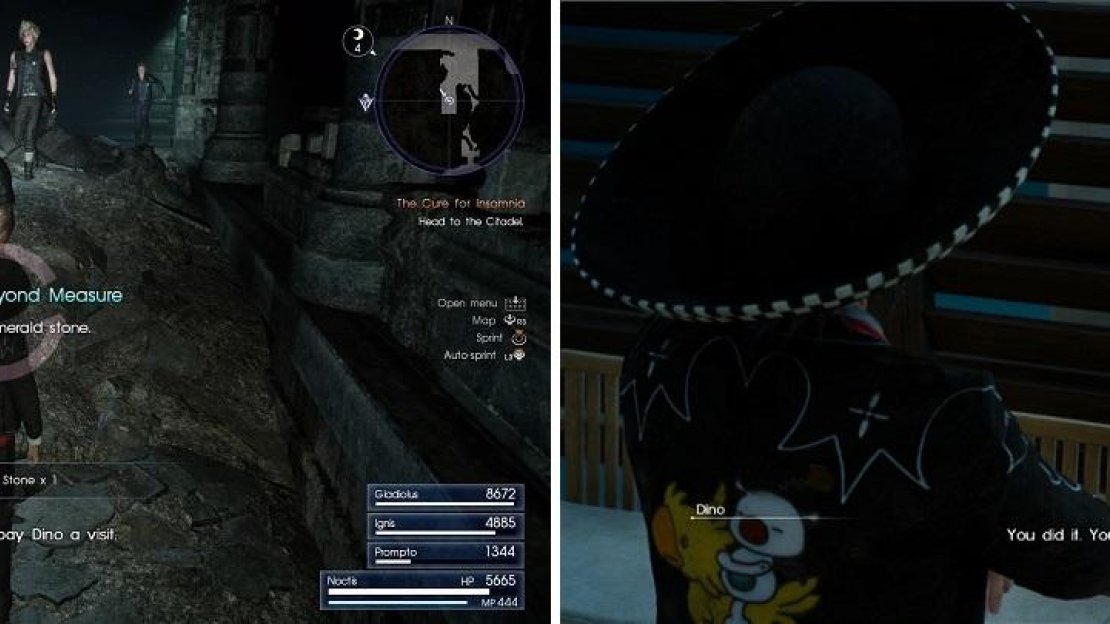
Don’t forget to grab the Emerald Stone for Dino while exploring (left), then turn it in after you’re finished with the dungeon (right).
Move down the eastern hallway, stopping to take the first detour that’s to the south, where two Ereshkigals will jump you. There will be a hole you can crawl through here, leading to another staircase, where you’ll fight a Galvanade and some Gelatins. You will find a fire-elemental deposit at the bottom and at the top, you will connect to the previous staircase you dropped off of prior to exploring this area. Note that there is a dead end in the pathway connecting the two staircases that is guarded by two Gelatins and contains a Mythril Shaft . Return to where you crawled through the hole and go east to a bigger room to fight some Ereshkigals and nab a Durandal (almost as if they’re telling you to use these daemon-hunting weapons), before going back to the staircase leading down.
There’s only one way to go here, where you’ll run into more Bussemands and energy deposit, this one being for lightning magic. Grab the Moogle Charm next to it and go into the next room, where you will find a large downward slope, with a mass of enemies (Galvanades and Ereshkigals) not far from the top. Slice and dice the daemons into non-existence and grab the Mega-Potion at the very bottom. Keep following the path to come to a bridge, where you’ll encounter two Yojimbos and a bunch of Ereshkigals. The Yojimbo, when they appear, should go first, since they are definitely powerful.
There will be a Mega Phoenix next to the doorway on the north side of the bridge, and another staircase beyond. As you descend, a plethora of Bussemands will drop down to try and punch some sense into you, so do the same before they can. You’ll eventually reach a very large room that has some strange looking runes or something on the ground, as well as a orange-reddish switch on the one side. Whatever you do, do NOT step on that switch, as it will teleport you back to the beginning of the dungeons.
Moving Cubes Room
This whole ordeal is quite troublesome and you will be in for a long ride, so it might be a wise to exit the dungeon (enemies don’t seem to respawn, but you can always move past them) and reapply your food buff/restock items if you’re low. Basically, there are four unique cubes in the corners of the room that you can access, although you can only get them one by one from the start. Interact when prompted to make the cube move and keep doing this to enter a maze-like area. You’ll be fighting some enemies along the way and will have to activate cubes to continue.
The catch is that there is only one path that will lead you to the dungeon’s boss, but the cube you need is not always available from the beginning. In fact, the order in which you access the cubes is random and resets each time you enter/exit the dungeon, so while you may get the northeast cube upon your first visit, it might not be the first one you have available if you exit and revisit the dungeon again. Whenever you don’t get the correct path, you will be placed in a large room at the bottom and have to fight through some enemies before you can take another cube back up to the main room with the four cubes.
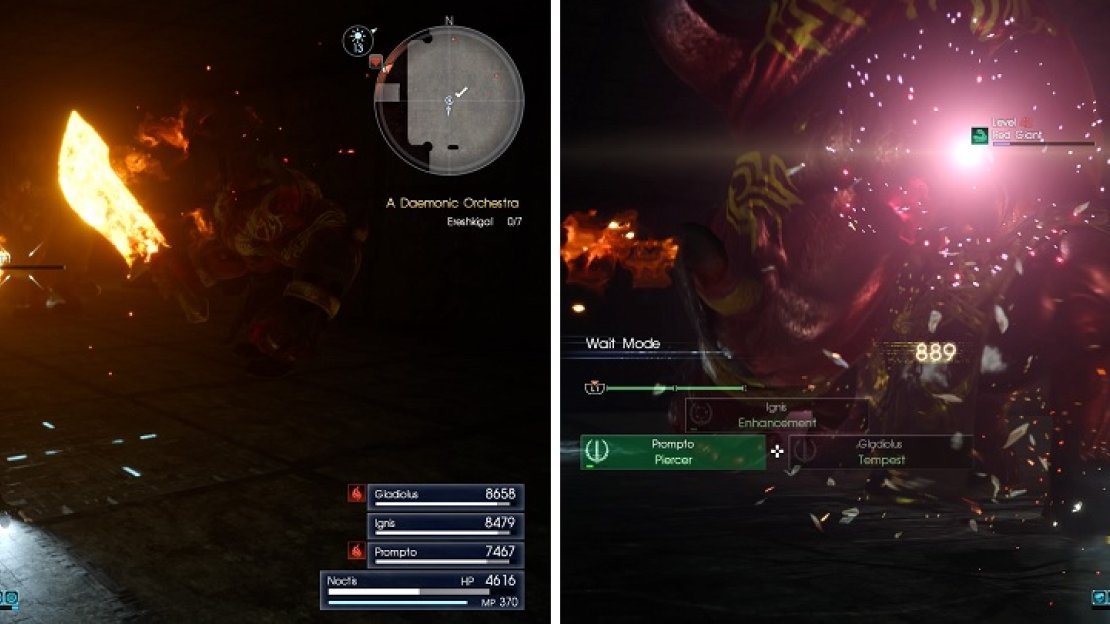
Fighting 3 Red Giants and a Nagarani (left) can prove to be troublesome. Use Techniques to give yourself an edge (right).
Each set of enemies will only grow stronger, up to a third time, after which you will encounter that third group until you find the right path. The first group of enemies will consist of level 14 Flans and a level 42 Red Giants, which the latter being the main problem, as they are resistant to everything but holy. The second group of enemies will be the same as the first, except there will be an extra Red Giant and some Garchimaceras, which aren’t anything special and are a lesser version of the Ereshkigals you’ve been fighting throughout this very same dungeon.
The third group of enemies is the biggest problem, as it adds yet another Red Giant, bringing the total up to three, as well as a level 49 Nagarani. This monster is a nuisance, since it can turn characters into Toads and somehow heal itself. However, it is weak to swords, shields, lightning and holy, while being strong against fire. If you can get a summon to prompt while fighting the third group of enemies, by all means take it to spare yourself some trouble. Otherwise, magic is a great tool to use, especially if you have any with Quad/Quintcast. It’s a challenging fight, but hopefully you only have to see it once (or not at all).
So, with all of that out of the way, which is the right way to go? It appears the southwestern cube in the main room is the one you want, as it always seems to bring you on the path to the boss’ room. At one point in the maze (if on the southwestern cube’s path), you will be faced with a choice to either go south or go east. You will want to continue east and eventually, you should find yourself on a different path that will lead you to a circular room with an odd-looking pedestal in the middle of it (and a Mega Phoenix right before that pedestal). Interact with this to find the boss of the dungeon, the Jabberwock!
BOSS - Jabberwock
The Jabberwock is not as strong as the packs of monsters you’ve faced in the dungeon thus far, but don’t let it fool you into thinking it’s an easy win. The main selling point for this monstrous dragon is that it has the ability to petrify your characters, so if you’re not wearing Ribbons at this point, then you’ll want to be packing some Gold Needles (you should always have a healthy supply of curatives on you). Other than that and despite the Jabberwock being a pretty unique monster in this game, it has similar moves to other monsters of its size. It has around 200,000 HP and is weak to polearms, machinery and ice, while being strong against only fire.
It will try to stomp you if you’re next to it, as well as toss rocks if you’re far away (this move prompts a block). Sometimes, when it stomps the ground, some rocks will burst out for a brief second or so. Should you be on the creature’s side, it will do a sideways movement to try and hit you, similar to some of the other big enemies you’ve come across in your adventure. Another move, if you happen to be far away, is that the Jabberwock will leap forward and cause some rocks to come out of the ground. Lastly, the enemy will unleash a gas around its body, covering a good area, and whoever is caught in this will be turned to stone, so having someone equipped with a Ribbon (especially Noctis) is ideal.
The Jabberwock is your final obstacle in Costlemark (left). Watch out for its breath attack (right), as it can turn your characters into stone.
Upon defeating the Jabberwock, you will receive the Sword of the Tall and will be ready to exit the dungeon. You can either go to your map and choose to go to the entrance, or take the red teleporter nearby in the boss’ room. Additionally, since you’ve now cleared Costlemark Tower, you can start the Fiend of the Fallgrove hunt at Cauthess Rest Area.
| Objective | Reward |
|---|---|
| For clearing Costlemark Tower | EXP 15,000 / Sword of the Tall |
No Comments