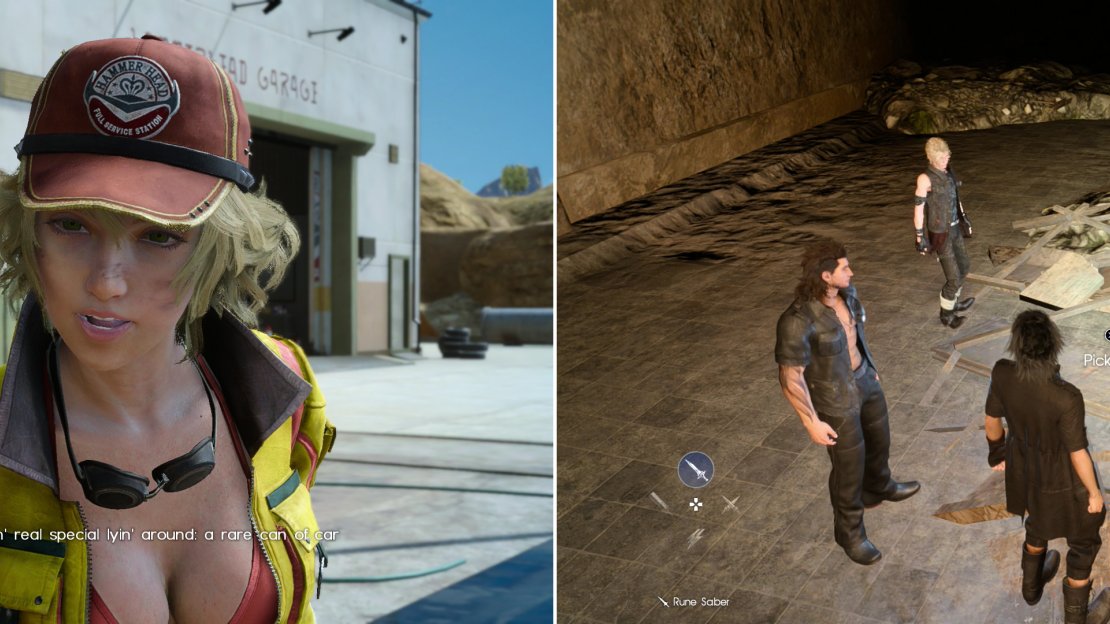
You can start Cindy’s sidequests in Chapter 2, after you’re done talking to Cid during the main quest “Ill Tidings”. Her quests revolve around you going to some specific area and finding her some vehicle-related item, which she then uses to improve the Regalia in some way.
Cindy’s quests follow a predictable routine: She asks you to find her something (left), then you go hunt down the automobile accessory she sent you after (right).
The Ever Regal Regalia
| Where | When | Reward |
|---|---|---|
| Hammerhead | Finish “Ill Tidings” and talk to Monica during the quest “Legacy” | 150 EXP |
Talk to Cindy and she’ll tell you about some “rare car wax” she wants you to find. Simple enough, make your way to the western edge of Leide where, south of the Prairie Outpost, you’ll find the Entethina Haven Campground. Follow a trail south-west from this campground to find a tunnel, which is occupied by daemons. Unfortunately, this is where Cindy’s care wax is located, but the daemons inside are nothing more than weakling Goblins. Make your way into the mine, find the “Aero Wax”, then return to Cindy.
The Ever Elegant Regalia
| Where | When | Reward |
|---|---|---|
| Hammerhead | Finish “The Ever Regal Regalia” | 500 EXP |
After returning to Cindy with the Aero Wax, talk to her again to start this quest, which also has you going to a mine - this time to Balouve Mines, which are south-east of the Longwythe Rest Area. The object of your search this time is a Redstone Shard, but note that this item can be found at many different Mineral Deposits across the world. If you didn’t find one elsewhere, make your way to the Balouve Mine Parking Spot, enter the mine on foot, ignore the elevator and grab the Redstone Shard, returning to Cindy crowned in victory afterwards.
The Ever Gleaming Regalia
| Where | When | Reward |
|---|---|---|
| Hammerhead | Finish “The Ever Elegant Regalia”, Complete Chapter 2 | 600 EXP |
After finishing up Chapter 2 by completing the quest “Declaration of War” you’ll be able to travel to Duscae. South of the first outpost you stop at - the Coernix Station - Alstor - is the large, Catoblepas-infested Neeglyss Pond. Along the north-eastern shore of this pond is a watertower, near which is a shack and a car. Use the watertower as a guide to get you close, then search around the shack to find the car, near which is the Fiberglass Coating Cindy sent you after.
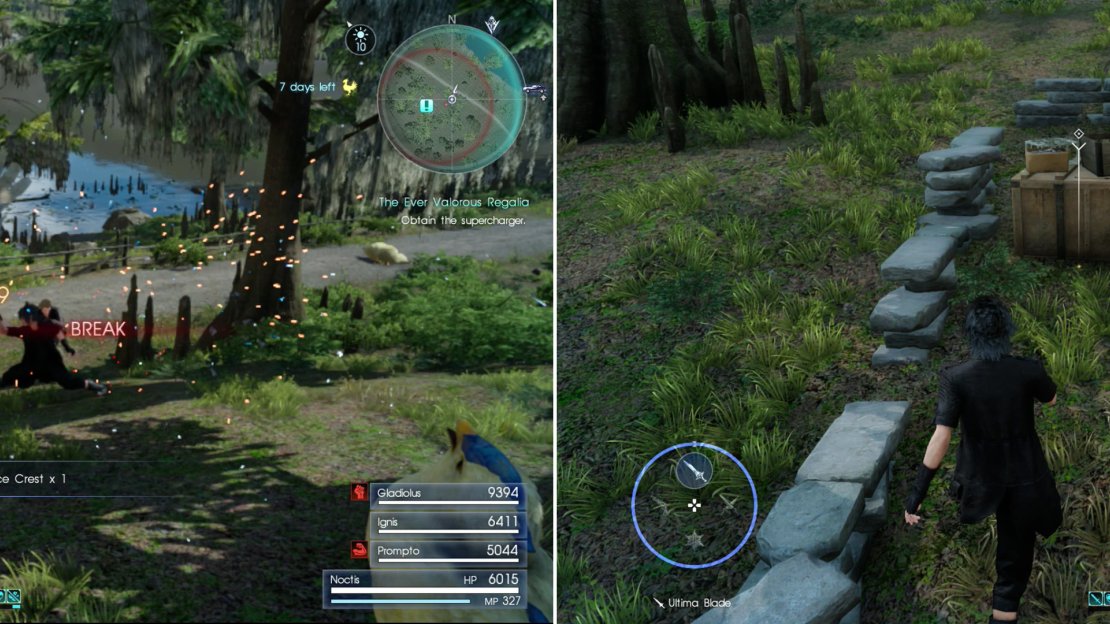
Kill the Cockatrice family (left) then claim the Supercharger (right).
The Ever Valorous Regalia
| Where | When | Reward |
|---|---|---|
| Hammerhead | Finish “The Ever Gleaming Regalia”, Complete Chapter 6 | 1,000 EXP |
For this quest Cindy wants you to find a Supercharger, which forces you to go to The Vesperpool area in the north-western reaches of the map. To do this, you’ll have to complete Chapter 6, but ideally you’ll wait until you have your full party back in Chapter 8, after the quest “A Precious Source of Power”. Running through the southern end of The Vesperpool is a highway (marked as a green line on your map), and running along side this highway is a dirt road (marked as a yellow line on your map). Along the western end of this dirt road is a trail that runs north-west along the shore, eventually leading to The Myrlwood dungeon. South of this trail you’ll find a house with a broken down car near it. Kill the Cockatrice family that lives here (including Chickatrices and a Basilisk) and search near the car to claim the Supercharger Cindy wants.
The Ever Illustrious Regalia
| Where | When | Reward |
|---|---|---|
| Hammerhead | Finish “The Ever Valorous Regalia” | 3,000 EXP |
The next object Cindy will set you after are some headlights capable of driving daemons away. Unfortunately, these are located in the Crestholm Channels dungeon, which are not to be taken lightly. You can find an in-context walkthrough of the dungeon - including where to find these Enhanced Headlights - in the “Crestholm Channels” section of the walkthrough, but loose directions will also be laid out, here.
From where you enter the dungeon you’ll have to go down a sewer channel and up some stairs to reach an elevated tunnel. Follow it until you can drop down to a lower section of the dungeon and get behind some doors that open back up into the sewer channel with the stairs. Near where you drop down is a depression surrounded by a guard rail, which you can leap over to find four tunnels. Take the one with stairs down and when you reach a small chamber with a grate floor turn north-west to find the Enhanced Headlights Cindy told you about. When you take them back to her and install them, you’ll be able to drive around at night without fear of being pestered by daemons… and better yet, Cindy’s questline will be complete.


No Comments