Gladiolus will introduce you to Sania when you reach the Coernix Station - Alstor at the beginning of Chapter 3. As soon as you bother her she’ll immediately punish you for your interruption by sending you to science for her. There’s little substance to this character other than this overwhelming desire, and the first (and last) of her qeusts are focused around frogs. There’s a bit of diversity in the middle of her questline, when she starts sending you out to gather monster bits from other monsters. So basically her quests either involve going on scavenger hunts of varying degress of complexity for small, colored frogs or doing generic monster hunts. Still, she’ll reward you with stupendous amounts of experience and a status-effect negating accessory, capping with the almighty Ribbon. As unimaginative as her quests are, they’re well worth doing.
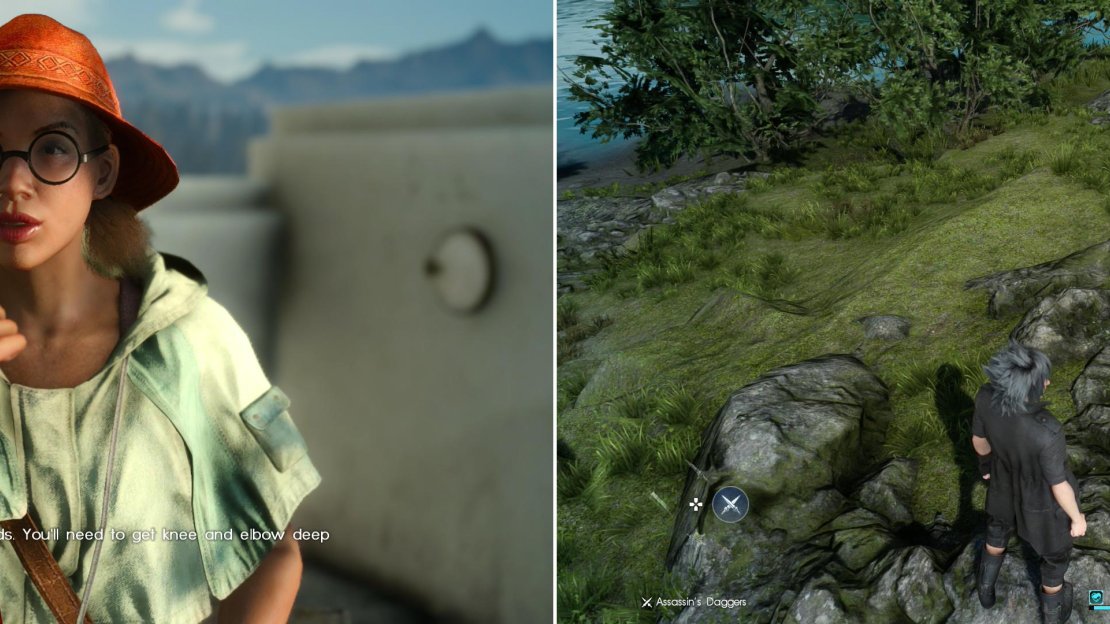
For wasting her time, Sania demands that you find her some red frogs - for science! (left) You’ll find the frogs along the south-eastern shore of Neeglyss Pond (right).
The Professors Protégé
| Where | When | Reward |
|---|---|---|
| Coernix Station - Alstor | Complete Chapter 2 | 3,000 EXP, Star Pendant |
Talk to Sania at the Coernix Station - Alstor and Sania will task you with finding five red frogs, which can be found in the Alstor Slough. More specifically, you’ll find them along the south-eastern shore of Neeglyss Pond. They’re red, so they should stand out fairly obviously, and you can hear them croaking when you’re close, but other than that, you’re just going to have to hunt them down. There are two on the rocks along the south-western edge of the search area, one along the shore to the north, one on the grass near some bushes east of the center of the search area, and one on some high ground near the center of the search area.
The Professors Protégé - Yellow Frogs
| Where | When | Reward |
|---|---|---|
| Cauthess Rest Area | Finish “The Professor’s Protégé” | 4,000 EXP, Rainbow Pendant |
After the next quest ends Sania will move south to the Coernix Station - Alstor, where you can talk to her to get another frog-hunt, this time you’ll be hunting down yellow frogs. Being amphibians, naturally they prefer to dwell near water, so make your way east to the Forgotten Pool Fishing Spot, where you’ll find the objects of Sania’s desire.
You’ll find one along the northern end of the pond, north-west of the Fishing Spot, a second can be found near some rocks along the western end of the pond. The third is partially obscured by some grass and nestled in between some rocks along the southern end of the pond, while the fourth is also obscured by grass, on a rocky shelf along the south-eastern end of the pond. Finally, the fifth one can be found along the northern end of the pond near a Treasure Spot, just east of the Fishing Spot.
The Professors Protégé - Gigantoad
| Where | When | Reward |
|---|---|---|
| Old Lestallum | Finish “The Professor’s Protégé - Yellow Frogs” | 5,000 EXP, Moon Pendant |
Sania’s next quest is a considerable difficulty jump, and can be picked up if you visit her far to the west at the Old Lestallum Outpost. She’s still fixated on frogs, but this time, big ones. You won’t be bringing her a live specimen, you need merely hunt down a Gigantoad and kill it for its Slimy Oil. If you follow the quest by the letter, you’ll be sent to the depths of Malmalam Thicket to the south-west, where you’ll find such a beast, but you need not hunt down that particular Gigantoad - any one will do. They come out any time it’s raining, so if you don’t care to delve into the depths of Malmalam Thicket, you can simply run around the wilderness of Duscae in the rain until you find a Gigantoad… or Gigantoads, as the case may be - Slimy Oil isn’t a guaranteed drop, so you may have to kill several to get the item Sania desires.
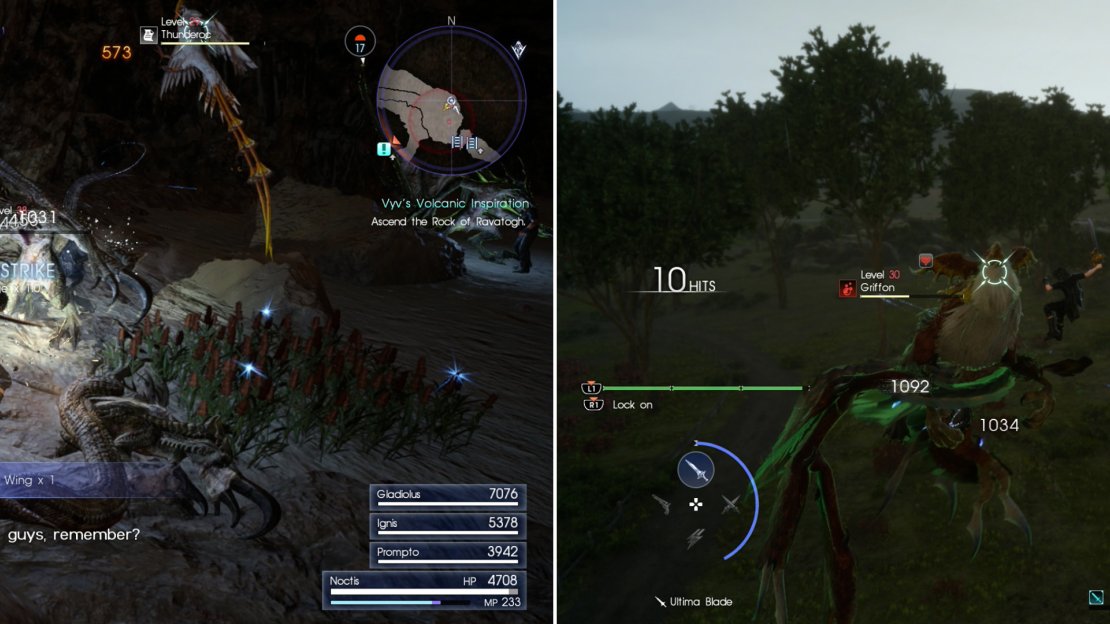
Sania’s later missions task you with acquiring monster bits, like a Wyvern Wing (left) and a Griffon Feather (right).
The Professors Protégé - Wyvern
| Where | When | Reward |
|---|---|---|
| Ferinas Station - Ravatogh | Finish “The Professor’s Protégé - Gigantoad” | 8,000 EXP, Earth Pendant |
After the previous quest you’ll find that Sania has moved even further west, to the Verinas Station - Ravatogh, which, as the name indicates, is at the base of the Ravatogh volcano. Talk to her and she’ll reveal that her science has led her in a new direction - she’s after Wyvern Wings now! Naturally you get these by killing Wyverns, which dwell along the slopes of The Rock of Ravatogh dungeon. You can also fight them by picking up the hunt “Verinas Mart Under Threat”.
The Professors Protégé - Myrlwood Firefly
| Where | When | Reward |
|---|---|---|
| Meldacio Hunter HQ | Finish “The Professors Protégé - Wyvern”, Complete Chapter 7 | 10,000 EXP, Golden Hourglass |
While you can pick up this quest any time you bother to head north to Meldacio Hunter HQ, you’ll need to get into The Vesperpool to actually complete this quest. The best time to do this, of course, is in Chapter 8, after the quest “A Precious Source of Power”. Make your way into the Myrlwood Dungeon, to the furthest depths of the dungeon where you’ll encounter a Treant guarding the Tomb of the Rogue. You’ll find the Myrlwood Fireflies here, but only at night, so wait around until they start glowing, then harvest them.
The Professors Protégé - Griffon
| Where | When | Reward |
|---|---|---|
| Coernix Station - Cauthess | Finish “The Professor’s Protégé - Griffon” | 12,000 EXP, Safety Bit |
Make your way to the Coernix Station - Cauthess to find Sania again, who is all too eager to send you on another quest, this time to find her a Griffon Feather. You can find Griffons in two areas: a strong, high-level Griffon roams freely north-west of the Coernix Station - Alstor, while the other one (the one this quest sends you to) directs you to the Tostwell Grill in Lestallum, where you can pick up the hunt “Ruler of the Brave Skies”. The hunt Griffon is lower level and easier to track down, so you might as well go after that one.
The Frogs of Legend
| Where | When | Reward |
|---|---|---|
| Meldacio Hunter HQ | Finish “The Professors Protégé - Griffon” | 15,000 EXP, Ribbon |
Sania’s last quest - and the entire reason to do this questline - will force you to trudge back to the Meldacio Hunter HQ, where she’ll tell you that’s she’s fixated on small frogs again. This time, however, the only lead on these amphibians - these Rainbow Frogs - is that they’re near water. Their locations are as follows:
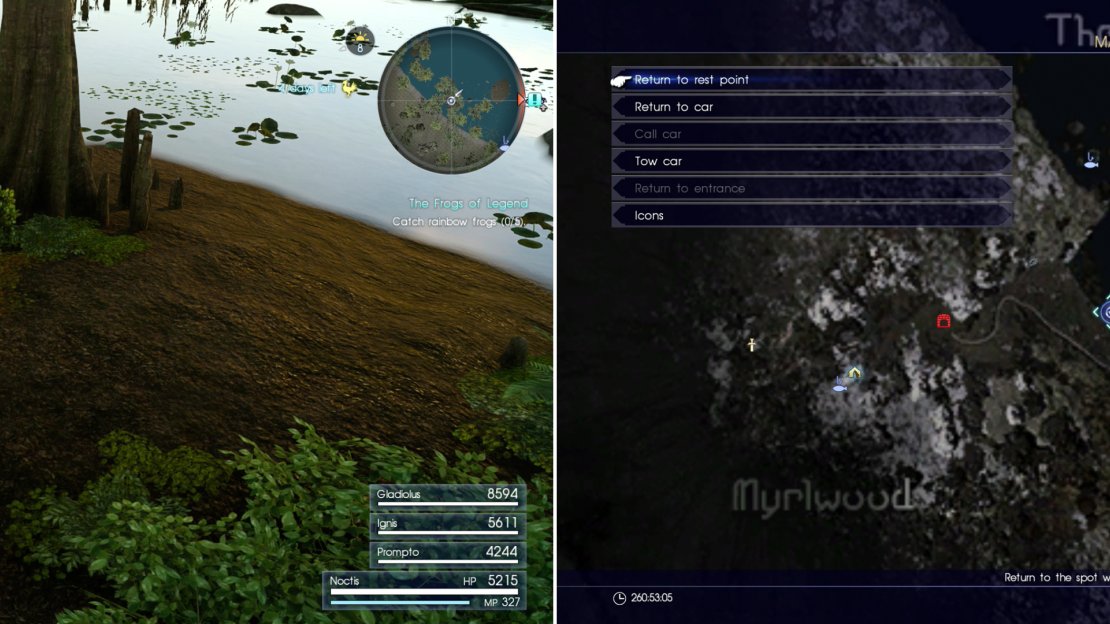
Find the Rainbow Frog in The Vesperpool (left) at the area indicted on the map (right).
Vesperpool Rainbow Frog
There’s one frog in The Vesperpool, so you might as well go grab that one while you’re here. Make your way to The Vesperpool - West Bank Fishing Spot and from there head north-west to find a small “island” upon which a Rainbow Frog resides.
Find the Rainbow Frognear the Saxham Outpost (left) at the area indicted on the map (right).
Saxham Reservoir Rainbow Frog
To get the next two Rainbow Frogs you’ll have to make your way back to Duscae, more specifically to the Saxham Reservoir Fishing Spot, which is, of course, near the Saxham Outpost on your map. Despite the name, Saxham Outpost isn’t actually an “outpost” (as in a place you can travel to), but traveling to the Coernix Station - Cauthess and heading south, then south-west at the fork will get you in the area. From the Saxham Reservoir Fishing Spot head east around the northern end of the pond until you find a water tower just north-east of the pond. From there, head south-west over a fence to find the second Rainbow Frog, near a boulder.
Find the Rainbow Frog in the Alstor Slough (left) at the area indicted on the map (right).
Alstor Slough Rainbow Frog
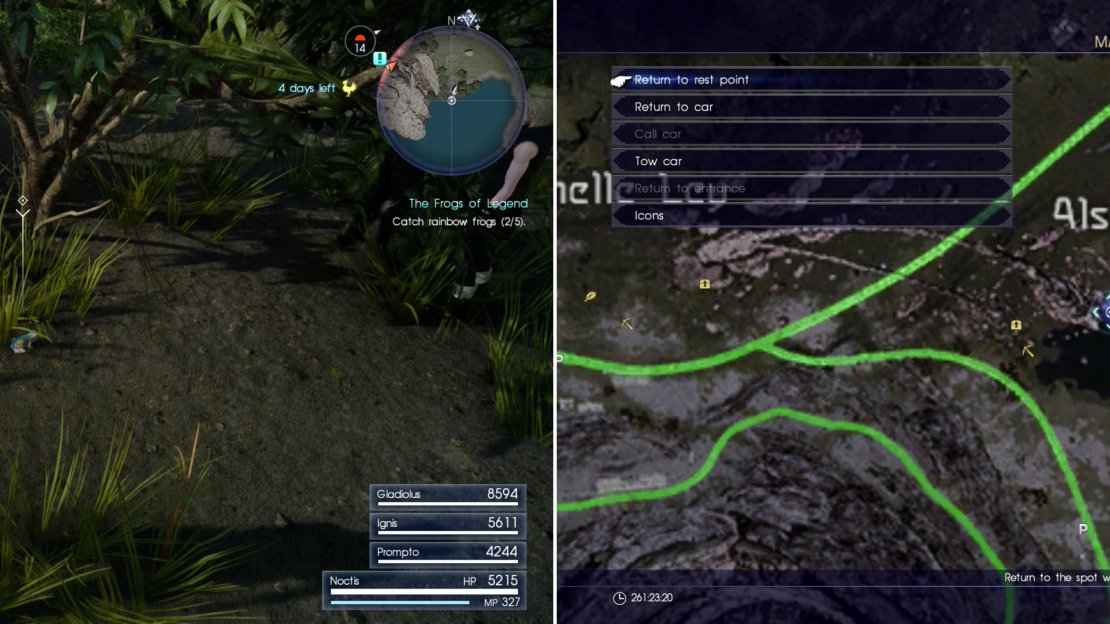
Froggy number three is also in Duscae, in a habitat where you hunted frogs earlier - the Alstor Slough. Another Fishing Spot - the Neeglyss Towerfront Fishing Spot - makes fine place to start from, so travel there by whatever means you find most expedient, then head south-west along the shore of Neeglyss Pond. You should shortly spot a water tower between Neeglyss Pond and another, smaller body of water, notable for the massive stone arches that terminate along its northern shore. From this water tower continue south-west to the edge of the water and run between a fence and the until you reach some trees. Search between the waterline and the trees to find the third Rainbow Frog chilling under a tree somewhat near the base of the stone arch.
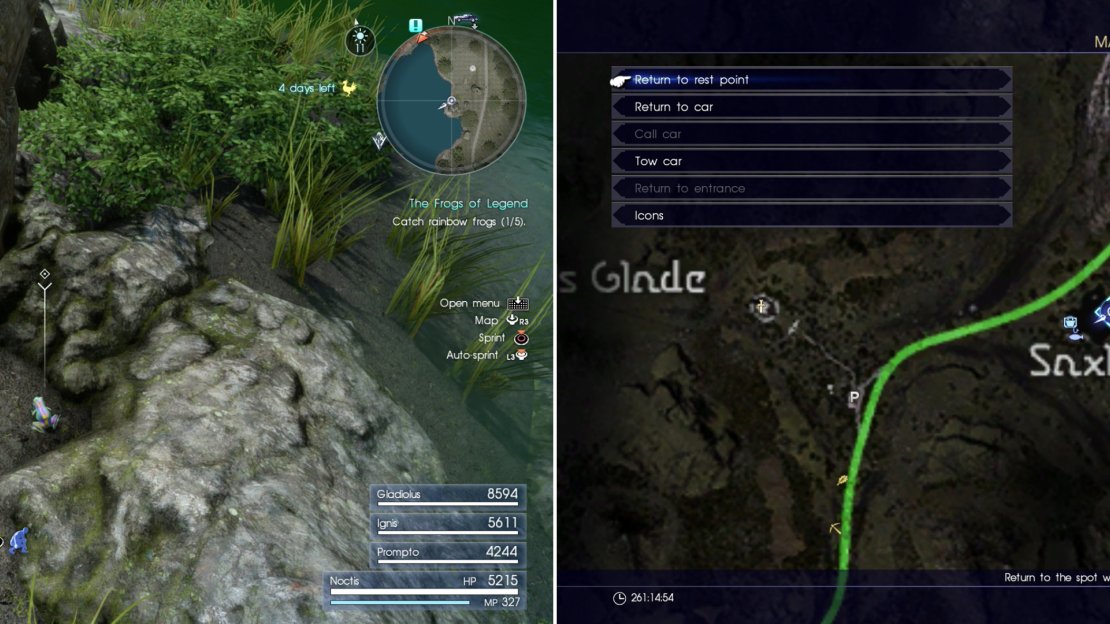
Find the Rainbow Frog near the fork in the Wennath River (left) at the area indicted on the map (right).
Wennath Fork Rainbow Frog
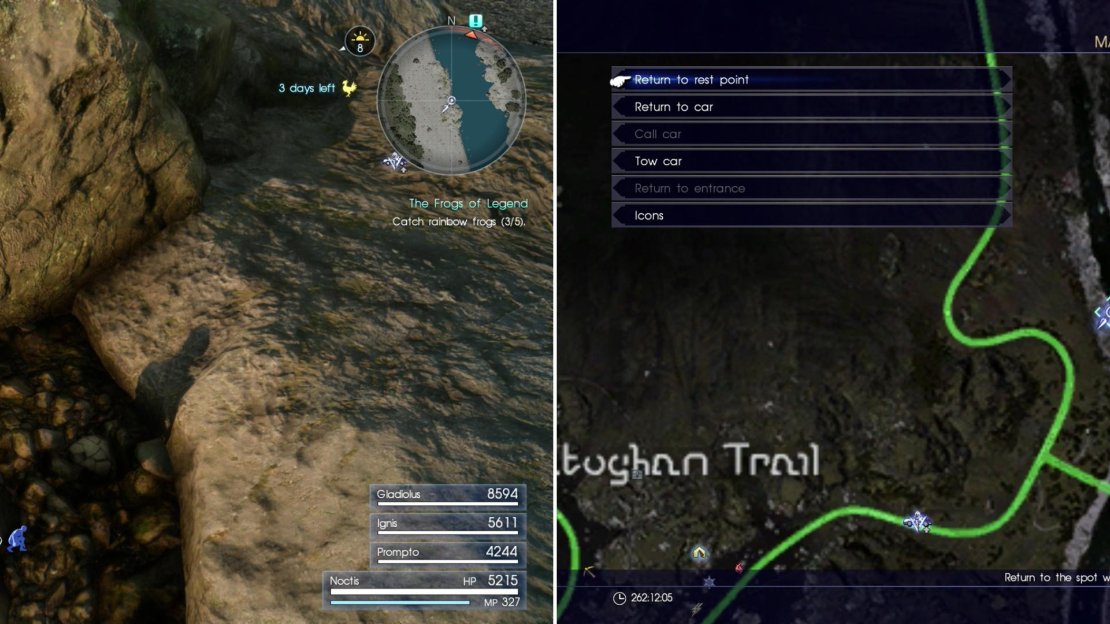
The next amphibian is a bit tricky, as there aren’t many map markers near it. Geography, however, will help you just fine, and it’s highway adjacent, so… there’s that. Travel to The Maidenwater Parking Spot (at the beginning of the Ravatoghan Trail) and from there walk/drive/ride back east until you reach a fork.
At this point the Regalia will be of no further use to you in your task to find the fourth Rainbow Frog, so ditch and note another water tower to the north-east. What? They make good landmarks! Jump the guard rail (further north the smaller guard rail will be replaced by a larger, impassible guard rail) and make your way east to the river. Follow the rocky coast north, killing any oversized fauna you might come across and, just south of where the river splits on the western side of the river, start looking for the Rainbow Frog. You’ll find it near a boulder along the shore, in a V-shaped depression.
Find the Rainbow Frog near Fort Vaullerey (left) at the area indicted on the map (right).
Fort Vaullerey Rainbow Frog
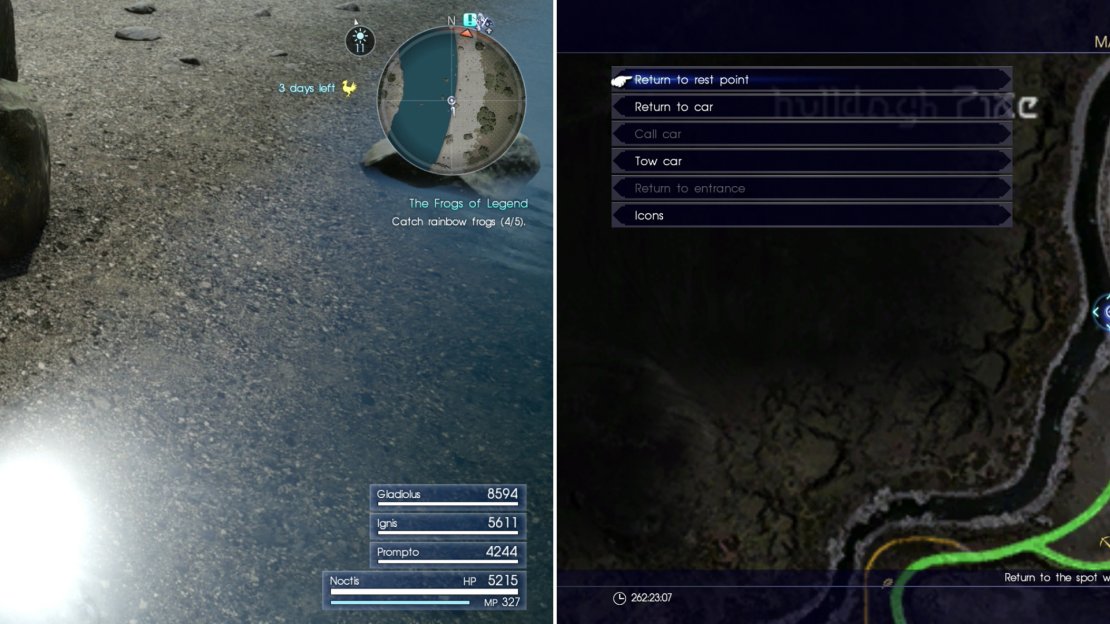
Four down, one to go. Get back to the Regalia and travel south to the Fort Vaullerey Parking Spot, then walk, ride a Chocobo or drive the Regalia further south until you’re flush with the southern edge of Fort Vaullerey. At this point turn west and leap the guard rail, abandoning the highway once again in favor of the river to the west. When you reach the coast turn north and follow the river until you find a boulder, near which the final frog lurks, between the boulder and the water, in sight of the dyke further to the north.
No Comments