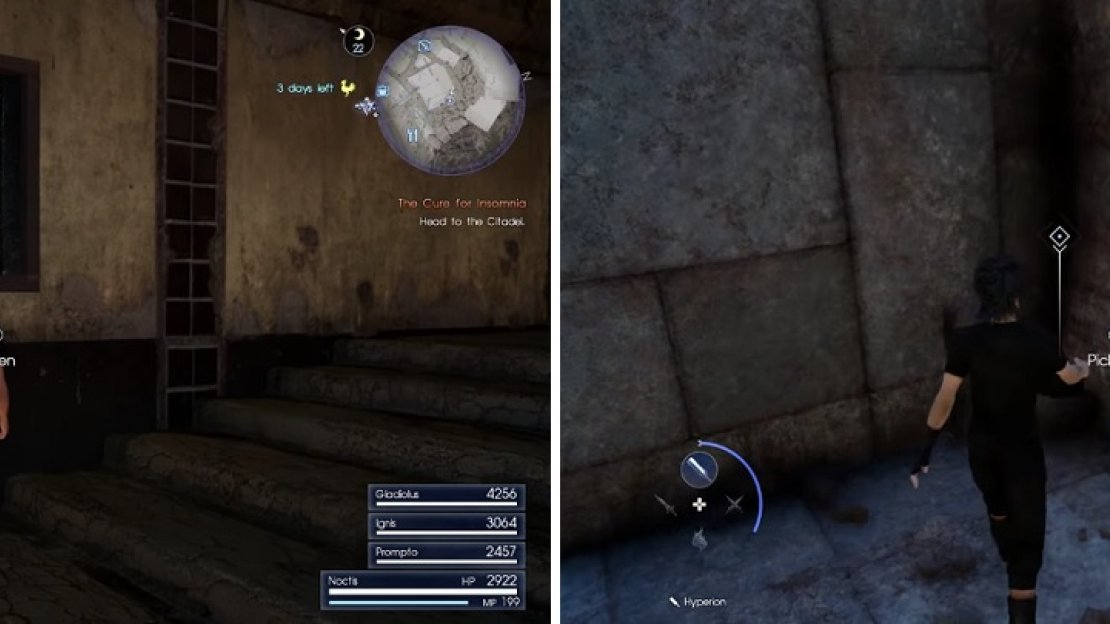
Pitioss Ruins is a special dungeon that requires the Regalia Type-F, as it is enclosed in a mountainous region. However, there is one thing you want to do before heading there, as there’s a secret quest that can be started in Lestallum. Make sure it is nighttime (if not, start a nighttime Hunt) and go to the eastern part of the city. North of the easternmost restaurant is an alley that has some stairs, with some buildings on the one side and rocks on the other. You should get a prompt next to the one window, which will start the Stealing the Past sidequest.
Where to Find Pitioss Ruins in Final Fantasy XV
Now that you have that sidequest, travel to Verinas Mart - Ravatogh and get some “info” from the tipster there to get a new marker on your map to the north. If you open up your map, though, and look north of where you are located and slightly west, you should spot a yellow strip. This is where you will be landing the Regalia and it’s highly imperative that it is daytime when you do this, as spotting the strip at night is going to be nigh impossible. Make sure you slow down as you descend and you should be pretty good to land.
Start the Stealing the Past sidequest in Lestallum (left). You only need to pick up the Magitek Core to finish it (right).
There are a lot of dangerous enemies out in this area, particularly if you just came here after finishing up the main story and are somewhere in the 50s or so. The enemy you’ll run into most often are Soldier Wasps (level 37), with other enemies including Regaltrices (level 44), Royalisks (level 62), a Kingatrice (level 70), and some Malbodooms (level 85). The path leading to Pitioss Ruins is near the Malbodooms and while there is a camping spot nearby, it might not be a good idea to use it, as entry to Pitioss is permitted only at night.
Feel free to fight off any enemies in the area if you want, provided you’re looking for a challenge of any kind, as some of these enemies cannot be found elsewhere if you’ve done some of the sidequests associated with them. Anyway, when you get to the structure that is the entrance of Pitioss Ruins, you will have to jump over a small gap. Once you do this, there will be a worn-down gate with a small gap that you can use to jump through, but don’t do that just yet. Instead, look in the corner to find an item laying on the ground. It turns out to be a Magitek Core and it will complete the Stealing the Past sidequest, earning you a whopping 50,000 EXP.
| Objective | Reward |
|---|---|
| For snagging the big score | EXP 50,000 |
Inside Pitioss Ruins
Once nighttime rolls around, you can finally enter the secret dungeon by hitting the switch on the main door. This dungeon is unlike the other dungeons in the game, as there are no enemies inside and you won’t be doing any combat at all. In fact, the entire dungeon is centered around platforming and puzzles, and you will find quite a few items inside, some of which aren’t available anywhere else. Although there aren’t any jumps that need them, it’s a good idea to equip daggers on Noctis, as their air attack will allow you to get some extra distance that may save you some trouble in the long run (or allow you to skip a section).
As you take the elevator down, you should see two items on a ledge you pass, so if you don’t grab them on the way down, take the elevator back up to grab them ( Rusted Bit and 2 Elixirs ). Drop down and look at where the elevator was (if it’s up at the top) to find a hole. Follow this path down and around, jumping over the gaps and onto the ledges along the wall, until you come to an item, which is 4 Oracle Ascension Coins . You can either jump down into the pit to respawn or jump to one of the lower areas from where you got the coins.
There are a few things that need to be said before delving any further into the dungeon. First and foremost, you cannot save at all while inside, so if you wish to do so, you’ll have to exit the dungeon. You may have seen a red barrier inside, which are basically shortcuts; you unlock them by destroying statues you come across, something you will see shortly. Next, you cannot actually die while traversing the dungeon, as any time you fall into the endless pit or hit a spike, you will simply respawn back at a checkpoint.
Now that you are in the first main room of Pitioss, there are a lot of things to take in. You will have a large iron ball in between two ramps, a big door opposite that, a large statue and some big moving blocks. Go towards the large cage and grab the one item you can get from this side ( Rusted Bit ), then grab the next item ( 5 Potions ) in the path of the first moving block. When the moving block recedes, you will see a path, so take it past the first block and wait for the second one to get past that one, too. Follow this path, jumping over the pits and go up the ramp to find your first official shortcut.
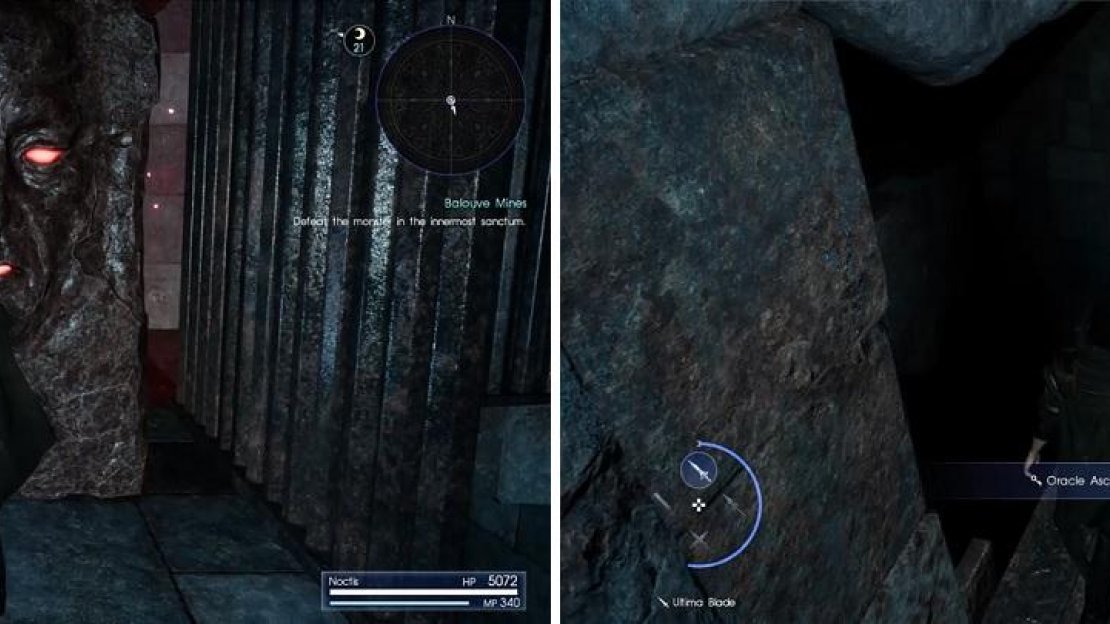
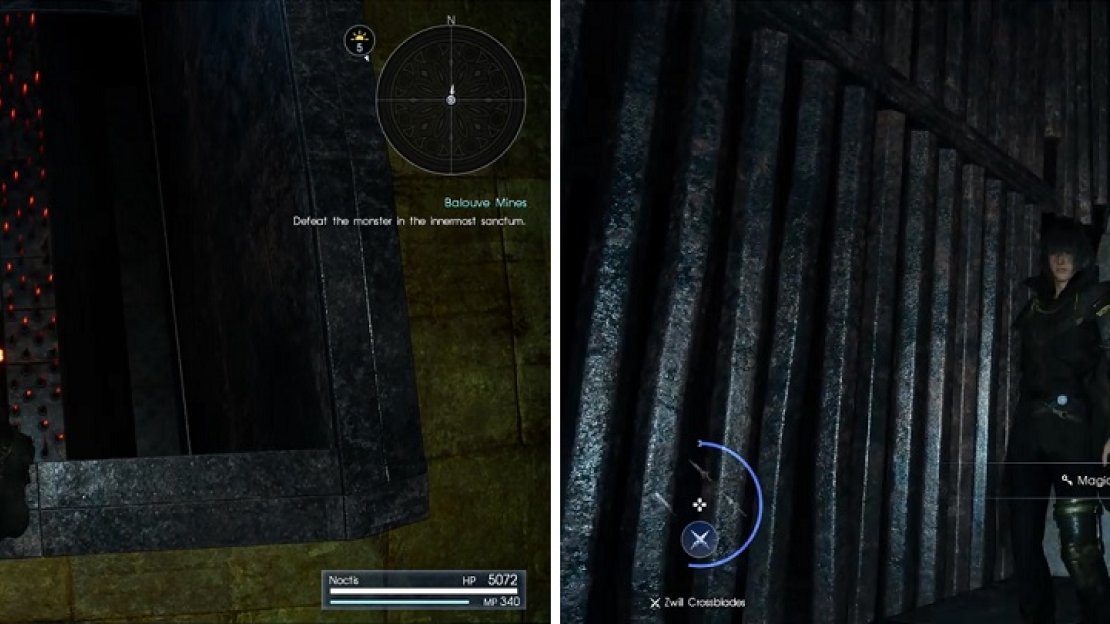
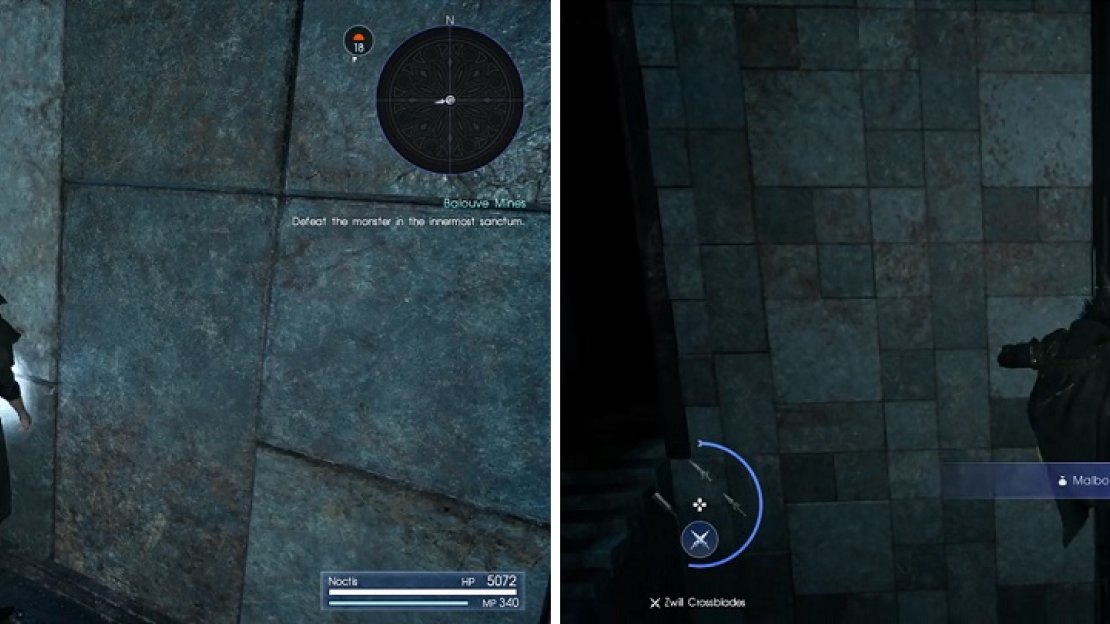
The statues serve as shortcuts throughout the dungeon (left). One of the main draws of Pitioss is that it has a lot of Oracle Ascension Coins (right).
Whack the statue a few times with any weapon until it disappears, then go up the ramp it opens up, grabbing the Rusted Bit along the way. Continue up the next ramp and before reaching the top, there is a beam sticking out from the ledge to the west that contains 10 Metal Scraps . Return to the top to find some more barriers that you can’t open right now, so ignore them and jump across the gap to another barrier. Snatch the Rusted Bit here and look at the item you can see on the small ledge along the bent-up cage. You can jump on this very narrow ledge and grab the item, which is a Metal Scrap .
You should also take notice of the white button on the incline nearby, but don’t worry about it just yet (it will come into play shortly). Now, the next part is a bit hard to describe, but there is another narrow ledge around the corner, so hug the cage while jumping to land on it. From here, you can leap to the opening just next to it to grab another item, 6 Potions . Look to the north to spot another ledge sticking out from the wall, and a very narrow beam beyond it. This jump is definitely tricky to land and the item from that beam is 7 Mega-Potions .
Drop down from where you got the Mega-Potions onto another beam below and from there, you can jump on top of the cage. Hit the switch there to raise the cage, bringing you to another of the statue shortcuts. Jump back across the gaps and slide down the incline with the white switch, then do so again with the next one to hit the orange switch. This causes the one iron ball to come loose, where it will hit the wall near the statue that was underneath the cage. Grab the items where the cage to receive 3 Garnet Bracelets , 4 Elixirs , 5 Iron Shavings , and a Blood Sword .
Where the iron ball was located is now a passage you can use to find some stairs ( 3 Bronze Bangles from the item along the way). You will now be at a spot where you can be on top of the moving walls from earlier, so go to the end and jump on the ledge to grab another Elixir . On the platform in between the two moving walls is a path leading into the next room. You are now in another big room, which will be visited later on again. Start off by going east, across the moving wall, to find an item around the corner ( Rare Coin ). There’s another item ( Rusted Bit ) just around the corner, on a ledge.
Drop down to the stairs and at the bottom, jump over to where the moving wall is to find 3 Potpourri accessories. Keep going in the same direction, stopping just past the second moving wall to avoid being swept into the abyss, then squeeze through the opening you spot around the corner, near where the moving wall stops receding. There will be a Soldier’s Anklet just at the bottom of the ramp, and a white switch you can hit on a platform at the end of the this little path. Doing that will activate another switch you might have seen near some stairs on the opposite side of the room. Head on over there and step on it to make the door near it open, where you can find a chest with some items inside ( 5 Ethers ).
Now, return to the entrance of this room and go east this time, passing underneath some spike traps and stop at the edge. Jump on the statue below you, then onto the iron ball and jump one last time to hit the orange switch on the wall. This will make a giant ball knock down a statue’s head on the opposite side of the room, allowing you to progress further. Go past the head and up the stairs, jumping onto the same head, which will allow you to reach the item on the very tiny ledge of the one pillar ( 4 Oracle Ascension Coins ). Return to where you jumped on the head, navigate the arm and hit the switch to release another giant iron ball to knock down a door, leading deeper into the dungeon.
Rotating Wheel Room
That was a nice warmup and it’s time to delve into the heart of the dungeon now, as evidenced that the dungeon’s name just finally popped up on the screen. Just past where the iron ball smashed down a door are two shortcuts you can’t reach from this side, so ignore them and hop your way across the chasm. Once you reach the rotating spike pillar thing, you will want to jump to the left side of it. Stop when you come to the iron ball and look to the north on either side of the “hallway” created by the metal beams. There are two ledges you can reach by jumping from the curved yellowish floor here, which will net you an Elixir and a Glass Gemstone .
Head past the iron ball and use the beams sticking out from the floor to reach the white switch, which when hit will make the yellowish contraption in the room start to spin. There are a lot of items to acquire in this room, most of which will require you to get to the top of the room. For now, jump down into a pit and get on the western side of the room, where you can see the rotating spike trap and the big giant ball spinning. If you look closely at the openings as they pass, you will notice there are two notches on either side that will be used to get on top of the spinning contraption. However, the one item you can get right now is on a ledge right behind that spinning spike trap, so jump on the trap and then to the ledge to get 3 Hi-Elixirs .
Back on the other side, you will want to stand on the tiny portion of the giant spinner, next to one of the notches and when it gets to the top, stand on the actual spinner itself. Keep moving to avoid getting dropped below and when the thing finally stops, look to the north side of the room to spot another spike trap and a ledge right next to it. Jump on the ledge, then onto the spinning trap and once more onto the other ledge near it. Follow this path to reach a large slope that will have a large beam connected to it. Continue on this beam to a statue you can jump on, which leads to another large beam.
At the end of this beam, get on the slanted surface and go the only way you can, dropping down into the hole to find three treasures, nabbing 4 Oracle Ascension Coins , 4 Rare Coins and 17 Ethers . Break through the shortcut and get back on top of the giant spinner, jumping off to the south side this time (not on the spinning spike trap). Venture east to find a beam jutting out, allowing you to jump to another platform with a Rusted Bit on it. If you look around the corner to the north, you should spot another item on a thin beam. Jump onto it and grab the 3 Rusted Bits , then jump down to other two items below, which is just above the switch you pressed to start the giant spinner ( Metal Scrap and 4 Oracle Ascension Coins ).
Once more, get on top of the giant spinner and jump back off the southern side, this time on top of the spinning spike trap (might need to use the dagger air attack to land safely on it). Hop over the blocked off area and grab the 4 Iron Shavings from the precariously hanging beam, then follow the rest of the path to reach the other statue checkpoint you saw at the beginning, netting yourself more items (total of 8 more Oracle Ascension Coins ). With all of that out of the way now, get back on top of the giant spinner and wait for it to stop. If you look down the hole at the top, you should see a small opening in between the spikes, with an orange switch. Quickly drop down onto the switch and ramp to send the iron ball you saw earlier flying. Grab the Magic Flask you couldn’t before, then follow where the iron ball went to find a path leading further into the dungeon.
Wait until the spinning wheel thing stops before jumping down between the spikes (left). After the iron ball moves, you can pick up another Magic Flask (right).
Hallways of Doors
Jump onto the iron ball (there’s a gap), then keep hopping from platform to platform until you get to the beams. Traverse these and you’ll come to a big hallway with many doors. Grab the Prawn Antennae by the foot of the large statue, then press the orange switch to make a door open up. Return to the statue and look for the jutting beam, which will allow you to jump on some ledges sticking out from the wall and the door that just opened. Head inside to find a bunch of moving spike traps.
This room can be a bit of a pain, since you don’t have a lot of room in which to maneuver, so you’ll need to take a bit of extra precaution. Jump over the two moving up and down when the one going side to side is out of the way, making sure to stand out of the way to avoid getting hit. Look to the north to find another moving up/down that you can jump on top of, so do that and notice that there’s a lone platform near the entrance that has an item on it. Time your jump to get to it to nab an Earth Gemstone , then return to the previous platform you were on.
For the next jump, you’ll need to time it so you go in between the two spike traps moving up and down. Run under the next two and jump on the final moving trap at the end of the room. From there, you’ll need to jump across the top of the traps you ran under earlier to get to a ledge with an orange switch and an item ( 10 Metal Scraps ), opening up the door across from the one you first opened. In this new room, there will be rotating traps moving back and forth along some isolated platforms.
Get past the first one, but watch out for an item ( 3 Oracle Ascension Coins ) in the middle of the second platform. Jump in between the two spinning traps on the third platform, then there will be one more jump to the other end of the room. There will be a Rusted Bit on the one end here and on the other side, you’ll need to jump on top of the spinning traps to reach the far end here. Along the way, make sure you pick up an Iron Shavings , 3 Rusted Bits and some more Potions . Once you reach the end, grab three Star Pendants from the item pickup and while standing on top of the door, look to the west to find some ledges you can hop on to reach a longer beam.
Look to the south to find a gap above the one door that you can squeeze into, which is the next room. As you approach what seems like a dead end, a circular piece will begin moving, which has a notch in it to accompany Noctis. Use this to reach the other side and go up the ramp, dropping off to grab the Glass Gemstone on the isolated platform. Pass by the second and third circular moving pieces, then look behind you to spot an item on another ledge ( Chrome Bit ). Jump on top of the third moving piece to reach it, then continue on into the dungeon. At the end, slide down the ramp to hit another orange switch, then grab the 2 Chrome Bits and an Ether .
Back in the main hallway, head straight across from where you exited to find the next room. You will find that this room can be a bit of a pain, especially if you’re looking to get all of the items. You basically have to navigate around the room while riding some moving platforms. On the north side of the very first wall is an item that you might not notice ( 5 Mega-Potions ) in the very corner. Avoid the spikes and jump onto the stationary platform. You might be confused on the next part, as the moving platform goes past some bars that you can’t get past on your own.
Instead, look down where the bars are located to spot a small ledge sticking out of the wall. When you get the chance to jump on a moving platform, just hug the corner by the northern wall and the bars to drop right onto that ledge with no problem. Follow this path up to another section and probably the toughest for this room. As the moving platform gets close enough, you’ll need to jump on it and then the tiny ledge with the item on it, making sure not to hit the spikes ( Rune Earring ). While on that tiny ledge, wait for another moving platform and you’ll want to get on it while going around the corner.
This will put you in between two spike walls, with a small platform there and some spikes in front of that platform. Time your jump to land on the moving platform when it goes past where you’re at, then wait until you pass the next wall to find some stairs. Make sure you grab the item from the lower area ( 2 Oracle Ascension Coins ), then take the stairs to get on top of the little maze you just navigated. There’s nothing of note up here, except a Rare Coin in the one corner near where you’re supposed to go. Jump to the slanted slope you see, then pass through the small corridor of spikes. There will be one last jump here to hit an orange switch amongst more spikes, with another Rusted Bit right there next to it.
The rotating door makes it quite difficult to get the item at the top of the doorway.
From the switch, jump over the spikes to the east and go up the little ramp to find 3 Oracle Ascension Coins . You can also jump to a narrow ledge near the door that lets you reach two items in an alcove above it ( Metal Scrap and 2 Fine Slimy Oils ). That last switch you hit made the last door in the main hallway start rotating. If you look at the top of the door frame, though, you should see an item resting up there. Getting it might be a bit of trial and error, as you will need to get on the rotating door when it’s facing you and then inch towards the upper lip of the door as it goes up, letting you grab the 5 Malboro Vines before being dropped into the pit below or to one of the thin ledges. Now, jump on the door when it’s facing you again, then to one of the thin ledges and just as it begins turning away from you, jump and run to get over to the next area.


No Comments