
![]() Spellbound is a quest in
Spellbound is a quest in ![]() Dragon’s Dogma 2 that offers
Dragon’s Dogma 2 that offers ![]() Mage and
Mage and ![]() Sorcerer players the perfect opportunity to grab themselves some powerful spells. On offer is the
Sorcerer players the perfect opportunity to grab themselves some powerful spells. On offer is the ![]() Meteoron and
Meteoron and ![]() Celestial Paean spells, which offer Sorcerer’s a very long cast to spawn meteors from the sky to deal big damage across a wide area. On the other hand, Mage players can get huge defensive and Stamina buffs for their party. It’s safe to say these spells a very good, yet, there’s a few tricks you’re going to need to be aware of before proceeding. Here’s a closer look at everything you need to know about the Spellbound quest in Dragon’s Dogma 2. The guide features Spellbound’s Grimoire locations, handy tips, and ways to deal with the follow up to the quest.
Celestial Paean spells, which offer Sorcerer’s a very long cast to spawn meteors from the sky to deal big damage across a wide area. On the other hand, Mage players can get huge defensive and Stamina buffs for their party. It’s safe to say these spells a very good, yet, there’s a few tricks you’re going to need to be aware of before proceeding. Here’s a closer look at everything you need to know about the Spellbound quest in Dragon’s Dogma 2. The guide features Spellbound’s Grimoire locations, handy tips, and ways to deal with the follow up to the quest.
Spellbound Quest in Dragon’s Dogma 2.
How to Start Spellbound in Dragon’s Dogma 2
To start Spellbound, you will need to visit ![]() Eini’s Home, located to the south of the entrance to The Mountain’s Secret. You can find these locations by traveling west from the
Eini’s Home, located to the south of the entrance to The Mountain’s Secret. You can find these locations by traveling west from the ![]() Borderwatch Outpost, then moving north at the fork in the road into the mountainside. Continue up the hill, and then turn right near the campsite to find a secluded house in the woods.
Borderwatch Outpost, then moving north at the fork in the road into the mountainside. Continue up the hill, and then turn right near the campsite to find a secluded house in the woods.
Once you arrive at the house, speak to ![]() Trysha, who will ask you to fetch some Grimoires. She doesn’t quite tell you what they are, but speak to her again, and the turn in items reveals what she’s looking for. Don’t worry we have a table below of where to find all grimoires for the Spellbound quest below.
Trysha, who will ask you to fetch some Grimoires. She doesn’t quite tell you what they are, but speak to her again, and the turn in items reveals what she’s looking for. Don’t worry we have a table below of where to find all grimoires for the Spellbound quest below.
Spellbound’s Grimoire Locations
Now you have the Spellbound quest, you need to track down the location of five Grimoires. The locations of the Grimoires are as follows:
| Grimoire | Location | Interactive Map Marker 1 | Interactive Map Marker 2 |
|---|---|---|---|
| Obtainable from |
Map Marker | – | |
| Available for purchase from |
Map Marker | – | |
| Acquired either from the Waterfall Cave in the northeastern edge of Vermund, along the eastern road from the |
Map Marker | Map Marker | |
| Another find within the confines of the |
Map Marker | – | |
| Visit Waldhar when you have the |
Map Marker | – |
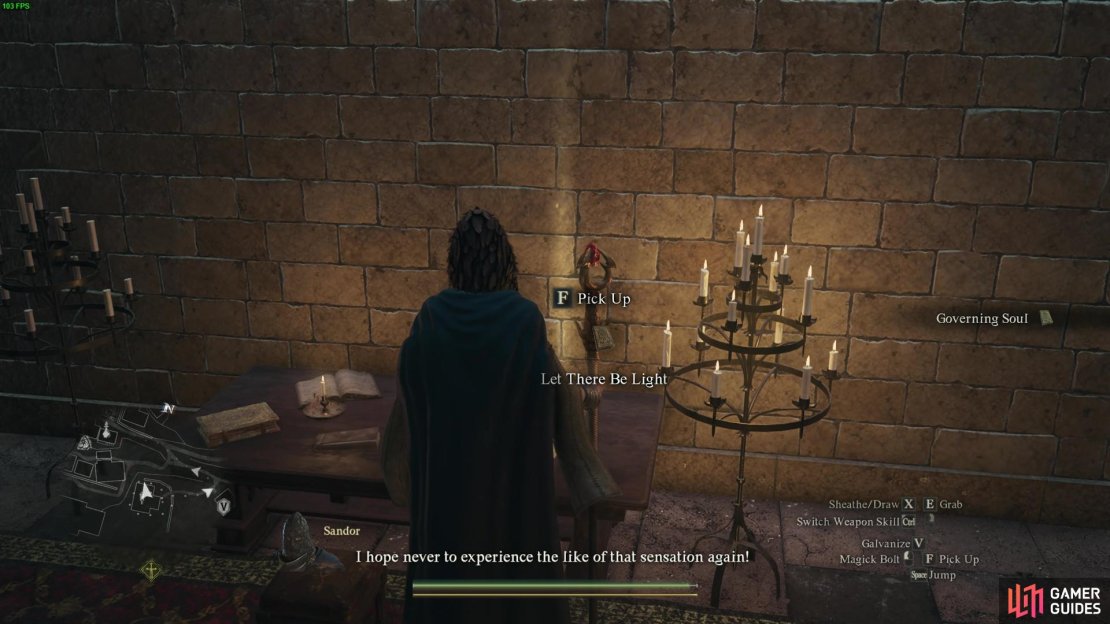

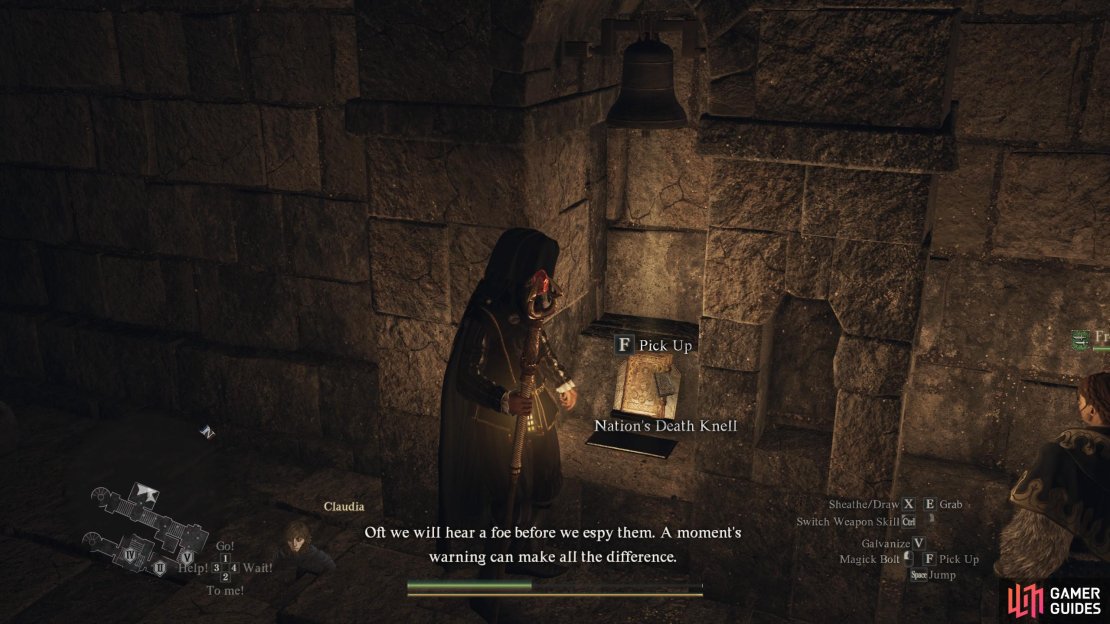
(1 of 5) The Let There Be Light Grimoire is located in the quest giver’s house, up the stairs and at the desk in the main room.
Once you have all five grimoires, go to Checkpoint Rest town and create the forgeries. You will need to spend 6000 G per forgery you make, and it takes around 24 hours in-game to complete. You can find a bench to rest on just up the road from the store. When you doze off, press the Doze Off button as soon as you load to doze off again. Do this four times, go back to the keeper, and then get your forgery, which should have a misspelled name of the book so you can tell the difference.
With that done, you can now hand over the forgeries to complete the Sorcerer’s Appraisal quest. With the real ones in your inventory, it is time to return to ![]() Eini’s Home in northern Vermund. Feel free to Oxcart to
Eini’s Home in northern Vermund. Feel free to Oxcart to ![]() Vernworth and then Oxcart to
Vernworth and then Oxcart to ![]() Melve and move north to reach the destination.
Melve and move north to reach the destination.
Spellbound Walkthrough Continued
When you arrive at Eini’s Home, speak to Trysha and hand over all five of the Grimoires. She will then tell you to wait a few days so you can return to see how she has progressed. Feel free to go up the road from where you came from, and you should find a ![]() Campsite to rest at. Rest for three mornings, and then go down the road to progress the quest.
Campsite to rest at. Rest for three mornings, and then go down the road to progress the quest.

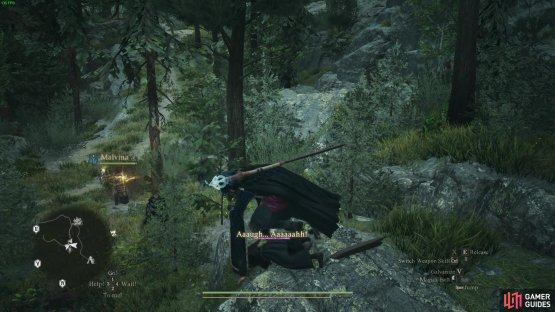
(1 of 2) Trysha is absolutely going off on one; It’s your job to stop her.

Trysha is absolutely going off on one; It’s your job to stop her. (left), When you have her spell-casting disabled, it’s time to spear her to the floor and detain the rogue wizard. (right)
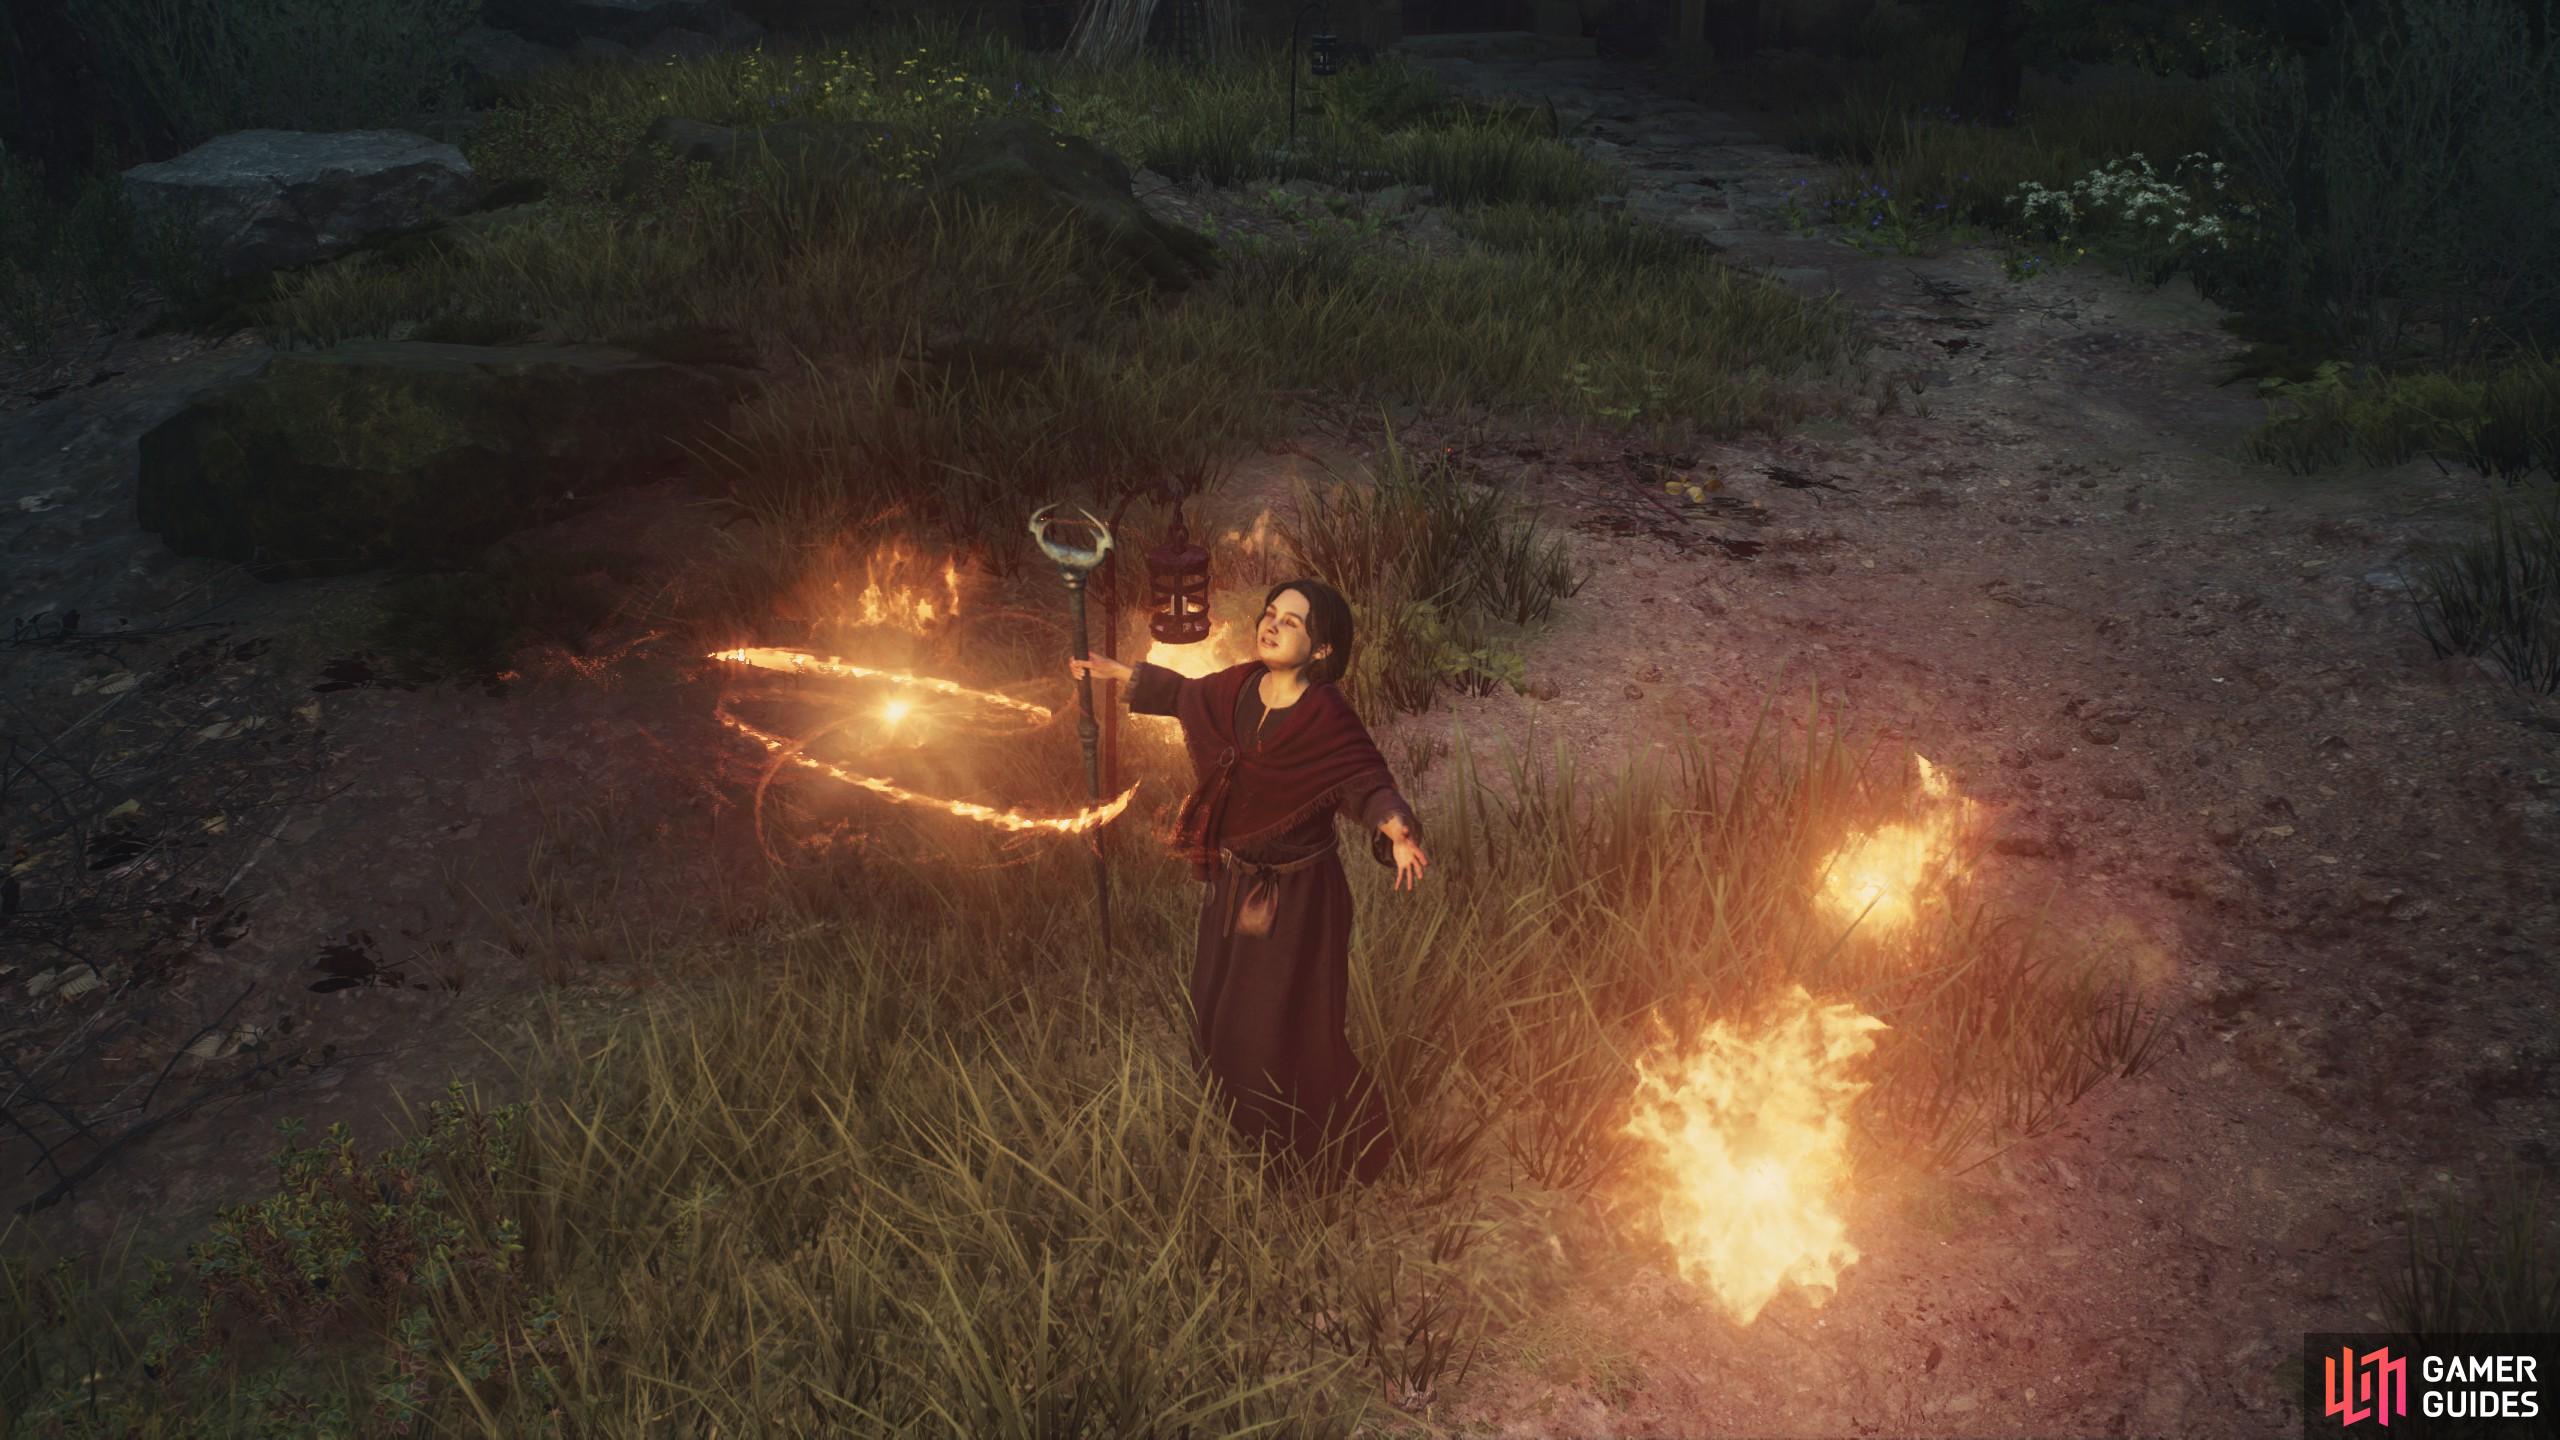
When you arrive at the house, you’ll find Trysha is struggling to use the power well, with her casting spells at her grandparents at the front of the house. Your task here is to stop Trysha. There are a few ways to do this
- Spellbound
- Let her stamina run out
- Kill her
For the most part, the first two options are the best. Spellbound is a spell that Mages wield, which can counter Trysha’s spells. Do that and tackle her to progress the quest. Meanwhile, if you don’t have access to that spell, then you’ll need to run around, forcing her to teleport and burning her spells which can exhaust her. When she looks out of breath, run up to her and tackle her to the ground using the grab button on your controller scheme of choice. This should safely knock her out for a few days for her to recover and progress with the quest.
With Trysha out cold, you now once again need to wait a few more days for her to recover. Go back to the nearby camp and rest for another three mornings to pass the time. From there, go back to the house, and then Trysha should be awake. From here you can speak to Trysha, and get your rewards for completing the quest, which are:
- 3000 G
 Cast Stone
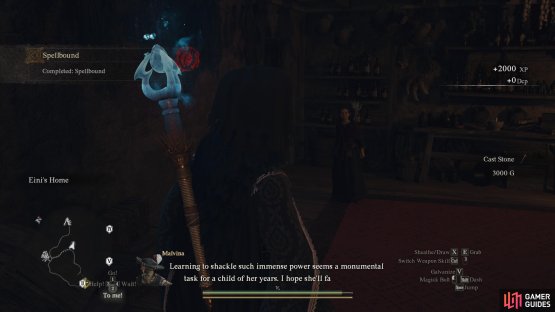
(1 of 2) Completing the quest and saving Trysha will award you staff and some gold.

Completing the quest and saving Trysha will award you staff and some gold. (left), If you are a level 10 Vocation Sorcerer or Mage, you will get your respective spells from this house after completing the quest. (right)
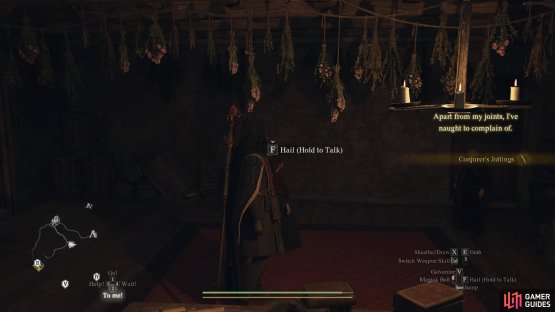
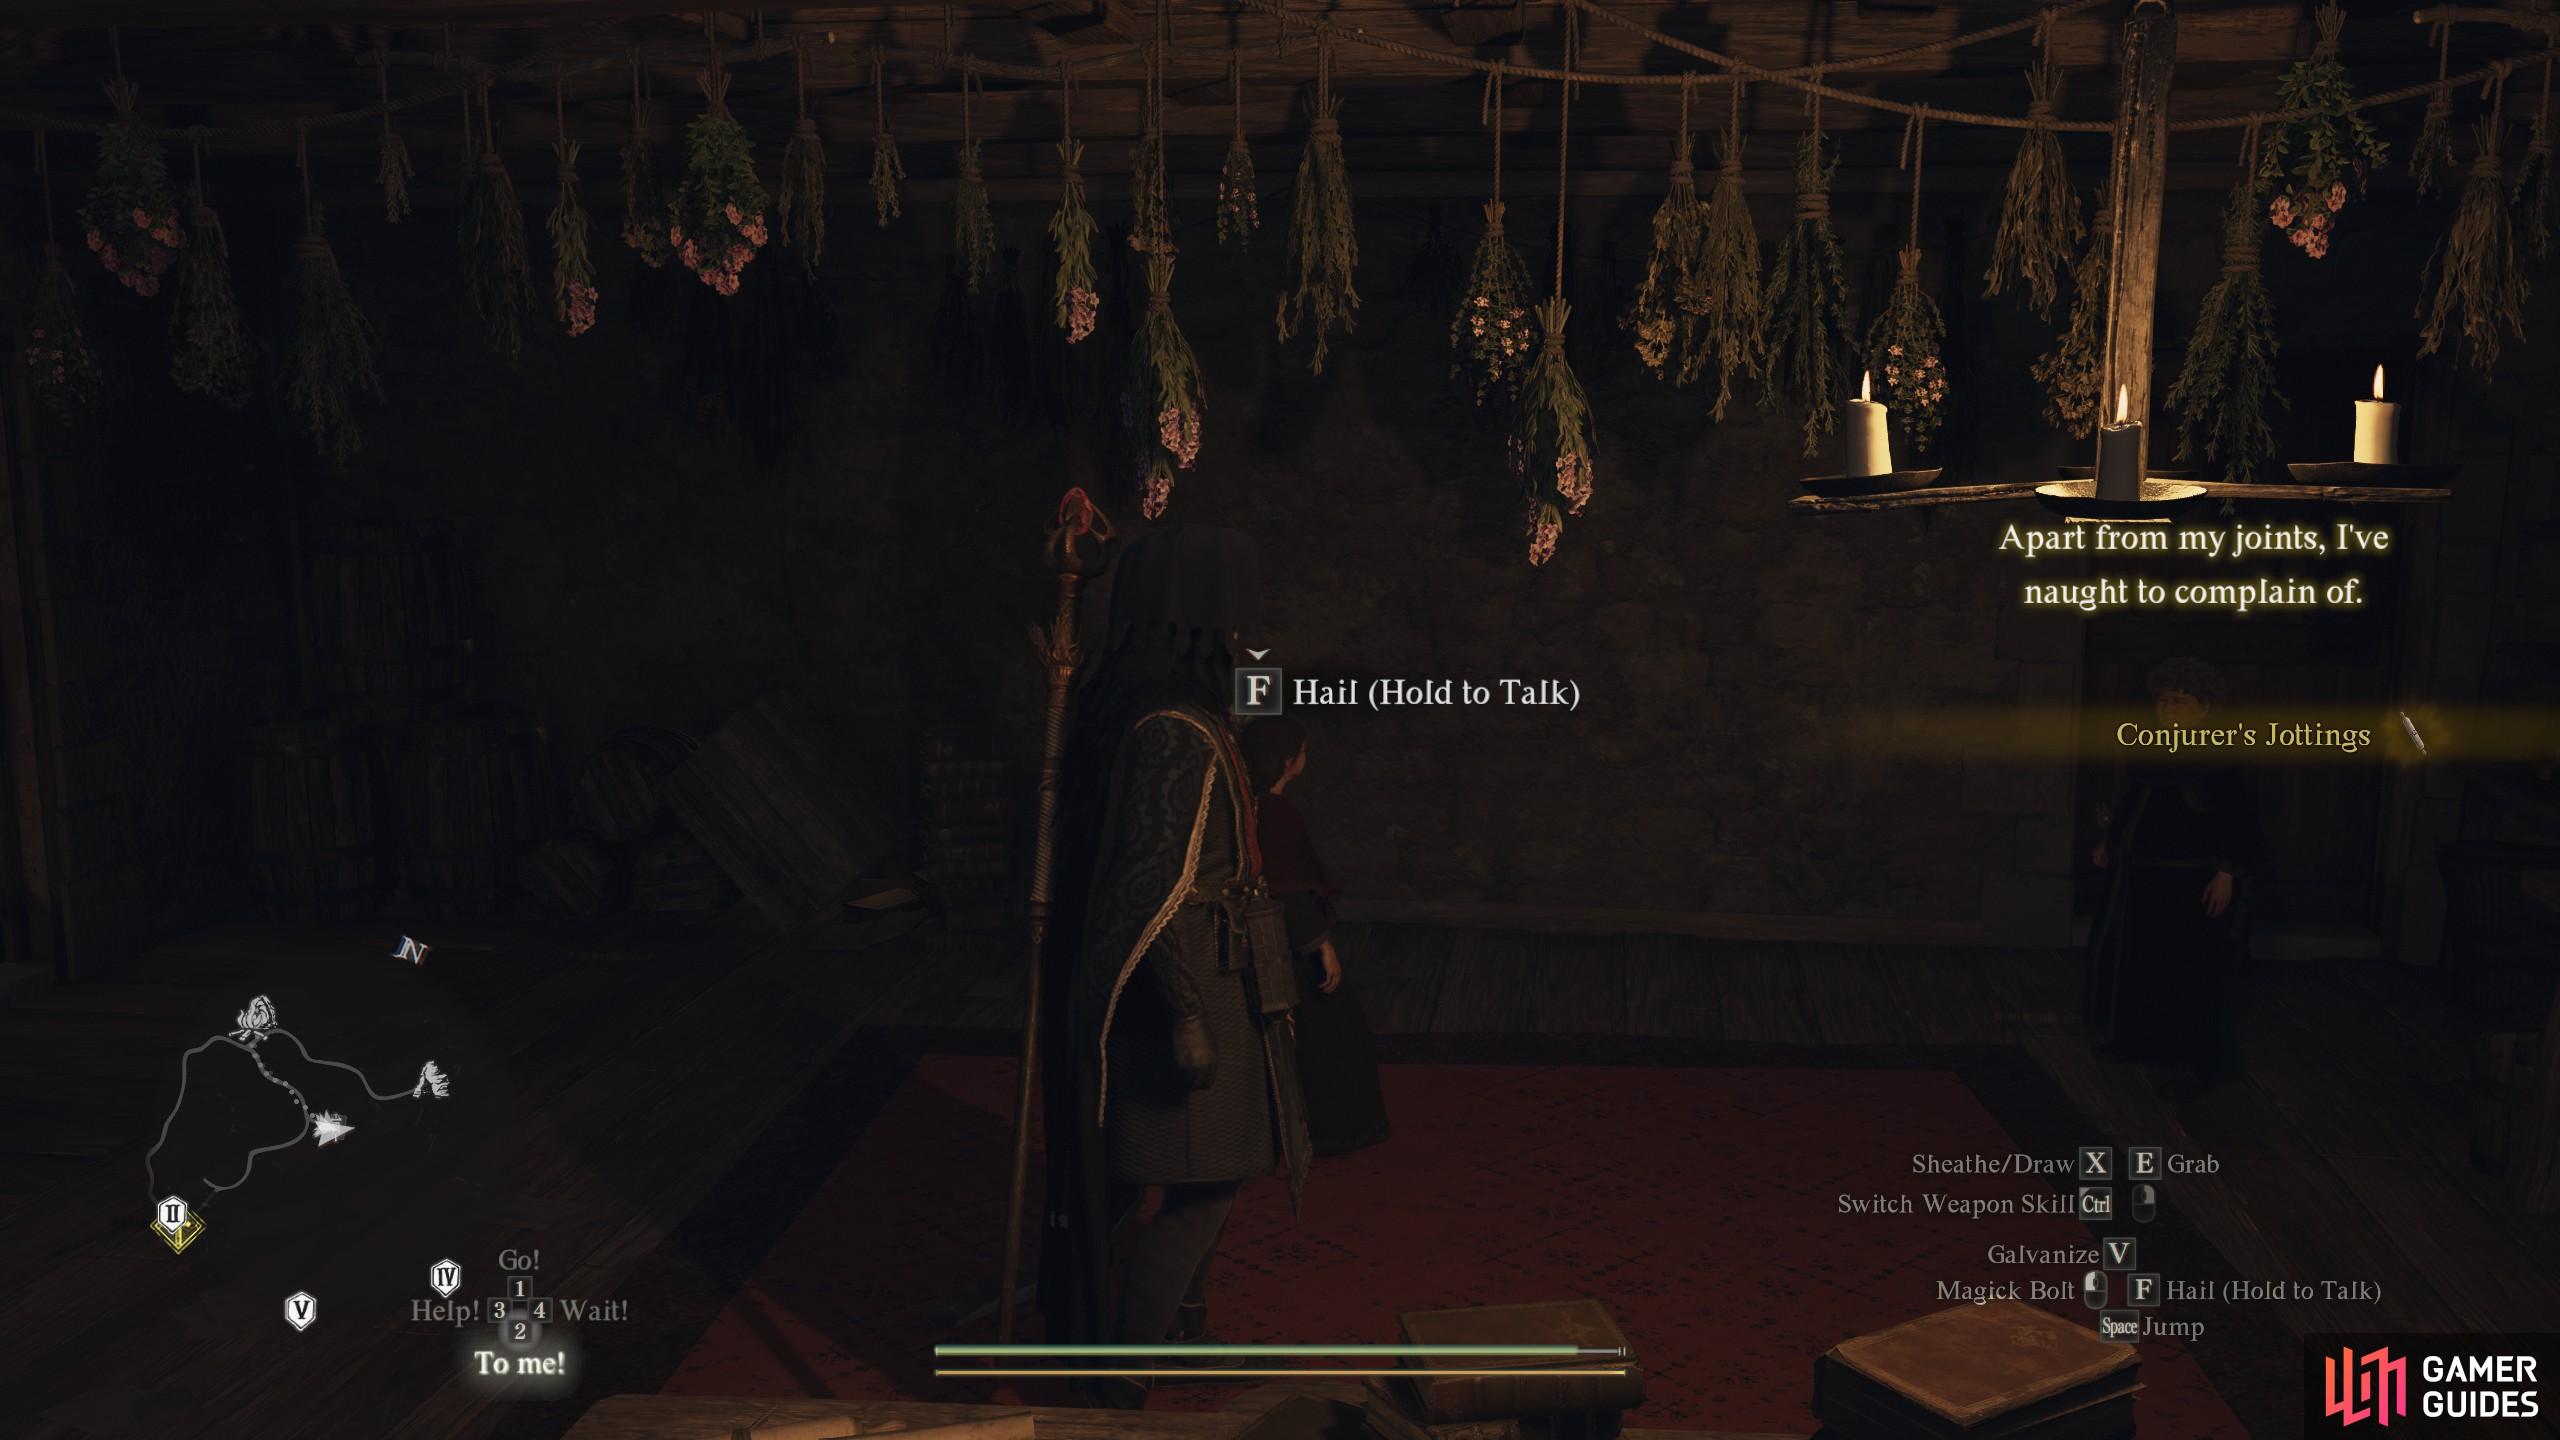
Be aware that the the Meteoron and Celestial Paean spell is awarded after the quest completes. Trysha should walk up to you and hand over the ![]() Conjurer’s Jottings. Go to your inventory and look for the note and learn it to get access to Meteoron as part of your spell list next time you visit a camp or guild hall. Meanwhile, Trysha’s grandmother should give you the
Conjurer’s Jottings. Go to your inventory and look for the note and learn it to get access to Meteoron as part of your spell list next time you visit a camp or guild hall. Meanwhile, Trysha’s grandmother should give you the ![]() Enchanter’s Almanac scroll to learn the Celestial Paean spell for the mage.
Enchanter’s Almanac scroll to learn the Celestial Paean spell for the mage.
And there you have it, you now know everything you need to know about the Spellbound quest in Dragon’s Dogma 2.
No Comments