
![]() Drabnir’s Grotto is the main pathway connecting the Volcanic Island and the southwest of Battahl in Dragon’s Dogma 2. As such, it is an extremely large, weaving, and complex cavern that you can easily get lost in. Thankfully, we have scoured every crevice of the cave and ventured down every pathway, putting together this complete guide on Drabnir’s Grotto.
Drabnir’s Grotto is the main pathway connecting the Volcanic Island and the southwest of Battahl in Dragon’s Dogma 2. As such, it is an extremely large, weaving, and complex cavern that you can easily get lost in. Thankfully, we have scoured every crevice of the cave and ventured down every pathway, putting together this complete guide on Drabnir’s Grotto.
There are a lot of secrets to find in this cave system, so be sure to rest at a campfire before you head in and bring enough curatives to ensure your survival. All of the markers, bosses, and locations here are marked on our Dragon’s Dogma 2 Dungeons interactive map.
Drabnir’s Grotto location
As mentioned, Drabnir’s Grotto can be found in the southwest of Battahl, directly following the path towards that direction from ![]() Bakbattahl.
Bakbattahl.
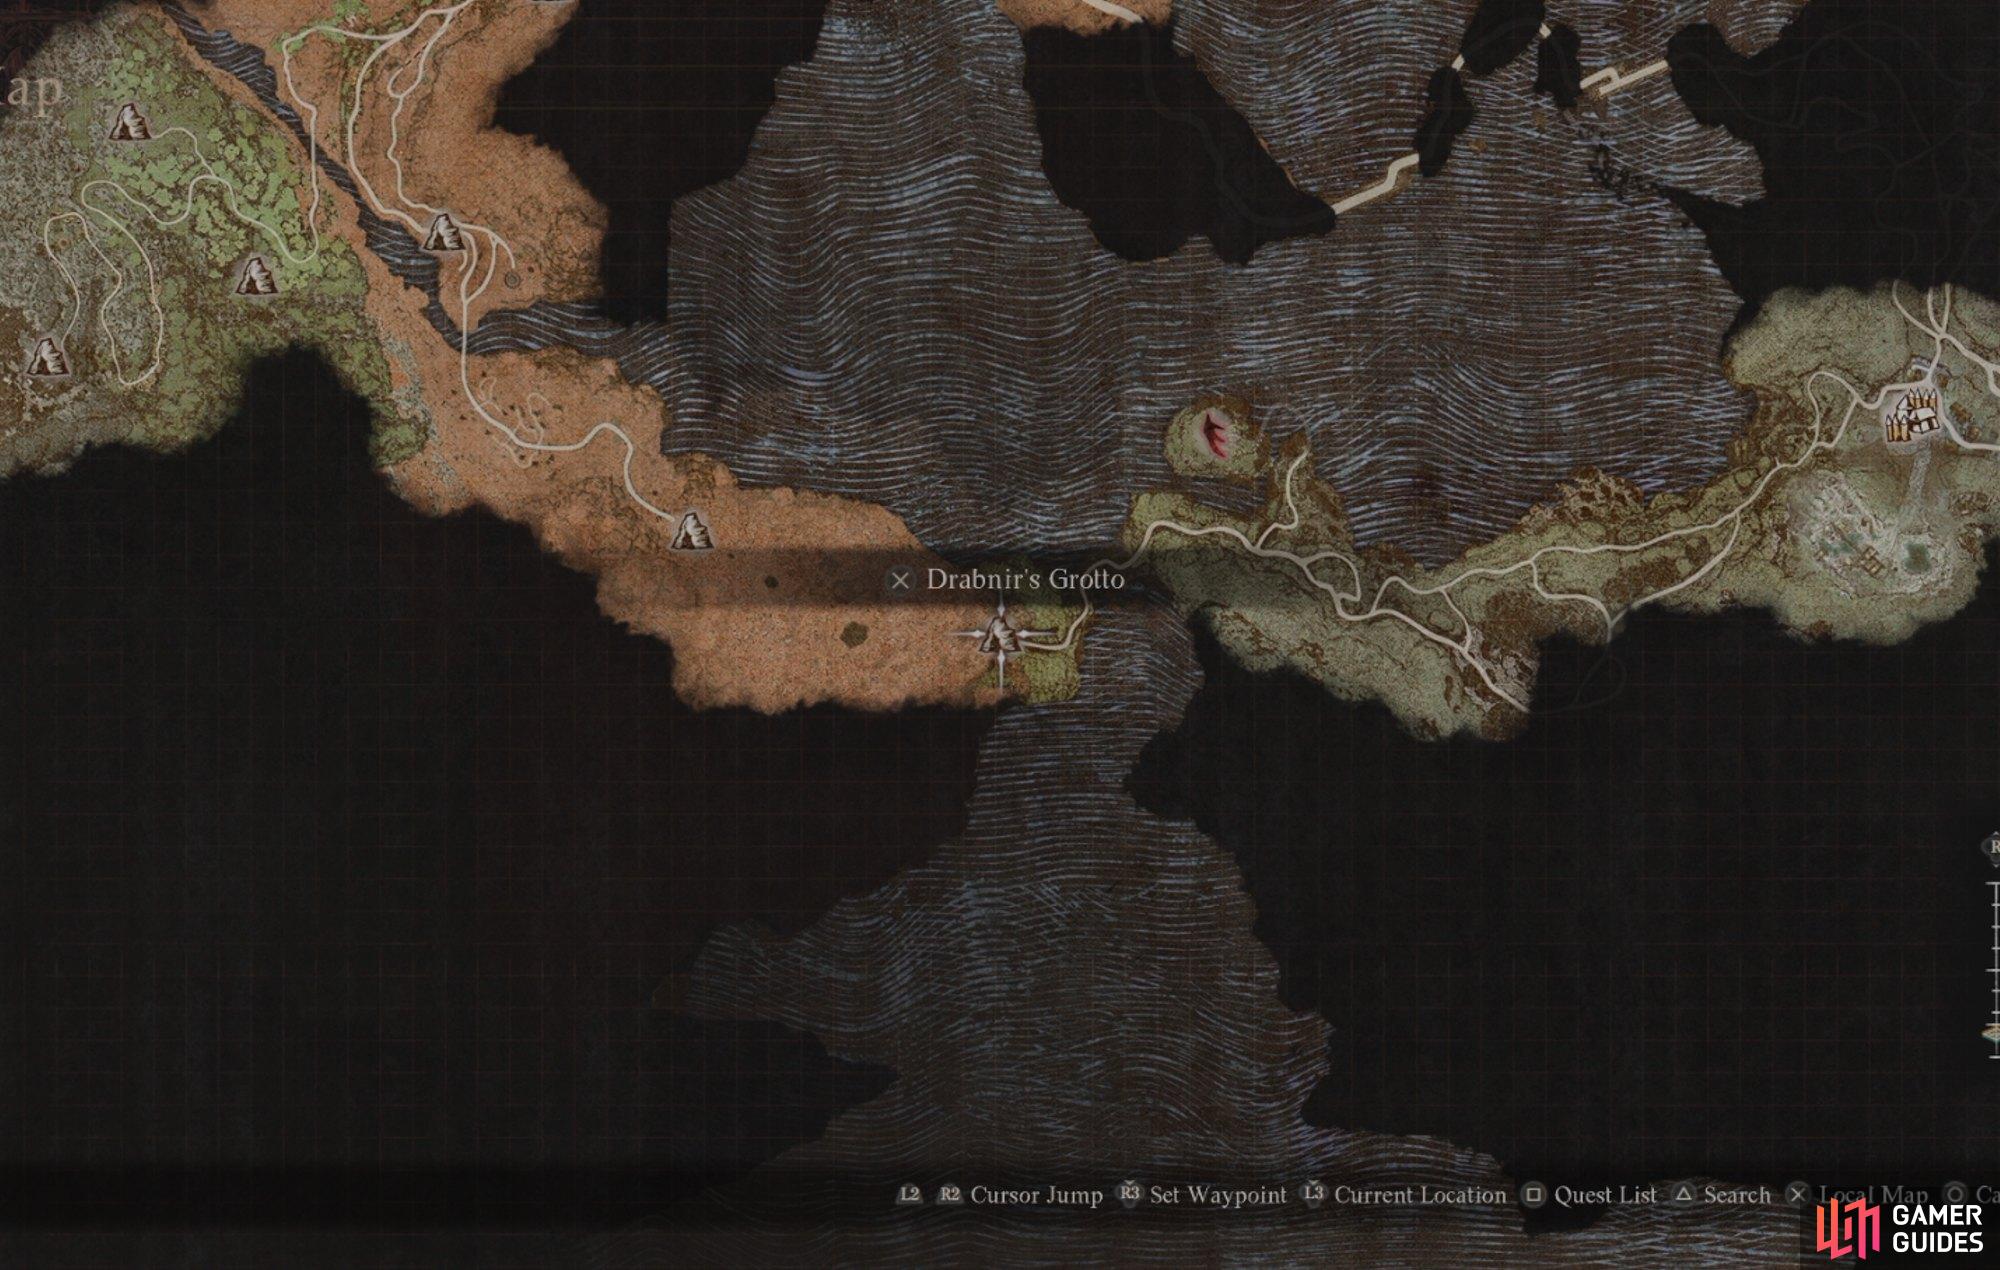
The path here from Bakbattahl is filled with Harpies and Goblins, but once you are here, the journey to the island gets a lot easier.
When you reach the cave, an NPC will warn you about the dangers inside. Keep in mind too, there aren’t any ![]() Portcrystal locations on the Volcanic Island until you reach the Unmoored World. So, ideally bring one with you so you can fast travel back to the island easily without going through Drabnir’s Grotto each time.
Portcrystal locations on the Volcanic Island until you reach the Unmoored World. So, ideally bring one with you so you can fast travel back to the island easily without going through Drabnir’s Grotto each time.
Entrance Corridor
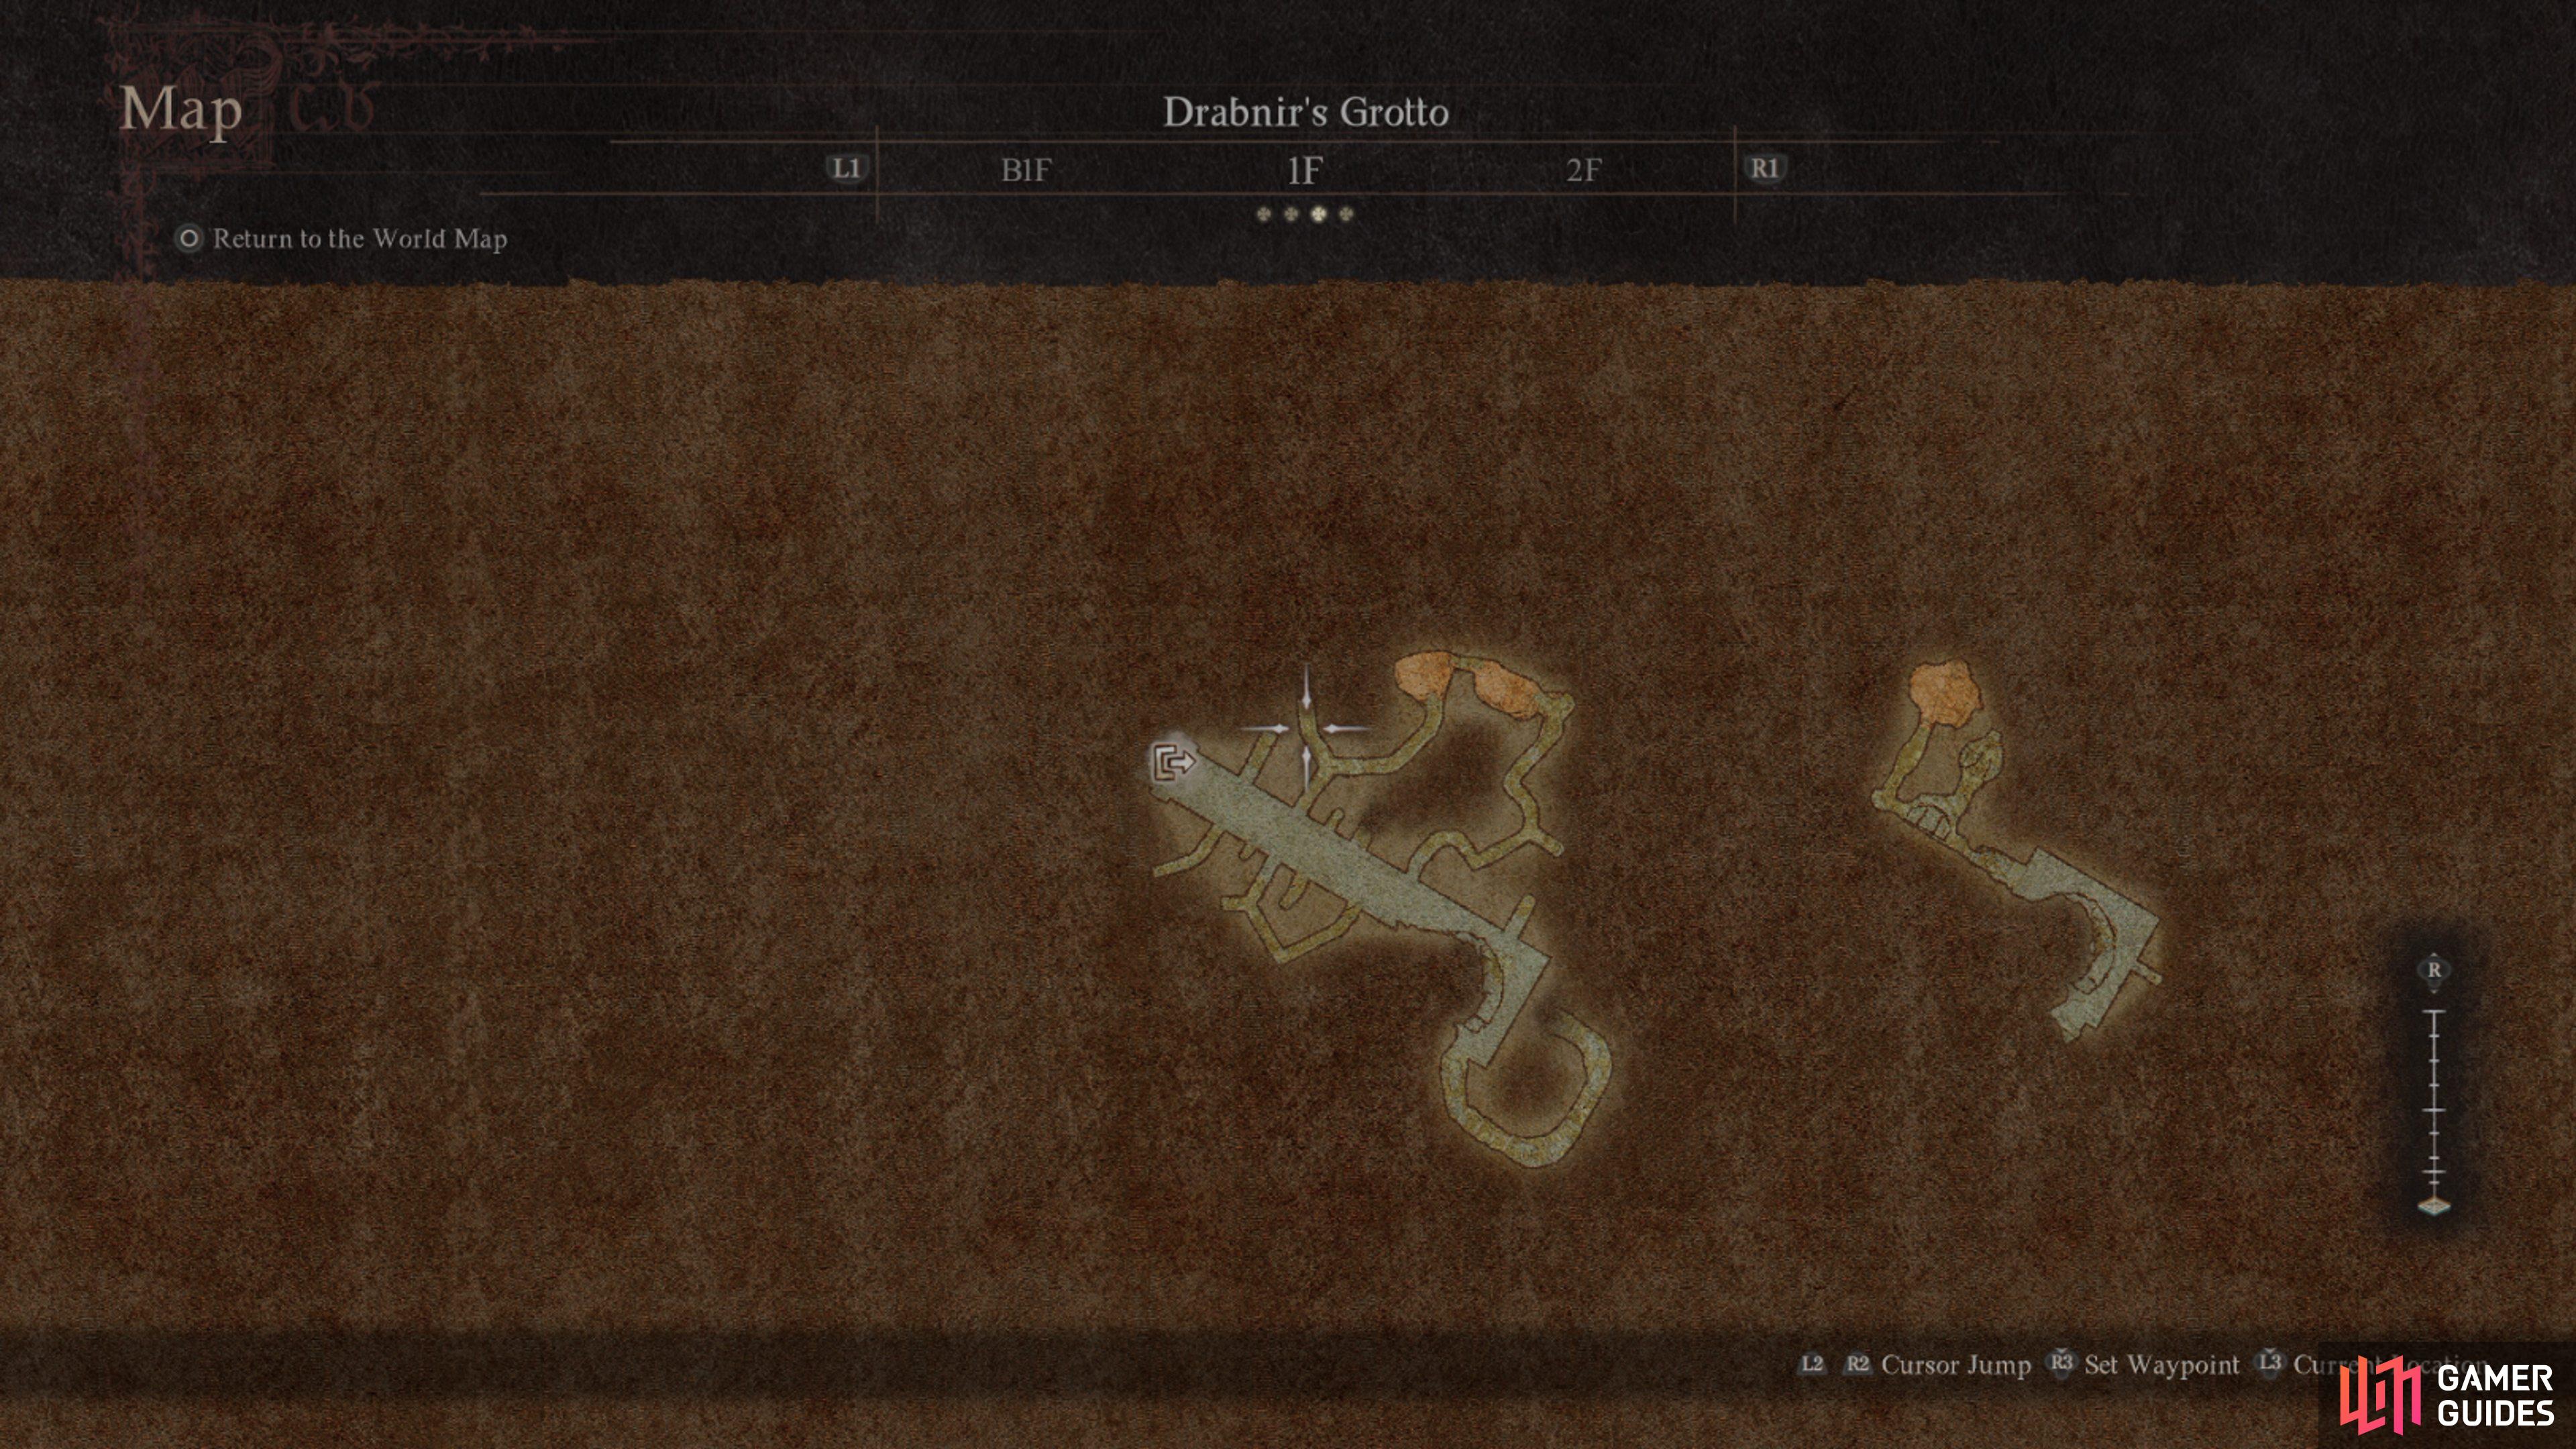
The first corridor in Drabnir’s Grotto looks quite complex as there are tons of small side paths. However, these paths loop around on themselves. The way ahead leads onwards into the cavern, so first up take a left and right into each small path.
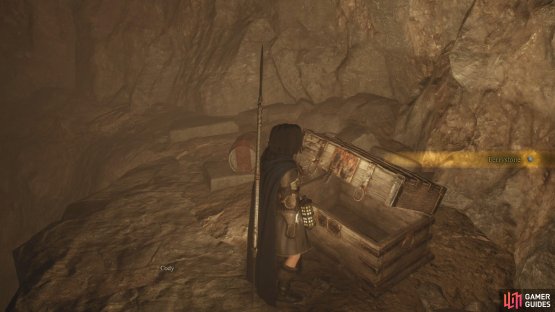
In here you can find a few dead ends and enemies. There are a good few groups of goblins in the main corridor too, so be sure to take them out. Next up, you will want to take the second path on the left and head left again. Here you will find a chest that you can open.
This path has a lot of chests for you to grab.
Then take the right path. This will lead outside and you will be able to grab some regular chests, as well as a black and gold chest with some ![]() Indomitable Armor, along with some goblins to slay. You will eventually loop back to the main corridor.
Indomitable Armor, along with some goblins to slay. You will eventually loop back to the main corridor.
On the right side of the starting corridor, you can then take the third path to find a route that leads back to the main corridor, alongside a chest on your right before turning left behind some boxes.
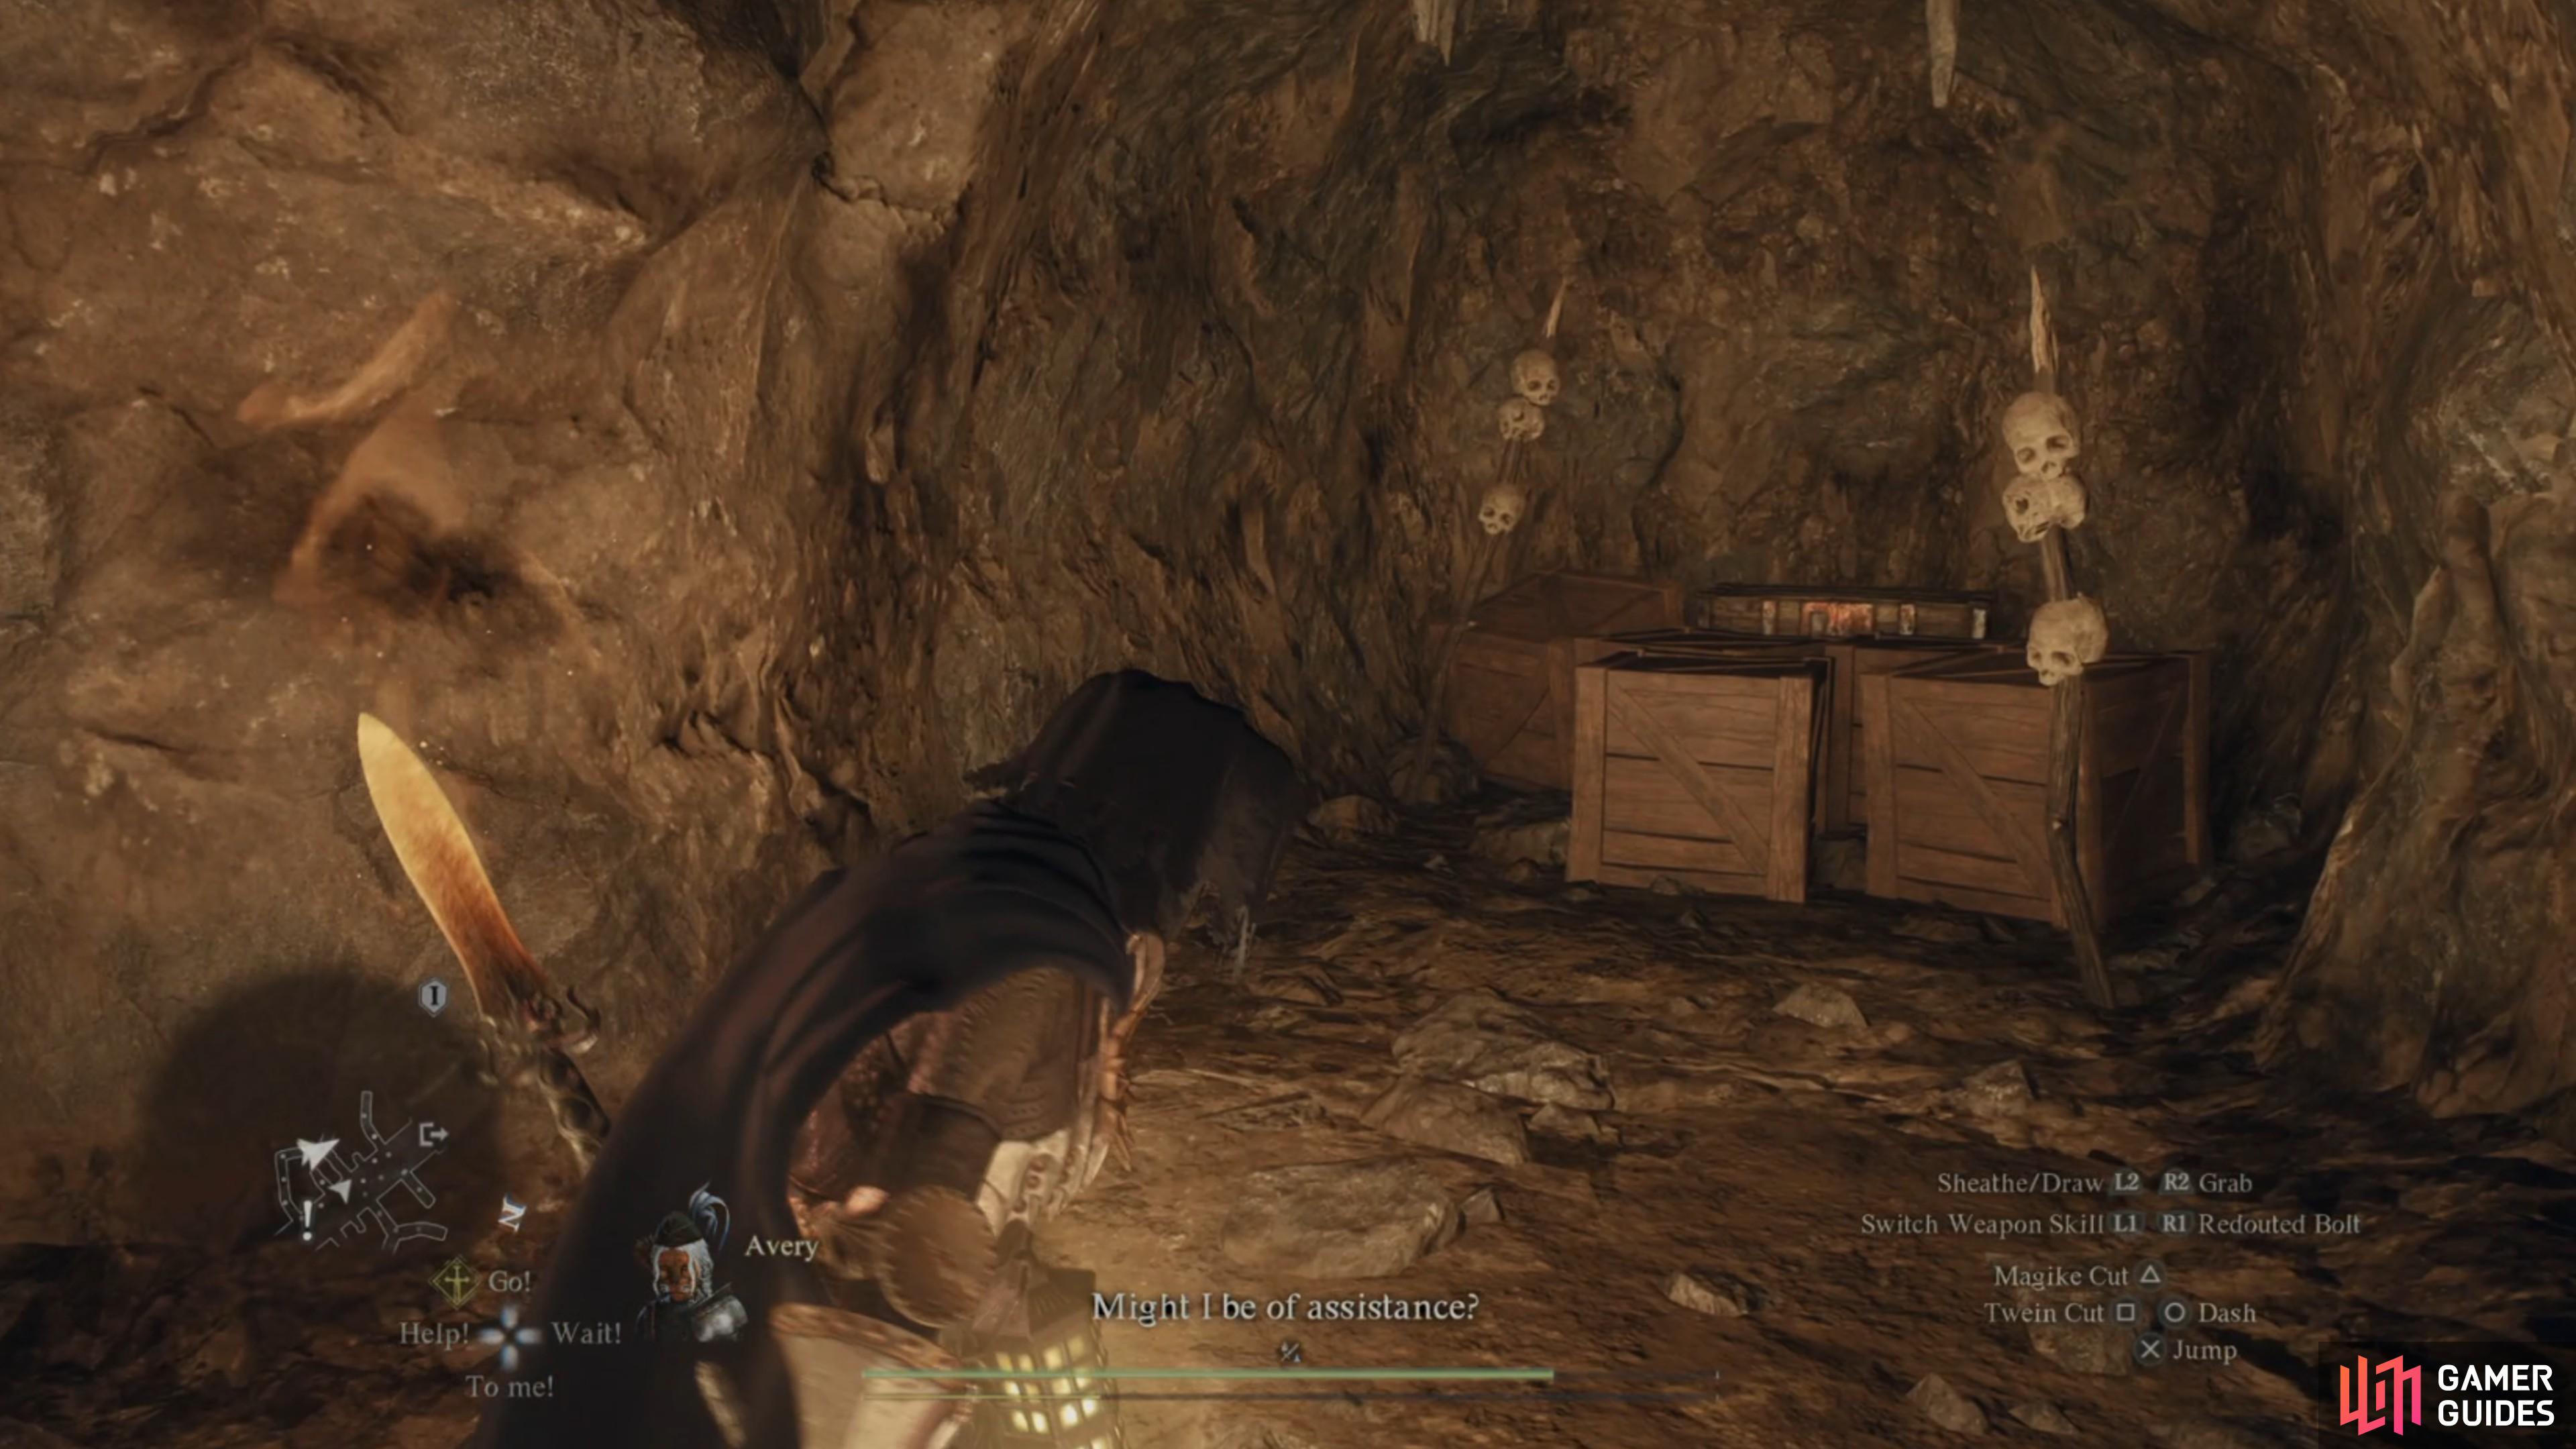
Grab what you can on your first run, so you don’t have to find the items you missed!
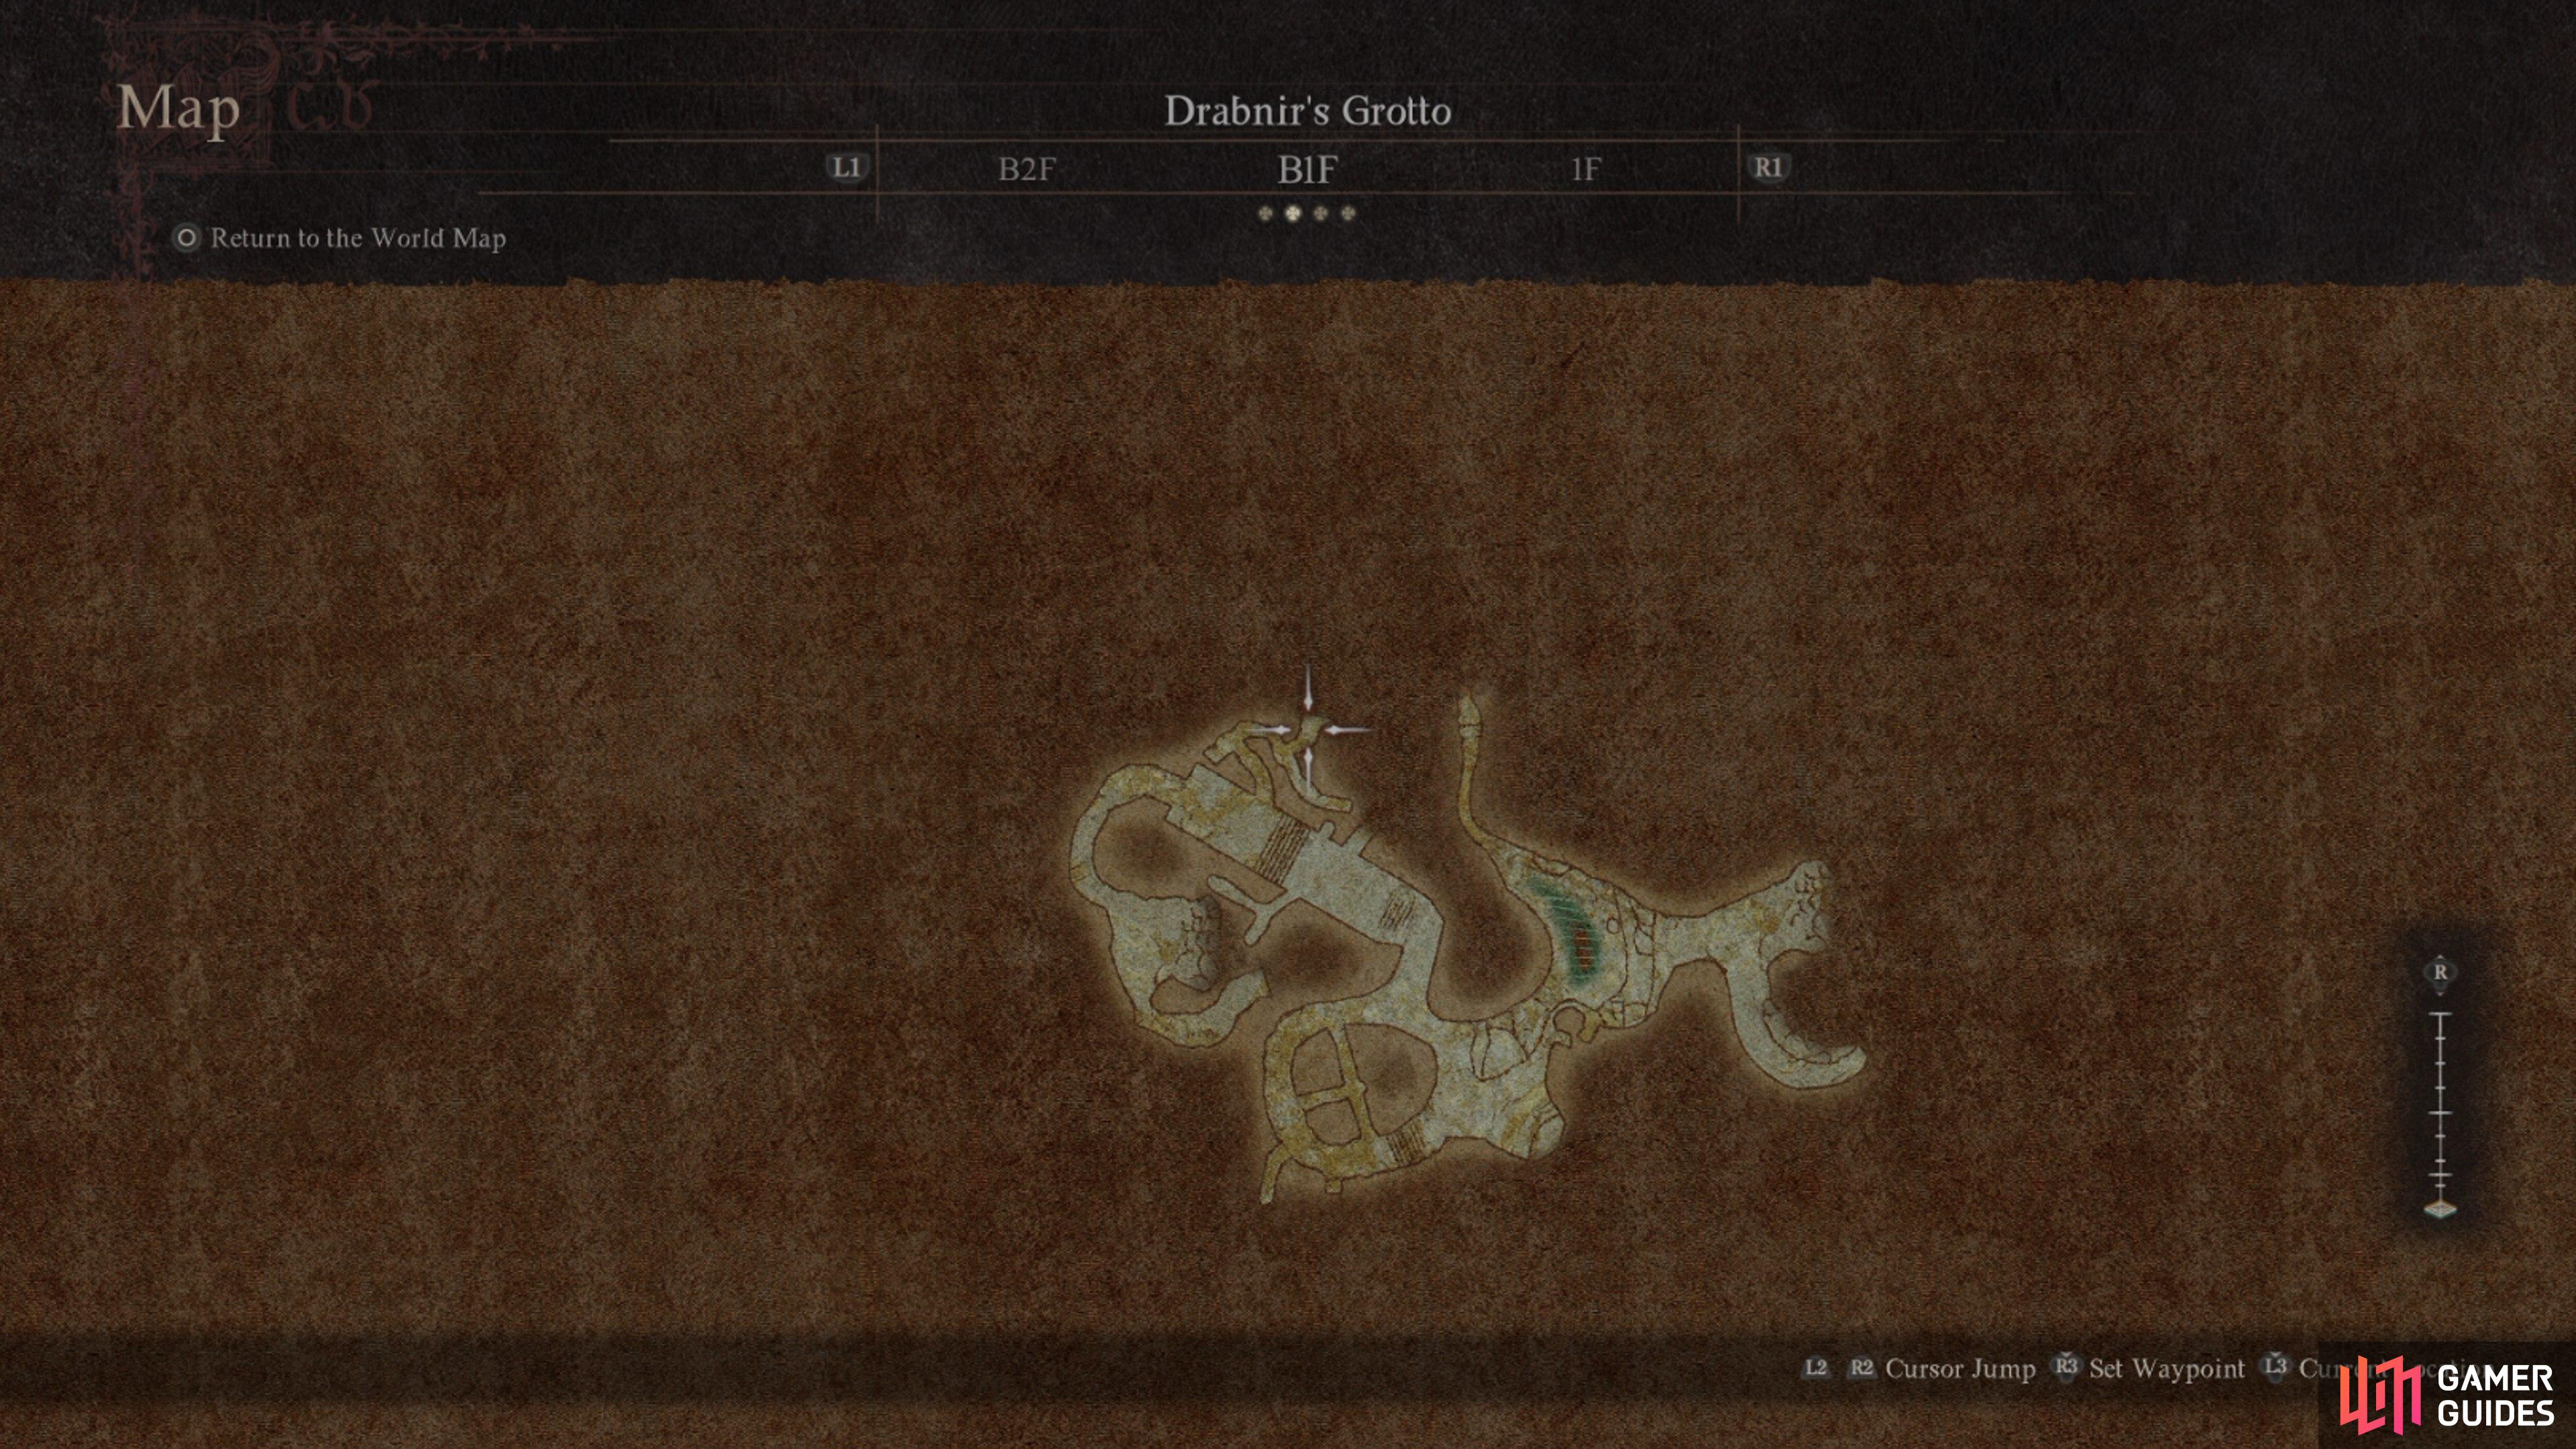
Now you can head down after exploring the path above the big drop down, which leads to the depths of Drabnir’s Grotto, where things get a lot more labyrinthine.
The Depths
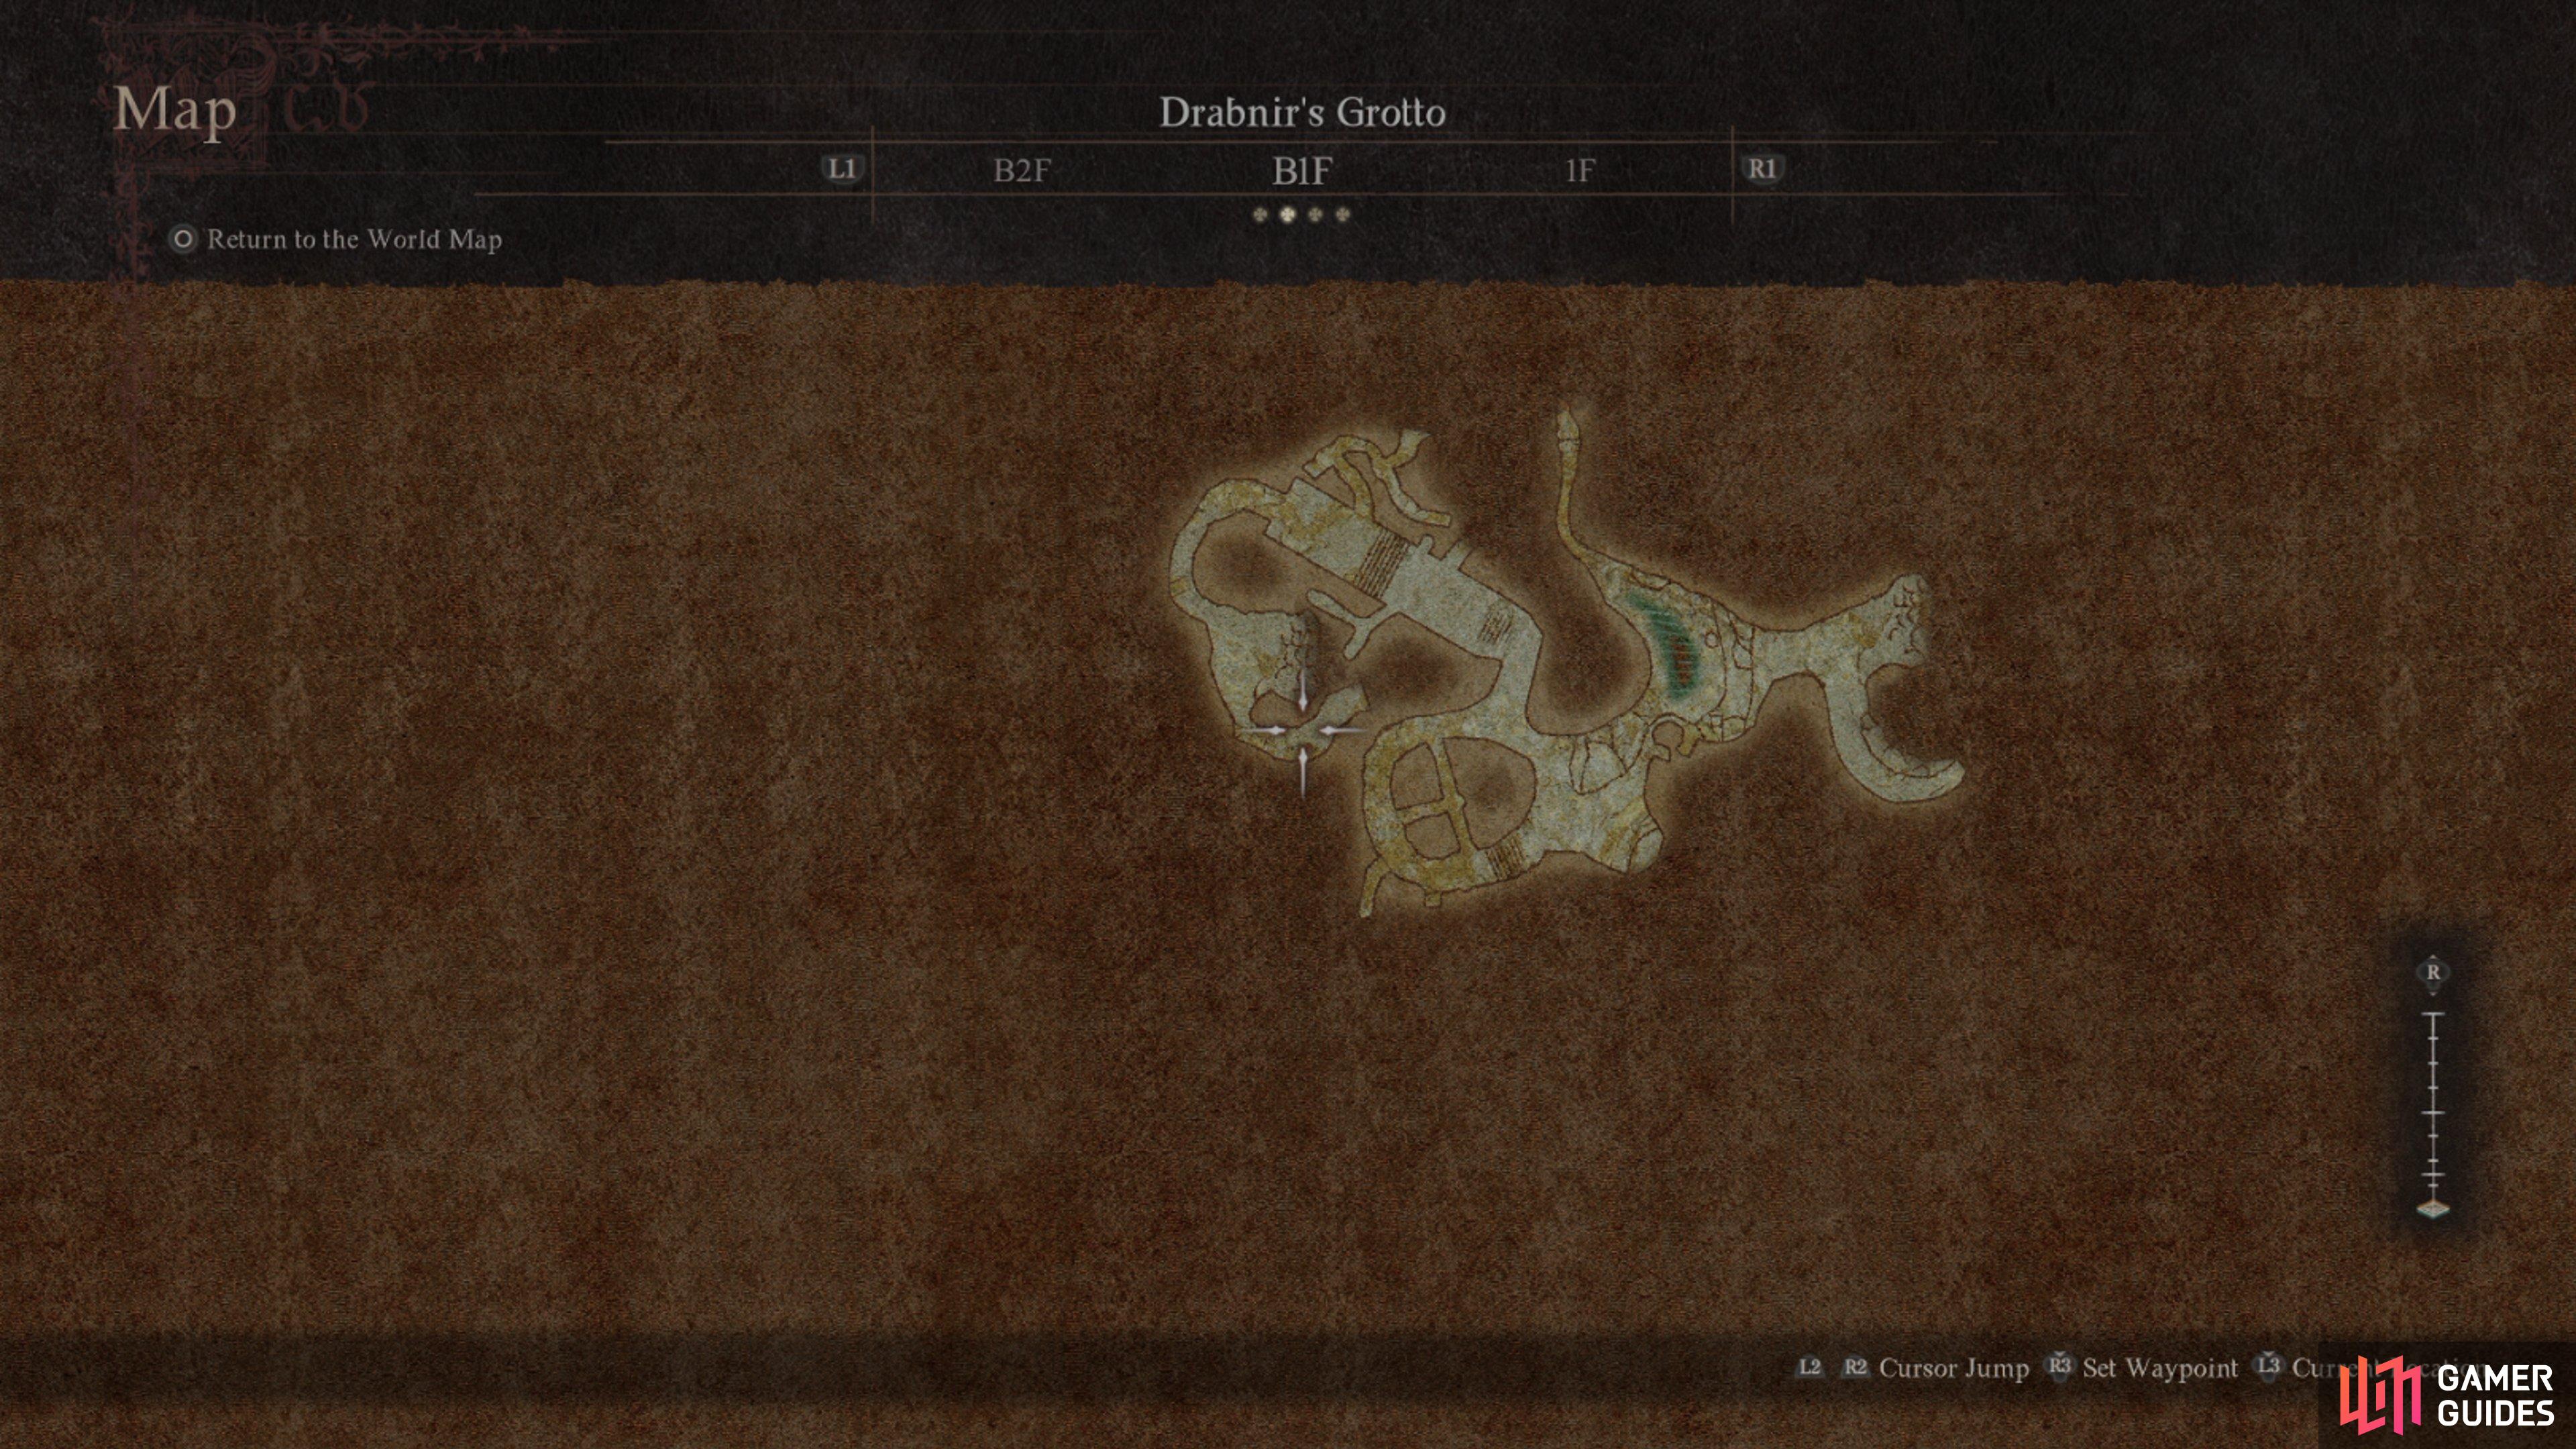
Down in the depths, there are even more goblins, so ensure you are clearing them out and not getting caught by multiple attacks from several of them at once. Straight away you can find a chest at the bottom of the drop.
The small side path has an enemy to defeat. Then you want to walk around the loop on the map, kill the ![]() Slime, and collect everything along here.
Slime, and collect everything along here.
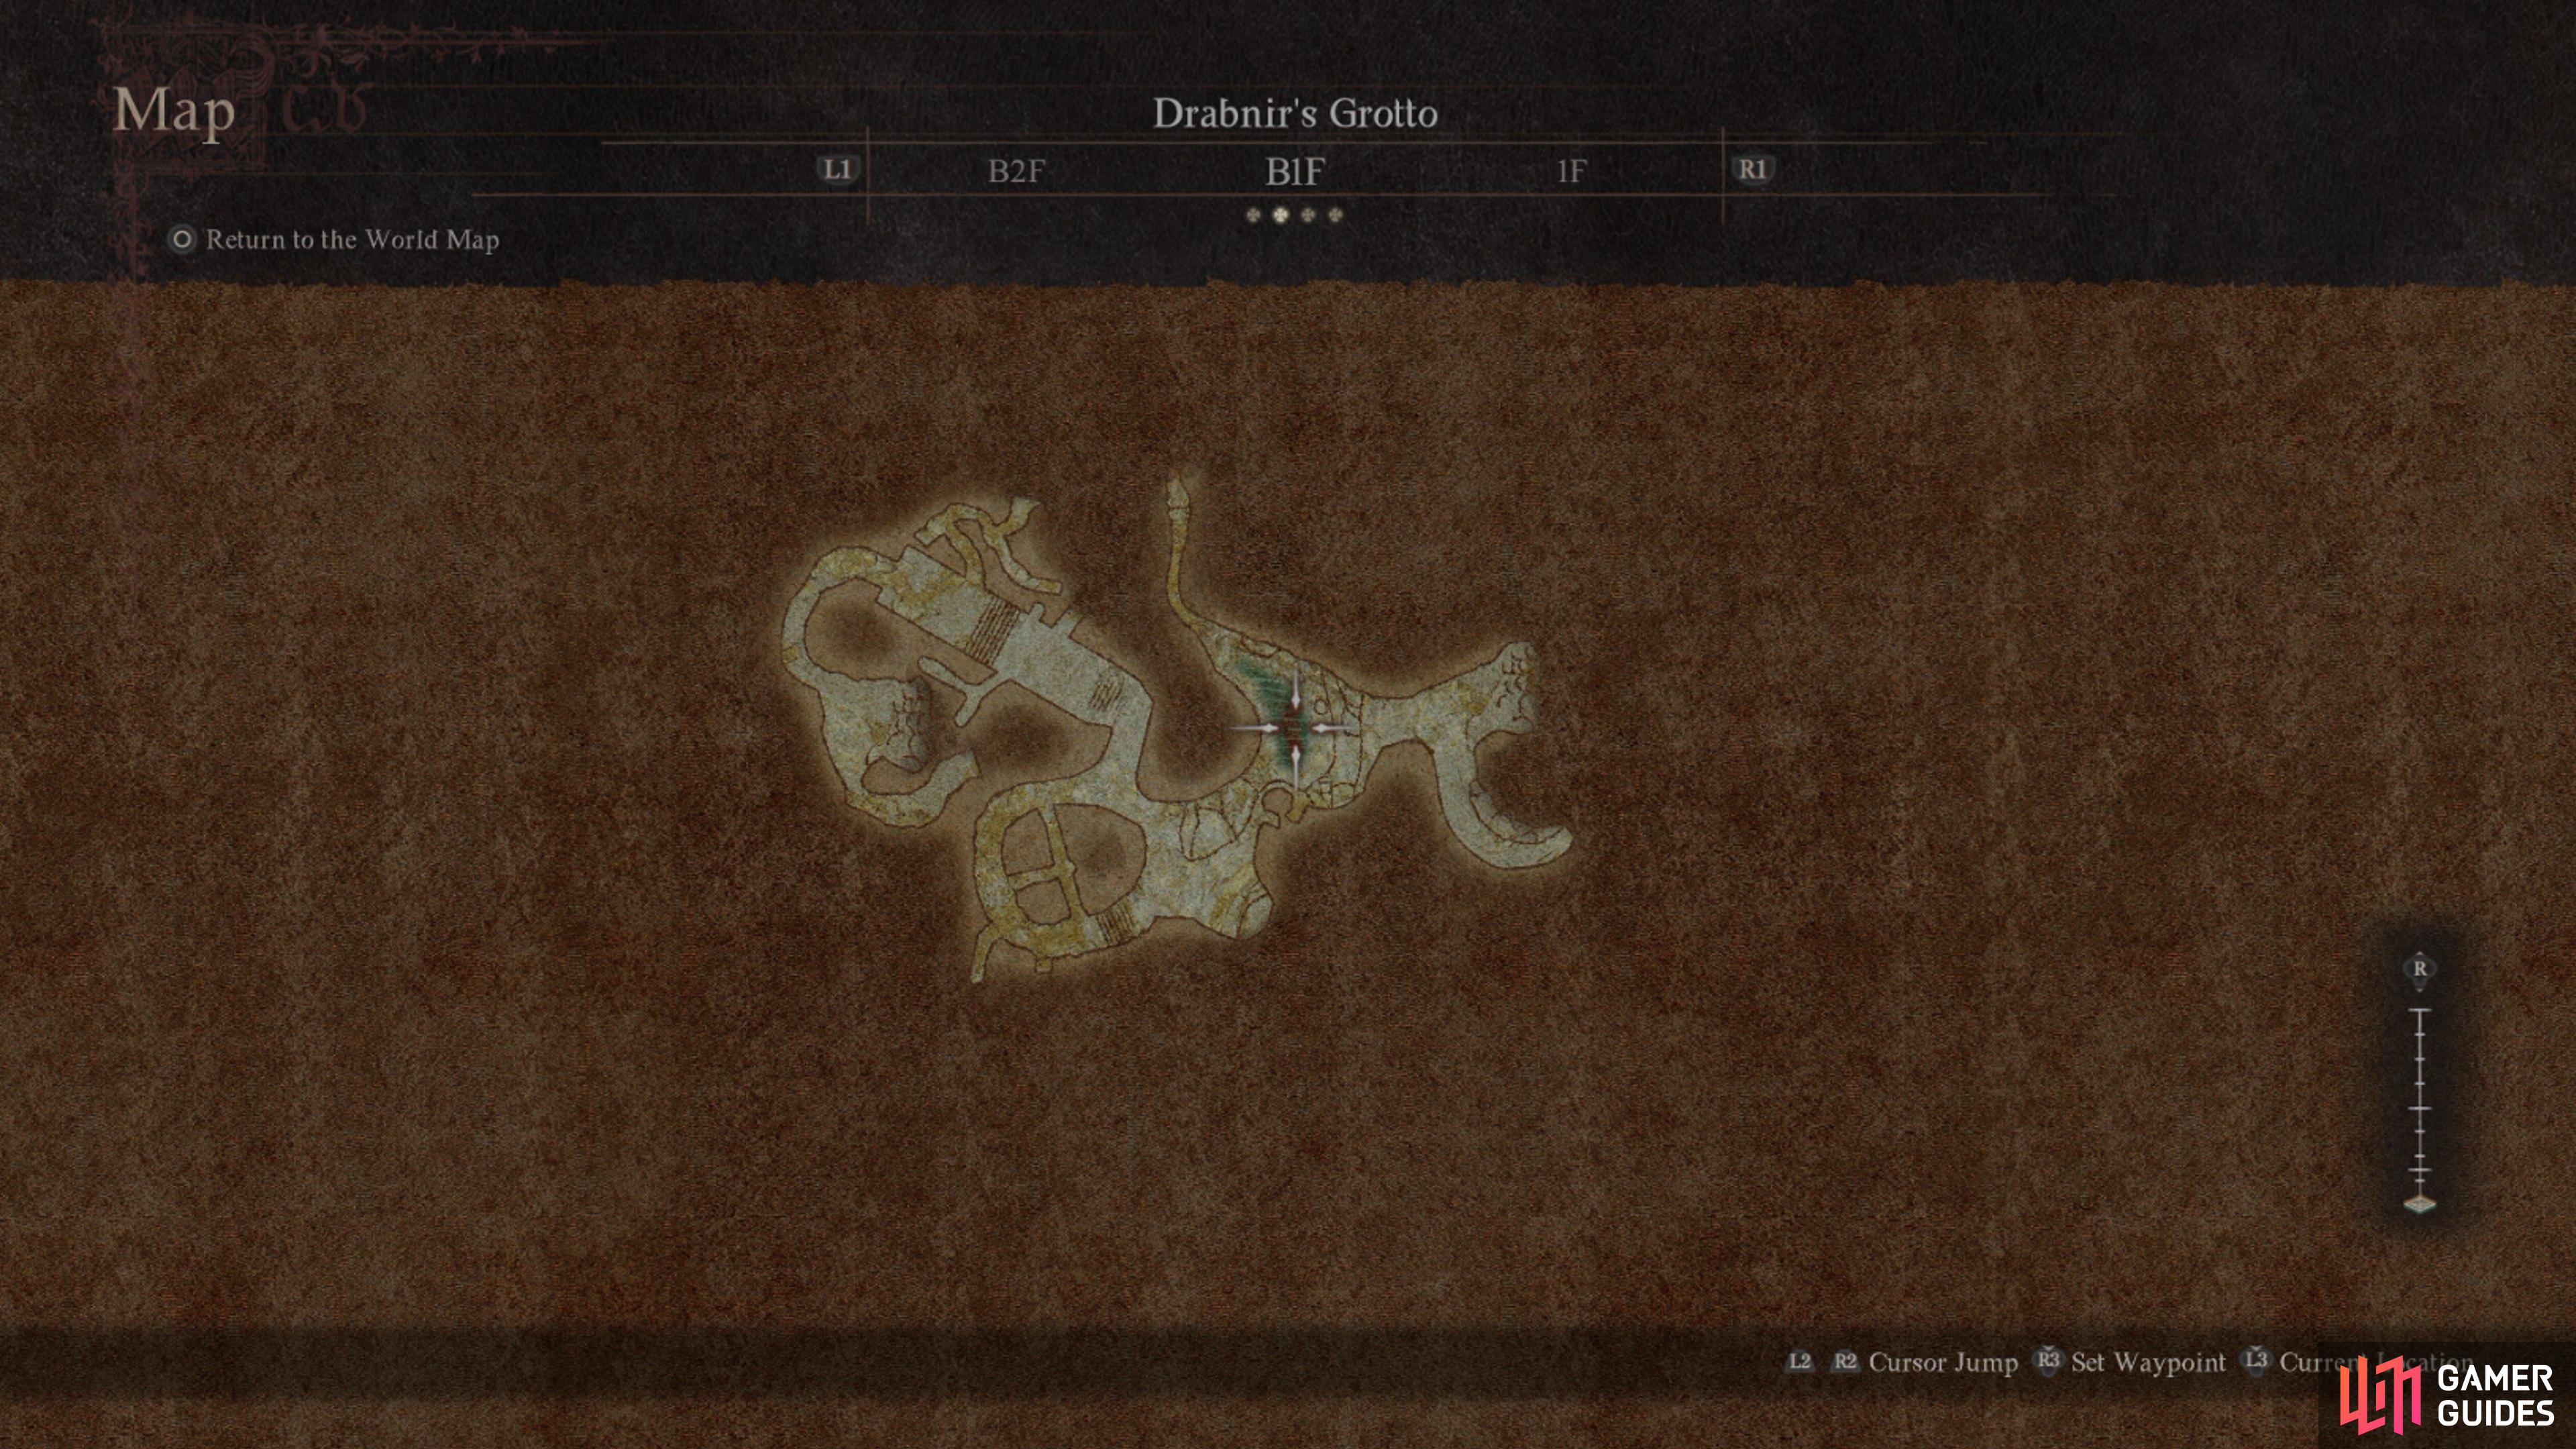
The path ahead will eventually lead round to another large hall like you saw above.
Unfortunately, you’ll have another whole load of goblins to kill before you can continue. Most of the side paths don’t have much of interest besides a chest or two, but it’s worth heading down them! On the first path on your left, you will see a drop down. This is where you want to go as it leads to a campfire.
However, it also leads to a ![]() Griffin. This is one of the hardest fights in the dungeon, due to the incredibly cramped area. By now, you have probably fought more than enough of these to easily bring it down, stun it quickly, and avoid getting murdered by its swipes.
Griffin. This is one of the hardest fights in the dungeon, due to the incredibly cramped area. By now, you have probably fought more than enough of these to easily bring it down, stun it quickly, and avoid getting murdered by its swipes.
Be ready for a fight down here!
You can then take the other path to head back to the main hall, where you can now progress onwards.
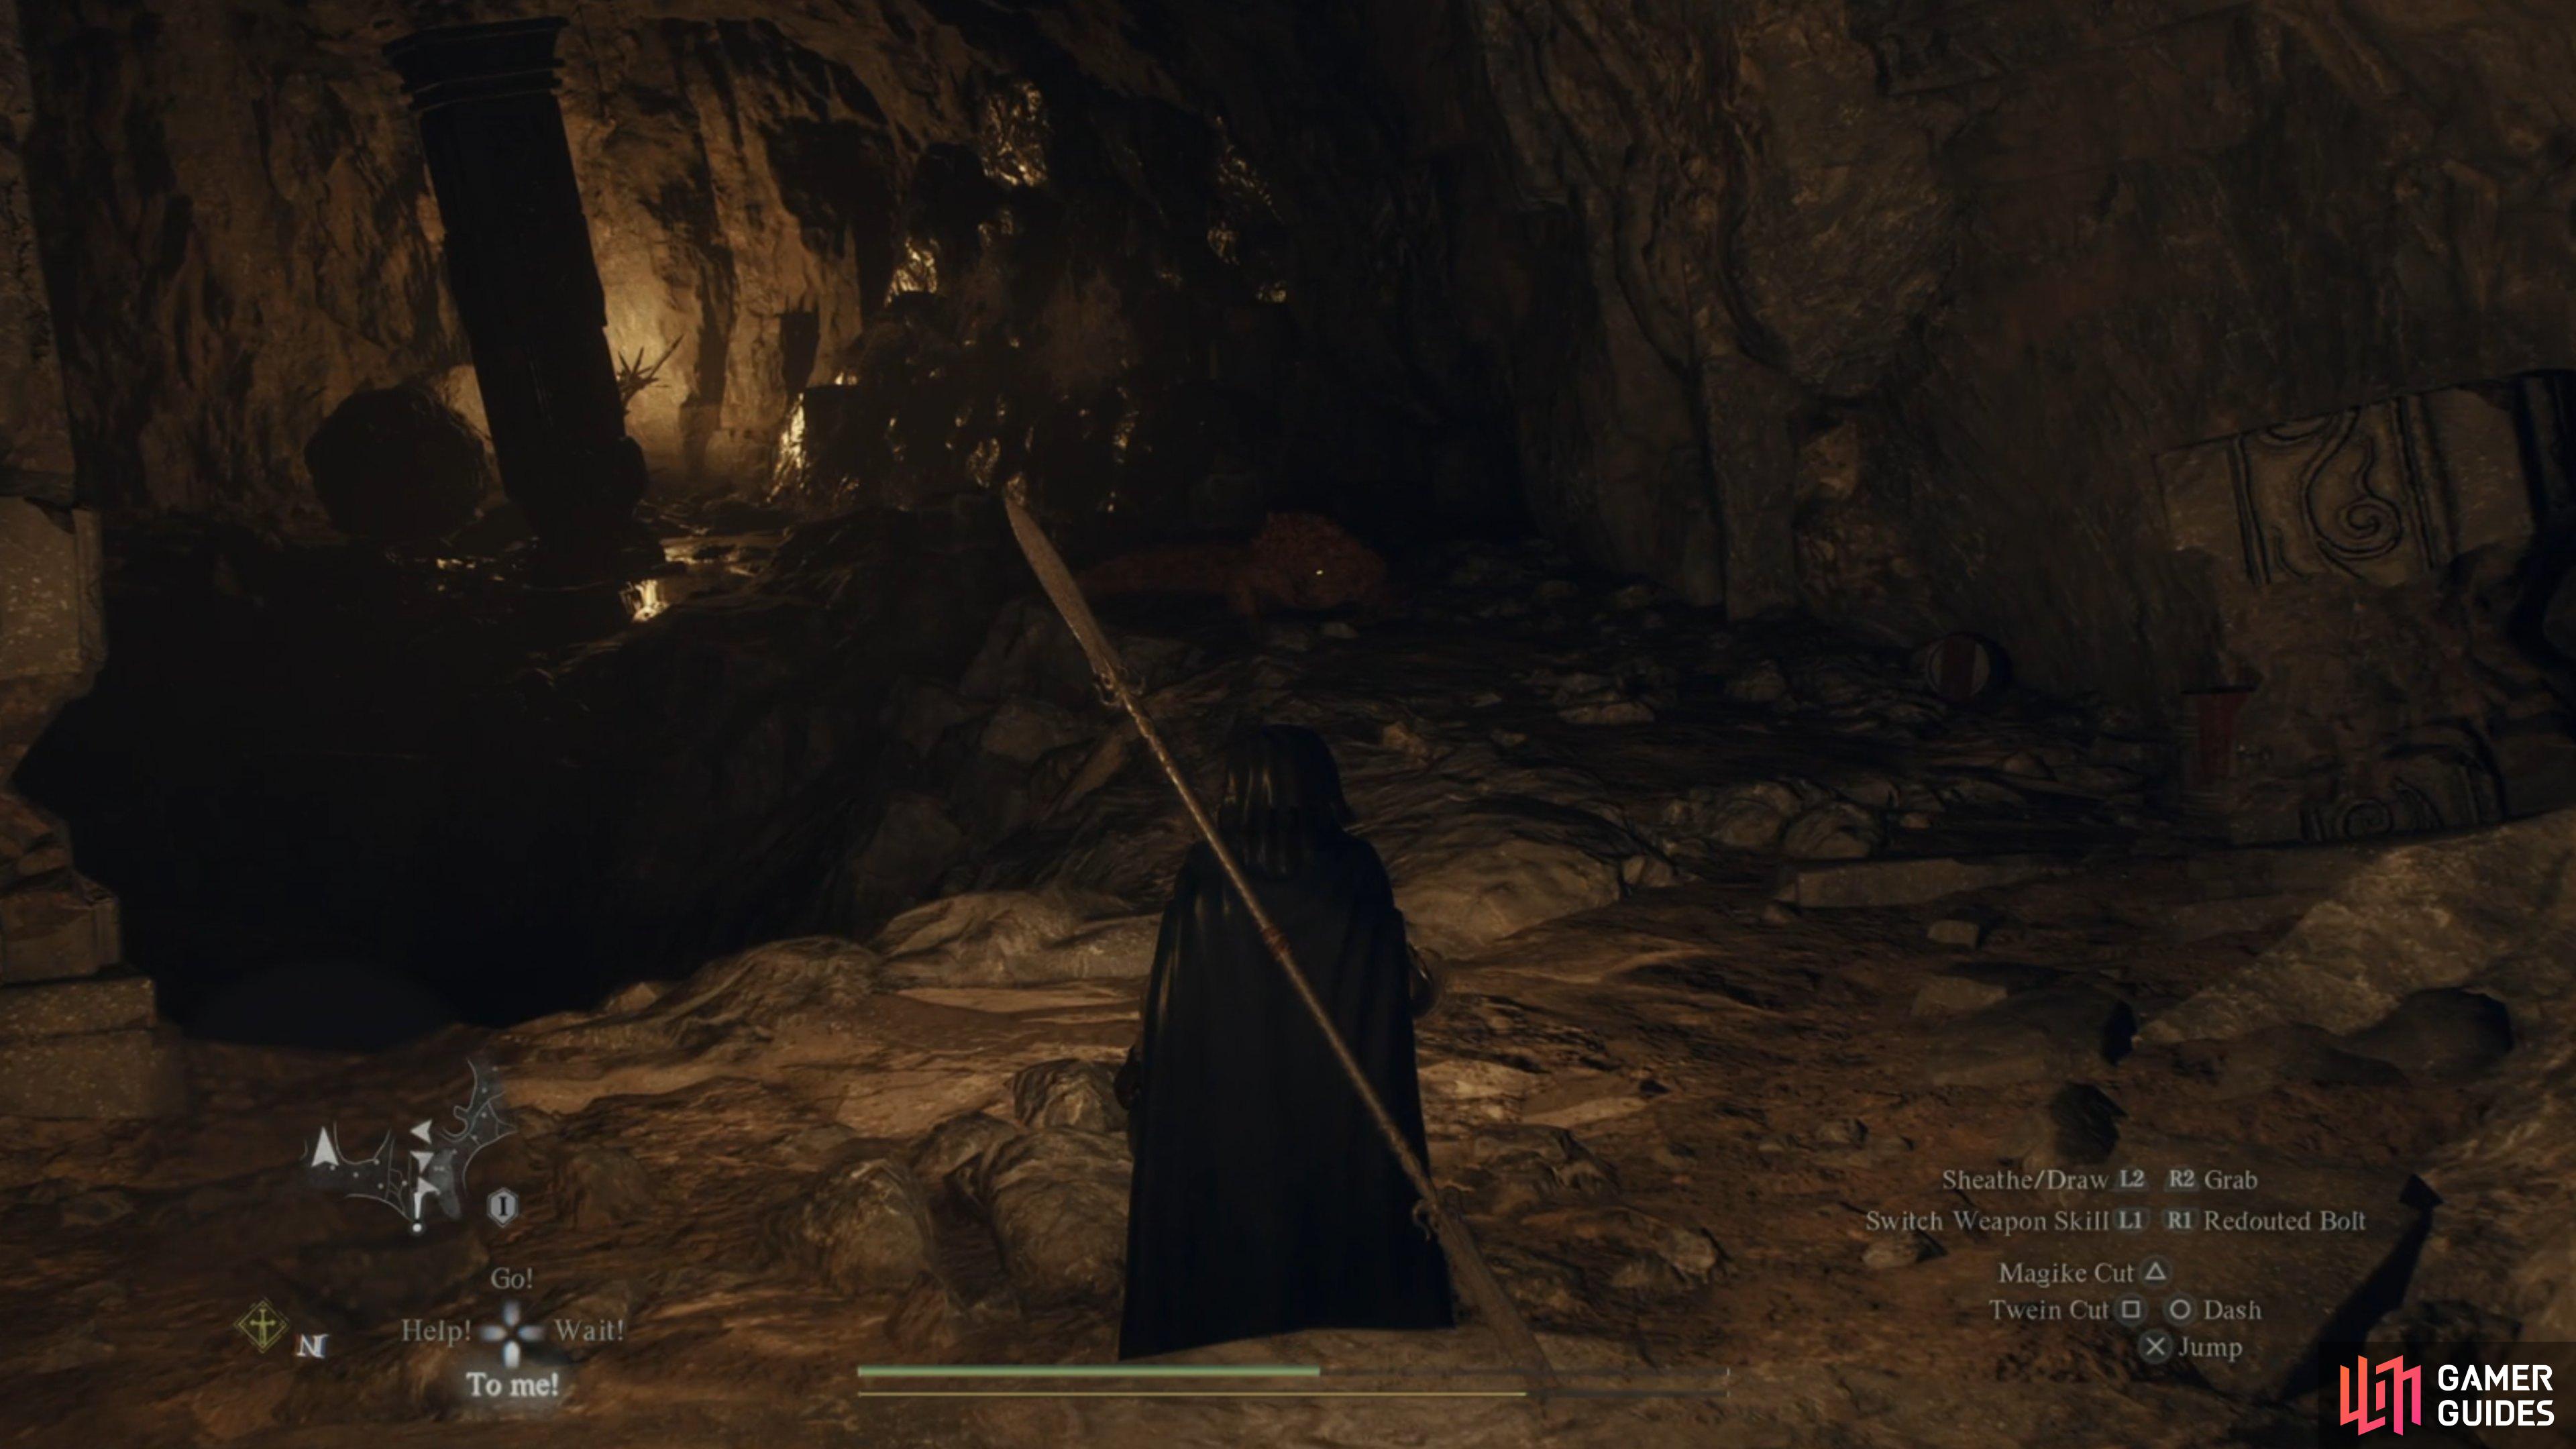
At the end of the main path, you will see a large circular room with a lot of ![]() Rattlers and a
Rattlers and a ![]() Cyclops to kill. This can be challenging if you are getting swarmed by the Rattlers. So, our best tip is to actually focus on the Cyclops as much as possible.
Cyclops to kill. This can be challenging if you are getting swarmed by the Rattlers. So, our best tip is to actually focus on the Cyclops as much as possible.
You can climb on it to avoid the Rattlers’ attacks and with enough swings to its head, it shouldn’t be alive for very long. Be sure to explore all of the paths down here in this room that loops as you can find some loose resources and chests.
Once everything is dead, continue on, but take the lower path down to where the waterbed is.
This is the final large open area of the dungeon.
Be extremely careful down here as you can easily get pinned by several Rattlers who roll towards you. The best option is to edge forward, further down this open pathway so you only trigger a few Rattlers at a time. If it gets too much and you lose too much health, simply jump up onto the platforms above you to escape for a bit and drop back down.
Grab what is down this path and then head up the cliff and take a hard right to find some more Rattlers, as well as a breakable wall you can destroy. This is definitely worth doing as beneath you there are even more Rattlers in one area than anywhere else in the game. This will wipe them out with the rocks and the water.
However, you only get one use of this destructible wall. There are some explosive barrels you can throw down too for future trips. Before you drop down, you can also find a ![]() Ferrystone in a chest.
Ferrystone in a chest.

(1 of 2) Don’t use the wall and the explosive barrels at the same time as you won’t have anything else to use if you need to run through here again.
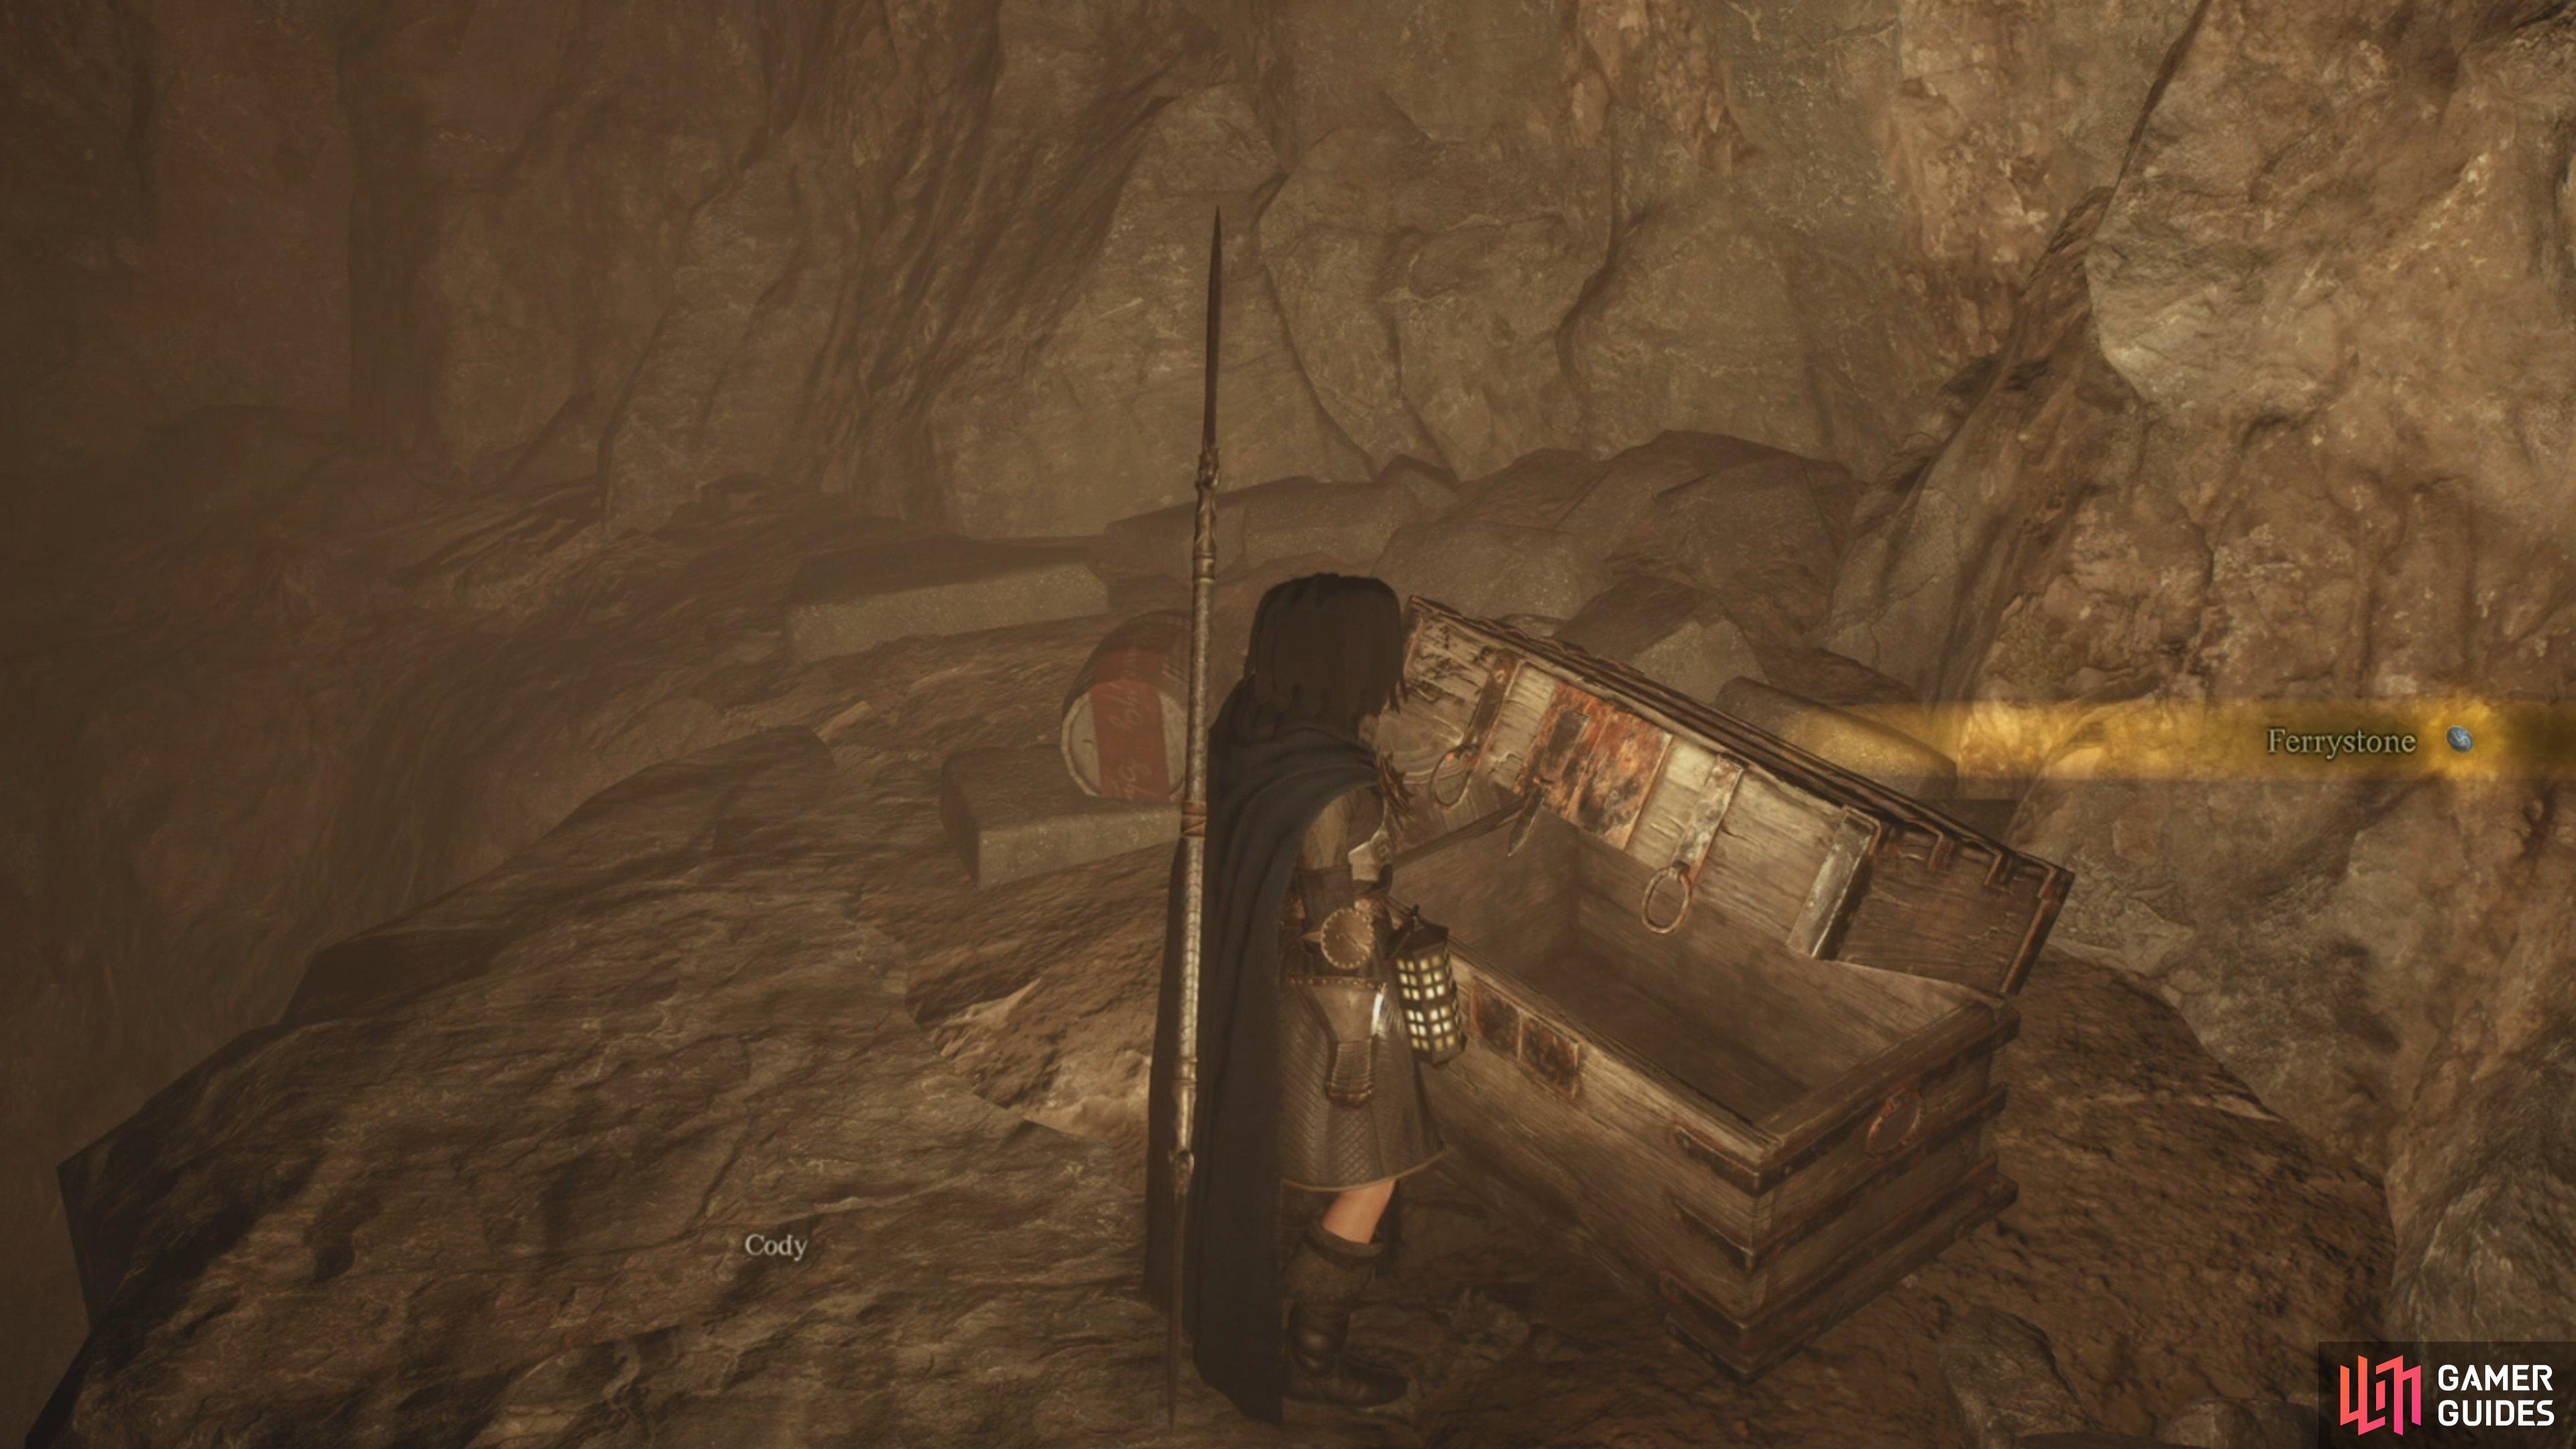
Don’t use the wall and the explosive barrels at the same time as you won’t have anything else to use if you need to run through here again. (left), This chest is worth getting as Ferrystones are rather rare in the world. (right)
Before you drop down, take the other path up the cliff to find a chest in a gap in the wall and another path. This path leads down to a ![]() Sludge, as well as another cliff outside. Here you can find another chest.
Sludge, as well as another cliff outside. Here you can find another chest.
This path up leads to a small section of the cavern with some extra loot.
Now you have explored that path, head back to where you broke the wall and killed those Rattlers. It’s time to drop down!
This will lead to another small outside area that links the path you are on and the exit to the cavern. Here you will find another Rattler or two and a black and gold chest with ![]() The Exalted in it.
The Exalted in it.
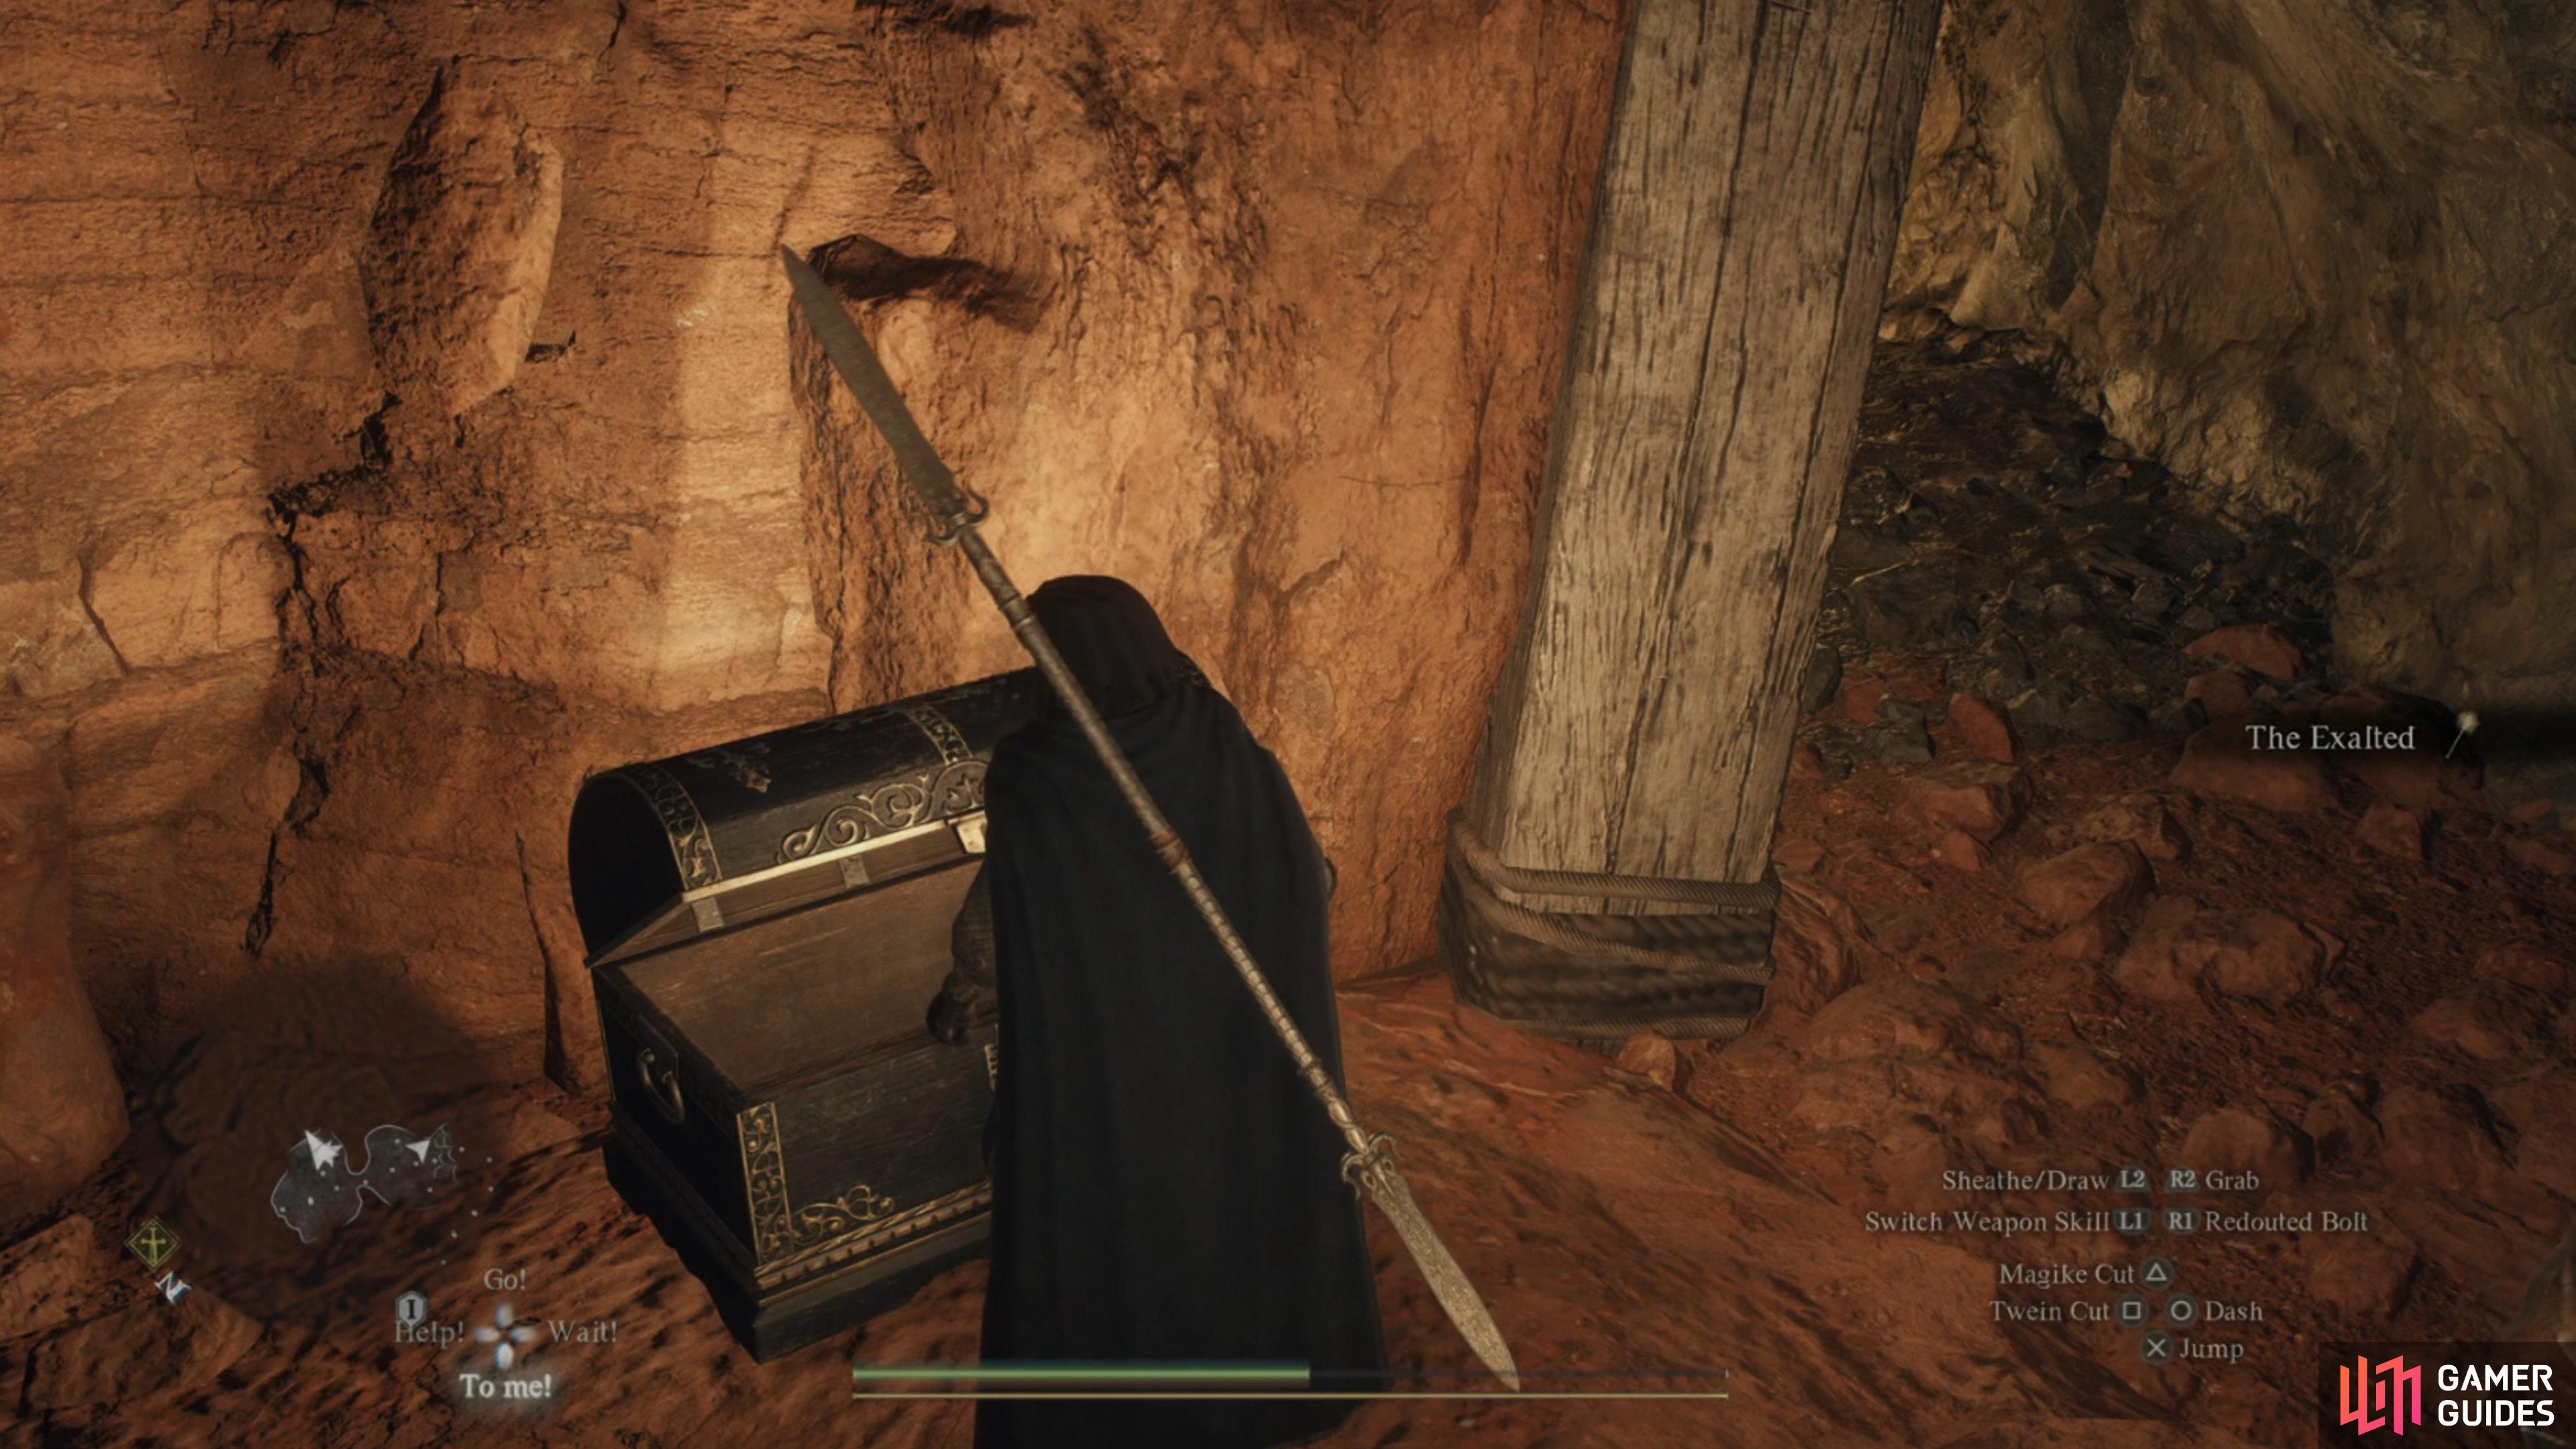
The chest is your final reward for making it through!
Finally, you will end up in another hall, however this one is pitch black. The side paths don’t have any long routes or extra areas, they just hold some items and goblins, again. This will then take you out to the Volcanic Island. Congrats on making it through one of the more complex dungeons in the game!
That covers how to get through Drabnir’s Grotto in ![]() Dragon’s Dogma 2 and not miss anything. In case you are stuck getting through some other caves and dungeons, be sure to take a look through our guides on the Cavern of the Foresaken and Waterfall Cave.
Dragon’s Dogma 2 and not miss anything. In case you are stuck getting through some other caves and dungeons, be sure to take a look through our guides on the Cavern of the Foresaken and Waterfall Cave.
No Comments