
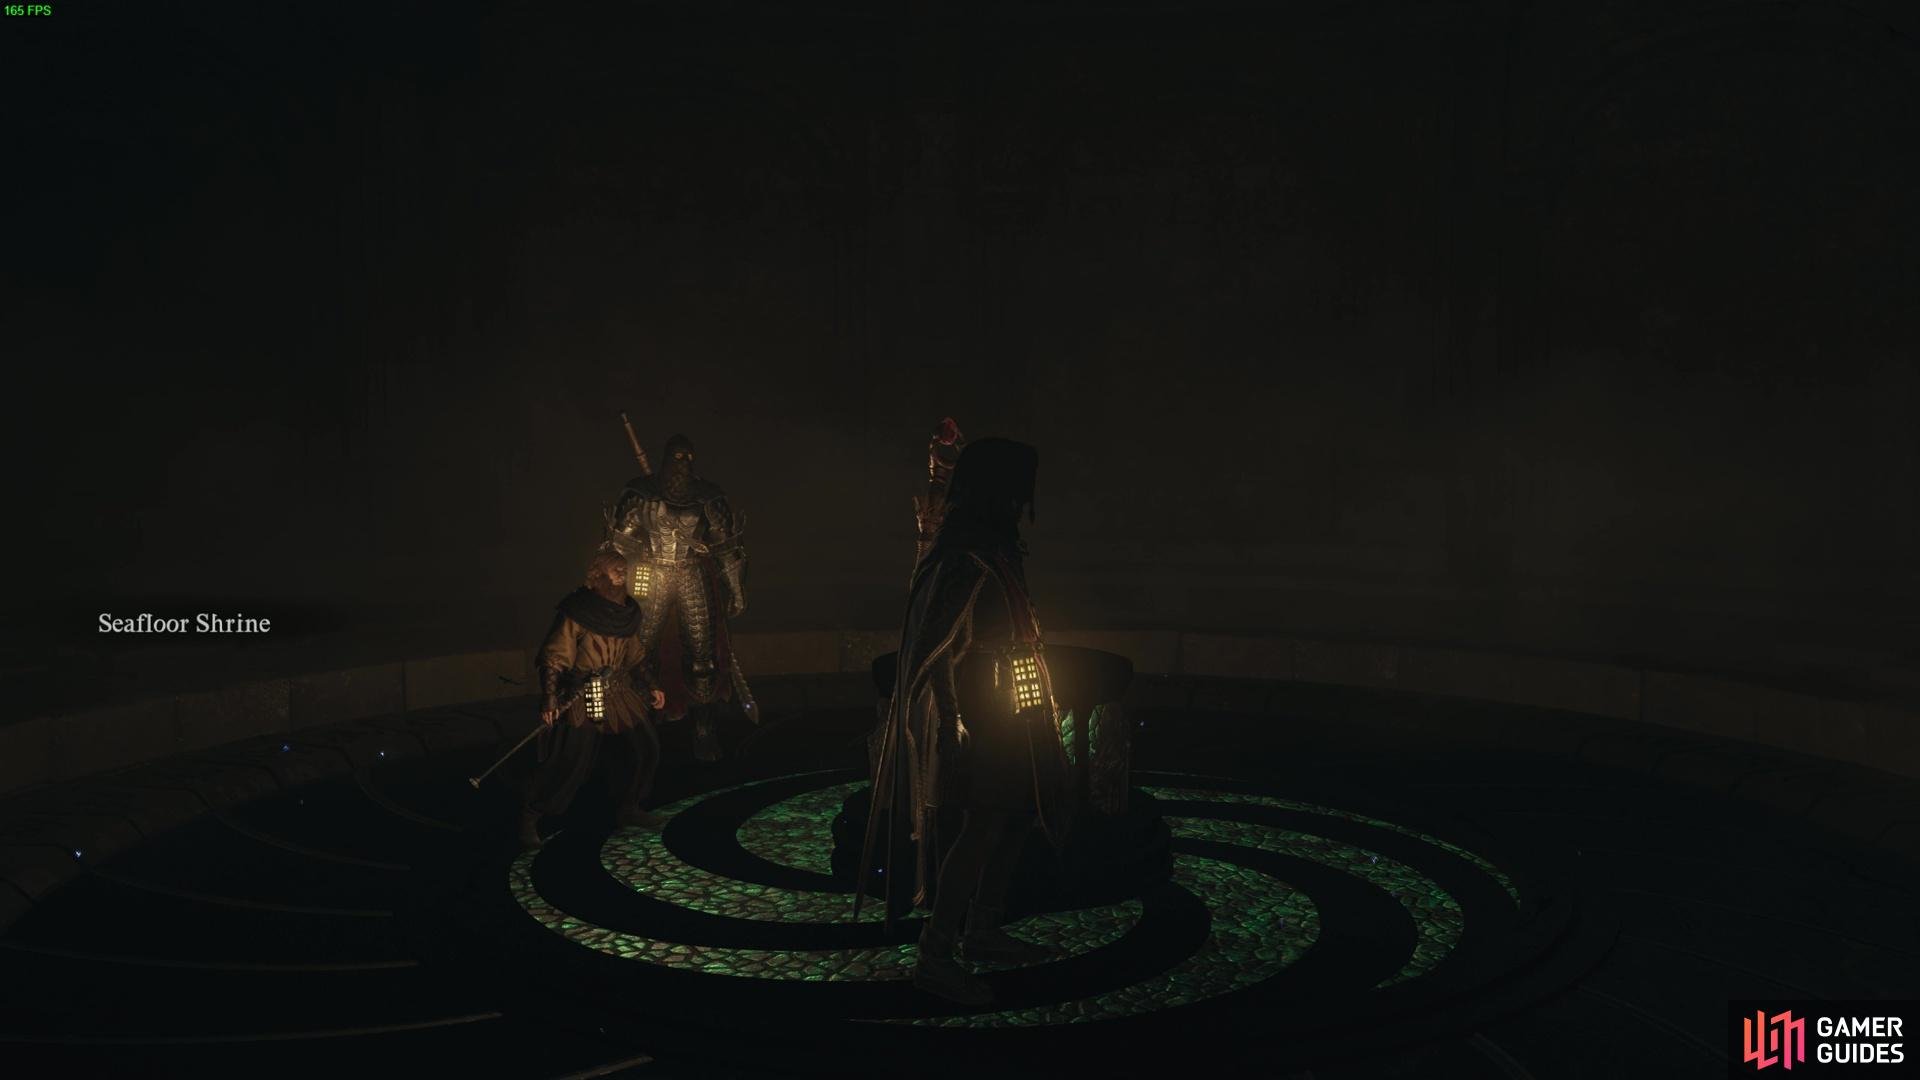
The ![]() Seafloor Shrine is a hidden location in
Seafloor Shrine is a hidden location in ![]() Dragon’s Dogma 2, which players will visit as part of the main storyline, along with the Unmoored world’s true ending experience. This location is going to become very important to you as you progress the game. Here’s a closer look at everything you need to know about the Seafloor Shrine featuring its location, loot, rewards, and post game tips.
Dragon’s Dogma 2, which players will visit as part of the main storyline, along with the Unmoored world’s true ending experience. This location is going to become very important to you as you progress the game. Here’s a closer look at everything you need to know about the Seafloor Shrine featuring its location, loot, rewards, and post game tips.
Here’s everything you need to know about the Seafloor Shrine in Dragon’s Dogma 2.
Seafloor Shrine Location in Dragon’s Dogma 2
Firstly, it is important to note that the Seafloor Shrine is located as part of the main storyline in your first playthrough. To access it, players will need to progress the main storyline to Battahl, and then get a a quest called ![]() A New Godsway. Eventually, it will lead you back to Harve Ville, where you will once again access the
A New Godsway. Eventually, it will lead you back to Harve Ville, where you will once again access the ![]() Stormwind Cave, go right to the bottom, and then enter the underground temple.
Stormwind Cave, go right to the bottom, and then enter the underground temple.
Once you enter it, you will trigger an important story cutscene, and then have access to an elevator. This elevator will take you to a castle called Seafloor Shrine, where you can explore an area. For the most part, the Seafloor Shrine is just a Gaol with a few enemies and chests you can loot, granting the following rewards:
You can grab some decent gear like the Incanter’s Coat from one of the blue chests near the elevator. There are some other items like a Silver Crown knocking around the gaol area, along the other terrible clothing items like Miner’s Shirts and Laborer’s Trousers from the wooden chest around the gaol.
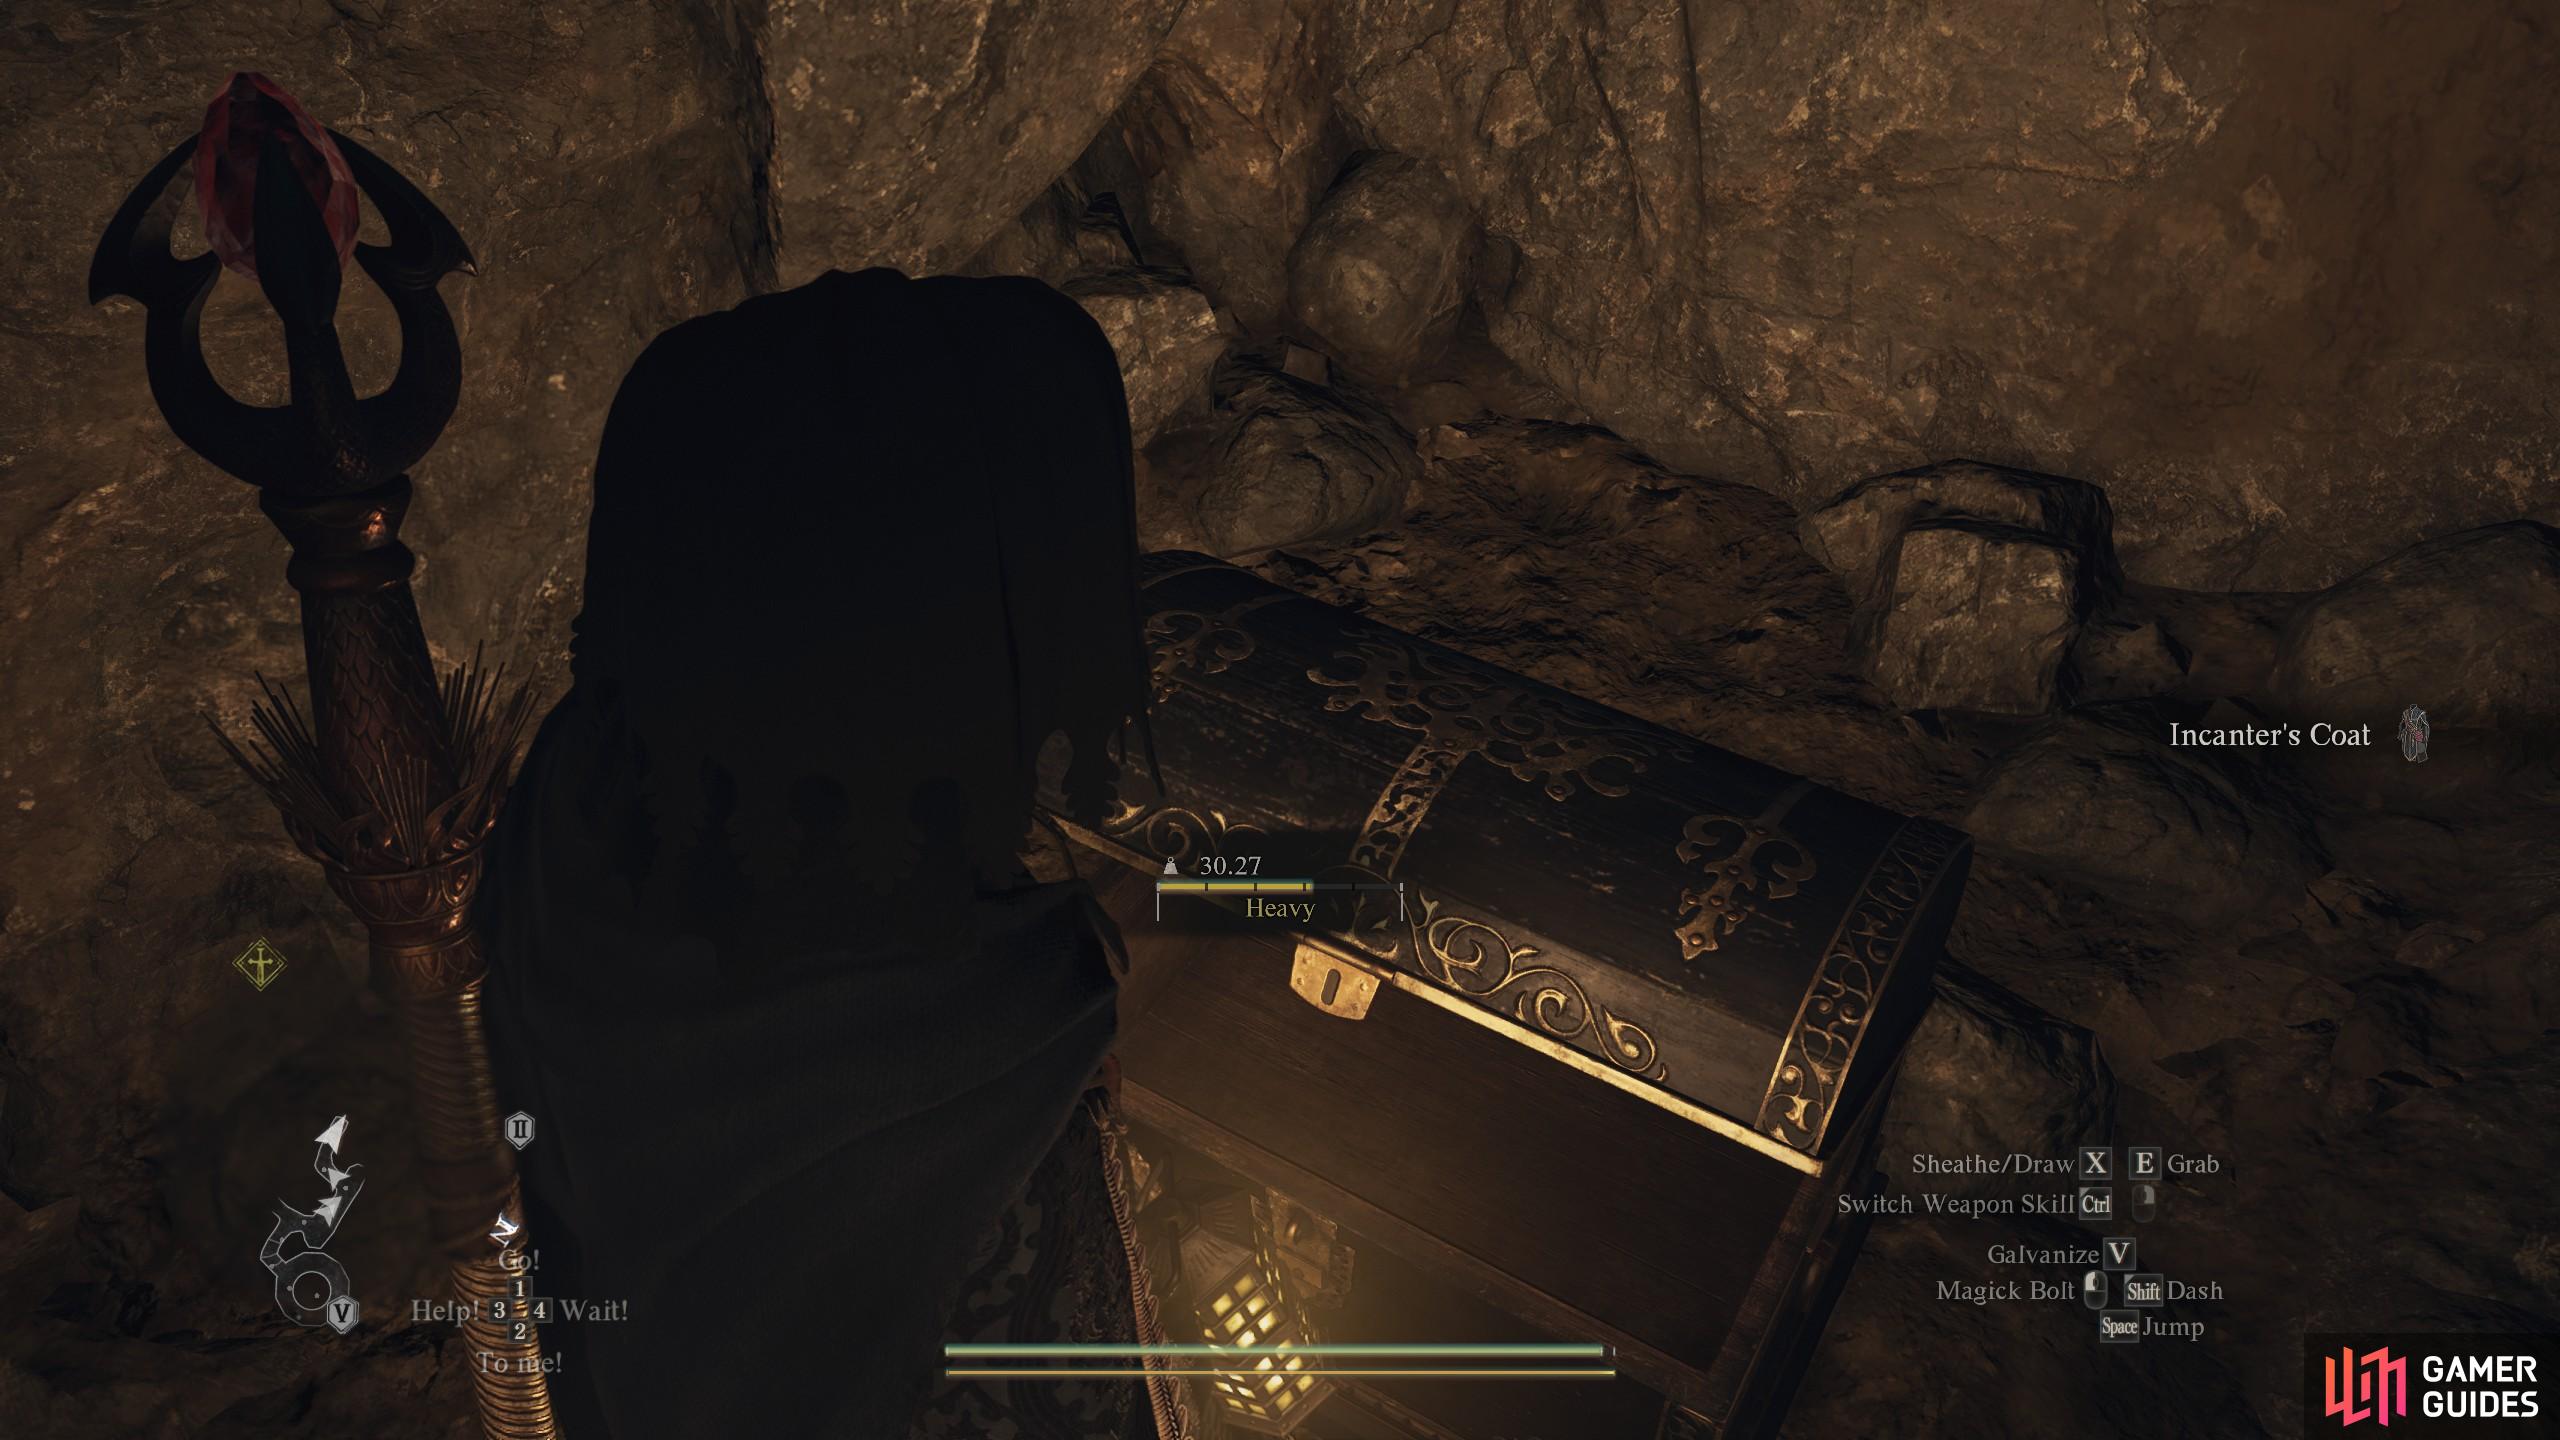
Players can expect to find good Sorcerer gear from the Seafloor Shrine dungeon.
There’s a locked room in the gaol area, too, which requires a ![]() Makeshift Gaol Key to open. Don’t worry, as you should get one from the end of the gaol corridor by the stairs. It should be to the left of the locked door. Grab the keys from the floor and return to the jail, open it, and then loot the red chest. You will get a Ring of Profusion for your troubles. Ignore the other chest as it awards 5x Rotted
Makeshift Gaol Key to open. Don’t worry, as you should get one from the end of the gaol corridor by the stairs. It should be to the left of the locked door. Grab the keys from the floor and return to the jail, open it, and then loot the red chest. You will get a Ring of Profusion for your troubles. Ignore the other chest as it awards 5x Rotted ![]() Harspuds. Yeah - nice troll, devs.
Harspuds. Yeah - nice troll, devs.


(1 of 2) Escape from the Seafloor Gaol and you emerge in the Sacred Grounds for more loot.
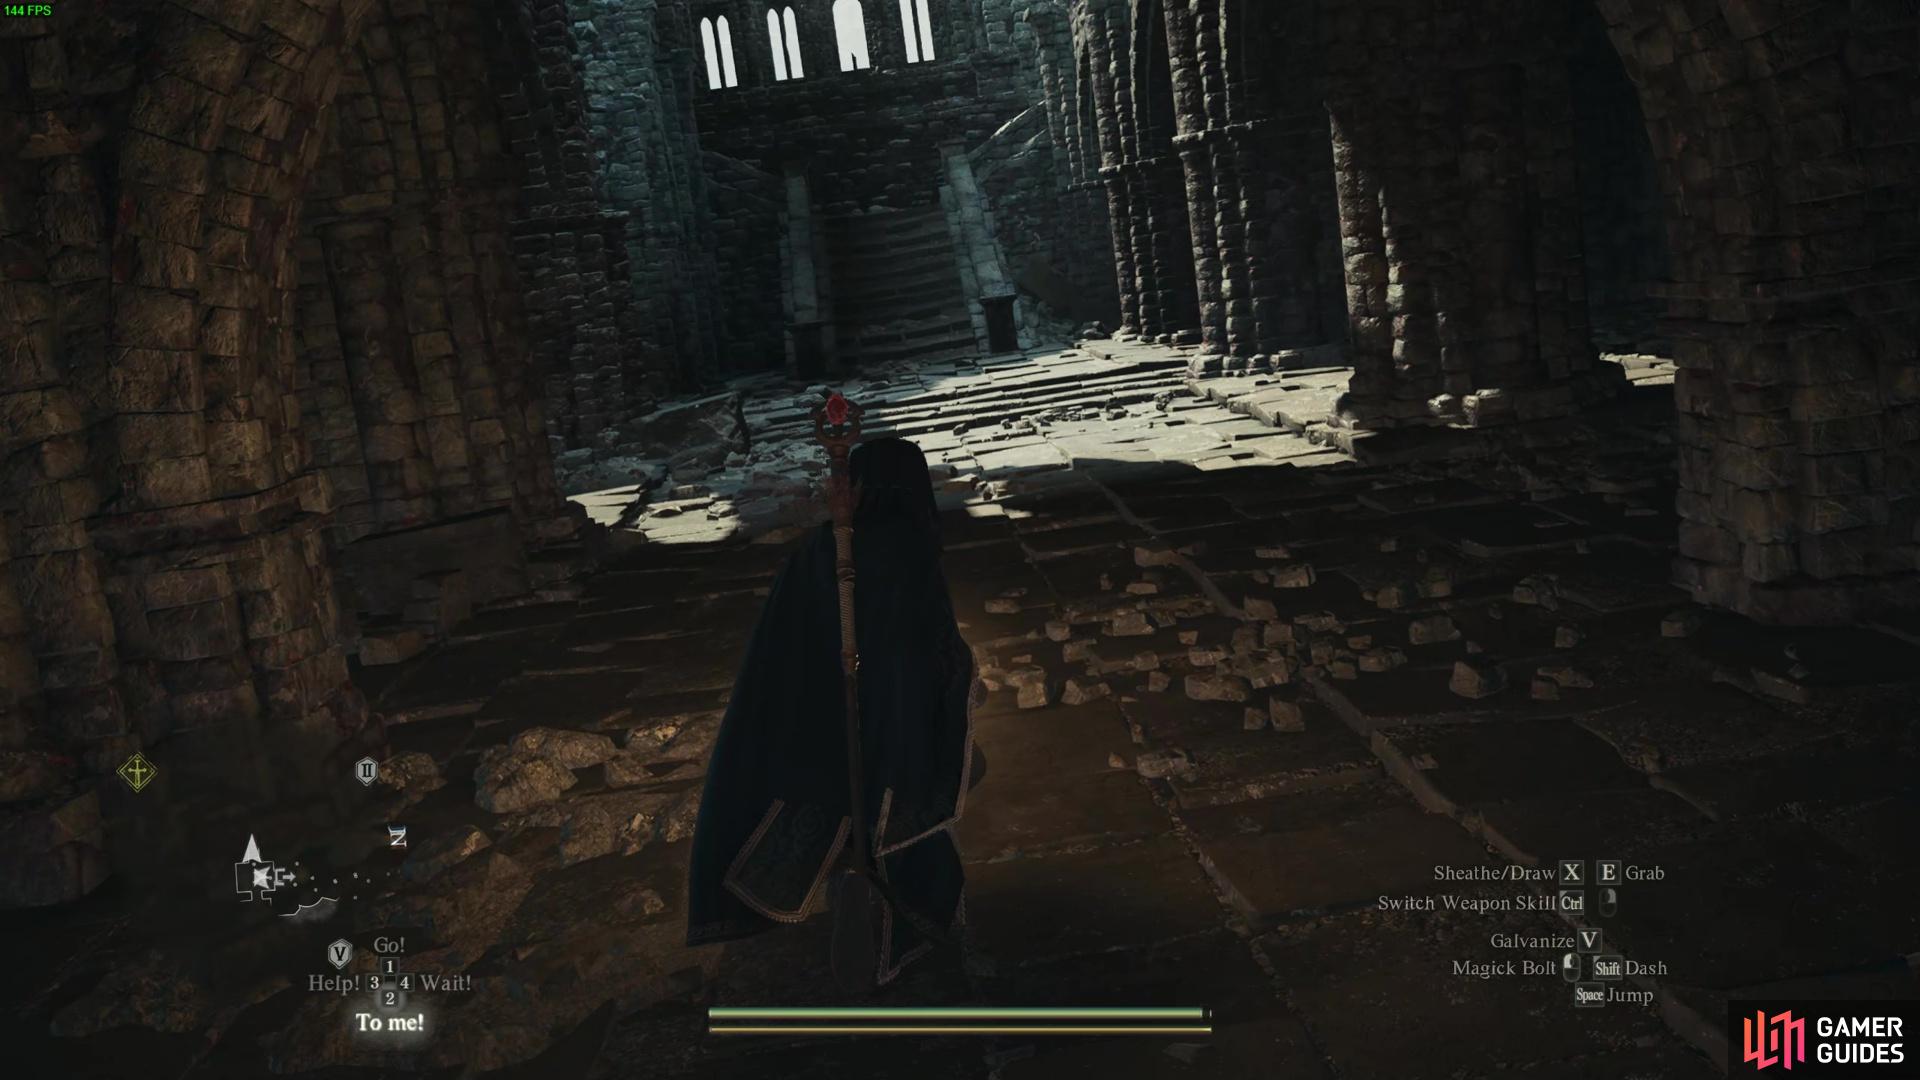
Escape from the Seafloor Gaol and you emerge in the Sacred Grounds for more loot. (left), Exploring the Ruins with direct pathways can lead to hidden treasure for casters, among other nice loot. (right)
As you escape the stairs, you shall arrive at a part of the Seafloor Shrine called the Sacred Grounds. Here, you have the remains of the castle poking above sea level. There are a few chests around here containing the following rewards:
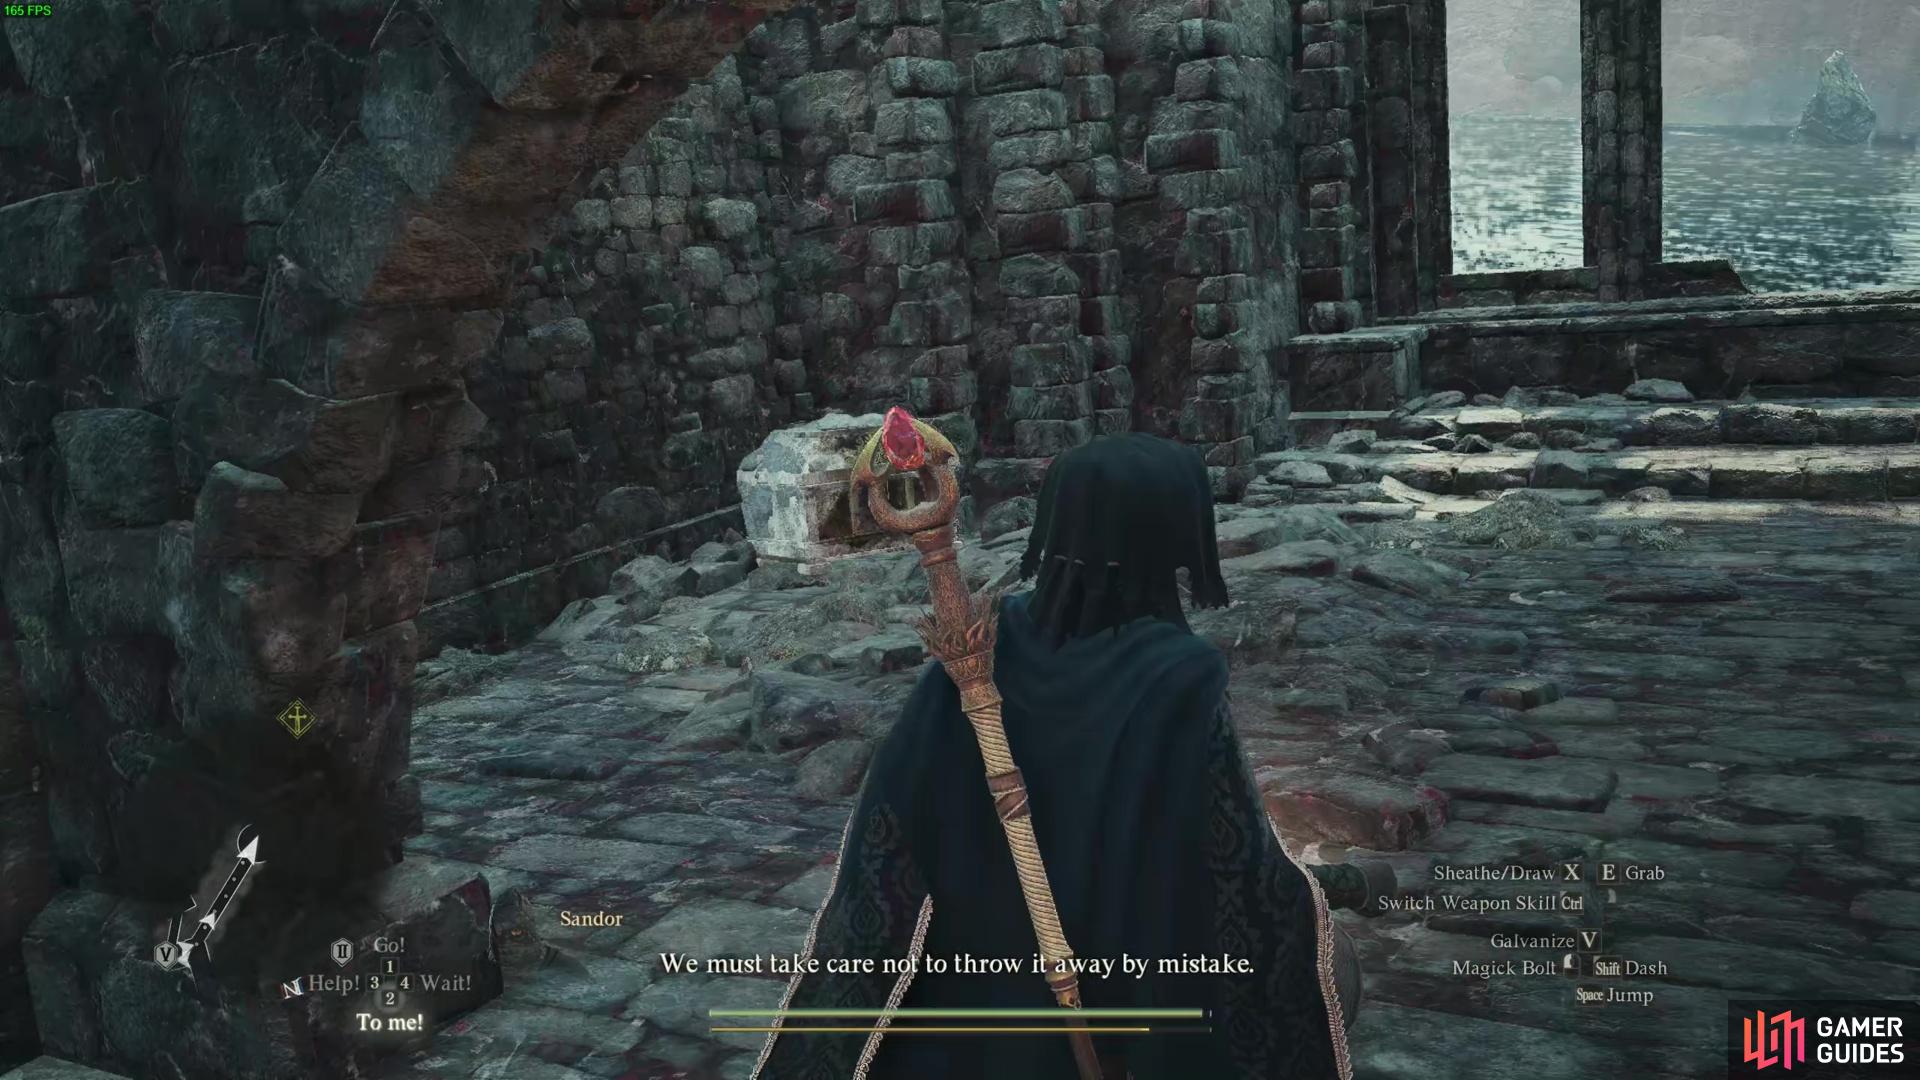
To find these items, proceed through the ruined keep, and start climbing the towers. You should start finding some stone chests among the rubble. If you go up the main set of stairs in the ruined keep area and turn left, you can climb a tower with a chest containing a ![]() Wakestone Shard at the top. You should then find an intact walkway leading southwest to the sea housing a chest with the Stargazer’s Garb. If you go left from the main stairs, but don’t go towards the tower, you’ll find a broken path to parkour over, containing the chest with the Allheal Elixir.
Wakestone Shard at the top. You should then find an intact walkway leading southwest to the sea housing a chest with the Stargazer’s Garb. If you go left from the main stairs, but don’t go towards the tower, you’ll find a broken path to parkour over, containing the chest with the Allheal Elixir.
The other chest you’re looking for is in the main keep’s upstairs area. Go through the keep, turn right at the main stairs, and follow it all the way round to a room with a balcony. You should find the Uniter’s Mantle from the chest in the room.
Outside of that, you then need to return to the mainland to progress further through the quests as normal. This is about it for your journey through the Seafloor Shrine for now. Don’t go and explore the ruined edges of the castle. We tried, and there is not much going on. If anything, you’re asking for some briny deaths for your support pawns.
Seafloor Shrine & Halls of the First Dawn
When you complete the main storyline, and you opt for the True Ending and the Unmoored World, you will arrive back at Seafloor Shrine for the ![]() Halls of the First Dawn Quest.
Halls of the First Dawn Quest.
The important thing to note about the area is that you will then get a timed quest. This location will be where you send people to as part of the questline. However, there are a few important tips to note about the area.
This place will be your main hub for the near future while you’re on the Unmoored map. Whenever you rescue settlements, you will bring over the occupants of that town to the area. You can also rest in the Seafloor Shrine, and it will not progress the timer of the Halls of the First Dawn quest. It means that any traders on the map will move there, so you can create a fortified area of all the important enhancements and traders you need for your journey. You’ll also get some great end-game items for sale from vendors too!
The area is also a ![]() Portcrystal, so you can use your
Portcrystal, so you can use your ![]() Ferrystones to capture the distant towns, return here for a rest, and then go out and complete the quest with time to spare.
Ferrystones to capture the distant towns, return here for a rest, and then go out and complete the quest with time to spare.
We have a full walkthrough on the Halls of the First Dawn quest if you want to complete that quest as efficiently as possible.
This concludes everything you need to know about the Seafloor Shrine in Dragon’s Dogma 2.
No Comments