
The ![]() Sealed Mining Shaft is a dungeon found along the western end of Battahl, not far from the Coral Snakes’ Hideout, as the crow flies. Unlike most dungeons, it is located behind a sealed gate, and if you’re sniffing around on foot the way to get past this barrier might not be immediately apparent. Look to the skies, however, and you’ll find a clue: a rope. This is part of the ropeway system that allows you to traverse central Battahl more easily, and you’ll need to use the ropeway to get past - over, actually - the gate behind which this dungeon lies.
Sealed Mining Shaft is a dungeon found along the western end of Battahl, not far from the Coral Snakes’ Hideout, as the crow flies. Unlike most dungeons, it is located behind a sealed gate, and if you’re sniffing around on foot the way to get past this barrier might not be immediately apparent. Look to the skies, however, and you’ll find a clue: a rope. This is part of the ropeway system that allows you to traverse central Battahl more easily, and you’ll need to use the ropeway to get past - over, actually - the gate behind which this dungeon lies.
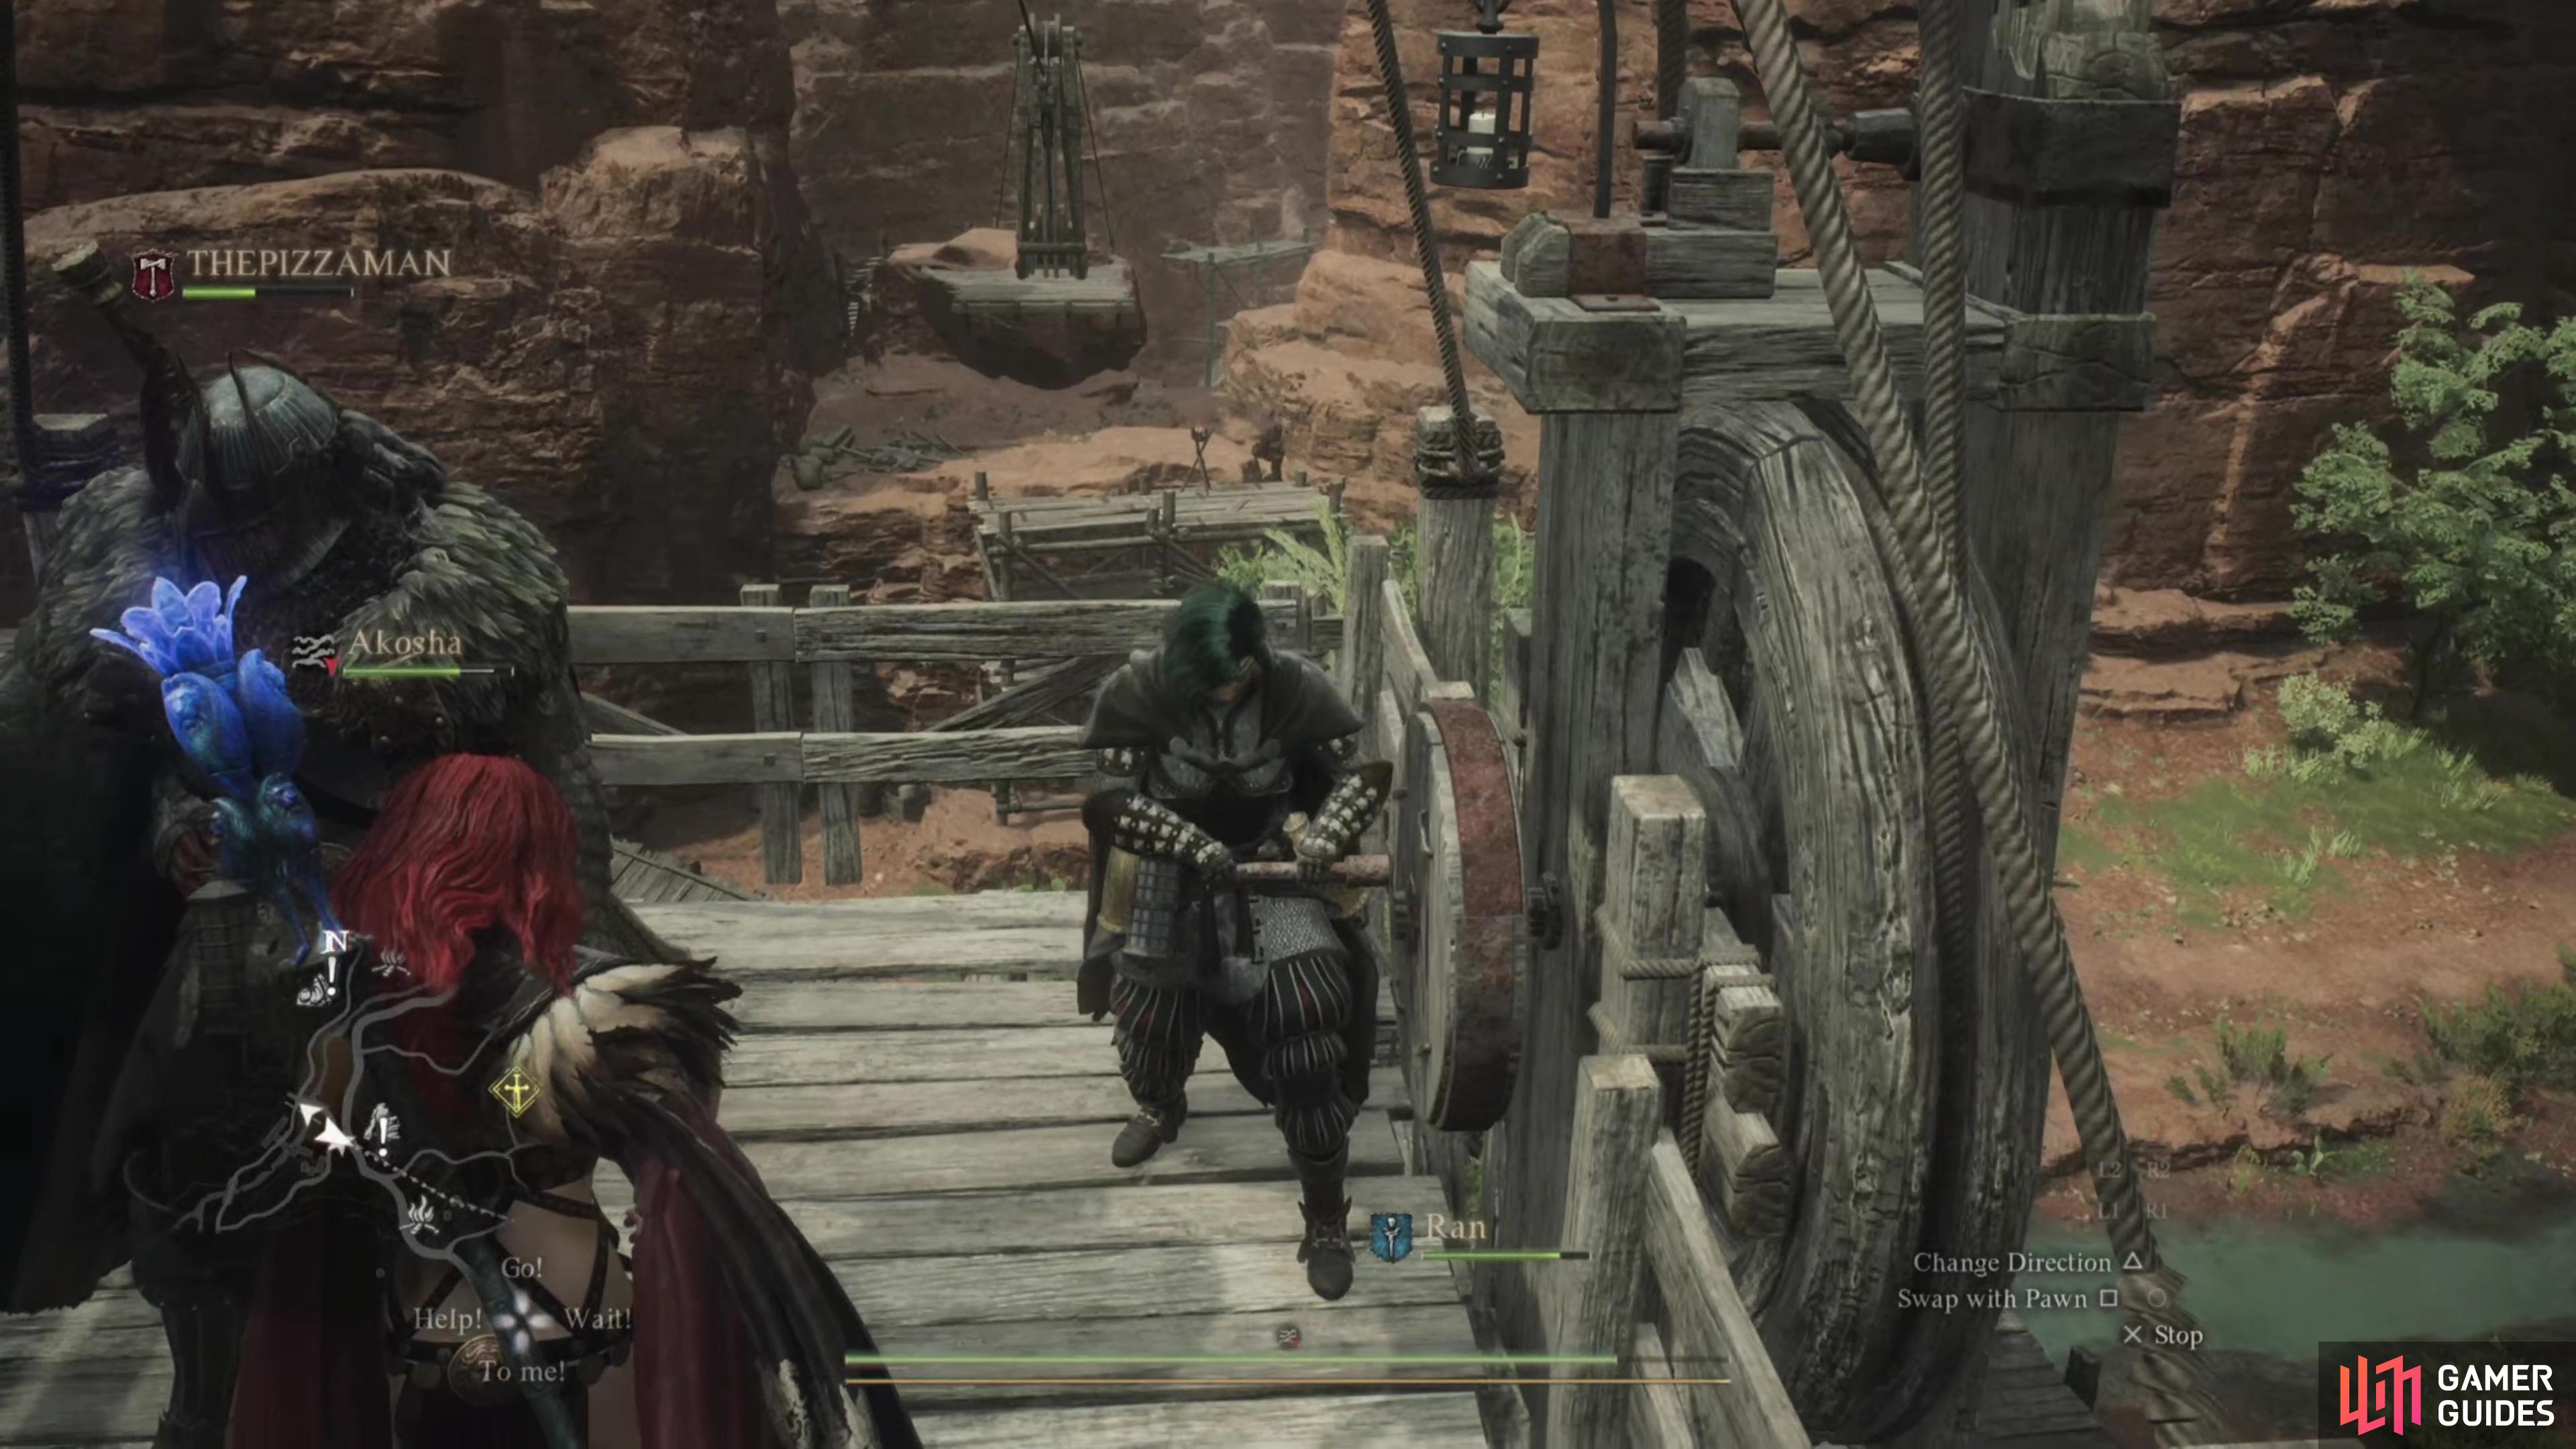

(1 of 2) Take a ropeway from the Battahl Ropeway Central Station to get past a gate to the northwest,
Take a ropeway from the Battahl Ropeway Central Station to get past a gate to the northwest, (left), then smash the bar holding the gate shut to ensure it never blocks your progress again. (right)
Get Past the Gate West of Bakbattahl
Make your way to the Battahl Ropeway Central Station, which is almost due west of ![]() Bakbattahl. It’s a hill where four ropeways converge, and if you scale to the top you’ll find four ropeway stations. Head to the westernmost station to find a crank you can use to draw in a lift, which you can use to get beyond the gate far to the northwest. It may take a good bit of cranking to get the lift over to you, and more crank-turning awaits when you board the lift itself, but eventually, you’ll end up at Battahl Ropeway Station Three. Once you make it to your destination, climb down, kill any
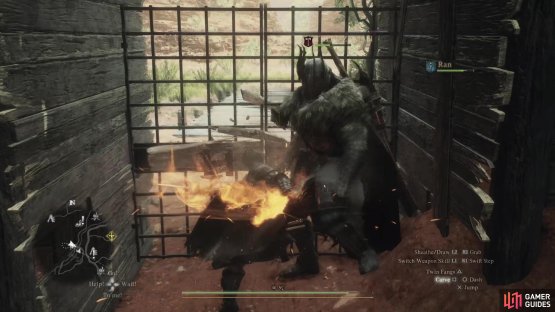
Bakbattahl. It’s a hill where four ropeways converge, and if you scale to the top you’ll find four ropeway stations. Head to the westernmost station to find a crank you can use to draw in a lift, which you can use to get beyond the gate far to the northwest. It may take a good bit of cranking to get the lift over to you, and more crank-turning awaits when you board the lift itself, but eventually, you’ll end up at Battahl Ropeway Station Three. Once you make it to your destination, climb down, kill any ![]() Lost Mercenary enemies you encounter, and smash the bar holding the gate shut to grant you free access to this region without needing the ropeway.
Lost Mercenary enemies you encounter, and smash the bar holding the gate shut to grant you free access to this region without needing the ropeway.


(1 of 2) Kill the Lost Mercenary enemies that inhabit the mine,

Kill the Lost Mercenary enemies that inhabit the mine, (left), and plunder their chests for a mighty haul, including piles of gold and a Ferrystone. (right)
Sealed Mining Shaft Treasure and Encounters
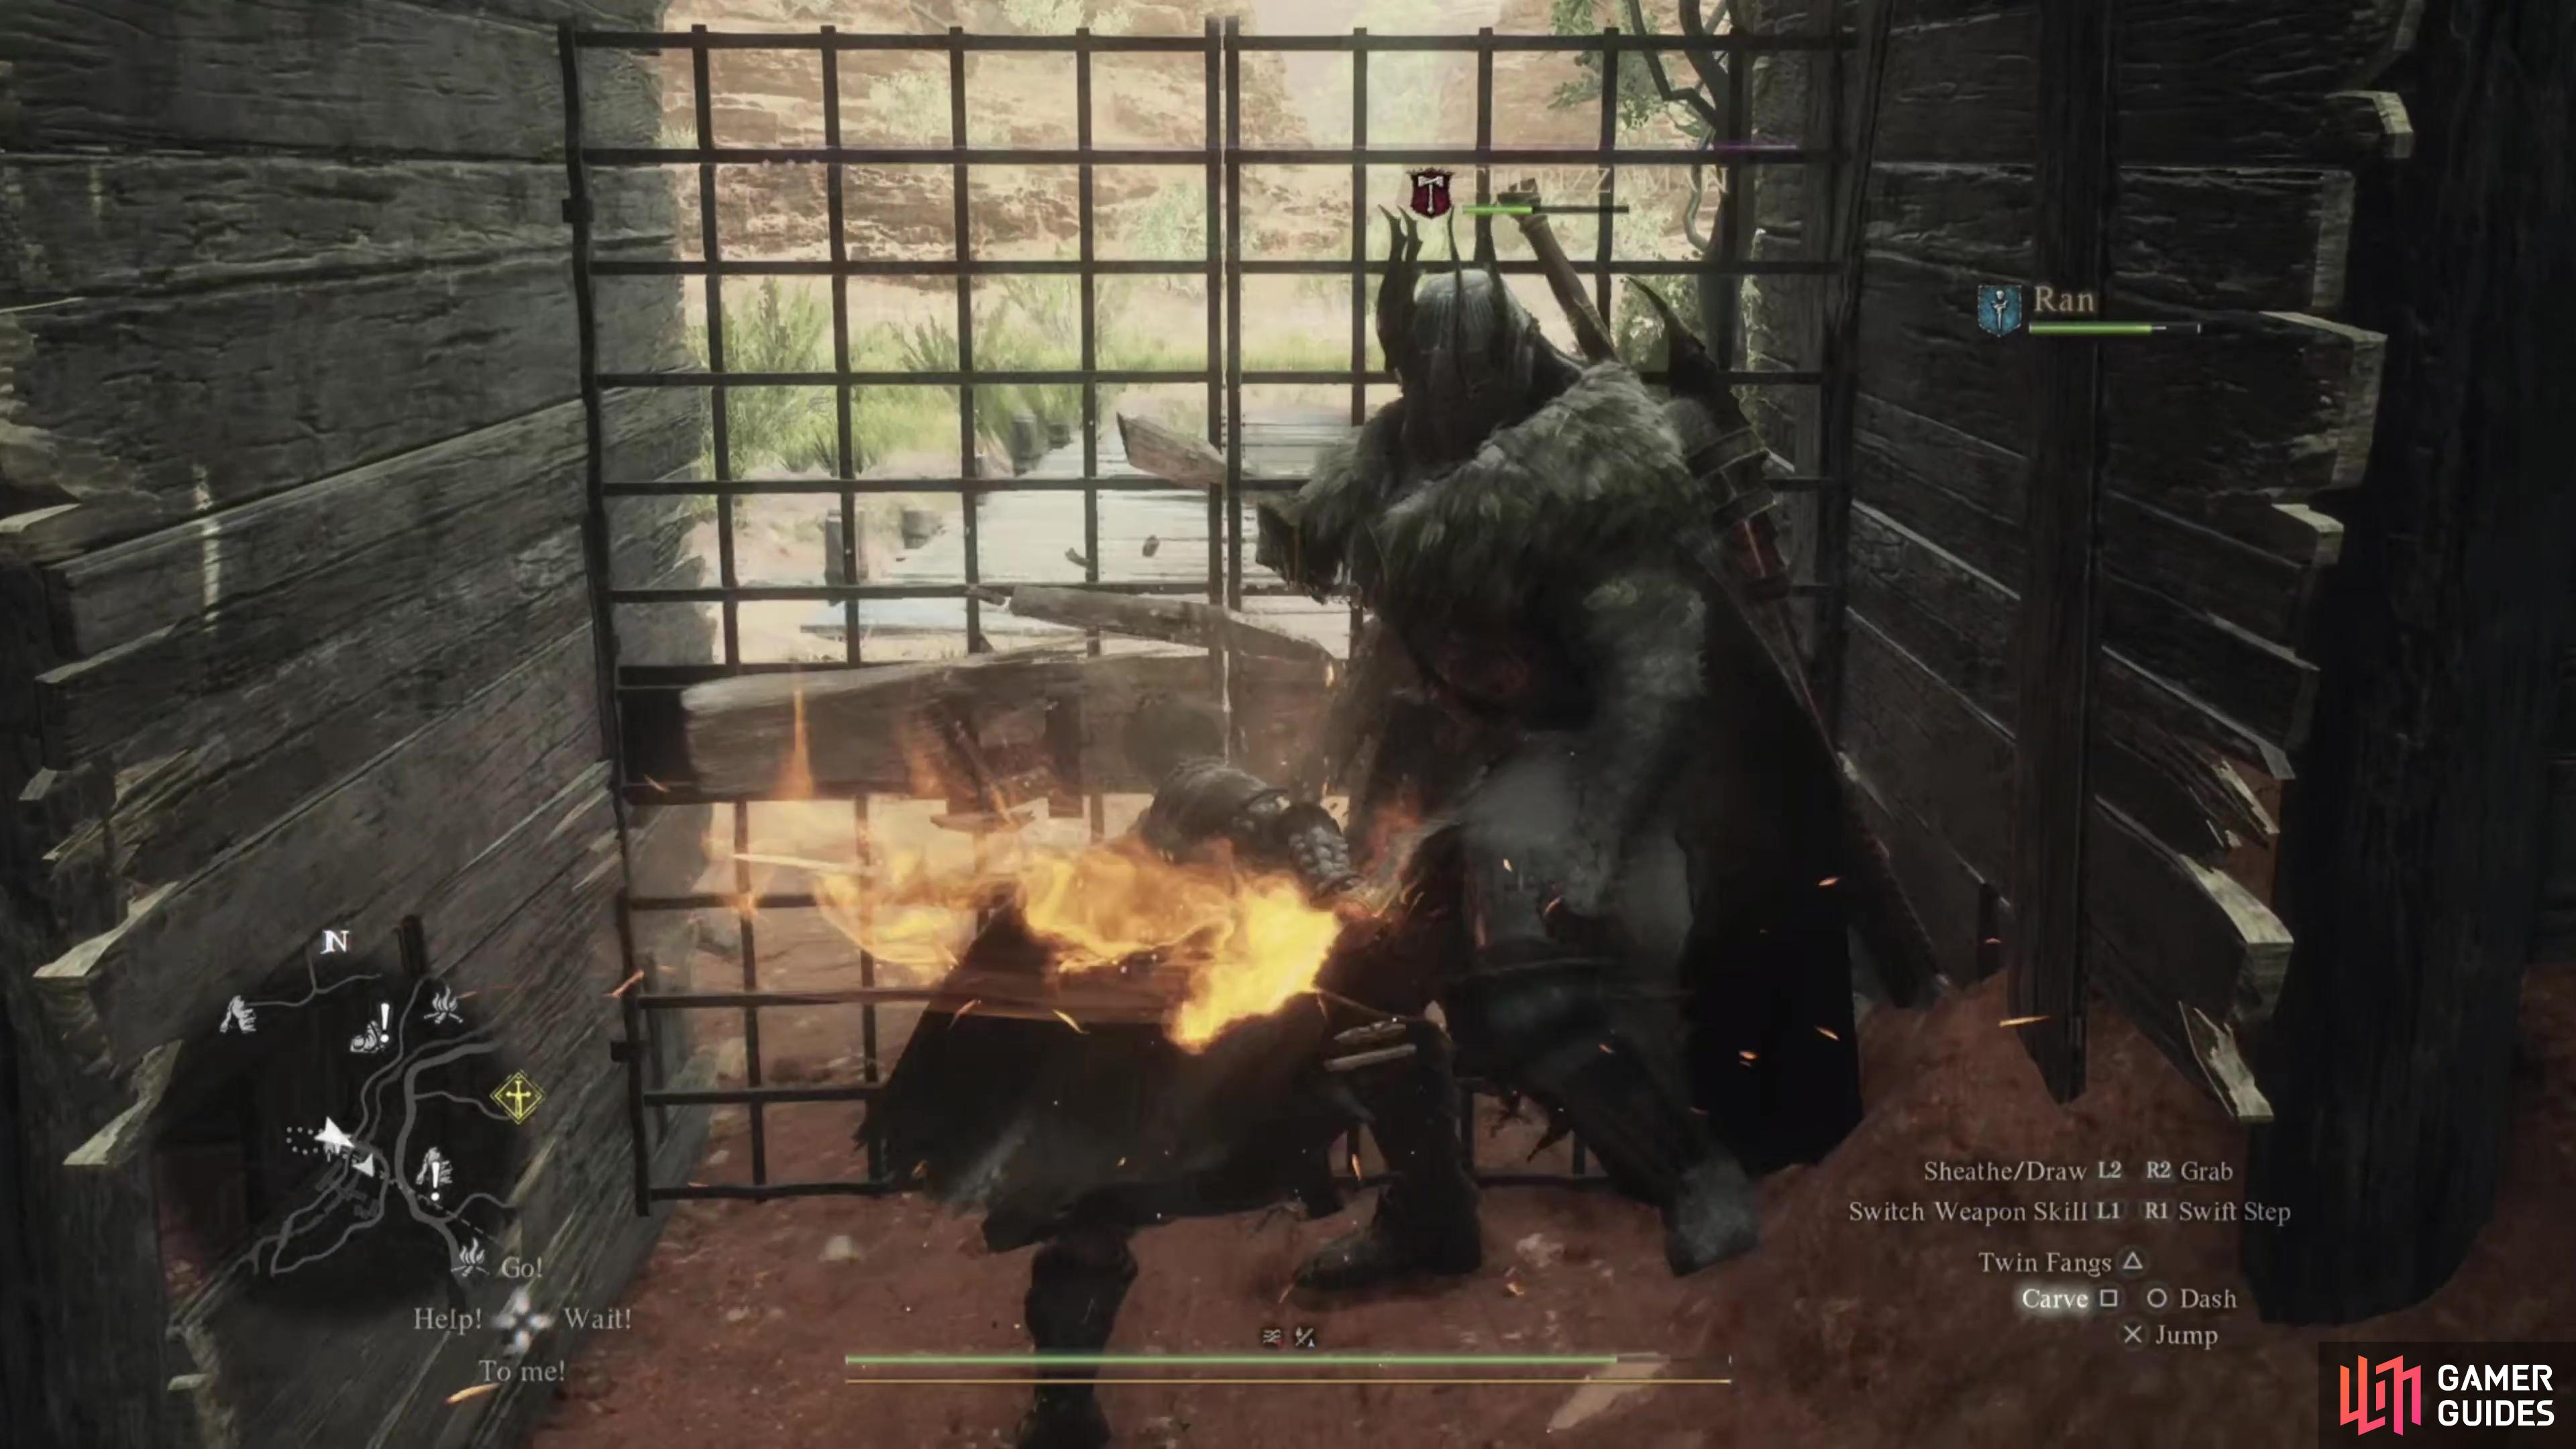
From the gate, make your way northwest then north to reach the entrance to the Sealed Mining Shaft, killing Lost Mercenaries as you go. More of these ne’er-do-wells dwell within, and they’ll be your primary enemy in this dungeon.
Head inside the dungeon and continue north a short distance until you reach a fork. The path east leads to a dead end with nothing of interest to kill or loot, so head west and drop down some ledges. Advance until you find another group of Lost Mercenaries in need of killing and oblige them, then loot the small chamber they guarded. A chest along the wall to the northwest will yield a whopping 11,030G, while another can be found on a ledge to the east, hidden behind some crates. This second chest contains a ![]() Ferrystone, making this a lucrative little chamber, indeed. Mine a trio of ore seams for some midtier ore (
Ferrystone, making this a lucrative little chamber, indeed. Mine a trio of ore seams for some midtier ore (![]() Southron Iron,
Southron Iron, ![]() Copperstone, etc), then return to the fork.
Copperstone, etc), then return to the fork.

(1 of 3) Be wary as you explore an apparent cave-in to the north, as a Minotaur will burst through the boulders and attack!
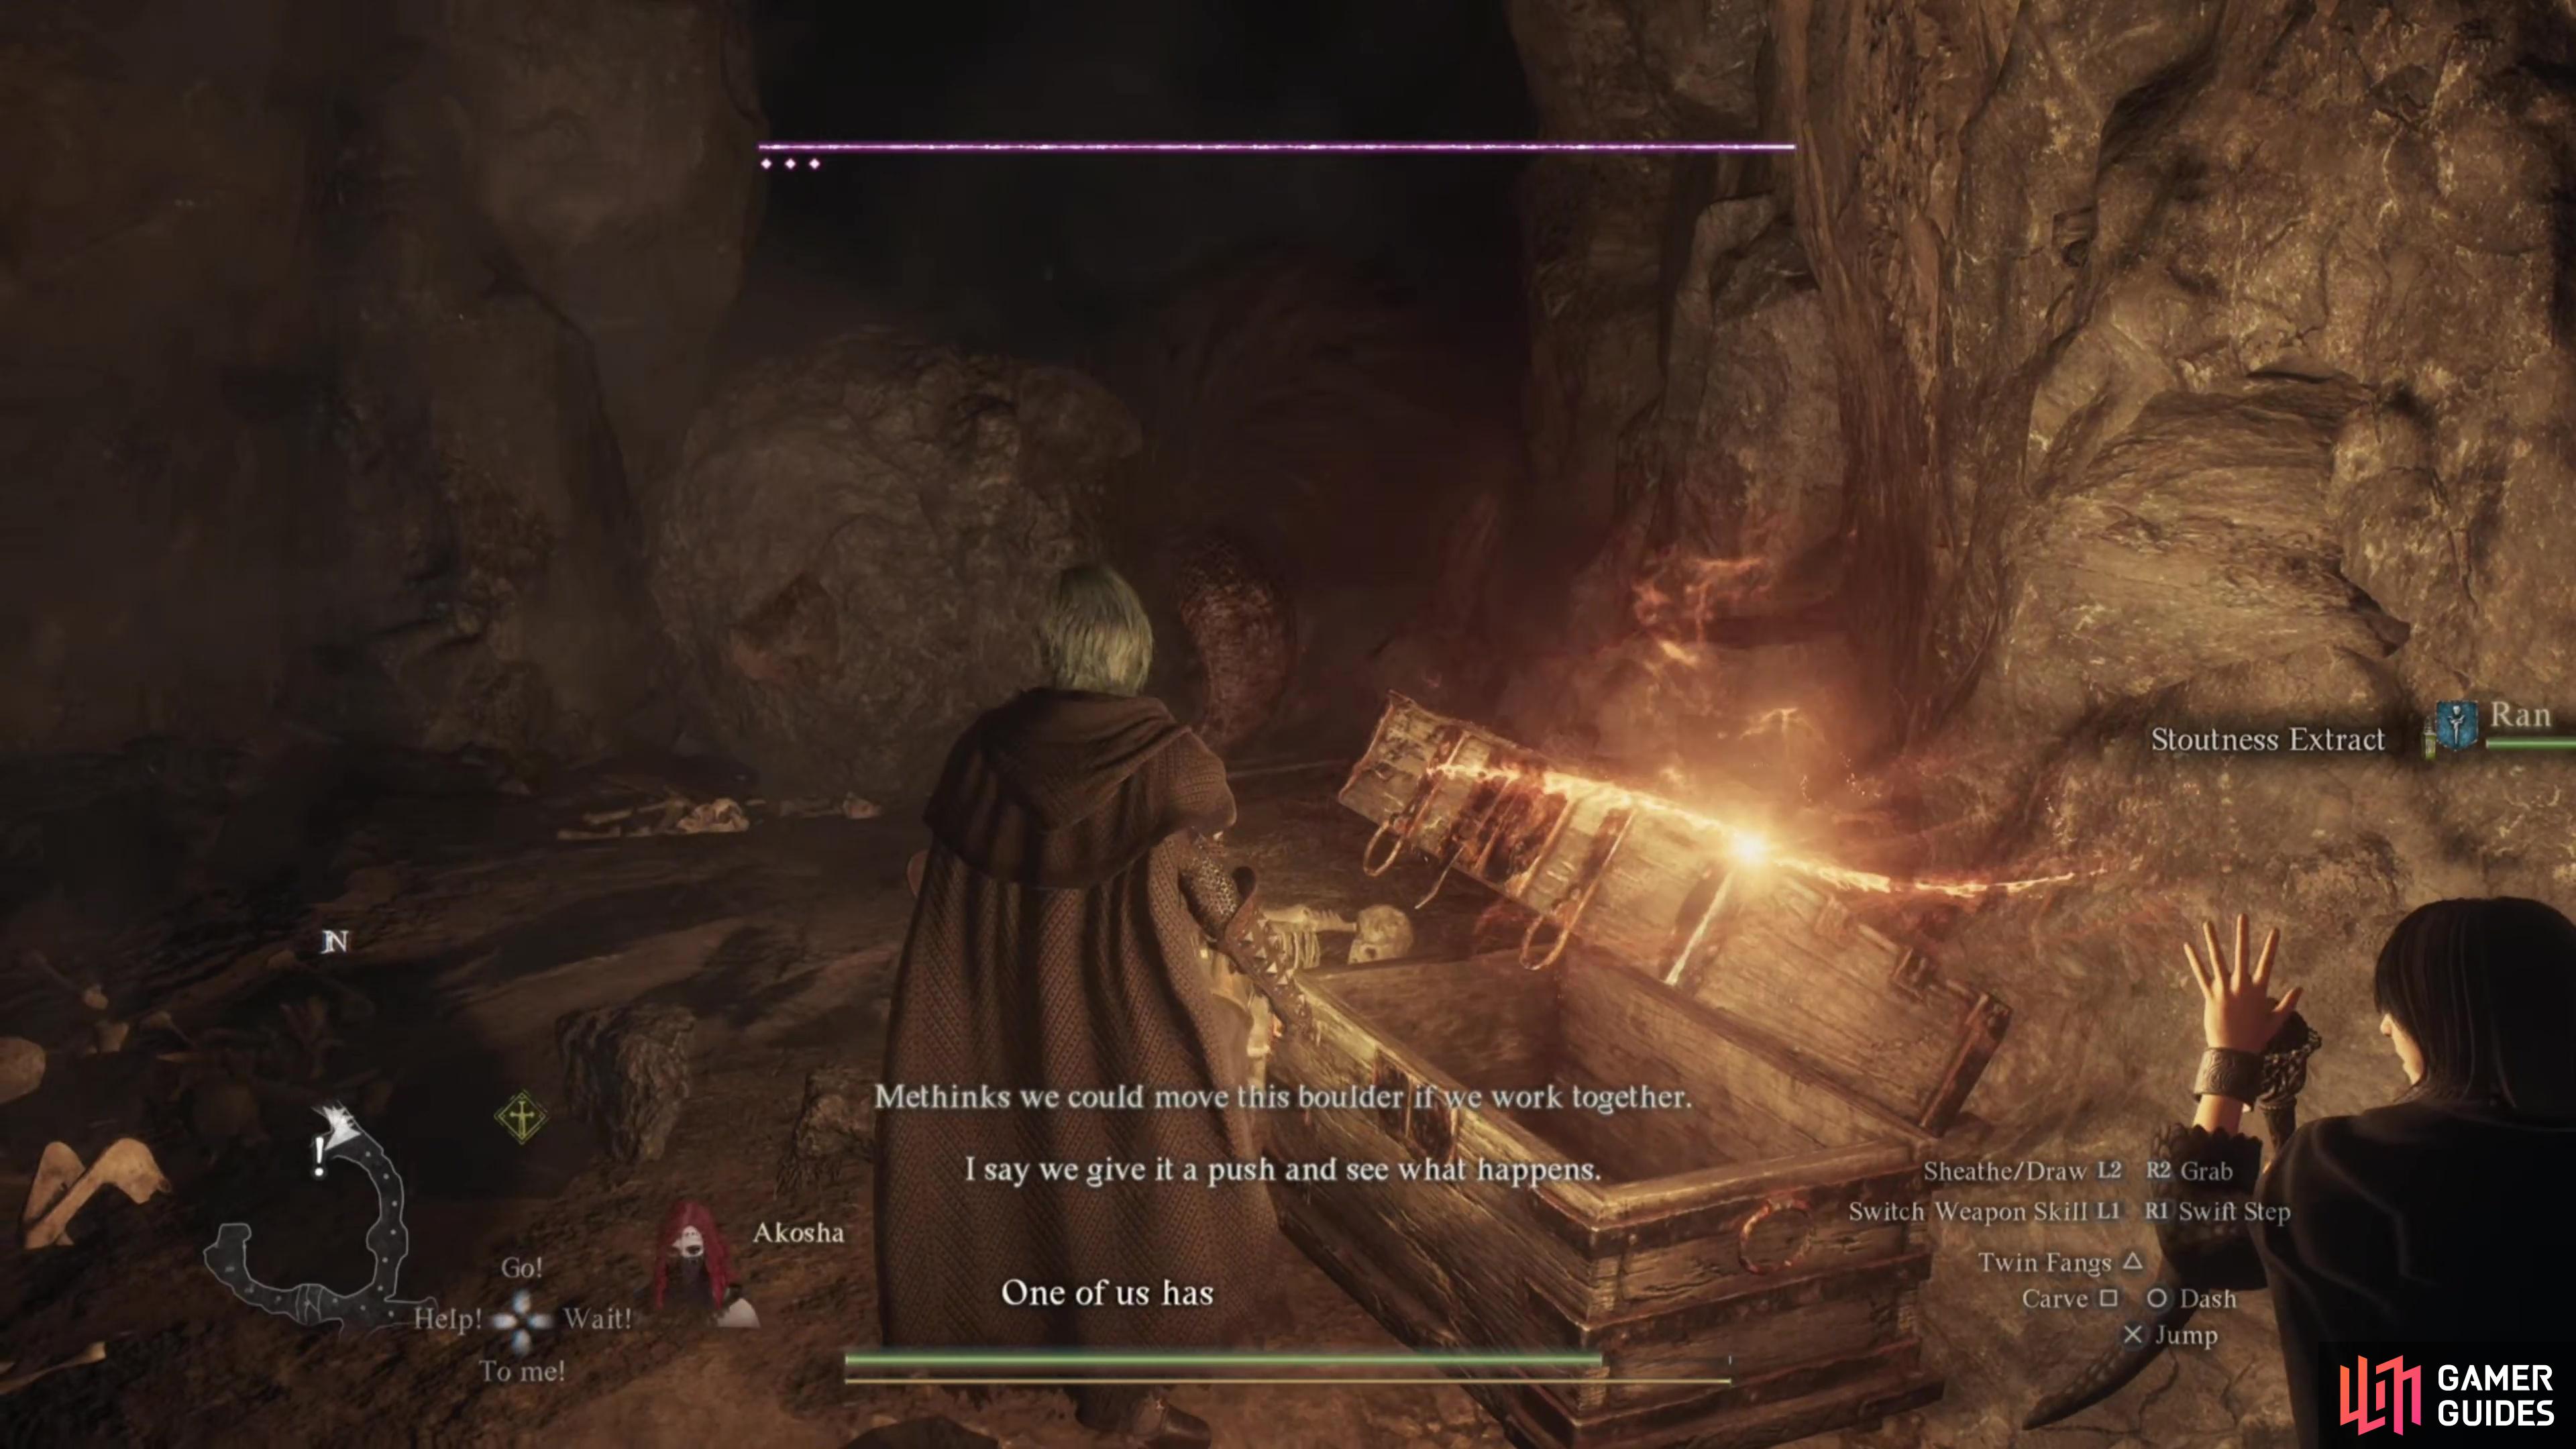
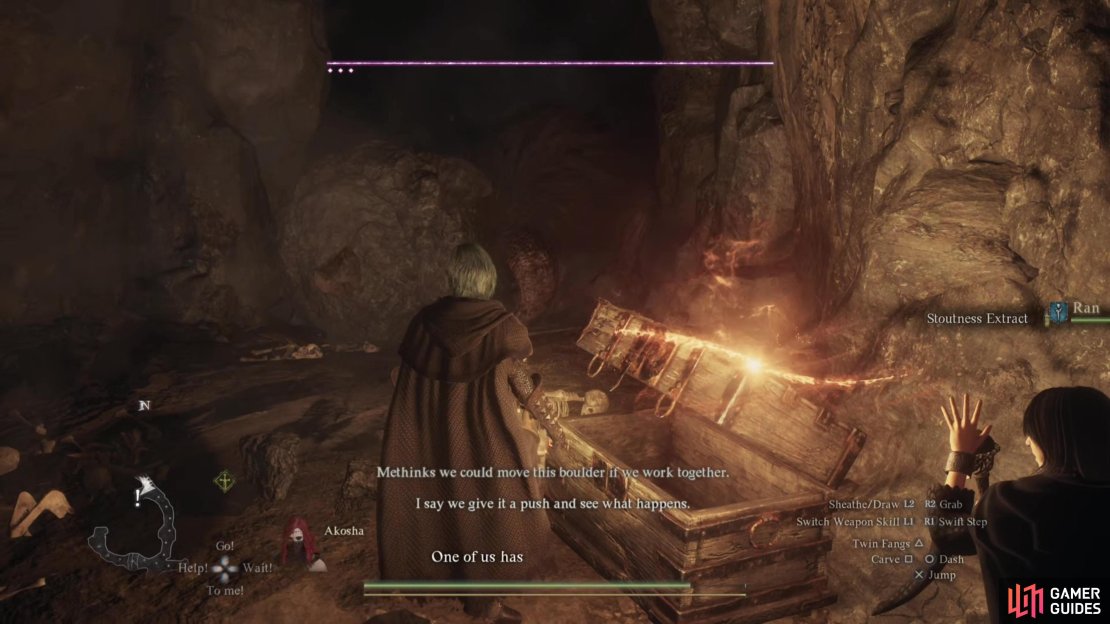
From the fork head north, but keep your eye to the left (southwest) to find a tunnel blocked by boulders. These boulders can be destroyed by attacking them, or you can toss an explosive barrel at the rocks to clear them. You can also just (cautiously) approach the rocks and if you’ve been listening you might have heard the sounds of a large beast… Sure enough, a ![]() Minotaur will burst through the rocks and attack!
Minotaur will burst through the rocks and attack!
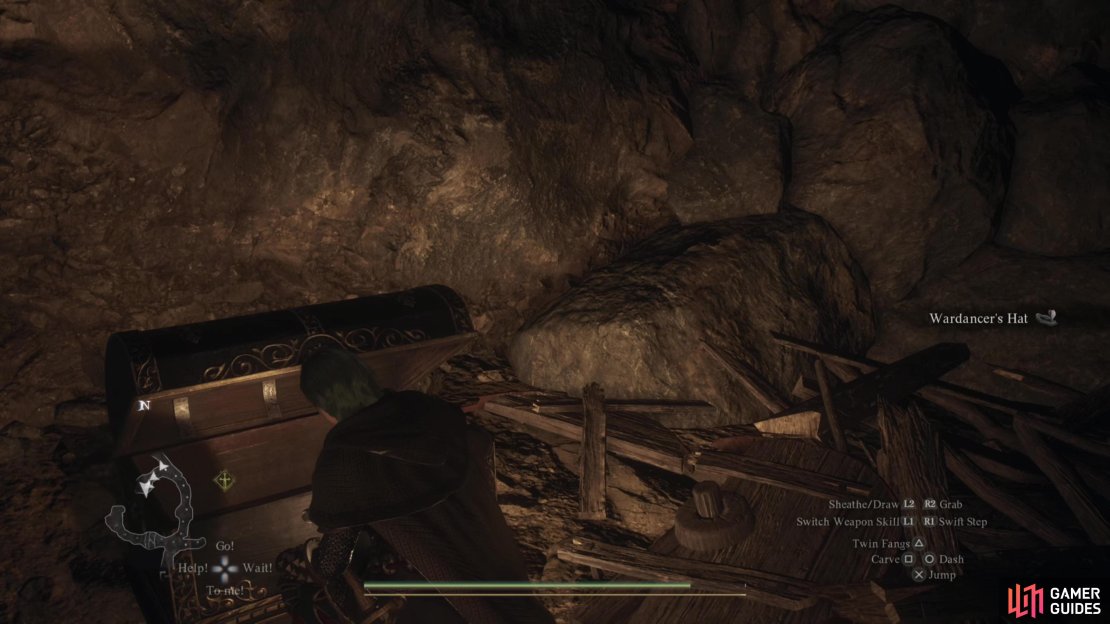
Put the beast down (if you can lure it into charging a trio of explosive barrels it’ll do some significant damage!) then loot a junk check near the now-cleared boulder barrier to find a ![]() Stoutness Extract, then plunder an ornate chest the Minotaur guarded to score a
Stoutness Extract, then plunder an ornate chest the Minotaur guarded to score a ![]() Wardancer’s Hat. Good fashion sense, for a brute. If you continue following the main tunnel northwest you’ll find yourself blocked by another cave-in, but this one can’t be cleared, marking it as the end of this dungeon.
Wardancer’s Hat. Good fashion sense, for a brute. If you continue following the main tunnel northwest you’ll find yourself blocked by another cave-in, but this one can’t be cleared, marking it as the end of this dungeon.
No Comments