
The Tomb of Am’Ranna is surprisingly close to the town of ![]() Bakbattahl, as far as dungeons go, and the fact that this dungeon is on the southwestern edge of the same hill that houses the Battahl Ropeway Central Station makes it even closer than the map might suggest. If you ride the Battahl Ropeway Station One you’ll reach the aforementioned
Bakbattahl, as far as dungeons go, and the fact that this dungeon is on the southwestern edge of the same hill that houses the Battahl Ropeway Central Station makes it even closer than the map might suggest. If you ride the Battahl Ropeway Station One you’ll reach the aforementioned ![]() Battahl Ropeway Central Station, after which it’s a trivial matter to pick your way down to the southwest to find this dungeon. Once inside you’ll find a patch of unstable ground to the northwest and a locked door to the northeast. In order to advance, you’ll need to fall, then work your way to the other side of the locked door. Plenty of undead lurk in this dungeon, so bringing elementally-infused weapons (or casters who can enchant your weapons) is ideal.
Battahl Ropeway Central Station, after which it’s a trivial matter to pick your way down to the southwest to find this dungeon. Once inside you’ll find a patch of unstable ground to the northwest and a locked door to the northeast. In order to advance, you’ll need to fall, then work your way to the other side of the locked door. Plenty of undead lurk in this dungeon, so bringing elementally-infused weapons (or casters who can enchant your weapons) is ideal.

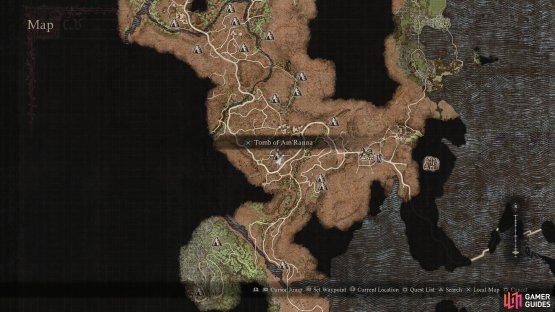

(1 of 2) The Tomb of Am’Ranna can be found west of Bakbattahl, near the Battahl Ropeway Central Station.
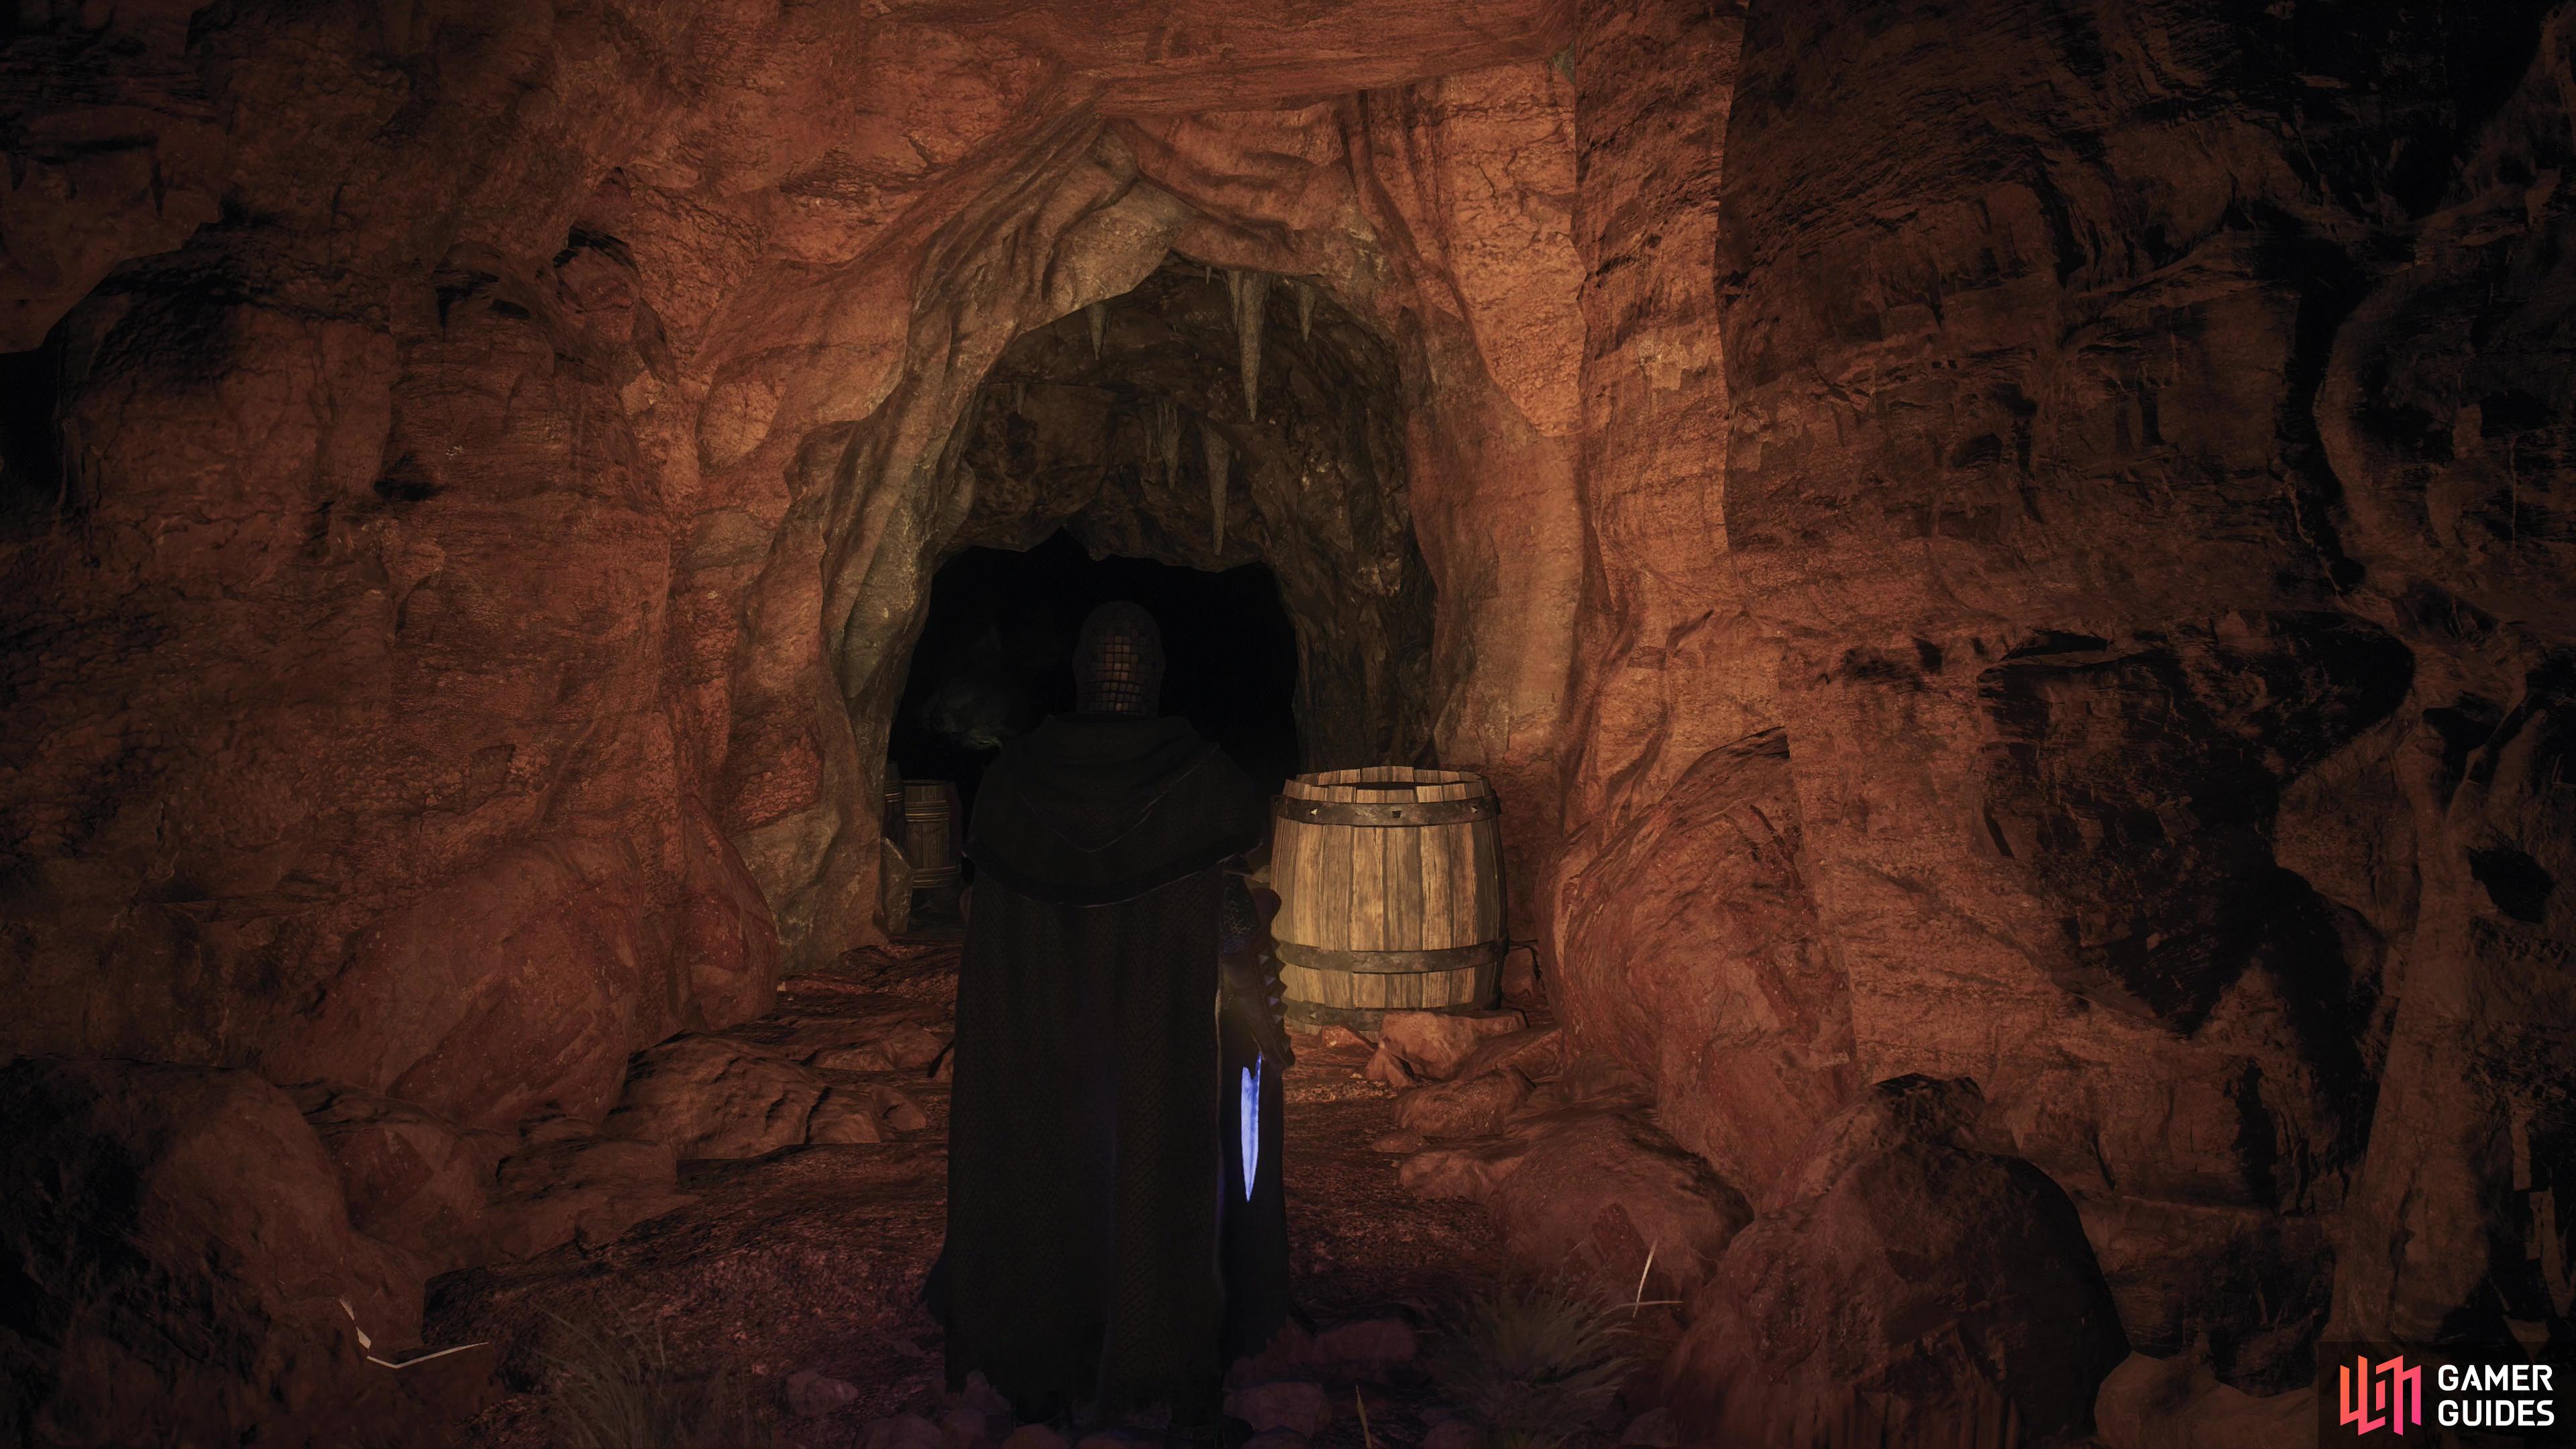
The Tomb of Am’Ranna can be found west of Bakbattahl, near the Battahl Ropeway Central Station. (left), The entrance is southwest of the Battahl Ropeway Central Station, dug into the hill upon which the station is built. (right)
Tomb of Am’Ranna Exploration and Treasure
From the entrance to the tomb head forward (northwest) and you’ll find an obviously damaged section of ground ahead of you. The door to the northwest is locked and can’t be opened from this side, so ignore it. The floor ahead of you will collapse if you step on it, but it’s also the only way forward, so go stand on it, take the plunge, and finally get started with this dungeon’s exploration. Dropping down the hole will take you from 1F to B1F.
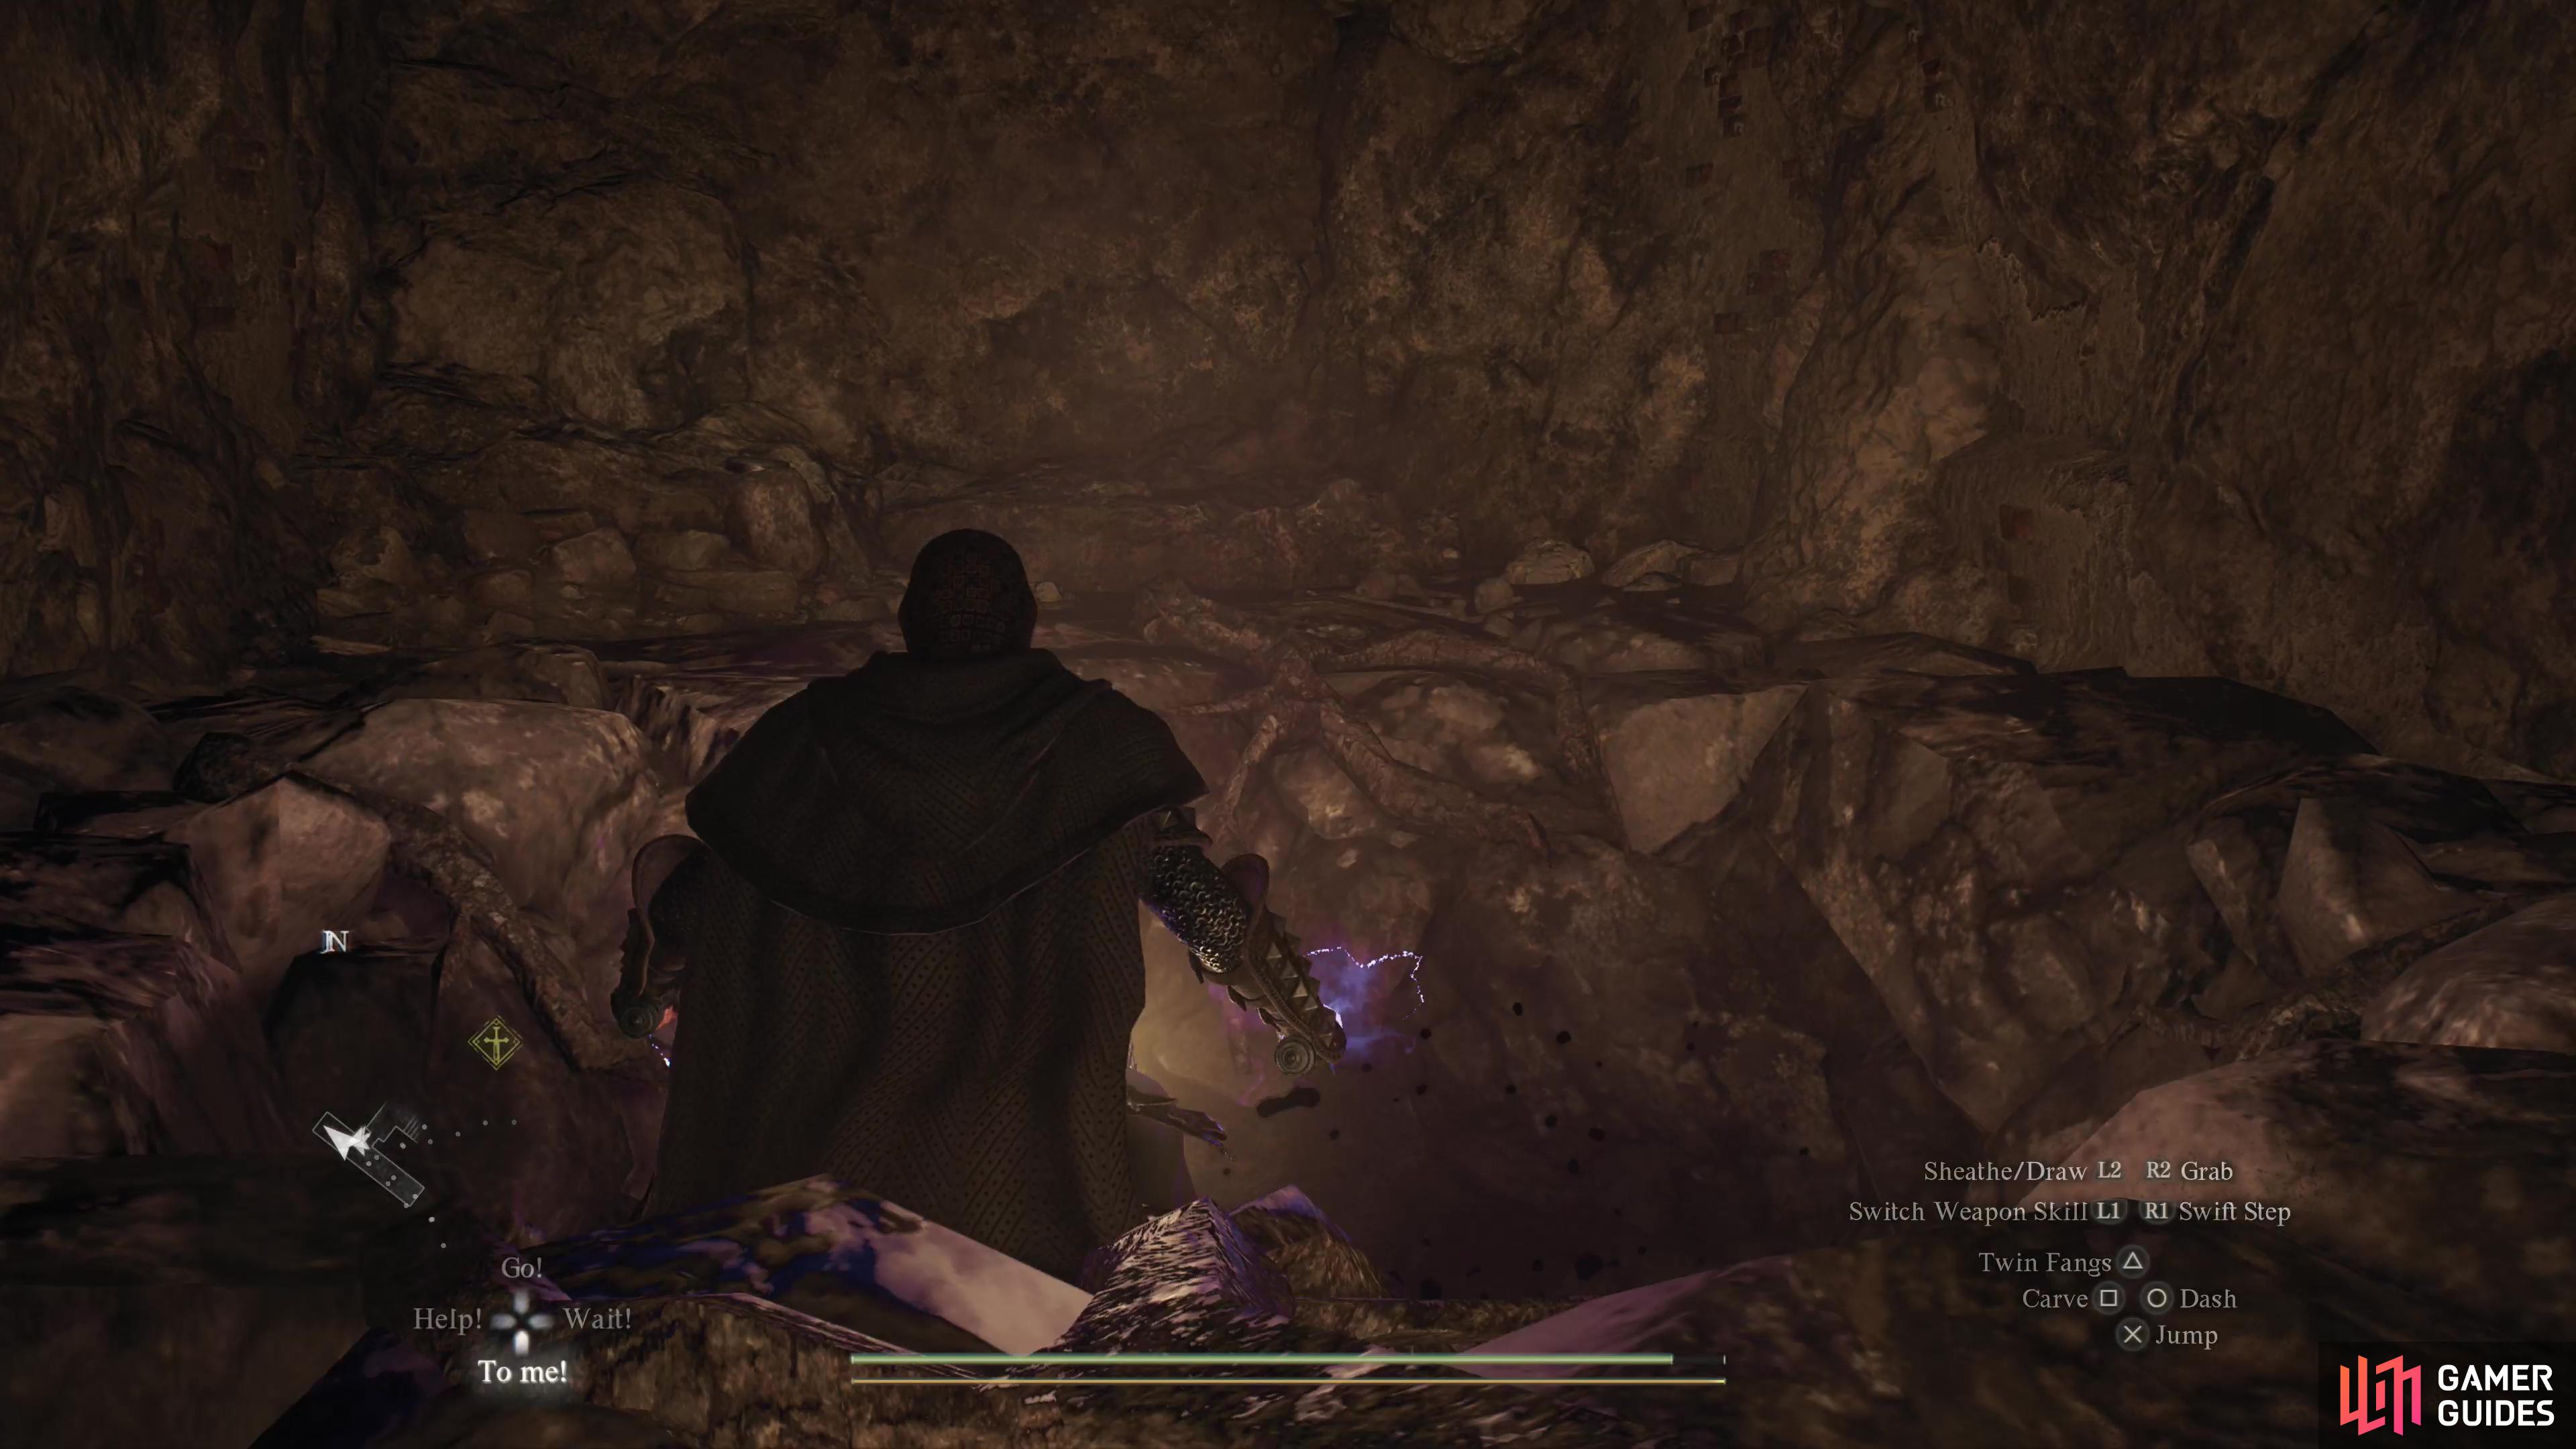

(1 of 3) To go forward you must first go down - drop down a pit,
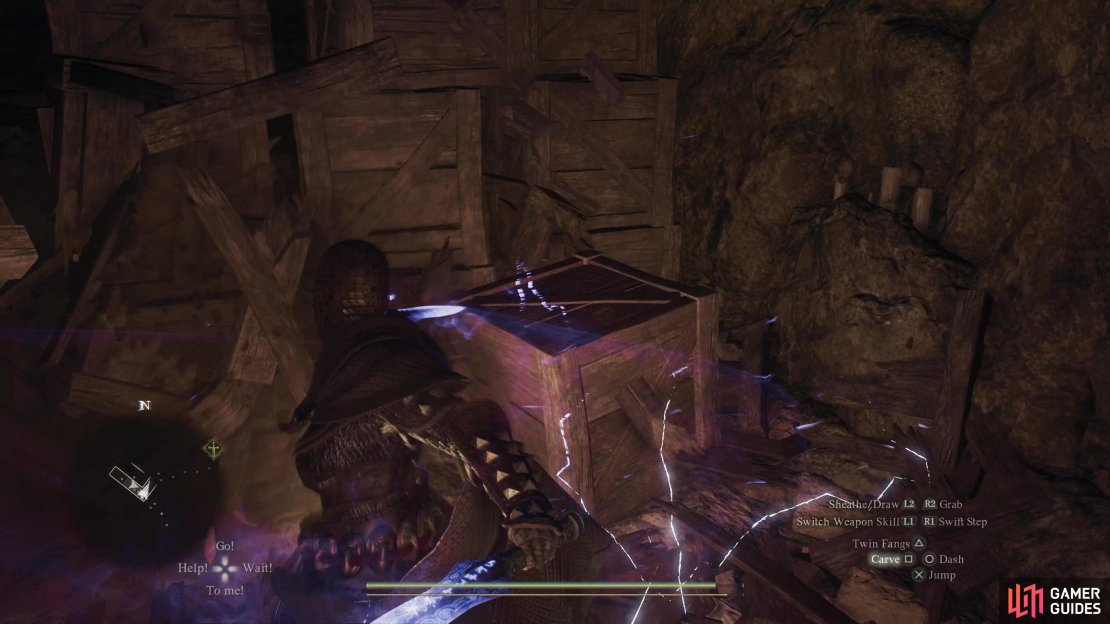
When you land, you’ll immediately be beset by ![]() Undead - a common hazard in this dungeon. Put them down, then down some stairs to the southeast and dispatch two more Undead before turning your attention to the northeast, where you’ll find your way blocked by numerous crates. Smash them, but be careful, as a second pit looms just beyond the crates, and it can be easy to get caught in a frenzy of crate-smashing that leads to you falling down the hole before you can claim the prizes left behind by your crate-smashing ways. This will take you from floor B1F to B2F.
Undead - a common hazard in this dungeon. Put them down, then down some stairs to the southeast and dispatch two more Undead before turning your attention to the northeast, where you’ll find your way blocked by numerous crates. Smash them, but be careful, as a second pit looms just beyond the crates, and it can be easy to get caught in a frenzy of crate-smashing that leads to you falling down the hole before you can claim the prizes left behind by your crate-smashing ways. This will take you from floor B1F to B2F.
On B2F you’ll finally be presented with a choice - you can head up some stairs to the northeast, or go southwest, turn a corner, and find some stairs leading down to B3F. Going up will secure your way out, and might seem like the safer choice (safety first, bro!) but there’s not a whole lot down on B3F, so let’s finish up the depths of this tomb before seeking daylight.

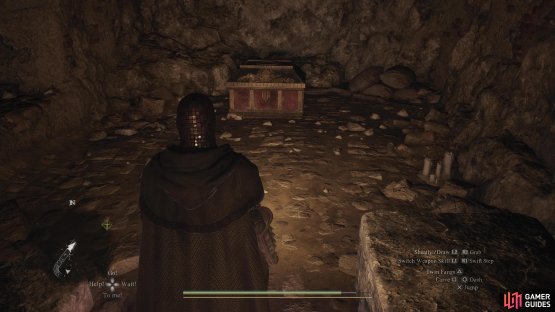
(1 of 2) Search the western corner of the sarcophagi room in B3F to find a cache of gold,

Search the western corner of the sarcophagi room in B3F to find a cache of gold, (left), then loot an ornate chest to score an Abyssinal Neck Wrap. (right)
Head southwest, then turn northwest and go down a ramp, then some stairs before you reach a doorway to the northeast, dispatching any Undead you encounter along the way. Go through the aforementioned doorway to find yourself in a small chamber with several sarcophagi inside - sealed, for now, but it’s a safe bet that won’t last. Don’t delay the inevitable and enter another chamber to the northeast where a glorious chest stands out in the open. Loot it to score a ![]() Abyssinal Neck Wrap, then turn back to face the enemies that have predictably spawned to contest your theft. In this case, you’ll find yourself fighting against some
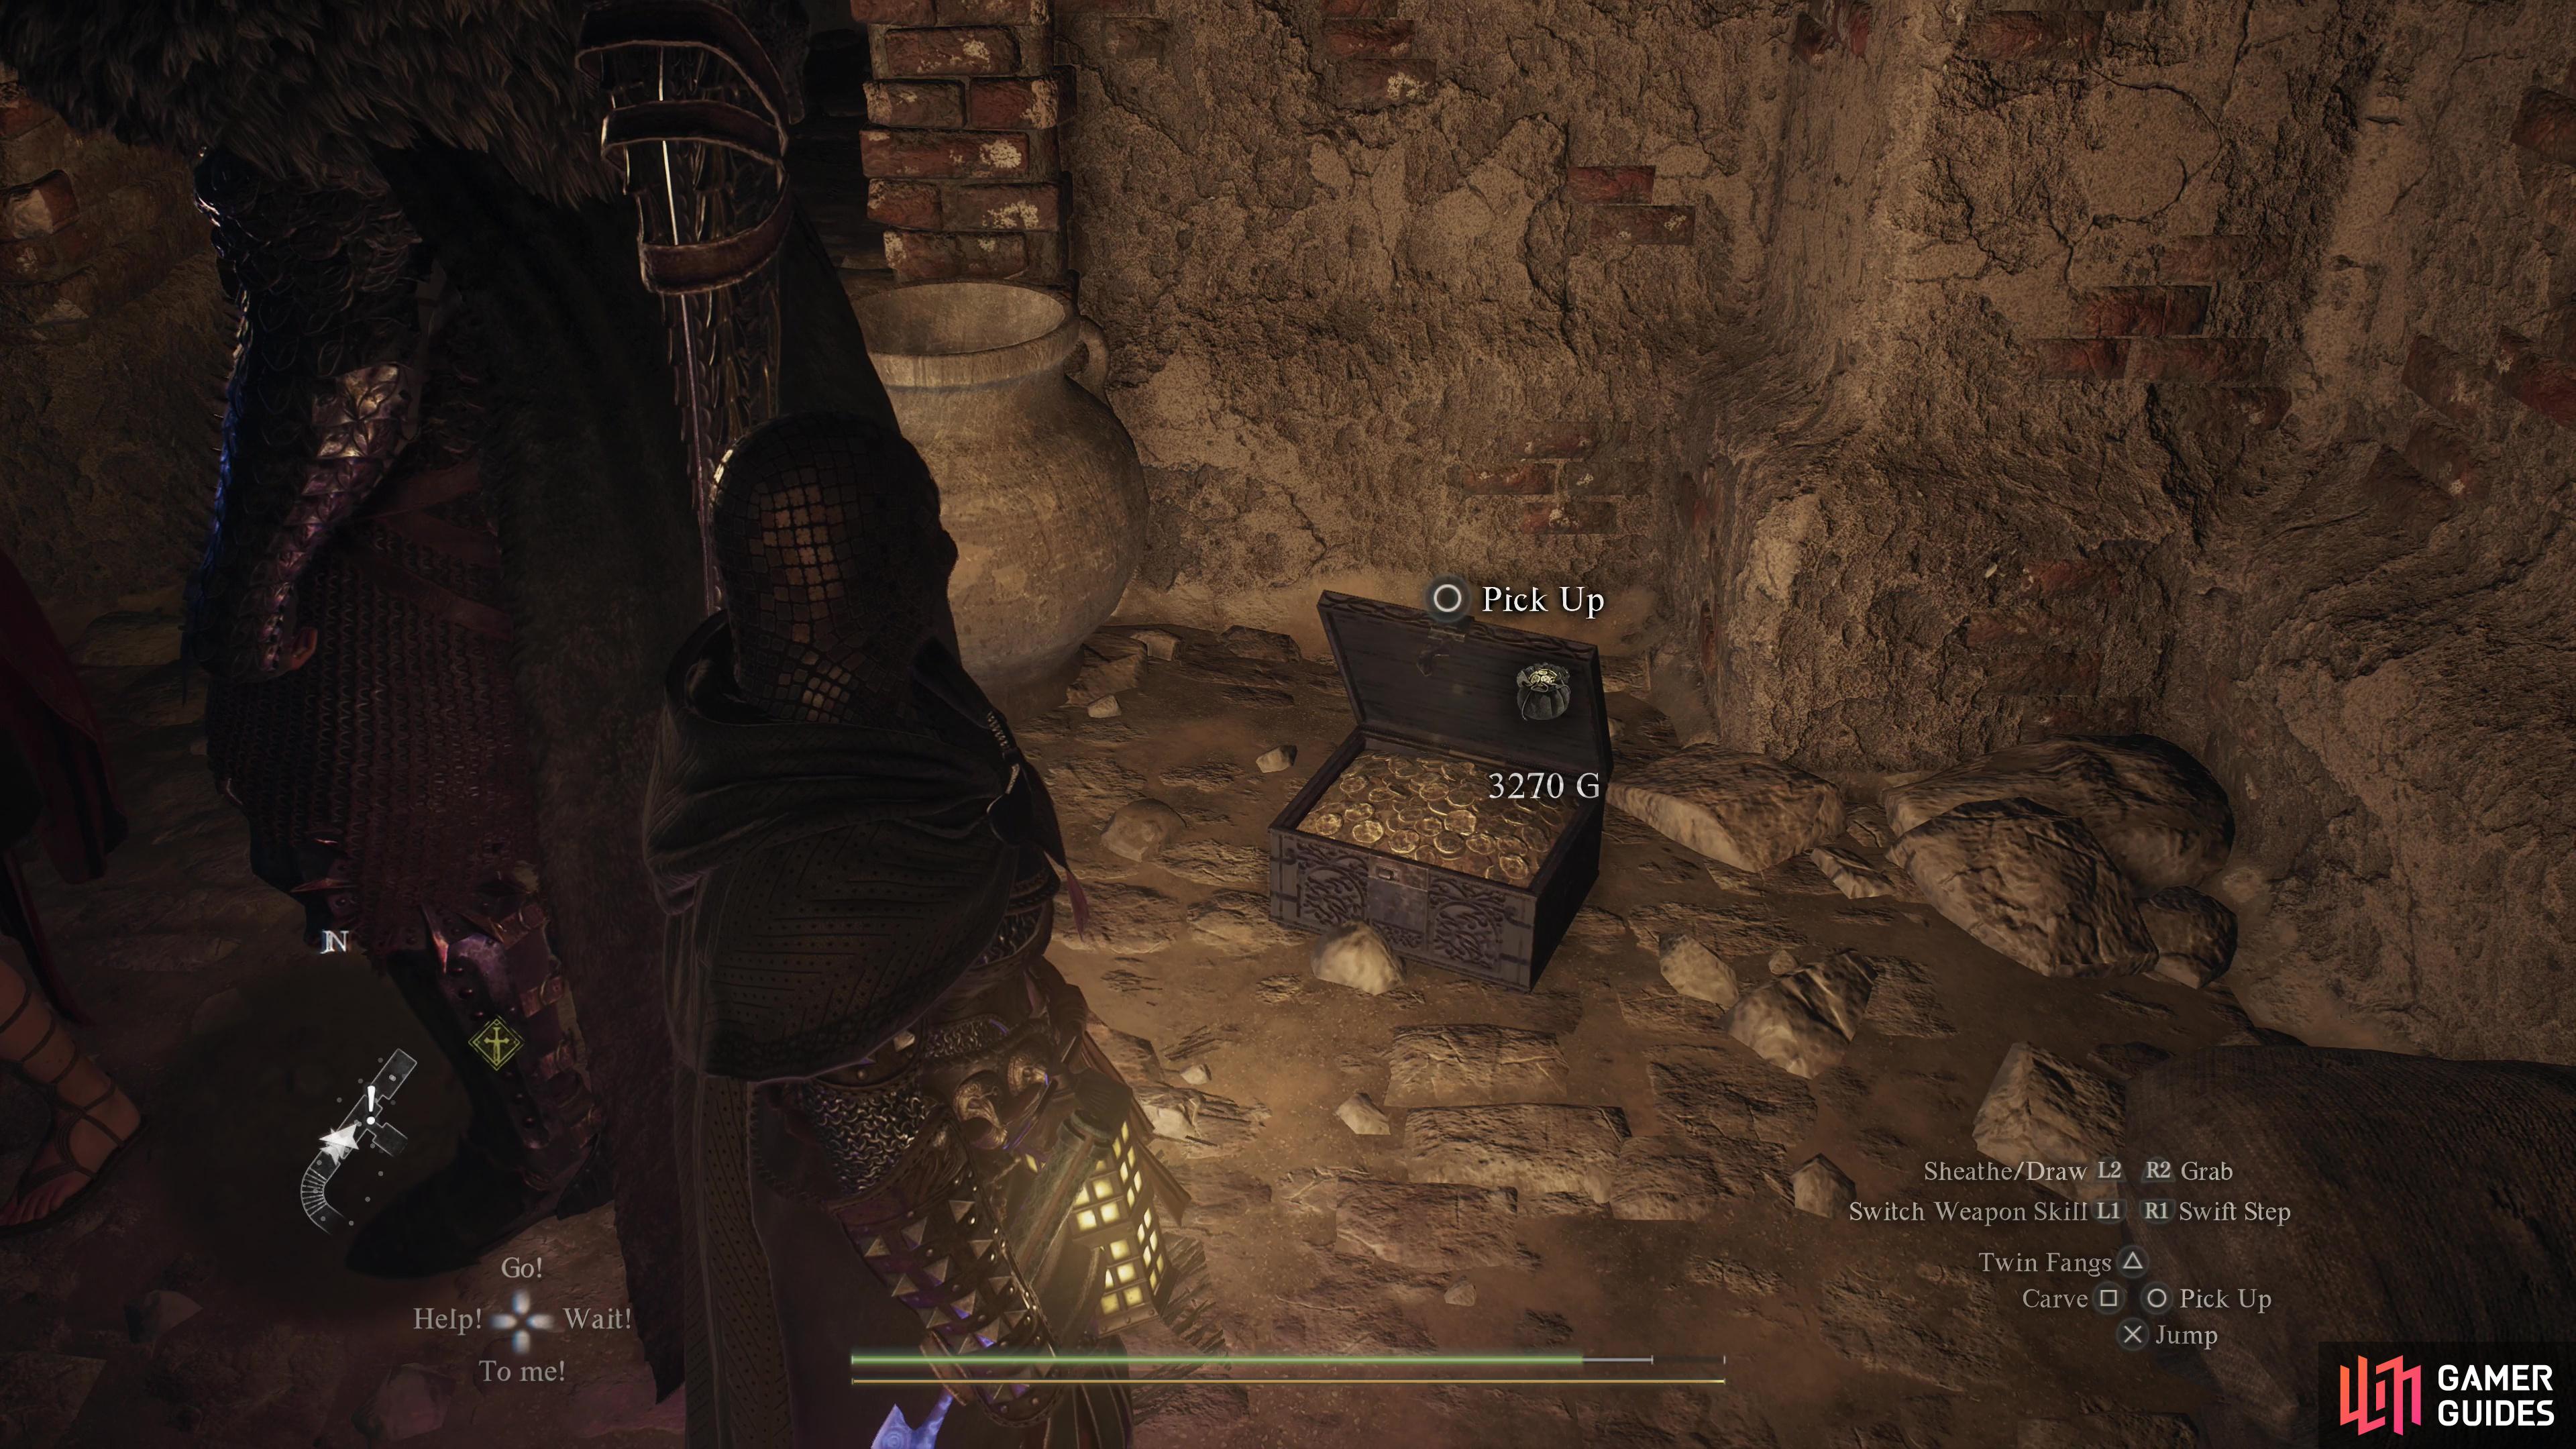
Abyssinal Neck Wrap, then turn back to face the enemies that have predictably spawned to contest your theft. In this case, you’ll find yourself fighting against some ![]() Skeletons - both mages and knights. Scatter those bones, to solidify your gains, then search the western corner of the room with the four sarcophagi to find 3,270G just lying on the ground.
Skeletons - both mages and knights. Scatter those bones, to solidify your gains, then search the western corner of the room with the four sarcophagi to find 3,270G just lying on the ground.

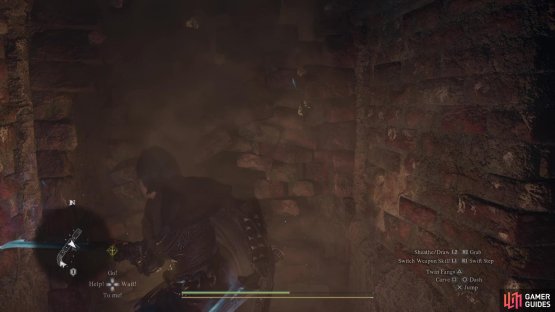
(1 of 2) Smash a wall,
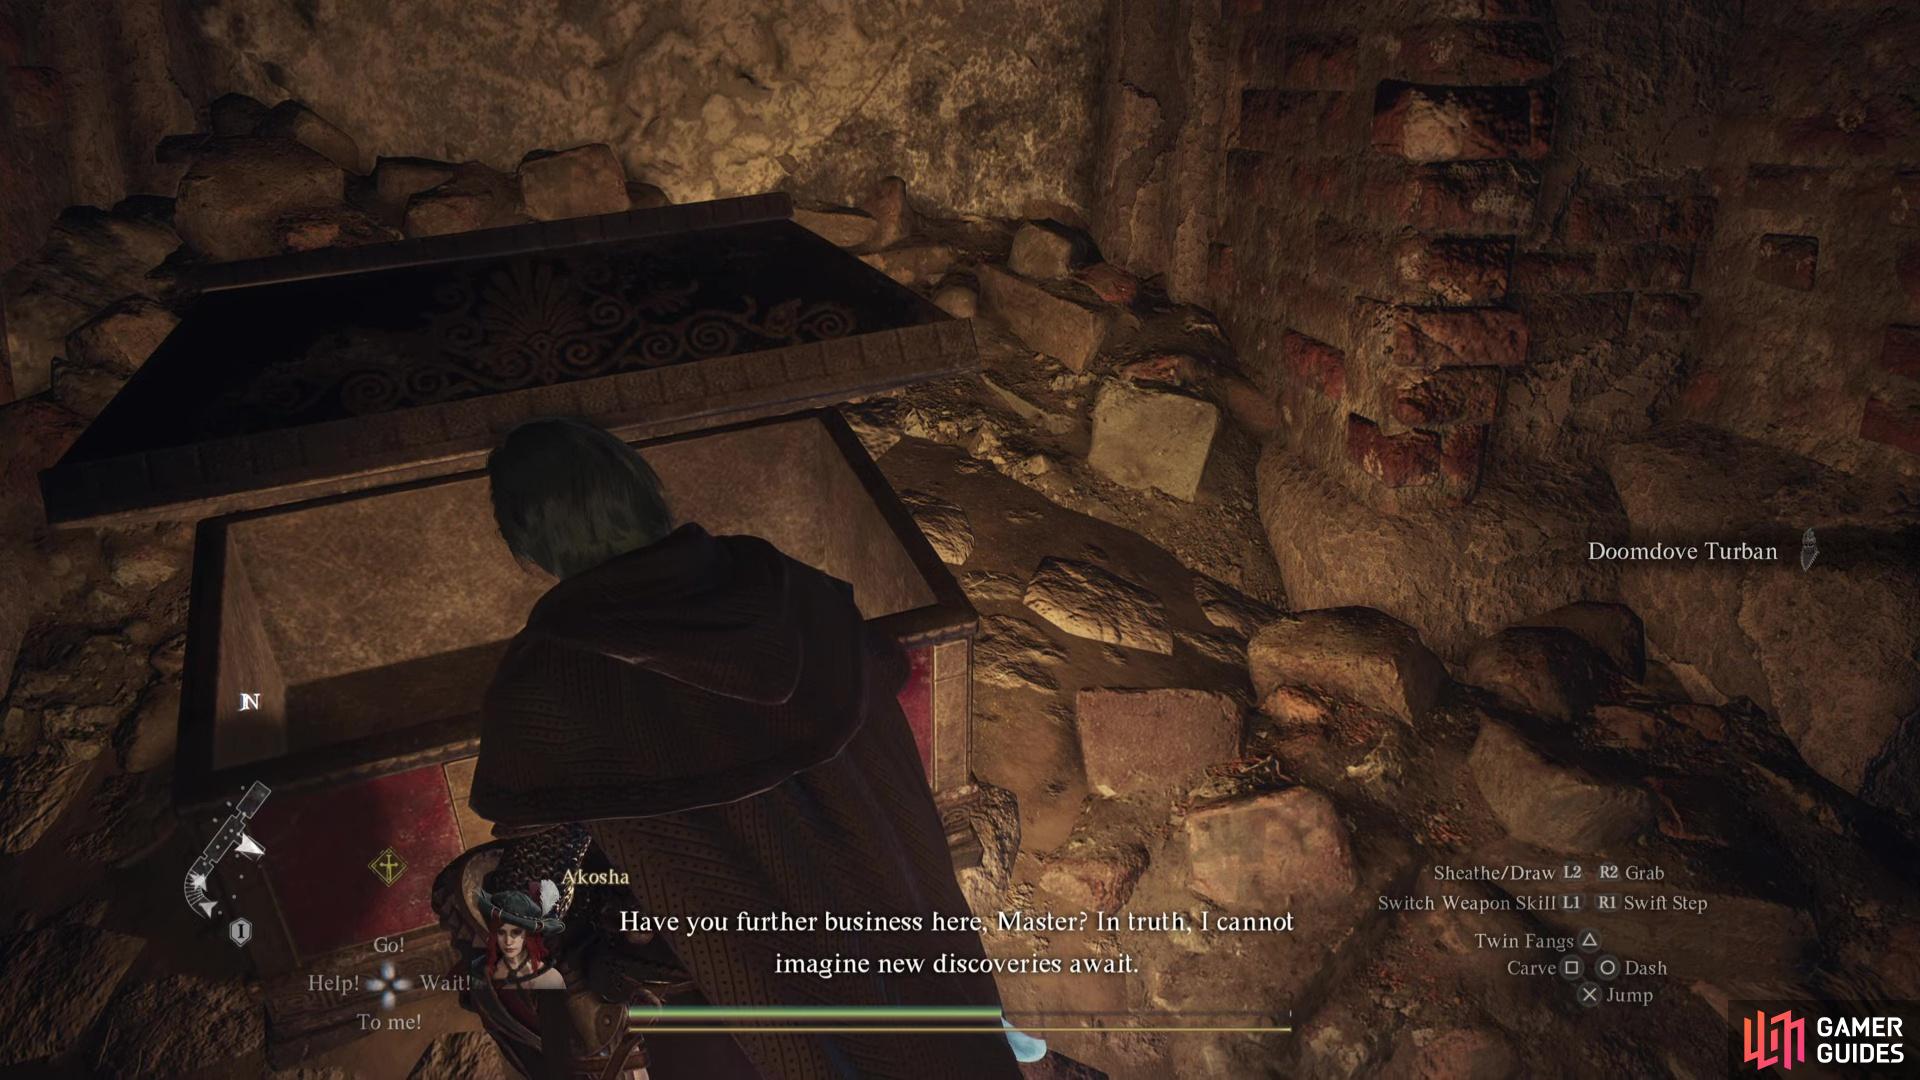
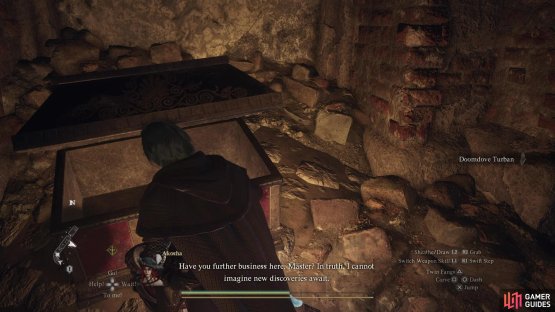
Smash a wall, (left), and loot another ornate chest to find a Doomdove Turban. (right)
Before you start heading back to the surface, there’s one more thing to grab down here. In the room with four sarcophagi, search the southeastern wall adjacent to one of the sarcophagi to find that it’s not all that sturdy. A few good whacks should destroy it, revealing a small chamber housing another glorious chest. Loot it to obtain a ![]() Doomdove Turban. Whomever was buried here sure valued their fancy headwear and neckwear.
Doomdove Turban. Whomever was buried here sure valued their fancy headwear and neckwear.
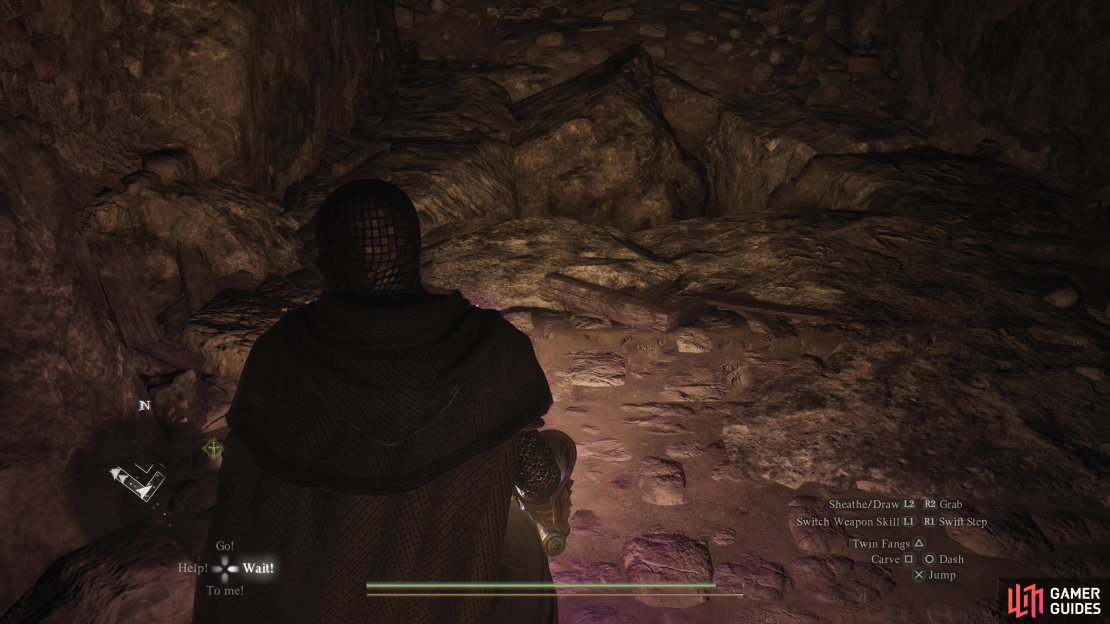
Backtrack to B2F, where you fell from the second hole, and head up the stairs to the northeast. Turn a corner to the northeast, put down any Undead you come across, and as you proceed northeast keep your eye on the wall to the left (northwest) to find a bag of gold sitting in a coffer. Scoop it up to score 2,890G, then continue on the linear path ahead and climb a ladder to reach B1F.
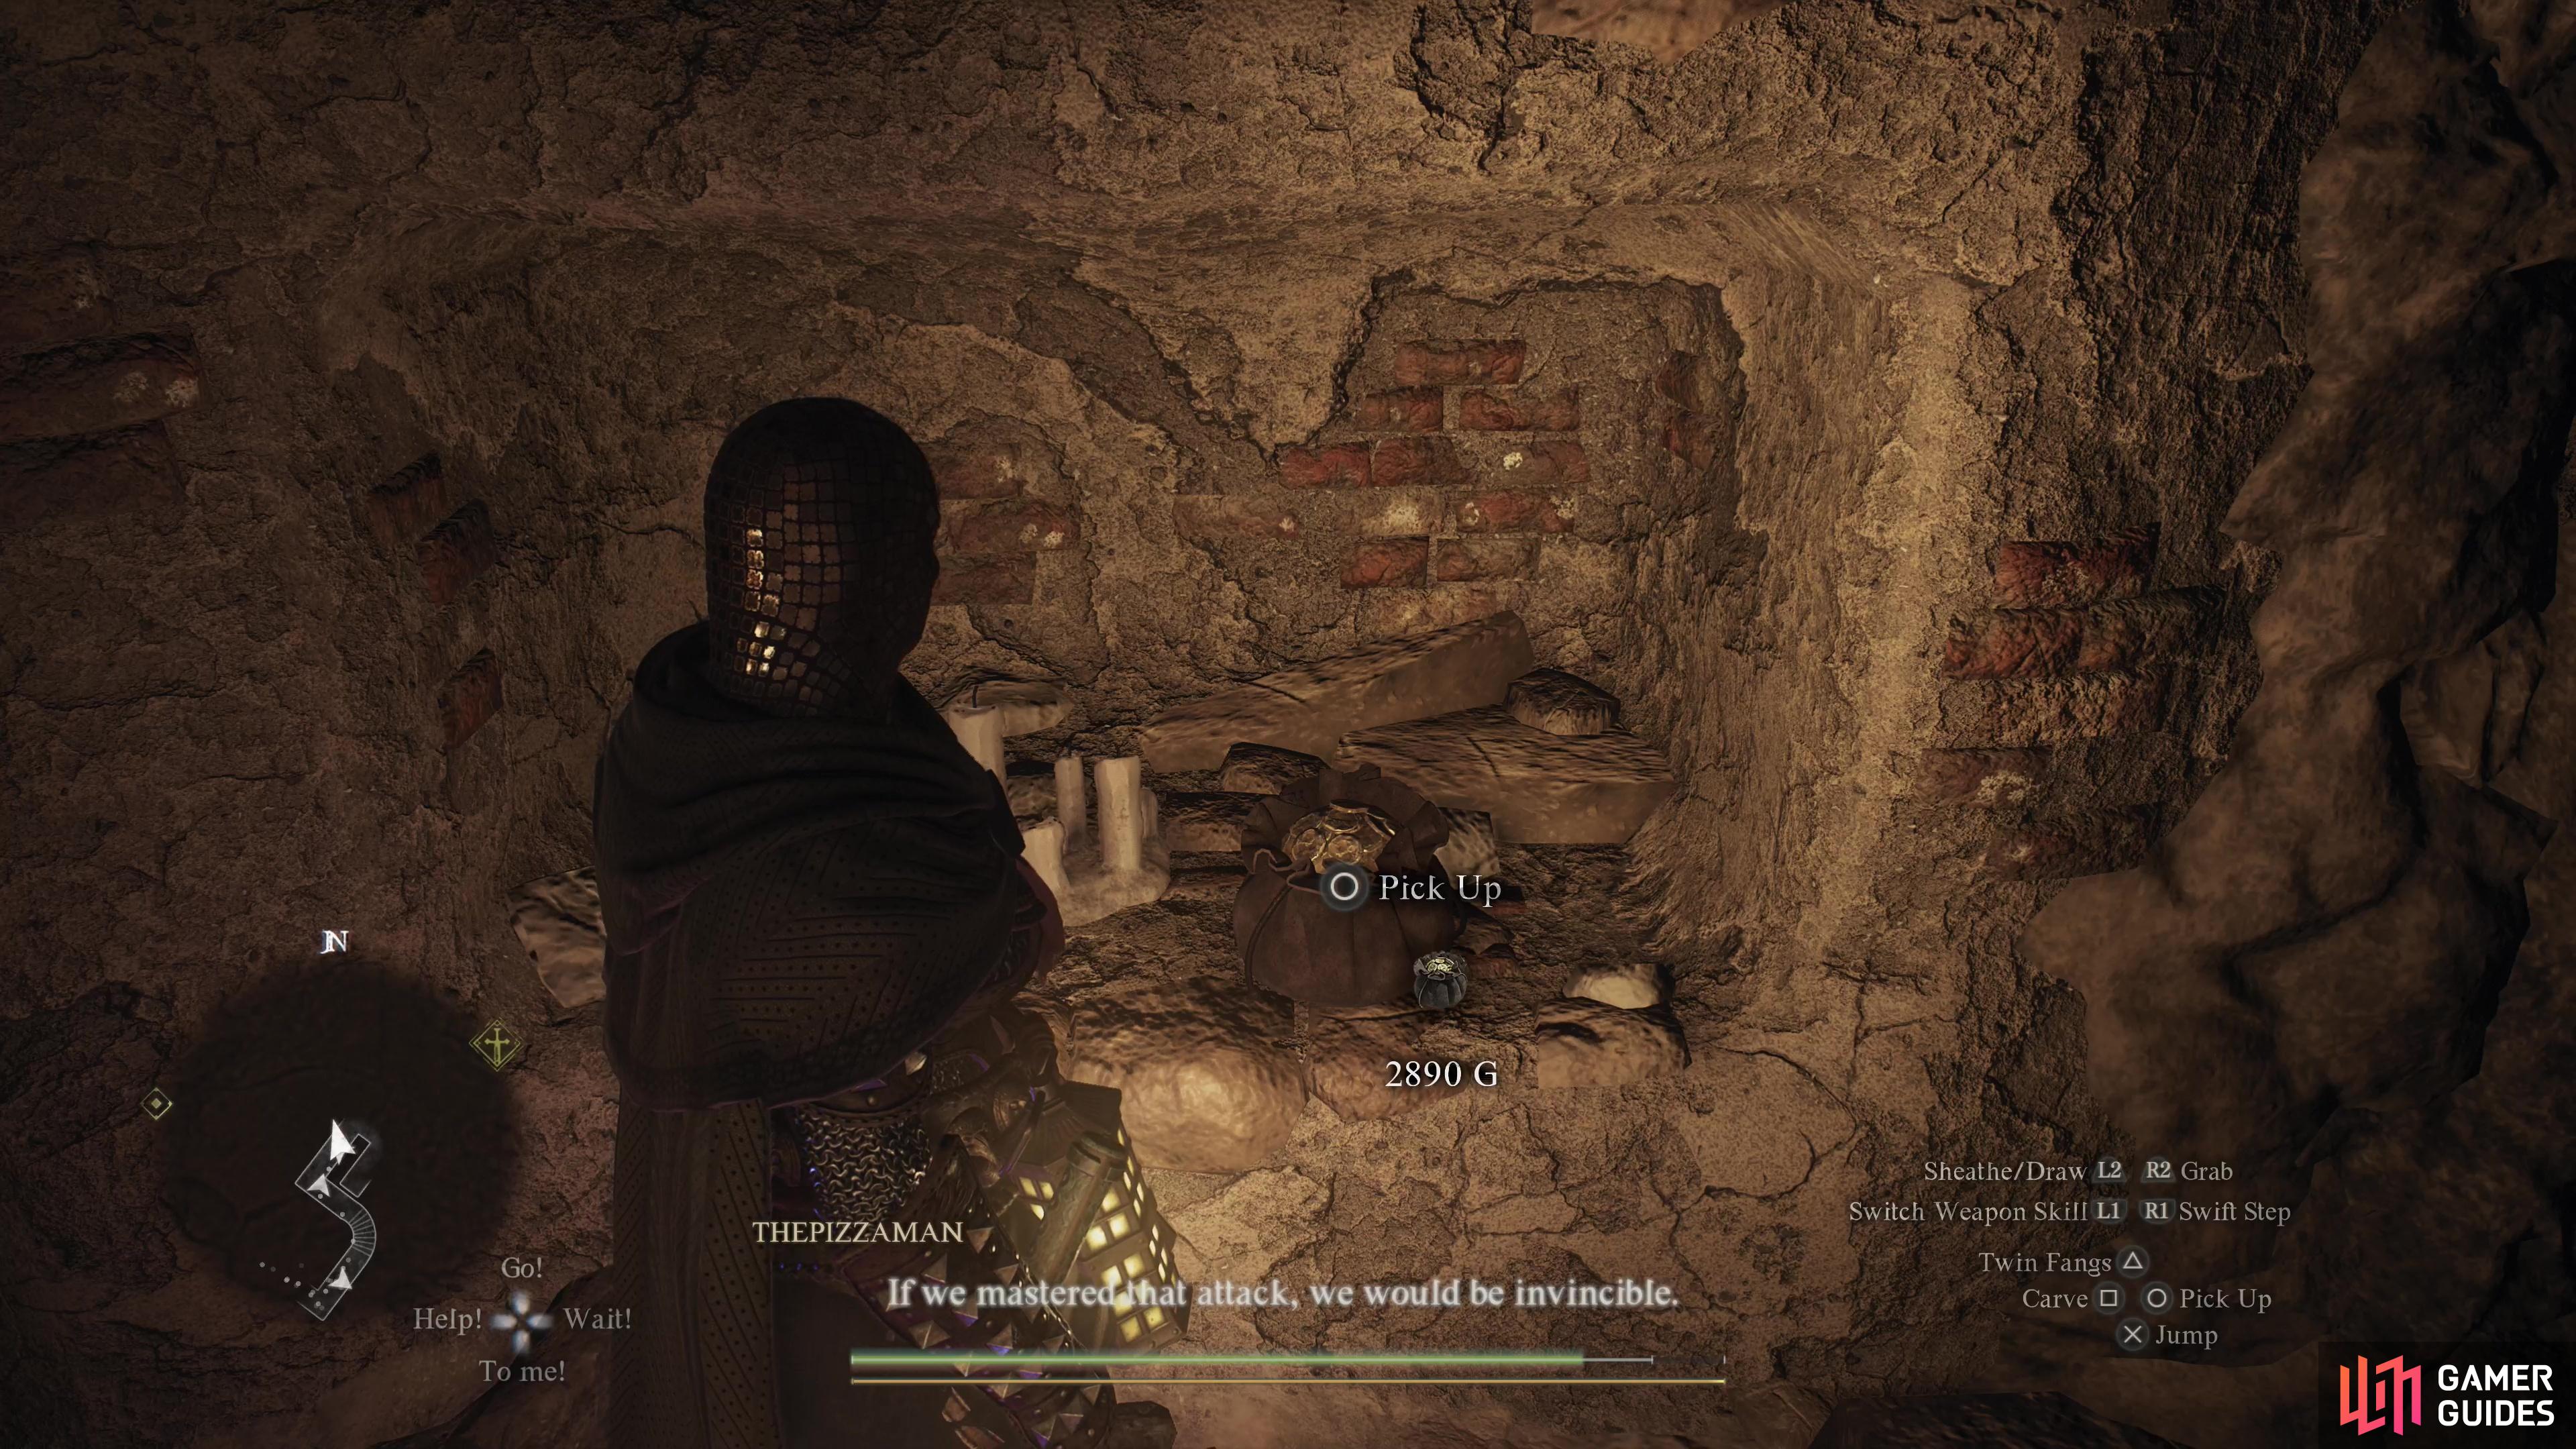
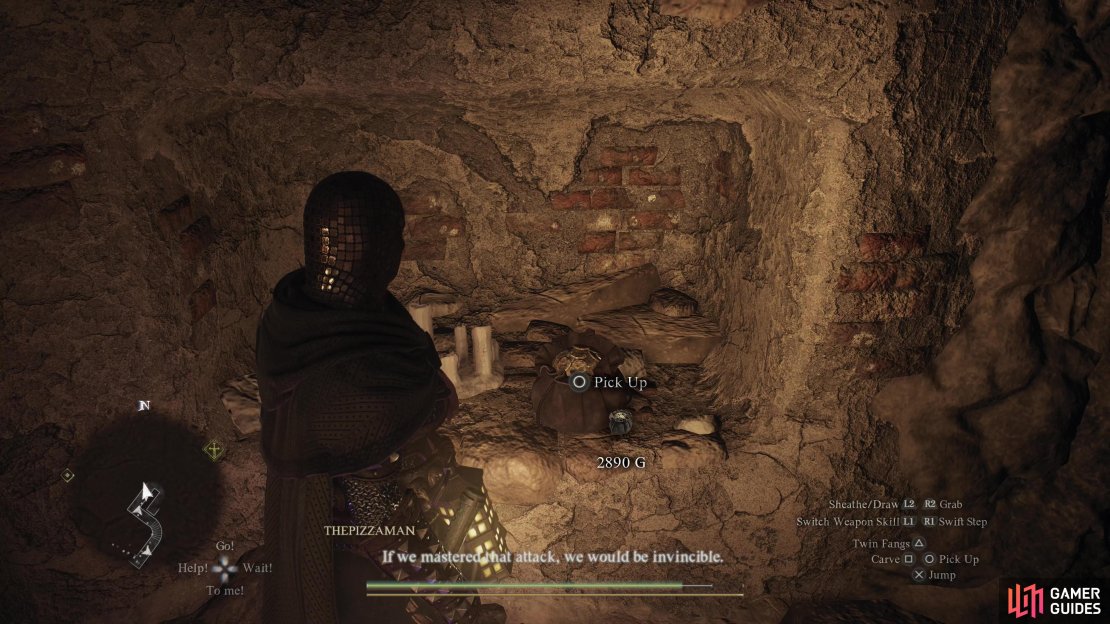

(1 of 4) As you head towards the surface, search a coffer to find some more gold,
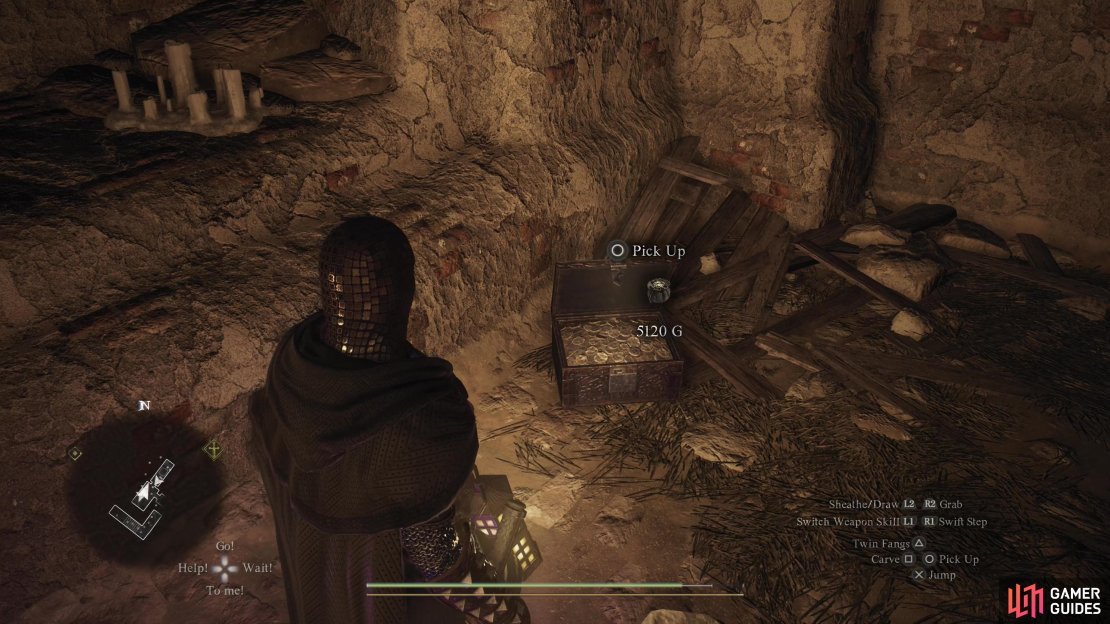
Go through a doorway to the southwest to reach another chamber occupied by four sarcophagi. Enter and search the northernmost corner to find a gold box that will add a whopping 5,120G to your coin purse. Exit via a doorway to the southeast, head two flights of stairs, then loot an ornate chest to obtain a ![]() Wakestone. From here turn southwest and smash the barred door to return to the tomb’s entrance. Before you leave, turn northwest to spot the hole in the ground you initially fell through. Jump over it and search some rocks to find a
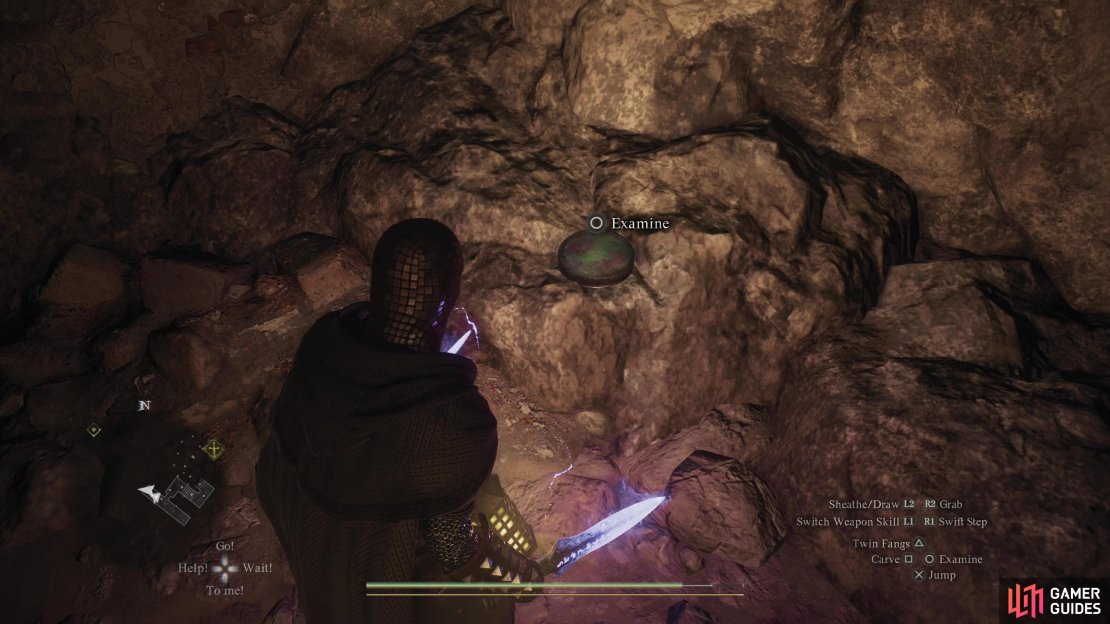
Wakestone. From here turn southwest and smash the barred door to return to the tomb’s entrance. Before you leave, turn northwest to spot the hole in the ground you initially fell through. Jump over it and search some rocks to find a ![]() Seeker’s Token sitting in plain sight. With this last bit of treasure, leave the now-looted tomb.
Seeker’s Token sitting in plain sight. With this last bit of treasure, leave the now-looted tomb.
No Comments