
![]() Legacy is the final main quest of
Legacy is the final main quest of ![]() Dragon’s Dogma 2… at least it could be depending on your decisions. Otherwise it’s merely the final quest before The Unmoored World. This quest begins immediately after The Guardian Gigantus; defeat Phaesus’s guards and you’ll find yourself confronted by the Dragon, who decides the time has come to prove your mettle. This page will provide a walkthrough for the quest Legacy, including information about romances, how to defeat the Dragon, and how to complete the Peace ending or unlock The Unmoored World in Dragon’s Dogma 2.
Dragon’s Dogma 2… at least it could be depending on your decisions. Otherwise it’s merely the final quest before The Unmoored World. This quest begins immediately after The Guardian Gigantus; defeat Phaesus’s guards and you’ll find yourself confronted by the Dragon, who decides the time has come to prove your mettle. This page will provide a walkthrough for the quest Legacy, including information about romances, how to defeat the Dragon, and how to complete the Peace ending or unlock The Unmoored World in Dragon’s Dogma 2.
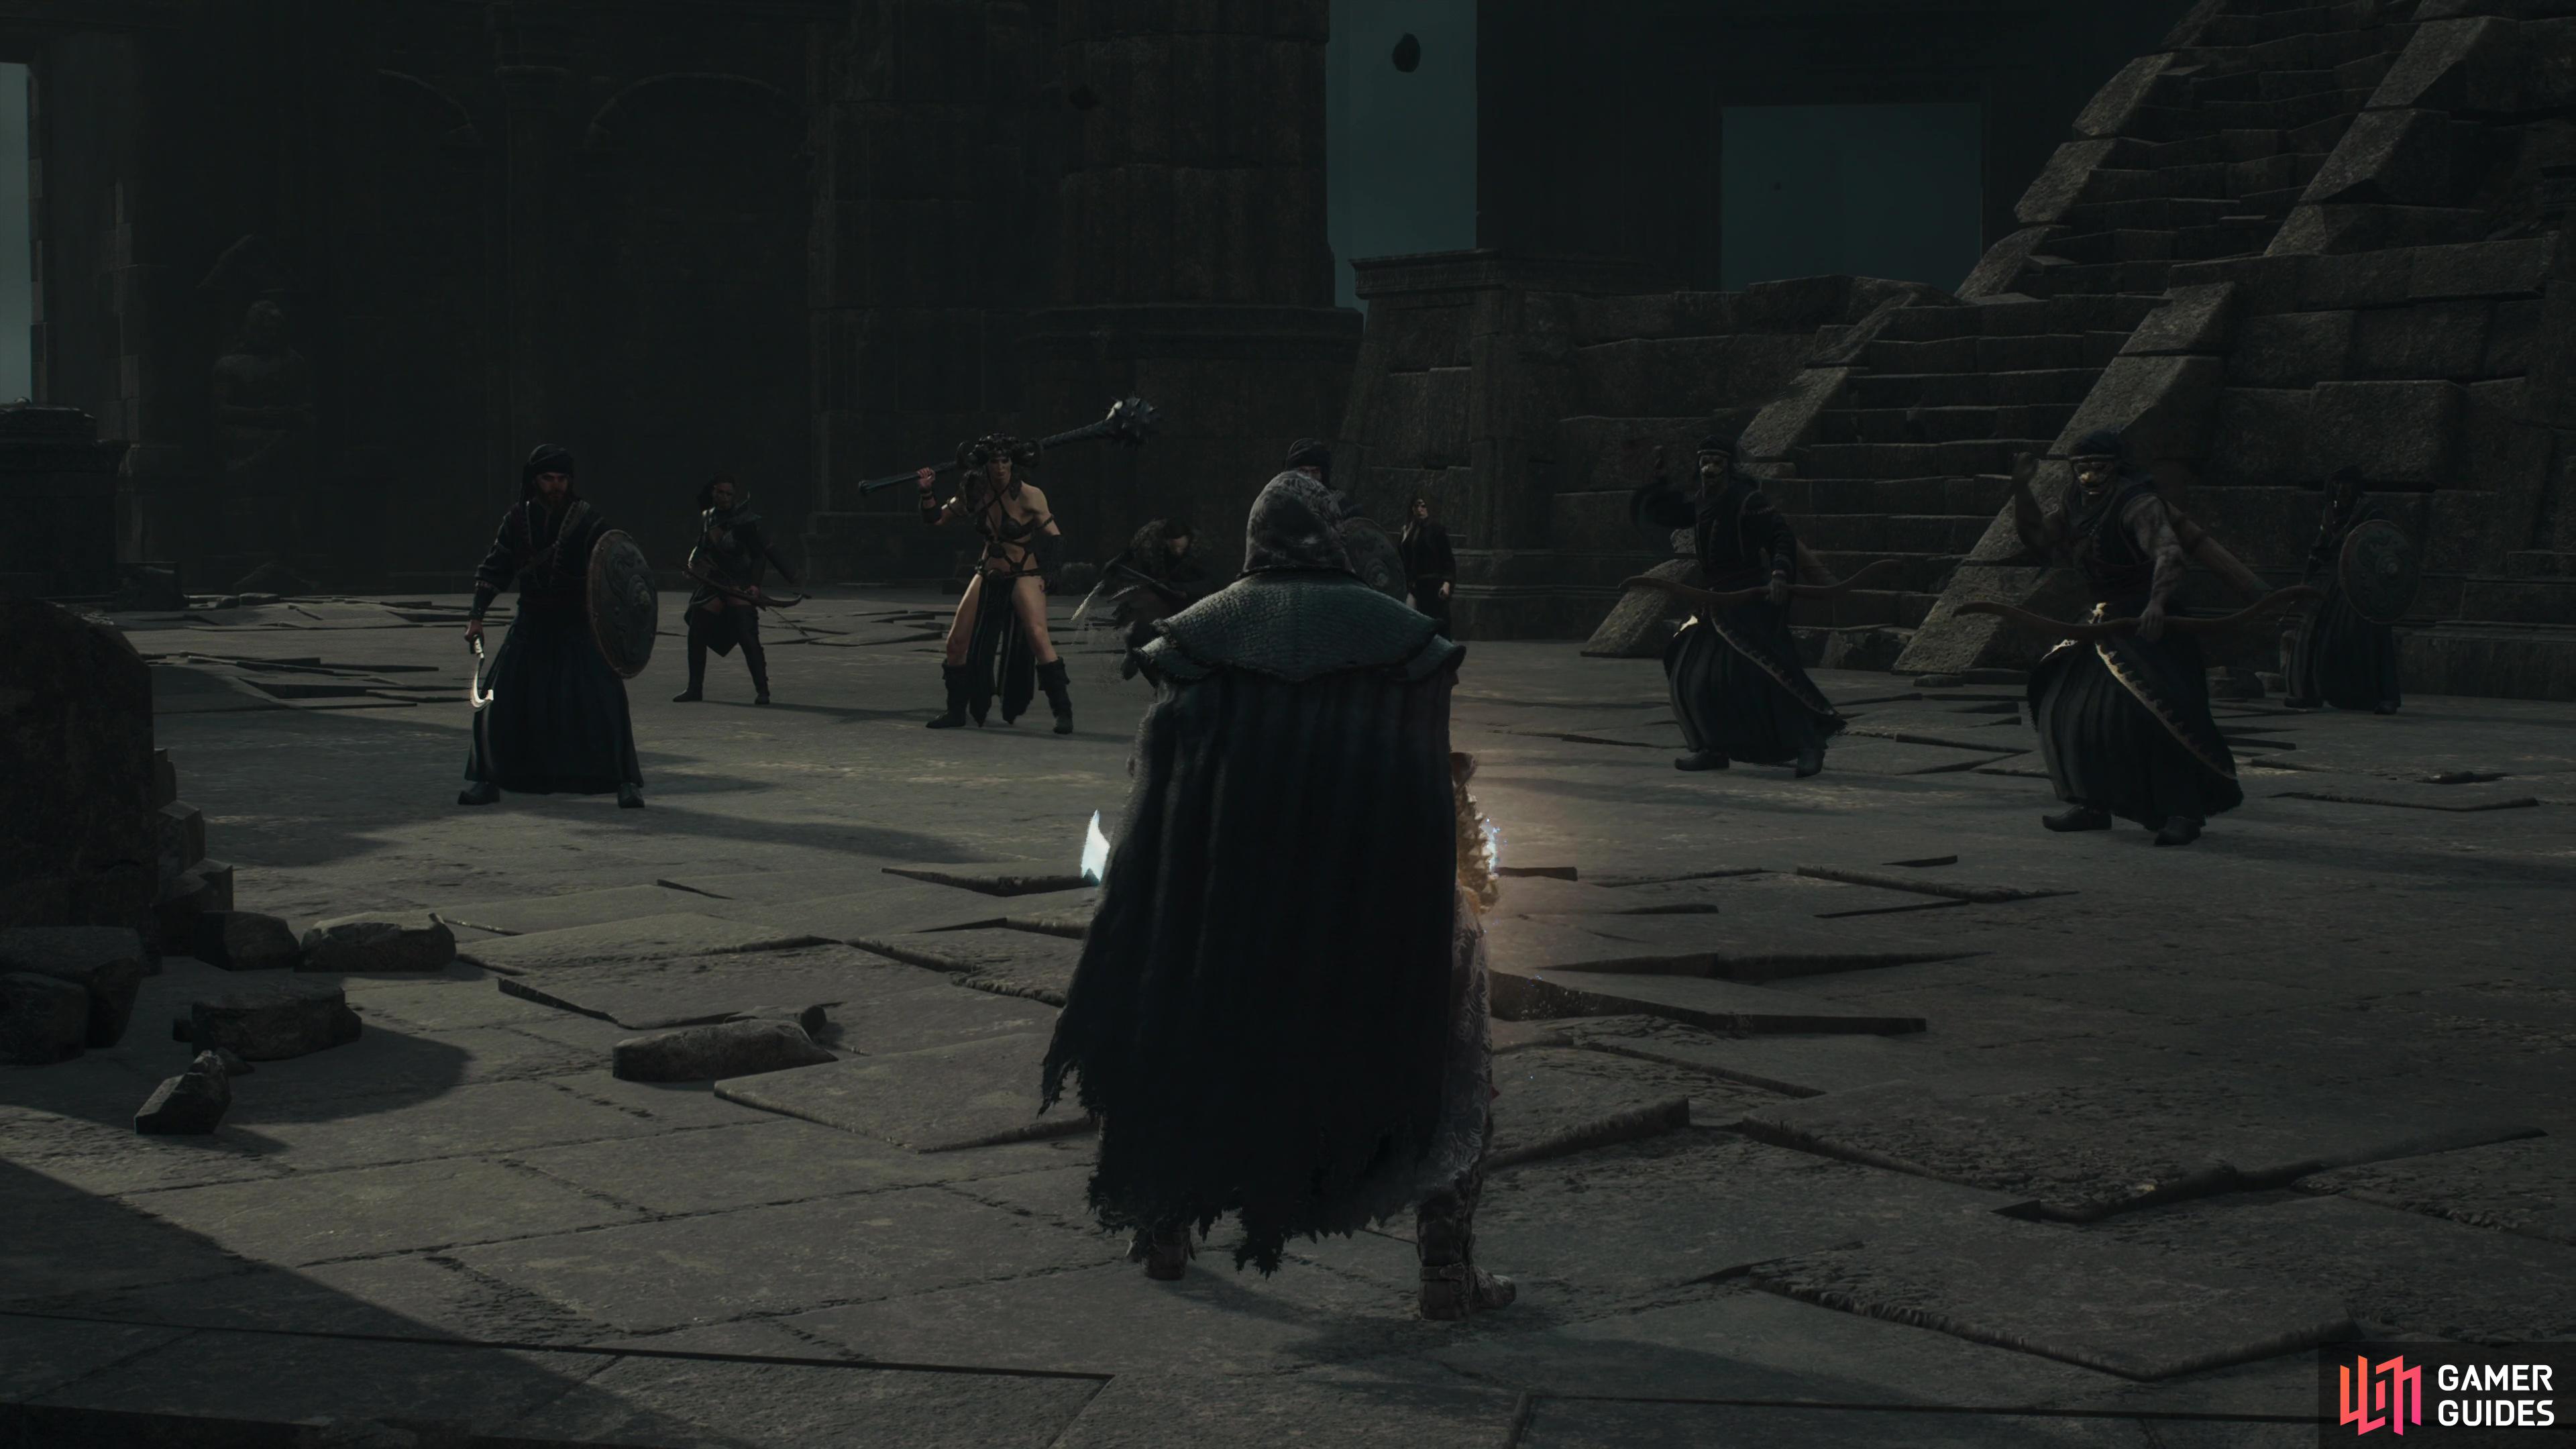
(1 of 2) Start out the quest by defeating Phaesus’s bodyguards,

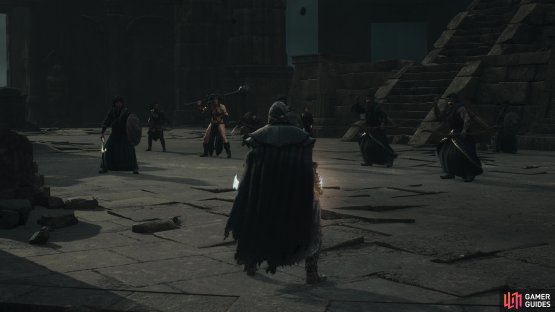
Start out the quest by defeating Phaesus’s bodyguards, (left), after which the Dragon will force you to make a choice - flee and survive, or fight and meet your fate. (right)
The Dragon’s Captive and Romancing NPCs
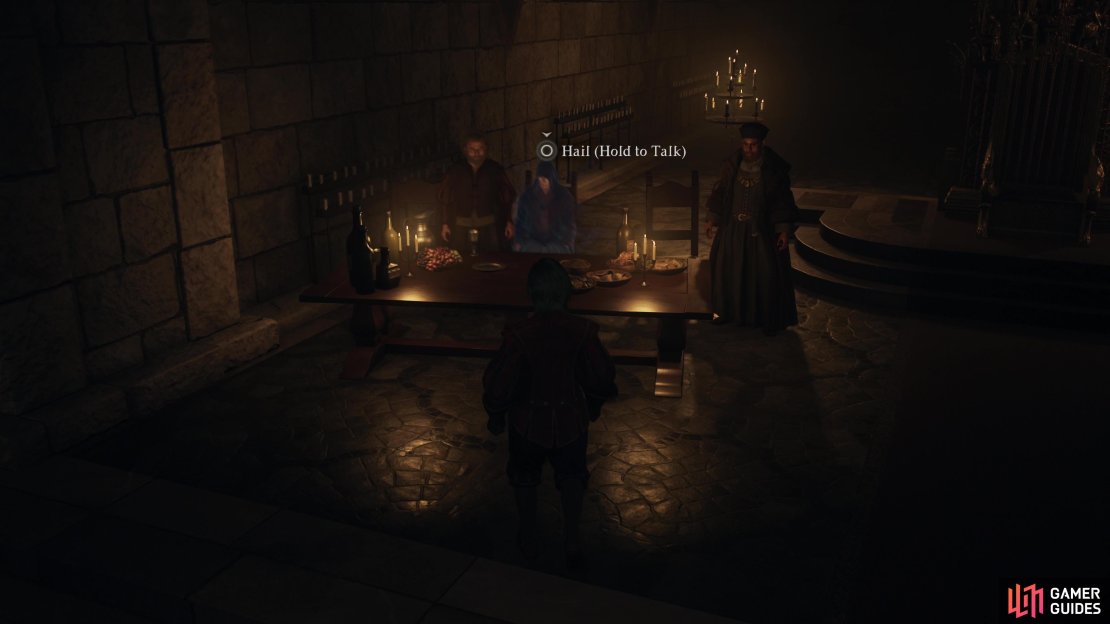
There’s not a whole lot of transition between this quest and The Guardian Gigantus. After traveling through ![]() Moonglint Tower - a rather uneventful affair - you’ll finally catch up to Phaesus, who starts a ritual to summon the Dragon. Defeat his mercenaries (these are nondescript 500XP~
Moonglint Tower - a rather uneventful affair - you’ll finally catch up to Phaesus, who starts a ritual to summon the Dragon. Defeat his mercenaries (these are nondescript 500XP~ ![]() Lost Mercenary enemies) and another scene will play. Afterwards Phaesus and the
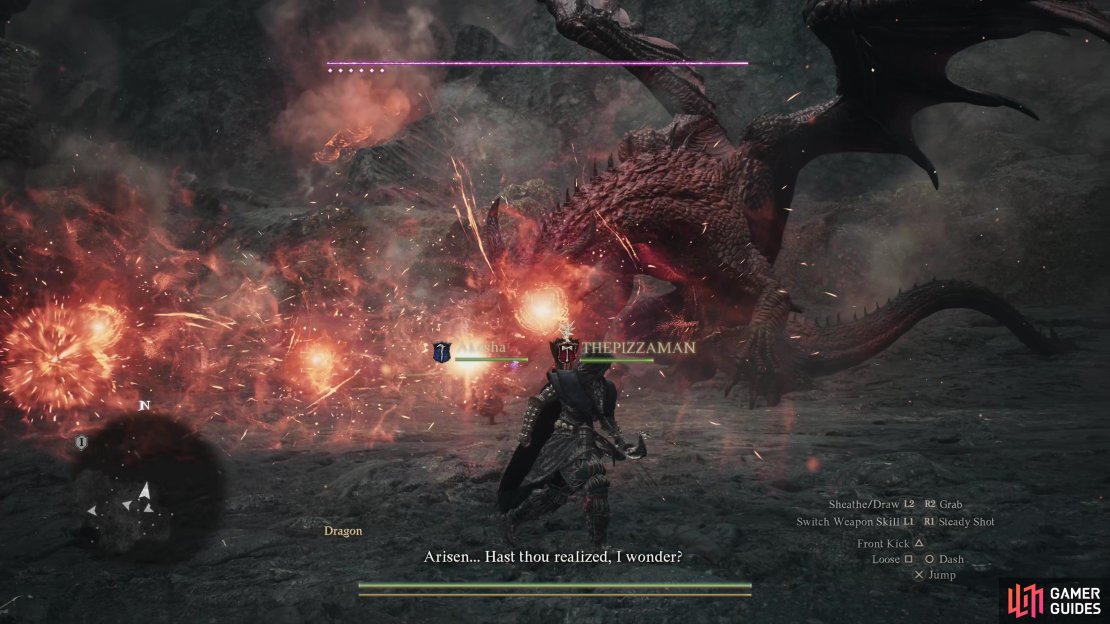
Lost Mercenary enemies) and another scene will play. Afterwards Phaesus and the ![]() Lesser Dragon he summoned will be brought low by the splendor of the true Dragon, and the beast will give you a choice - walk away and abandon the captive the Dragon has seized, or stand and fight.
Lesser Dragon he summoned will be brought low by the splendor of the true Dragon, and the beast will give you a choice - walk away and abandon the captive the Dragon has seized, or stand and fight.
Obviously the latter is the choice you want to pursue if you wish to advance the plot in any meaningful way, and unlike the original Dragon’s Dogma, there’s no secret “bad” ending that unlocks if you abandon the Dragon’s captive. This captive is nominally your love interest, and like in the original game it’s chosen seemingly at random from a pool of characters you have high affection with. There’s no way to really view which character has the most affection towards you - if they have rosy cheeks when you talk to them, they’re a candidate. You can give an NPC you want to romance the ![]() Eternal Bond ring to make it more likely that the Dragon will select it as its captive, but you’ll need to solve enough of the Sphinx’s riddles to get this bauble. Who the Dragon chooses as its captive doesn’t really matter all that much in the long run, but it can be kind of annoying to see the game choose, say, the granny you talked to twice during the quest Spellbound as your romantic interest seemingly at random.
Eternal Bond ring to make it more likely that the Dragon will select it as its captive, but you’ll need to solve enough of the Sphinx’s riddles to get this bauble. Who the Dragon chooses as its captive doesn’t really matter all that much in the long run, but it can be kind of annoying to see the game choose, say, the granny you talked to twice during the quest Spellbound as your romantic interest seemingly at random.

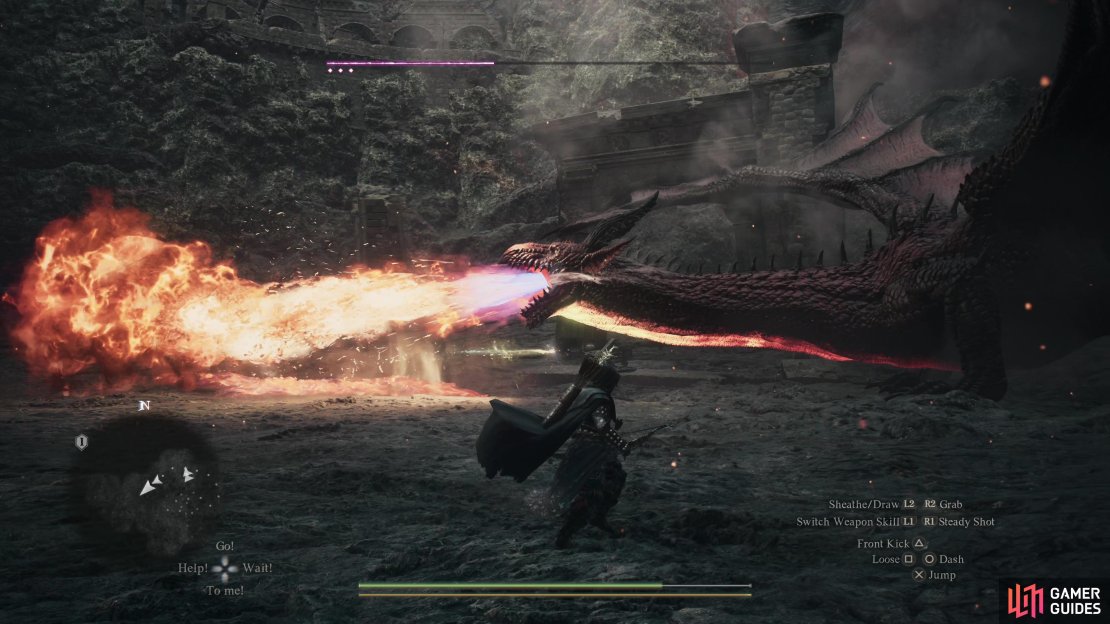

(1 of 6) The Dragon’s fiery breath is probably its most potent attack, but if you stay close and don’t stand directly in front of its head it should be easy to evade.
Defeating the Dragon - Peace Ending
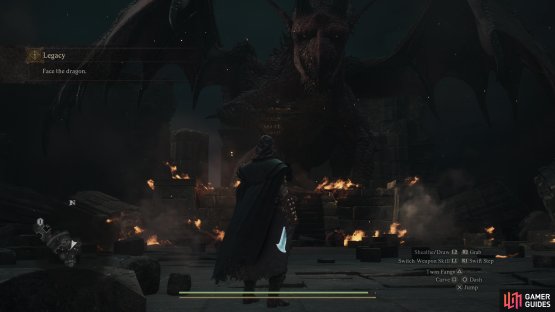
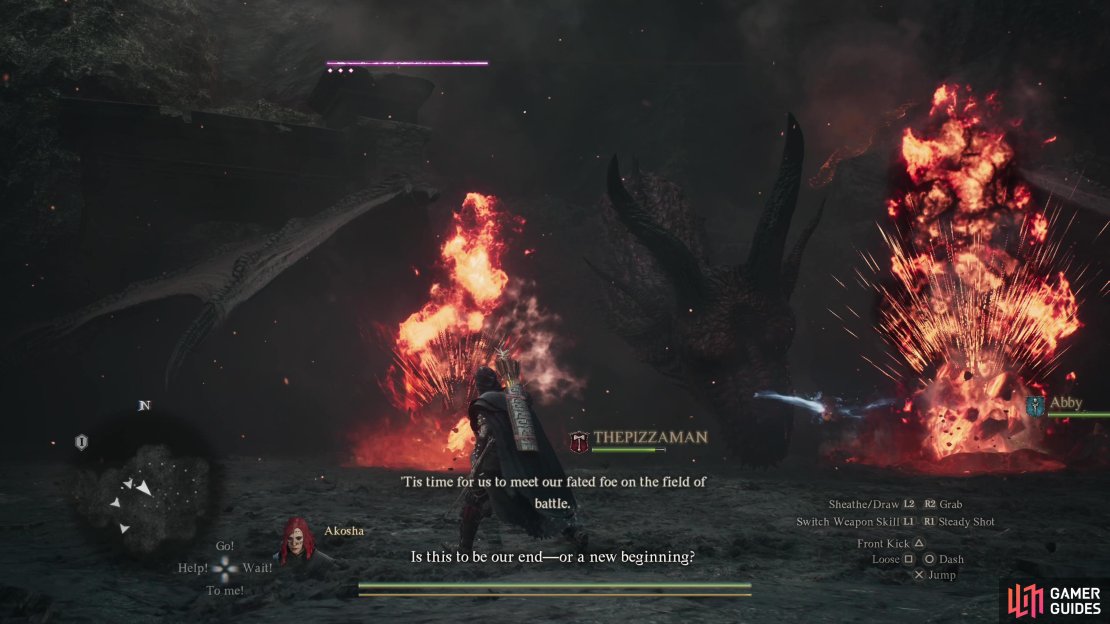
After you’re done having fits over whom the game has chosen as your main romantic interest you’ll need to accept the Dragon’s challenge. Just walk up to the beast and attack it and it’ll decide to skip all that interesting early-fight stuff the original game had and will let you on its back so it can fly you to an appropriate arena. During the flight, when you’re riding on the Dragon’s back, is when you’ll need to decide what ending to go for. If you choose to fight the Dragon conventionally and become the Sovran, you’ll get the “Peace” ending (along with an achievement of the same name). Since you can unlock The Unmoored World after this without losing any progress whatsoever, it’s what we recommend you start with… unless the thought of doing another playthrough for the “Peace” ending sounds appealing.
Ride the Dragon’s back and let it talk, taunt and goad you without reprisal and eventually it’ll near its destination, decide you took too long to choose another path, and trigger a cutscene. After this scene ends you’ll be facing off against the dragon in a crater, much like in the first game, and conveniently enough your pawns will have made it, too!
The Dragon is a pale imitation of Grigori in the original Dragon’s Dogma; this Dragon has six life tabs and shares many attacks in common with the ![]() Drake, which is honestly a more difficult fight. The Dragon has a variety of attacks it’ll employ to make this farce look like a legitimate bout: it can smash the ground with its massive claw, swat at pawns and Arisens alike (sometimes repeatedly in a combo) against pesky foes at its flank, take to the sky for a brief flight before smashing down with its bulk as the primary weapon. Naturally it also has its fiery breath, which it will use in a wide sweeping horizontal attack or in a series of vertical sweeps. Its breath weapon attacks are quite painful but also well telegraphed, but it makes up for this shortcoming by supplementing its arsonist arsenal with fire magics. The Dragon will mostly cast a Fire Mine spell similar to what the Drake employs when not enraged, but it can cast it overtly or covertly may also use it immediately following a flying slam attack, where Fire Mines will detonate under the Dragon’s claws. The Dragon can also use a heavily weakened form of
Drake, which is honestly a more difficult fight. The Dragon has a variety of attacks it’ll employ to make this farce look like a legitimate bout: it can smash the ground with its massive claw, swat at pawns and Arisens alike (sometimes repeatedly in a combo) against pesky foes at its flank, take to the sky for a brief flight before smashing down with its bulk as the primary weapon. Naturally it also has its fiery breath, which it will use in a wide sweeping horizontal attack or in a series of vertical sweeps. Its breath weapon attacks are quite painful but also well telegraphed, but it makes up for this shortcoming by supplementing its arsonist arsenal with fire magics. The Dragon will mostly cast a Fire Mine spell similar to what the Drake employs when not enraged, but it can cast it overtly or covertly may also use it immediately following a flying slam attack, where Fire Mines will detonate under the Dragon’s claws. The Dragon can also use a heavily weakened form of ![]() Meteoron, conjuring an array of fiery orbs in the air (with significant theatrics, we might add) before launching them at targets. Run horizontally to avoid as many of these as possible - they’re nowhere near as powerful as the Drake’s version and the Dragon won’t spam them incessantly.
Meteoron, conjuring an array of fiery orbs in the air (with significant theatrics, we might add) before launching them at targets. Run horizontally to avoid as many of these as possible - they’re nowhere near as powerful as the Drake’s version and the Dragon won’t spam them incessantly.
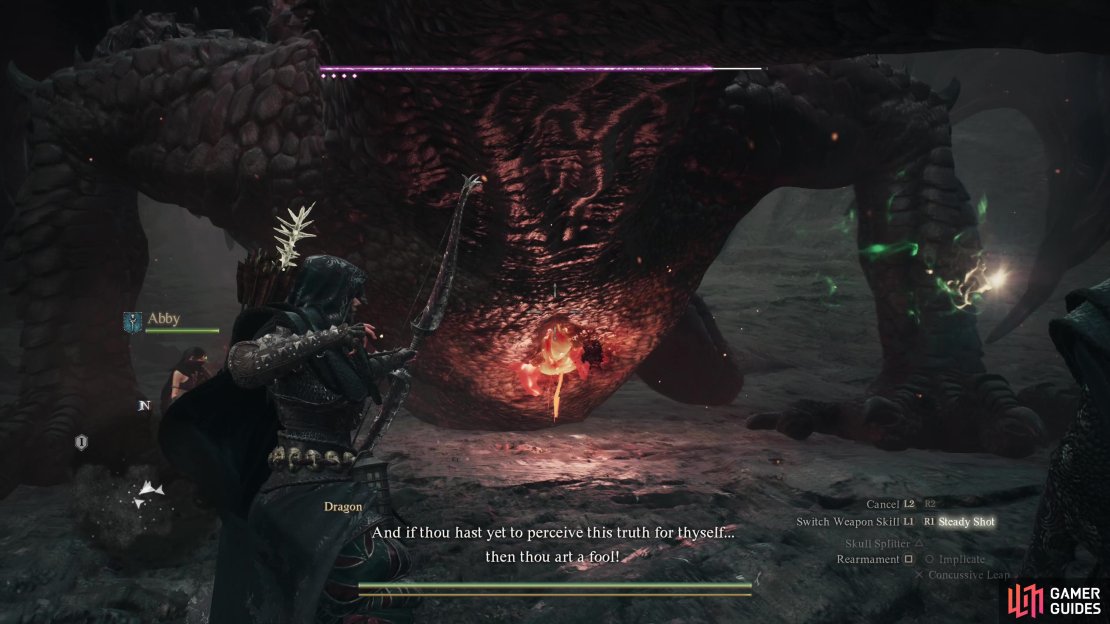
Like with the Drake, the Dragon’s heart and head are its weakspots. Its chest and neck will glow for much of the fight (especially when breathing fire or casting spells) but the actual vulnerable spot on its chest is much smaller, appearing as an orange, organic, magmatic pustule emerging from the dragon’s scales. Generally you’re safer staying close (or even under) the Dragon, but your positioning will vary depending on your vocation - you want to hit the head if at all possible, and the ![]() Archer and
Archer and ![]() Magick Archer will have a very easy time of this, indeed. Casters are better off keeping more of a distance so they can properly target the head, while Thieves and
Magick Archer will have a very easy time of this, indeed. Casters are better off keeping more of a distance so they can properly target the head, while Thieves and ![]() Warriors should settle for attacking the chest and neck. If you’re close, run away when it takes flight to avoid its slam attack, if you’re a bit back from the Dragon, run forward when it breathes fire. Even if you can’t target the head and/or chest properly, a combination of its attacks and your damage will leave it staggered and vulnerable periodically, during which you’ll be safe to punish the heart. After it recovers the Dragon will roar (draining all your Stamina if you’re close) and reseal its heart.
Warriors should settle for attacking the chest and neck. If you’re close, run away when it takes flight to avoid its slam attack, if you’re a bit back from the Dragon, run forward when it breathes fire. Even if you can’t target the head and/or chest properly, a combination of its attacks and your damage will leave it staggered and vulnerable periodically, during which you’ll be safe to punish the heart. After it recovers the Dragon will roar (draining all your Stamina if you’re close) and reseal its heart.
The heart takes damage quite readily, but even the Dragon’s head is fairly vulnerable. An Archer Arisen can stand near and just off to the side of the Dragon and simply use their quick shots to reliably deal damage, while a ![]() Thief can spam
Thief can spam ![]() Helm Splitter while standing under it. It may deal some damage if you’re around level thirty and haven’t upgraded your gear since
Helm Splitter while standing under it. It may deal some damage if you’re around level thirty and haven’t upgraded your gear since ![]() Vernworth, but if you’ve picked up any gear since crossing the border to Battahl and completed some side quests, you likely won’t have much trouble with the Dragon.
Vernworth, but if you’ve picked up any gear since crossing the border to Battahl and completed some side quests, you likely won’t have much trouble with the Dragon.
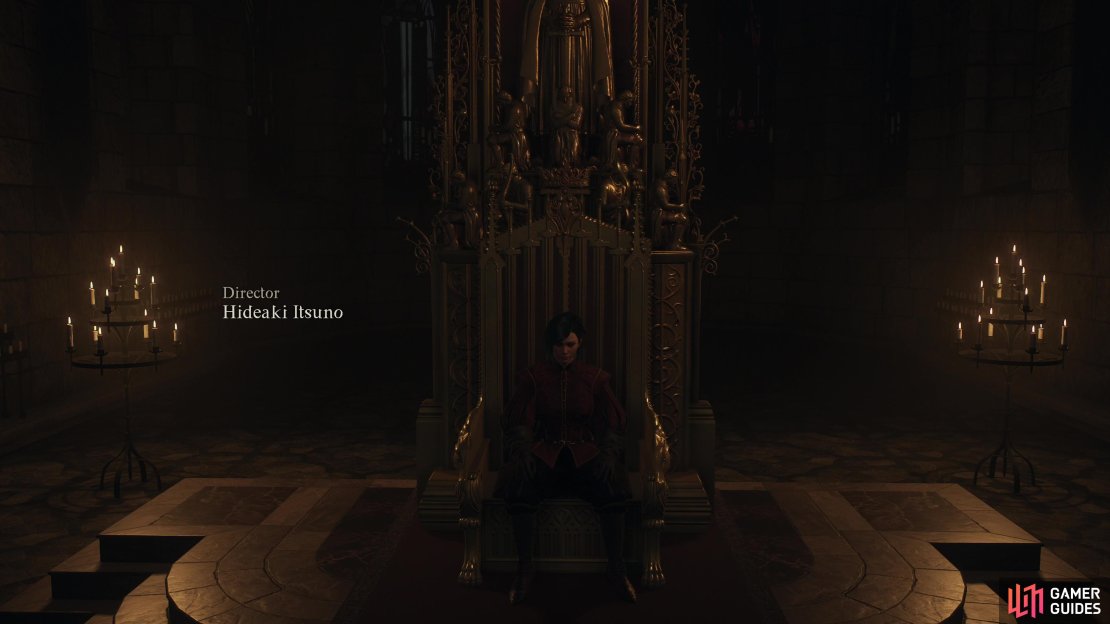
Defeat the Dragon and you’ll get some scenes showing you take your rightful place as the new Sovran of Vernmund. When you’re in control, simply stroll forward through the crowd as the credits play and sit on the throne. Put the controller down, leave the mouse and keyboard alone, and just let things go. Eventually you’ll get your achievement and you’ll be back out in the main menu. Don’t press anything, you can continue… more or less seamlessly into The Unmoored World ending, just read on…

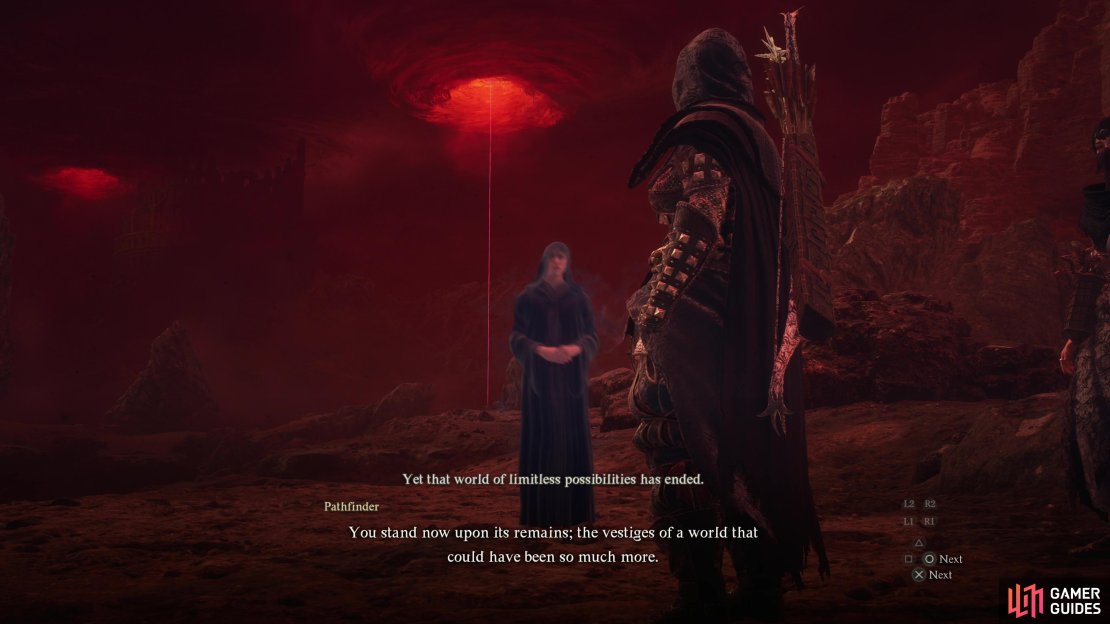
(1 of 3) Reload your last save from the menu after the “Peace” ending and as the credits roll again, talk to the Pathfinder.
Unlocking The Unmoored World
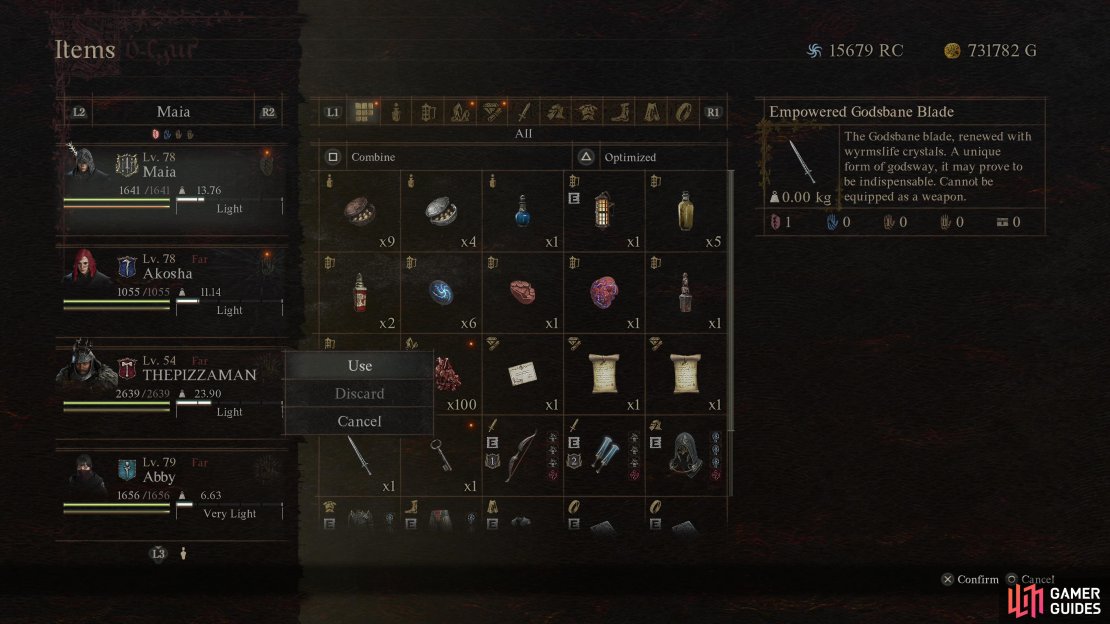
After completing the “Peace” ending, you’ll find yourself back out on the title screen. Do not pick the option “Restart game with current level and equipment. Instead, pick the option “Lost from Last Save” and you should reappear back in the throne room with the credits playing. This time walk towards the throne and you should see the Pathfinder’s ghostly visage off to the left, then talk to him again when he reappears in the midst of the crowd. This will put you back atop the Dragon as he flies towards your fated battlefield. Crawl forwards until your chest starts to glow (this will happen when you reach between the Dragon’s wings), go into your inventory, select the ![]() Empowered Godsbane Blade and use it on yourself. Several scenes will play and when they’re over you’ll be in The Unmoored World, in the process earning the “Dragon’s Dogma 2” achievement.
Empowered Godsbane Blade and use it on yourself. Several scenes will play and when they’re over you’ll be in The Unmoored World, in the process earning the “Dragon’s Dogma 2” achievement.
Check out the What Is The Unmoored World? page to learn more about this ruined world.
No Comments