There are numerous large, iconic monsters in ![]() Dragon’s Dogma 2, whether it’s a griffin swooping down from the sky, a cyclops smashing its way through a forest or a drake crawling over ruins. They’re not subtle, they’re not small, and they make a big impression. Ironically, then, one of the more dangerous enemies you’ll encounter (at least until you advance the main questline significantly) is considerably smaller and more subtle. Emerging from the mist late at night, the
Dragon’s Dogma 2, whether it’s a griffin swooping down from the sky, a cyclops smashing its way through a forest or a drake crawling over ruins. They’re not subtle, they’re not small, and they make a big impression. Ironically, then, one of the more dangerous enemies you’ll encounter (at least until you advance the main questline significantly) is considerably smaller and more subtle. Emerging from the mist late at night, the ![]() Dullahan is only somewhat taller than a man and rather spindly, but don’t let its size or reclusive nature fool you - this is a dangerous foe who can be very difficult to track down and defeat. This page will provide strategies for finding and killing Dullahan enemies in Dragon’s Dogma 2.
Dullahan is only somewhat taller than a man and rather spindly, but don’t let its size or reclusive nature fool you - this is a dangerous foe who can be very difficult to track down and defeat. This page will provide strategies for finding and killing Dullahan enemies in Dragon’s Dogma 2.
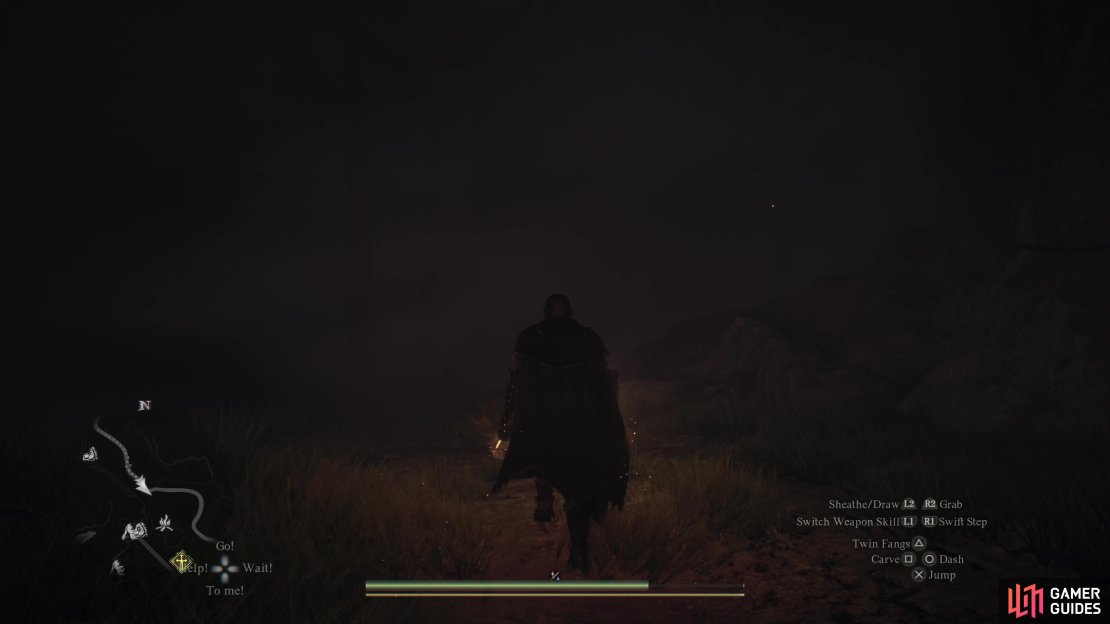
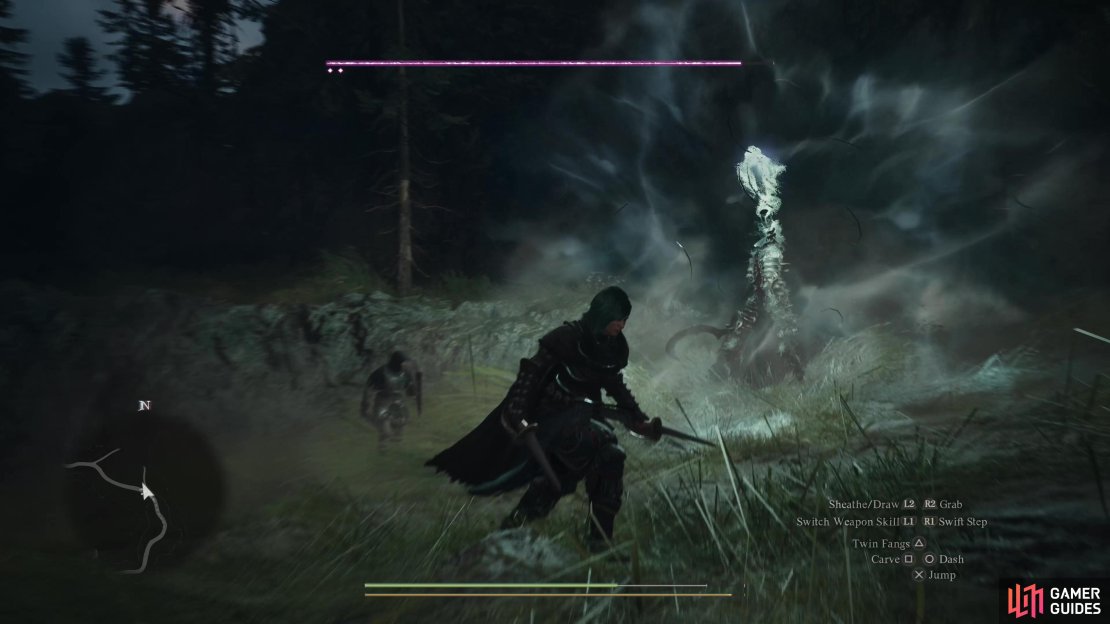
The Dullahan is a reclusive creature who prefers a handful of haunts, but the red fog that accompanies it makes it clear when one is nearby.
Finding Dullahan Enemies at Night
Fighting a Dullahan is an ordeal in its own right, but the matter is further complicated by the bother of actually finding one. As mentioned earlier, Dullahans only spawn at night. Specifically, they tend to spawn after midnight, rather closer to the approach of dawn. Resting at a nearby campsite and walking over to where a Dullahan can spawn likely isn’t going to be sufficient. Worse, once the sun comes up the Dullahan will flee, yielding no reward for your struggle.
In addition to being picky about when they spawn, Dullahans also spawn in specific locations - they seem rather fond of bridges, but aren’t shy about challenging travelers who enter ravines or any other sort of narrow or restricted passage. Some areas where we’ve found them include:
- On the road east of the
 Cavern of the Forsaken. Dullahan map marker.
 - Along the main road northwest of
 Vernworth, just northeast of
  Headwater Cavern. Dullahan map marker.
 - East of Vernworth, near a small bridge along the road that leads to the
 Nameless Village. Dullahan map marker.
 - On the bridge south of the
 Cliffside Cave, en route between Vermund and Battahl via the Guerco Cavern shortcut. Dullahan map marker.
 - In the Misty Marshes, at the Illdoer’s Resting Place during the side quest Till Death Do Us Part. Dullahan map marker.
Keep in mind that just because Dullahans can spawn in these locations doesn’t guarantee one will be there when you go looking. Time and dumb luck are both factors, but on the plus side it’s fairly easy to notice when a Dullahan is prowling around, as the area will be filled with a reddish mist that makes a Dullahan’s presence unmistakable. Unfortunately you cannot save-scum encounters with Dullahans; if you save before a fight and reload, the Dullahan will almost certainly despawn.
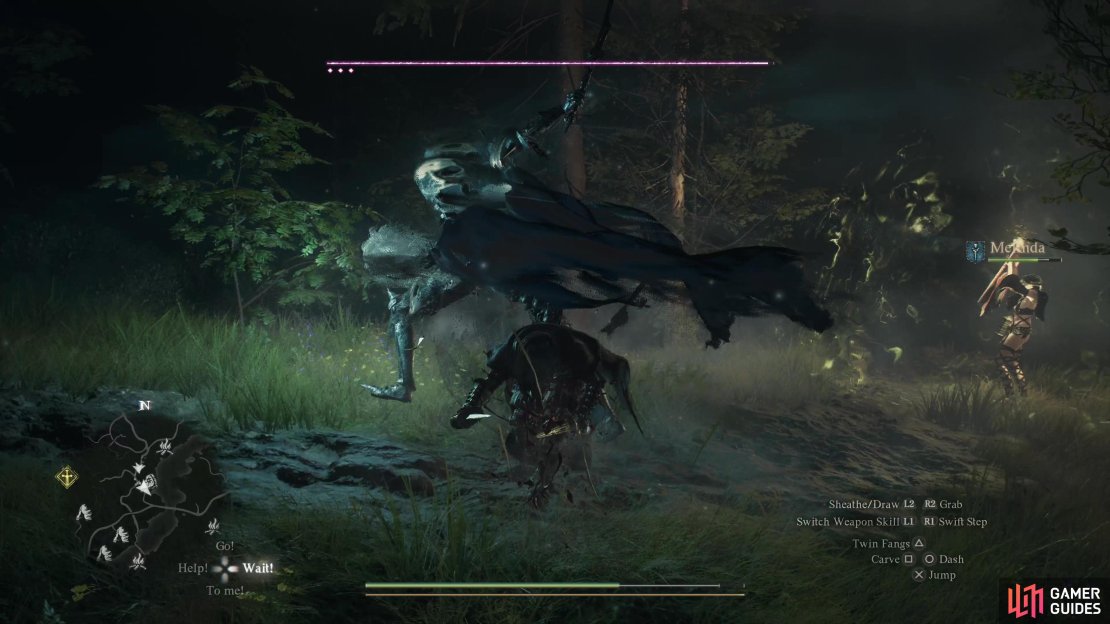
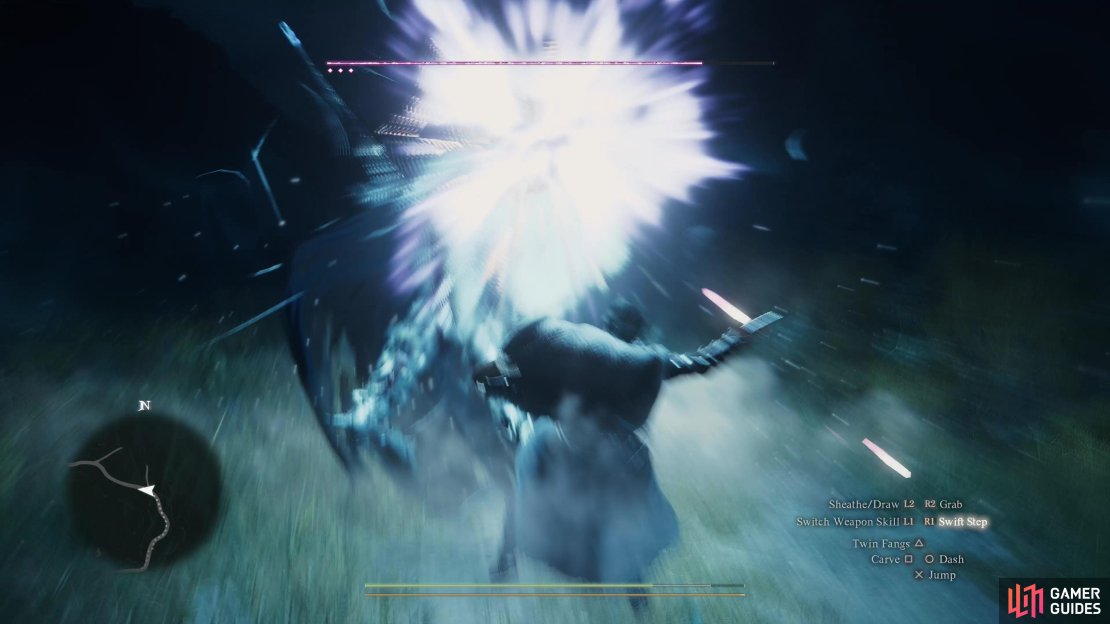
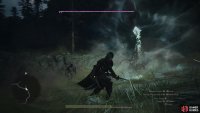
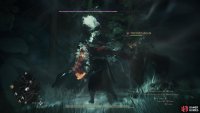
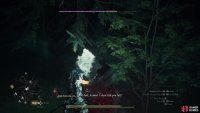
(1 of 3) While the Dullahan doesn’t deal massive damage with each attack, it is keen on teleporting around, and isn’t above landing some sneaky hits while on the move.
Beating Dullahans - Combat Tips
Once you do encounter a Dullahan, as much of a chore as that can be, you still have to actually defeat the revenant. The Dullahan is primarily a physical combatant, wading into combat with arcing swings of its sickle-sword. Despite its penchant for close-quarters combat, the Dullahan’s damage output is only moderate, instead relying on its mobility to confound opponents and its durability to outlast them. Its attacks are relatively slow and deliberate, which should make it easy for slower classes like ![]() Mages and
Mages and ![]() Archers to get out of the way, and trivial for
Archers to get out of the way, and trivial for ![]() Fighters to block and Thieves to dodge.
Fighters to block and Thieves to dodge. ![]() Warriors can probably just tank a Dullahan, within reason.
Warriors can probably just tank a Dullahan, within reason.
Just because a Dullahan isn’t likely to one-shot you with its sword attacks (provided you’re not seriously underleveled, anyways) doesn’t mean they’re push-overs. They can phase in and out of material existence and teleport around, making them unpredictable foes, and they’re competent enough swordsmen that they will block and eventually even parry prolonged frontal assaults. Fought mano-a-mano, the Dullahan is a fairly elegant - albeit otherworldly - duelist, but with a group of pawns at your side some of the substance of their offensive can be lost as they focus their attention on your minions. If you see the Dullahan parry an attack, give it some space, as it’ll follow up with a heavy counter. If your own attack ends up parried, the Dullahan will knock you prone - the ![]() Thief can dodge before the inevitable heavy counter lands, but other classes may be punished.
Thief can dodge before the inevitable heavy counter lands, but other classes may be punished.
(1 of 3) While frontal attacks - especially when targeting the head - work well against the Dullahan, it can and will parry unsophisticated melee spam,
Odd as it may sound, the Dullahan isn’t all that competent at fending off multiple attackers and while it does have some slashes with plenty of AoE, its lack of stopping power and deliberate offense means you should have ample opportunity to attack if you’ve got a full party. Thieves are especially good at engaging the Dullahan in close quarters combat, as they can easily dodge the Dullahan’s attacks, and ![]() Helm Splitter, if used judiciously and not spammed, can dish out significant damage. That said, the Dullahan is rather hard to stagger, and an astute Archer can also deal significant damage, although they do have to be more cautious about the Dullahan’s attacks, as they can’t dodge - you’ll need to anticipate the Dullahan’s teleports and start moving before it can appear next to you.
Helm Splitter, if used judiciously and not spammed, can dish out significant damage. That said, the Dullahan is rather hard to stagger, and an astute Archer can also deal significant damage, although they do have to be more cautious about the Dullahan’s attacks, as they can’t dodge - you’ll need to anticipate the Dullahan’s teleports and start moving before it can appear next to you.
The Dullahan’s weakspot is its disembodied head, which is held aloft in one hand. Blows to the body deal damage, but the head is where the big damage can be dealt. It should be a pretty easy target for most vocations to hit, especially after the Dullahan performs one of its most dangerous attacks - its howl. During this attack the Dullahan will hold its head aloft after a moderate charge-up period, knocking down all enemies nearby. If you’re far enough away, this is a great opportunity to attack the head and deal heavy damage, but if you remain nearby this attack could be deadly. It deals no damage on its own, but if you get hit by it, the Dullahan may follow up by grabbing the afflicted character and draining their health. This deals significant damage, and most of the damage dealt this way affects the loss gauge, meaning you’re not getting it back. To add more injury to injury, the Dullahan will also end its draining embrace by chopping you with its sword. Altogether this combo is by far its most dangerous attack, and is capable of one-shotting weaker characters. On the plus side, it takes a lot of time for the Dullahan to complete it and you can be dishing out respectable damage if, say, one of your silly pawns gets grabbed.
(1 of 3) Keep an eye on the Dullahan, and if it starts charging up, keep your distance to avoid its howl attack.
Oh, and the Dullahan can also shoot out ghostly projectiles that are moderately homing, deal little damage, and don’t move all that fast. He rarely seems to do this, and while it doesn’t take him a lot of time to fire these off, they have negligible impact on the battle. He’s got a ranged option, though, for what it’s worth.
All in all, a fight with a Dullahan boils down to the following: If you see the Dullahan dematerialize, move. If you see it start charging up its howl, dodge. Otherwise target the head and try to bring it down before dawn breaks, lest your effort go to waste. It’s a durable foe whose damage output is mediocre enough to encourage sloppy play, which in turn is encouraged due to the time limit each fight is subject to. If you defeat a Dullahan you’ll likely gain at least one ![]() Cursed Dullahan Bone. They also tend to drop Rift Currency, much like
Cursed Dullahan Bone. They also tend to drop Rift Currency, much like ![]() Phantoms and
Phantoms and ![]() Phantasms.
Phantasms.


No Comments