
There are numerous dungeons scattered throughout the world of ![]() Dragon’s Dogma 2, and they’re not all created equal. Some are rather short, simple affairs, little more than holes in the ground or linear caves connecting two points on the map. Most of them have some interesting loot or enemies - the odd Seeker’s Token being a common enough consolation prize for being a thorough explorer. Others, however, have truly memorable encounters and unique loot that make them well worth exploring. As far as prominence goes, the
Dragon’s Dogma 2, and they’re not all created equal. Some are rather short, simple affairs, little more than holes in the ground or linear caves connecting two points on the map. Most of them have some interesting loot or enemies - the odd Seeker’s Token being a common enough consolation prize for being a thorough explorer. Others, however, have truly memorable encounters and unique loot that make them well worth exploring. As far as prominence goes, the ![]() Guerco Cavern located along the coast between
Guerco Cavern located along the coast between ![]() Harve Village and the
Harve Village and the ![]() Checkpoint Rest Town is definitely one of the interesting optional dungeons in the game, as it contains both an abundance of rare enemies while also being notable for its sheer size. Most importantly, however, it’s an optional route that connects Vermund in the north to Battahl in the south, and if you want to bypass any checkpoint shenanigans and sneak into Bahbattahl early, Guerco Cavern may well be the answer. This page will provide a walkthrough for the entirety of Guerco Cavern in Dragon’s Dogma 2, including how to navigate it and what monsters you can find dwelling within.
Checkpoint Rest Town is definitely one of the interesting optional dungeons in the game, as it contains both an abundance of rare enemies while also being notable for its sheer size. Most importantly, however, it’s an optional route that connects Vermund in the north to Battahl in the south, and if you want to bypass any checkpoint shenanigans and sneak into Bahbattahl early, Guerco Cavern may well be the answer. This page will provide a walkthrough for the entirety of Guerco Cavern in Dragon’s Dogma 2, including how to navigate it and what monsters you can find dwelling within.

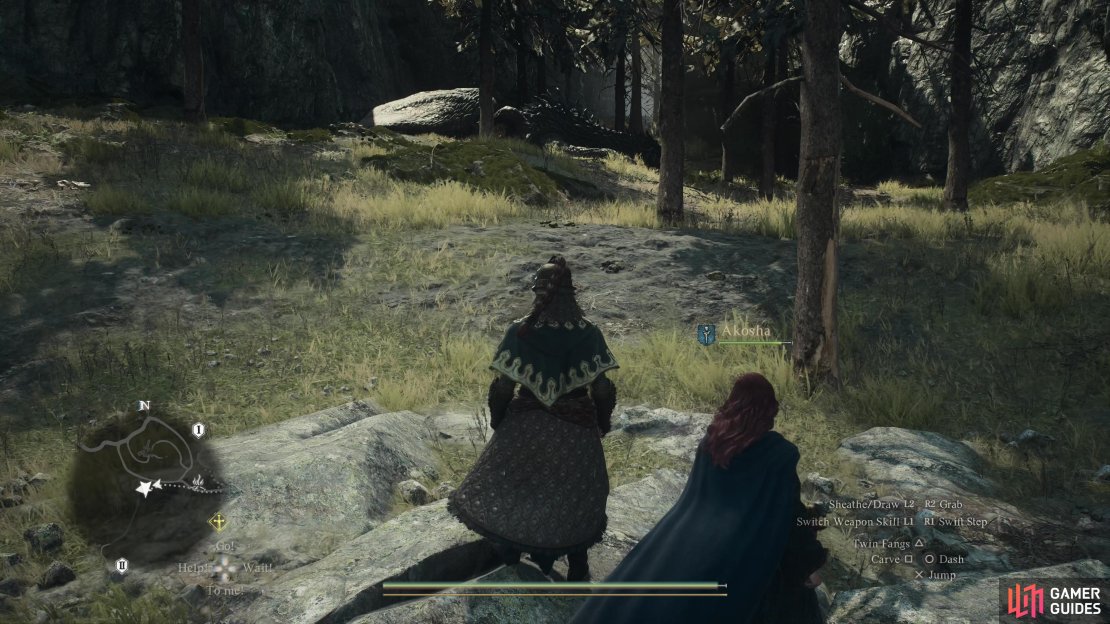
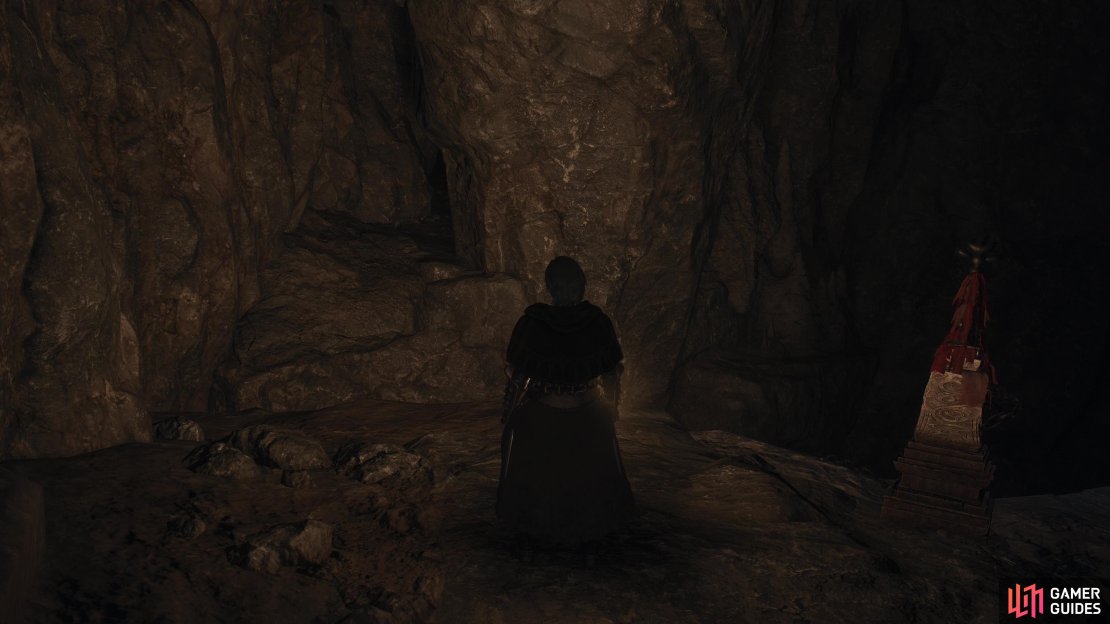
(1 of 4) The location of Guerco Cavern’s northern entrance on the map.
How to Find Guerco Cavern - Dragon’s Dogma 2
Guerco Cavern is located between Harve Village to the east and the Checkpoint Rest Town to the west, and while it’s closer to the former as the crow flies, a broken bridge and river conspire to force you to take a detour far to the north to reach it. Vermund is split into two halves by this river, and Guerco Cavern is on the eastern coast of the western half of Vermund, and while its total length on the map isn’t that long, there’s actually a series of caves you’ll enter and exit as you make your route south along the eastern coast. At one end of the journey lies the verdant wilderness of Vermund while on the other are the barren wastes of Battahl, and there’s nary a scratch of civilization between the two. That being the case, while Guerco Cavern might not technically run the entire length of the coast between its northern entrance and ![]() Bakbattahl, we’ll cover the entire route between the two points - hard to imagine why anybody would care to explore Guerco Cavern if their goal wasn’t Bakbattahl.
Bakbattahl, we’ll cover the entire route between the two points - hard to imagine why anybody would care to explore Guerco Cavern if their goal wasn’t Bakbattahl.
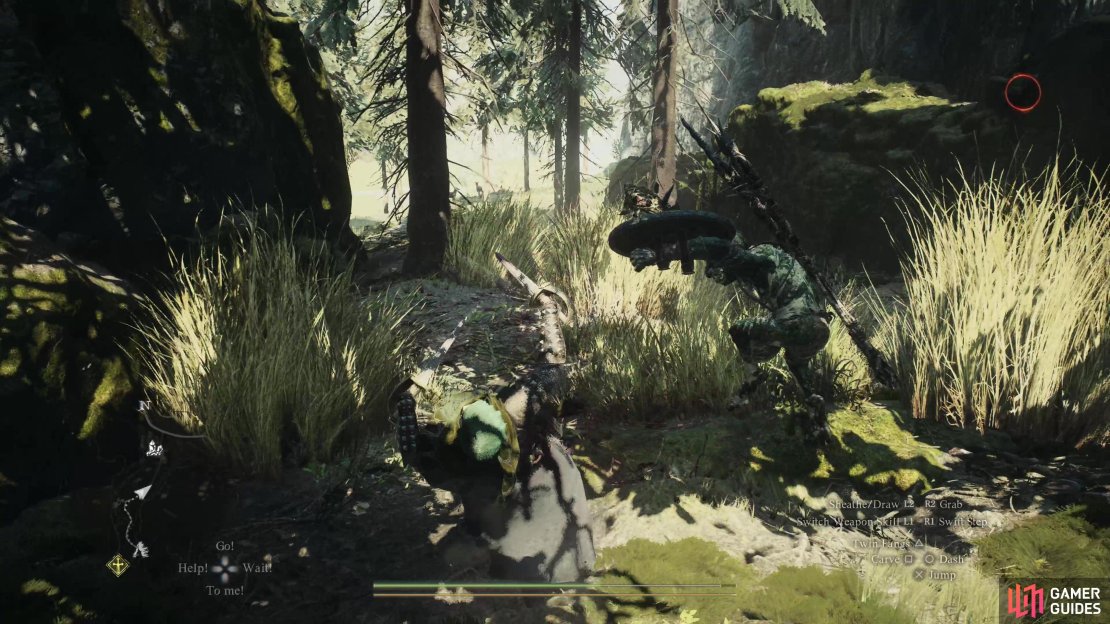
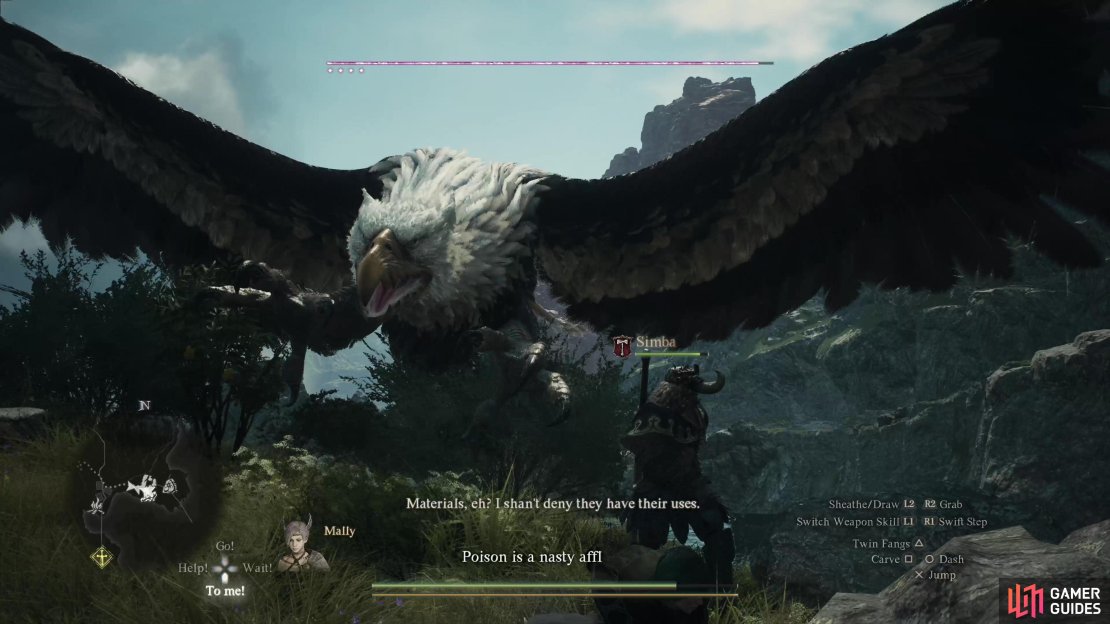
Your first obstacle is getting inside the cavern, as the trail leading to Guerco Cavern from the main road leads through a glade occupied by a drake. Probably not the sort of foe you want to fight at the start of a long and difficult journey - especially when there are at least two other large monsters along the way. Granted, you can ignore them both, but you can also run past the drake, too. The only problem is you’ll also run afoul of choppers hiding in the tall grass just past the drake - almost like they expect people to run past the drake and put traps just beyond its nest. They’re pests and will find great amusement in ambushing you, but if you stick to the cliffs to the right as you run south you should avoid most of them. Even better, if you get up on the high ground to the right you can avoid all the enemies en route to Guerco Cavern.

(1 of 4) The upper reaches of the first cavern complex is inhabited by hobgoblins - cross a bridge
Guerco Cavern - Hobgoblin Caves
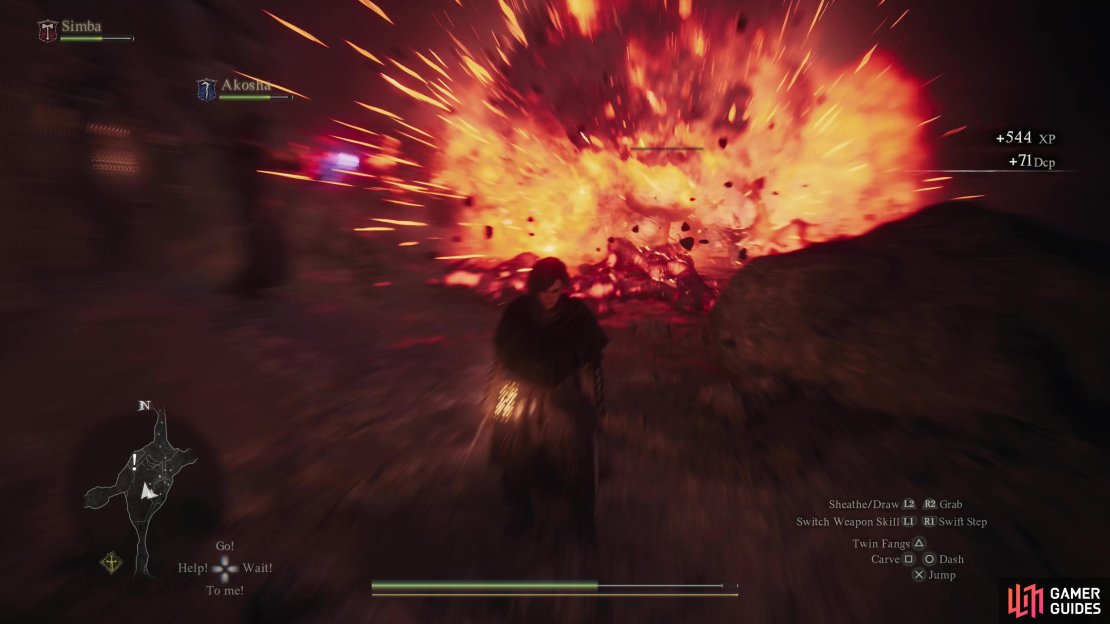
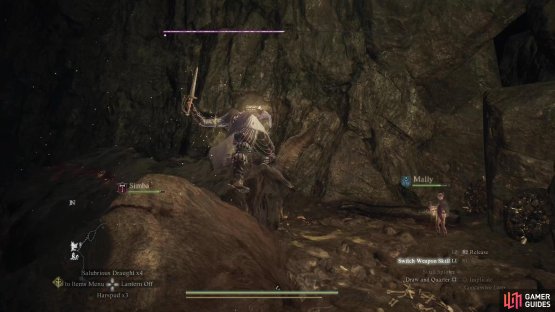
Enter the cave and continue south down a linear tunnel until it opens up into a large multilevel chamber. This is probably the most complicated area in the Guerco Cavern system (starting out strong!), with two levels, bridges, and numerous side passages. Despite the relative complexity of the layout there are only two enemies in this chamber - hobgoblins and oozes. The former should be familiar enough, hobgoblins are bigger, stronger, more durable goblins while oozes are similar to slimes inasmuch they’re resistant to physical attacks and deal damage by contact, but they’re receptive to magic damage and fire damage will one-shot them while causing them to violently explode after a delay.
![]() Hobgoblins occupy the upper reaches of this cavern, and you likely won’t have to contend with many of them at a time unless you run around and provoke them. The worst you need to watch out for with these hobgoblins is inadvertently destroying the bridges that connect the various patches of high ground, and even that’s not a run killer, it just requires you to do a bit of platforming if you want to reach the southern side of the chamber - your destination. If you climb or fall down you’ll have to deal with oozes.
Hobgoblins occupy the upper reaches of this cavern, and you likely won’t have to contend with many of them at a time unless you run around and provoke them. The worst you need to watch out for with these hobgoblins is inadvertently destroying the bridges that connect the various patches of high ground, and even that’s not a run killer, it just requires you to do a bit of platforming if you want to reach the southern side of the chamber - your destination. If you climb or fall down you’ll have to deal with oozes.
Cross the eastern bridges and smite any hobgoblins barring your way, and after the second bridge turn right (west) and kick down a ladder. Now if you fall down you can reach the far side of the chamber without fuss. If one of the bridges gets destroyed before you can cross (and assuming you don’t have ![]() Levitate or
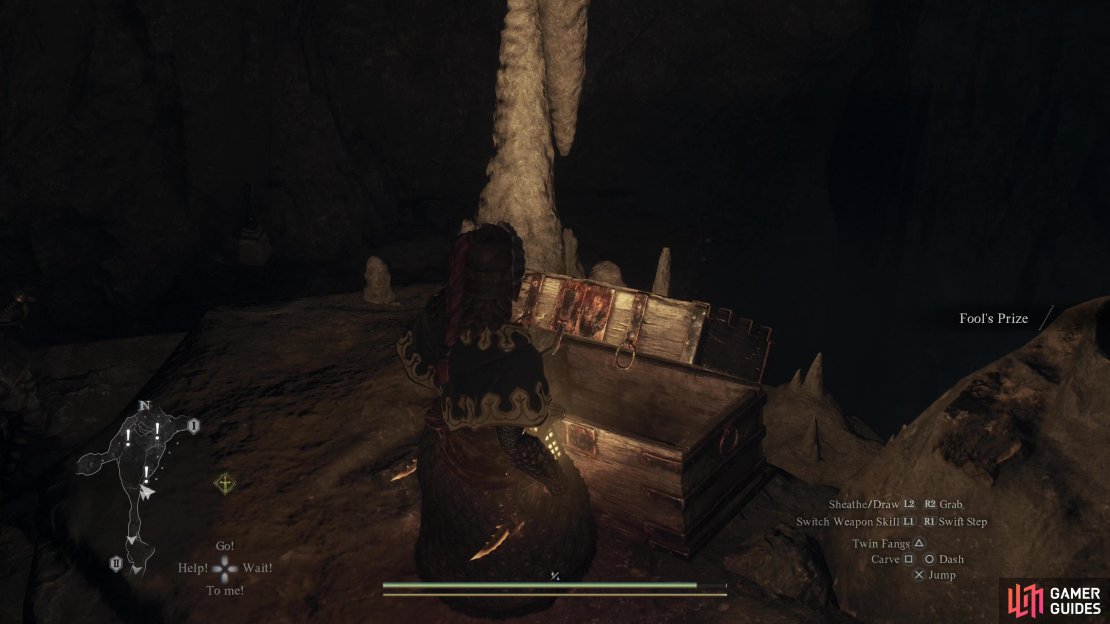
Levitate or ![]() Concussive Leap) turn east from the starting ledge just before the first bridge and you should find a passage in the wall across a gap. Jump over and you’ll find a tunnel that leads south across the chamber, above and along where the hobgoblins guard the bridges, below. Kill any hobgoblins up in this passage and continue south until the passage ends at a chest. Loot it to score a
Concussive Leap) turn east from the starting ledge just before the first bridge and you should find a passage in the wall across a gap. Jump over and you’ll find a tunnel that leads south across the chamber, above and along where the hobgoblins guard the bridges, below. Kill any hobgoblins up in this passage and continue south until the passage ends at a chest. Loot it to score a ![]() Fool’s Prize, a Mystic Spearhand weapon, then drop down to reach the ledge past the two bridges mentioned earlier.
Fool’s Prize, a Mystic Spearhand weapon, then drop down to reach the ledge past the two bridges mentioned earlier.
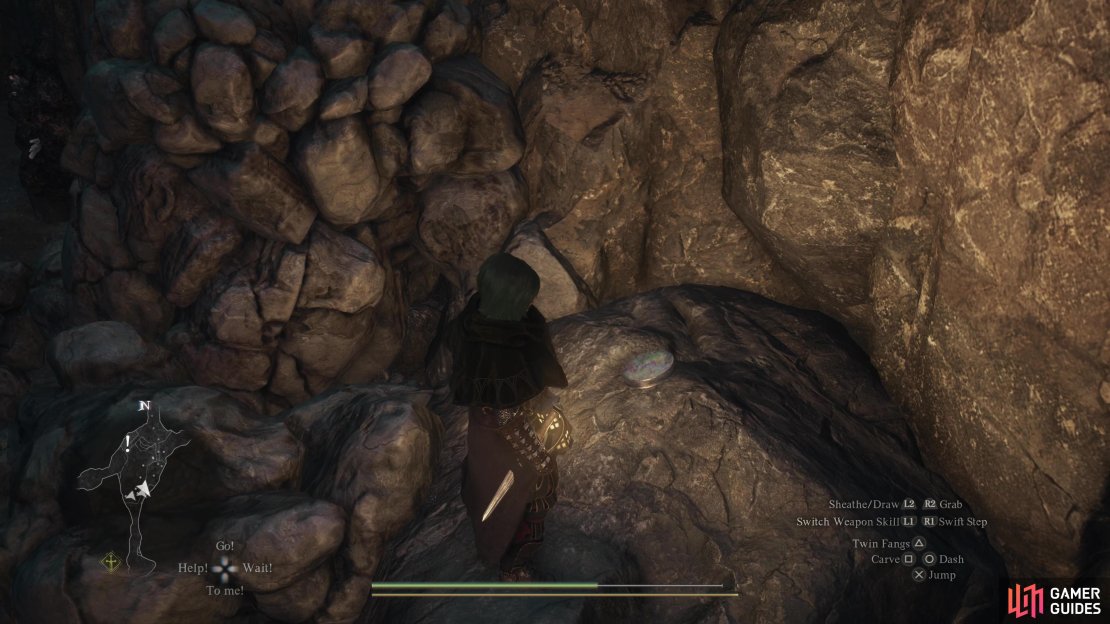
(1 of 4) Search a side-chamber to west of the hobgoblin cavern to find a Seeker’s Token on the floor near a chest.
If you just want to get through this place, you need to get across the bridges (or go through the side passage) and exit via a tunnel to the south, but you’d be wise to eradicate the hobgoblins in the chamber before pressing on - more hobgoblins await and things can get messy if you end up sandwiched between two groups. If you want to properly explore the place, a bit more work is in order. Either way, the first step should be to clear the upper reaches of this room of hobgoblins.
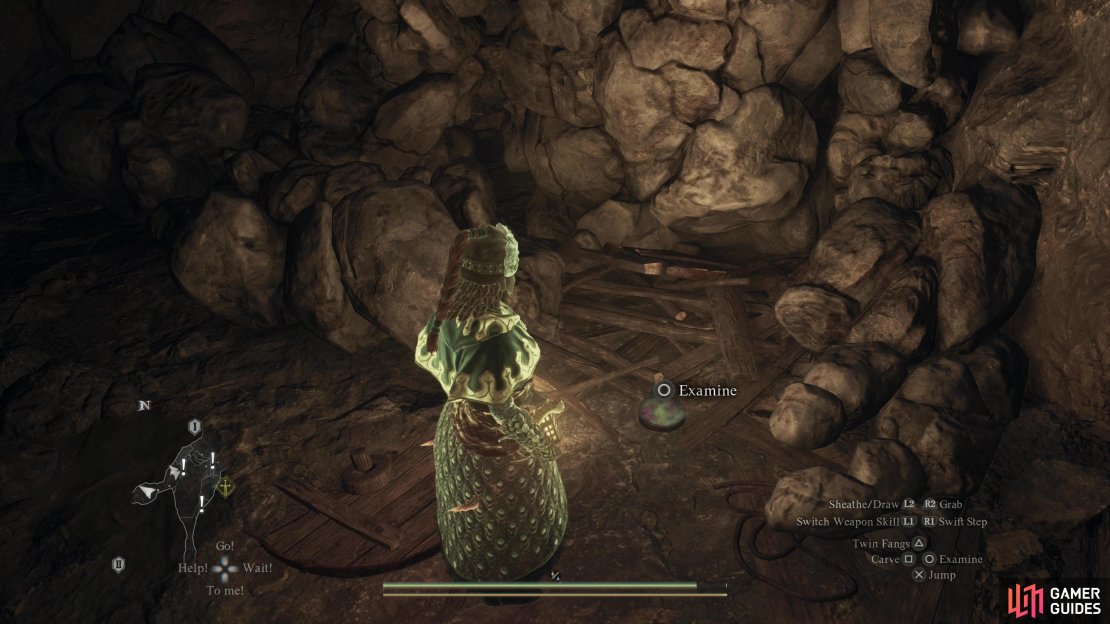
Eradicate the hobgoblins in the chamber, then return to the entrance and cross a bridge to the southwest to reach a small chamber, wherein you’ll find a chest containing 130G and a Seekers Token on the floor nearby. You can also mine an ore vein to get a shot at some uncommon minerals.
Once you’re done on the upper reaches of this chamber, it’s time to head to the lower floor, which you can do by descending some ledges along the southern end of the northern ledge (where you entered) or by climbing down the ladder you (should have) kicked down earlier. Either way, when you’re down on the lower level, scour the area for oozes and destroy them all, then get to looting. In the northwestern corner of the lower floor, you’ll find a chest containing a ![]() Battahli Turban and on a stone west of the ladder you’ll find another
Battahli Turban and on a stone west of the ladder you’ll find another ![]() Seeker’s Token.
Seeker’s Token.
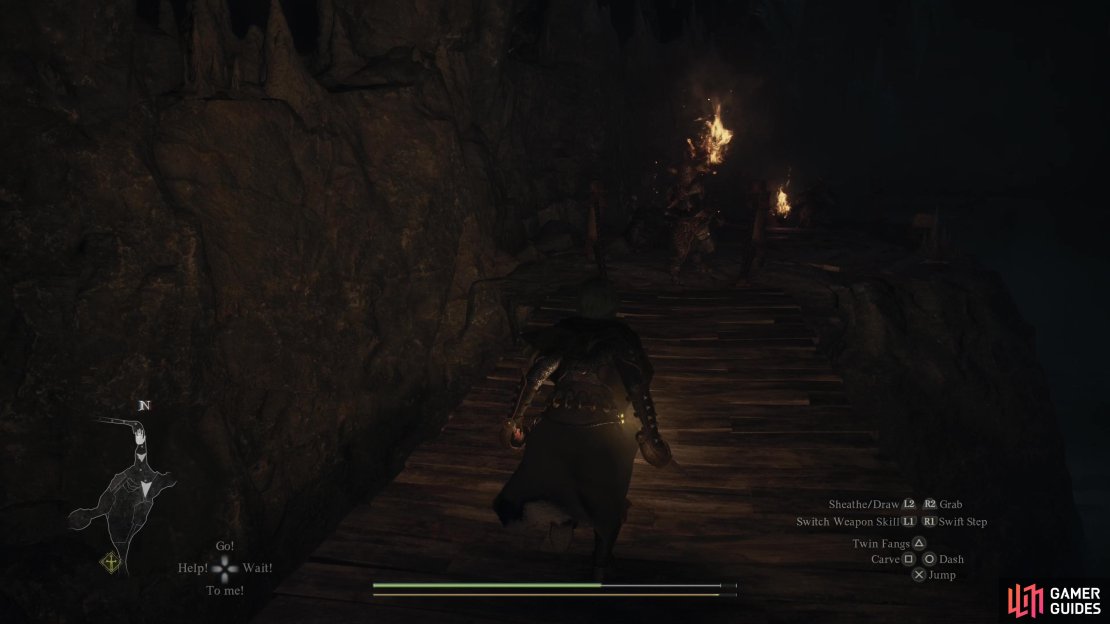
To the northeast, you’ll find another passage that eventually leads to a slope that’ll take you down to an even lower section of the cave, but this is a one-way trip, and the only way back is to leave Guero Cavern - probably not where you want to go if you plan to reach Battahl. Aside from some more hobgoblins, there’s not much to see down here until you make your way outside, where you’ll find a campsite guarded by some saurians. Kill them and enter another cave to the northwest and follow the linear passage ahead until you return outside, carefully drop down a ledge and you’ll find yourself near the ![]() Bridge of Theodracus the Second. Not really much point in going here, although it’ll be your escape route during a quest you can unlock later in Battahl.
Bridge of Theodracus the Second. Not really much point in going here, although it’ll be your escape route during a quest you can unlock later in Battahl.
Anywho, now that you’ve explored the main cavern, continue through to the southern edge of the chamber (past the bridges) and enter a passage to the south. Advance until you spot daylight, where one hobgoblin basks in plain sight while another hides around an outcropping. Eventually, you’ll reach another fully enclosed tunnel occupied by hobgoblins and oozes (they’re not necessarily friends) and when this passage ends, you’ll find yourself outside, where one last group of hobgoblins await, perhaps joined by opportunistic venin harpies. Kill them and you’ll be well and truly done with the hobgoblin portion of this run.
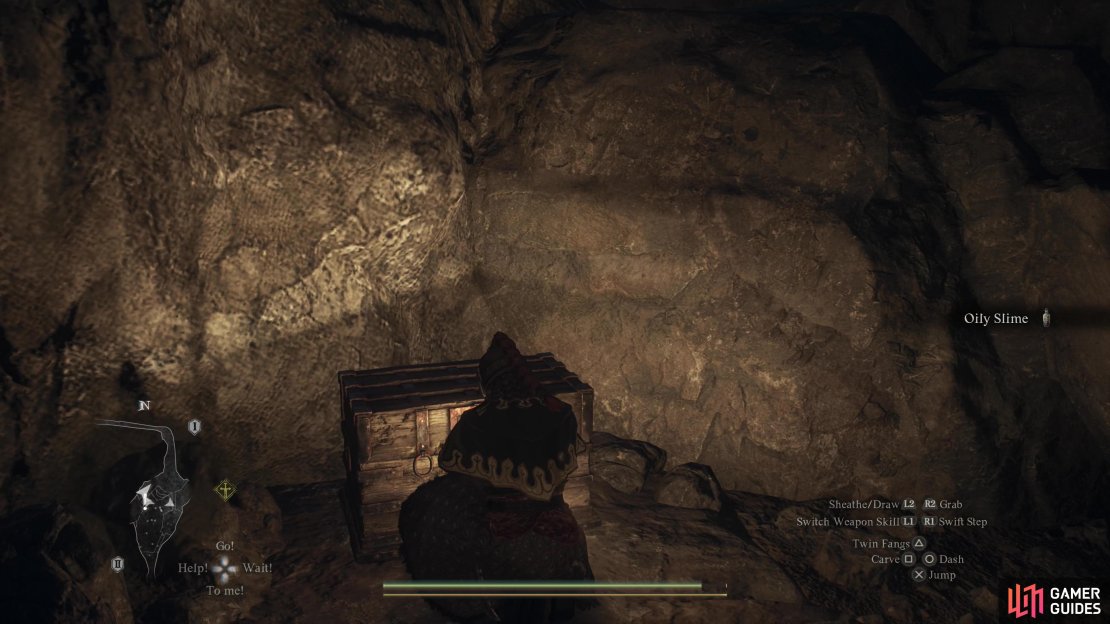
(1 of 2) After exiting the hobgoblin chamber, you can head down to the coast to find a Forgotten Rifstone and a chest,
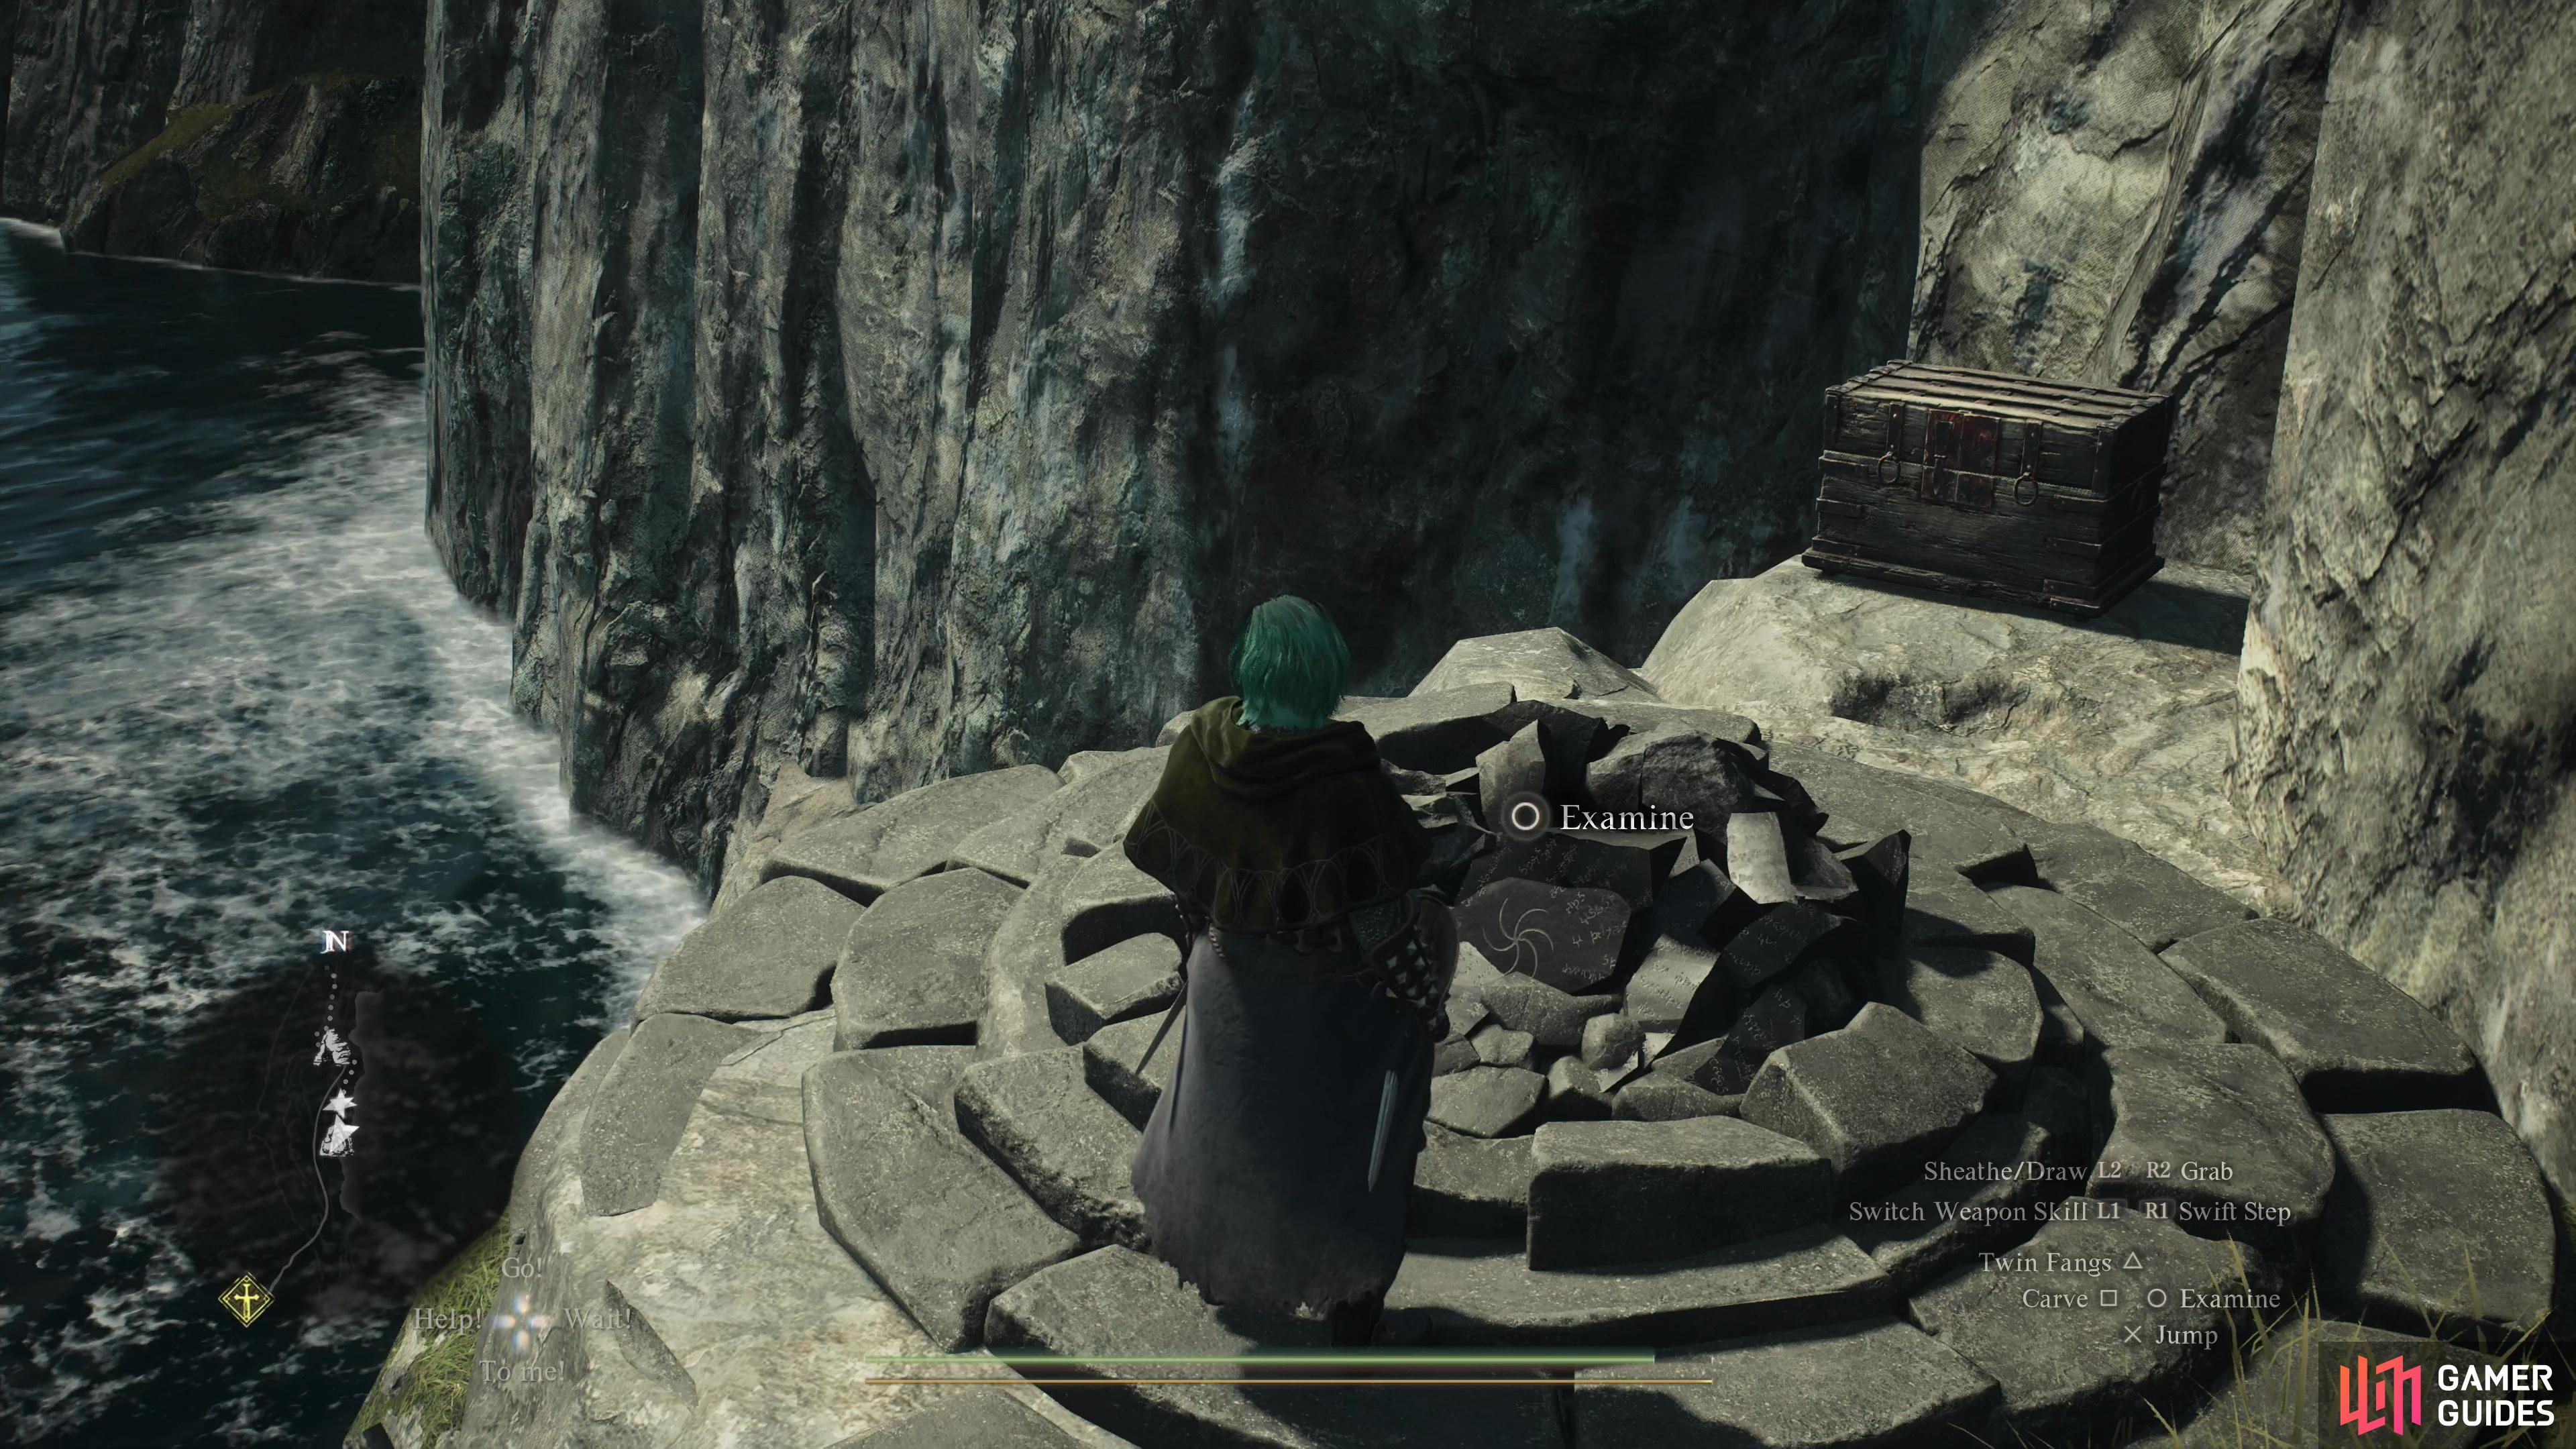
After exiting the hobgoblin chamber, you can head down to the coast to find a Forgotten Rifstone and a chest, (left), while if you ascend you’ll find venin harpies and their nests. (right)
Guerco Cavern Battahl Shortcut - Golem Cave
Now for a brief outdoor jaunt before you enter more caves. Technically you’re done with Guerco Cavern itself, but you’re less than a third of the way to Battahl. If you descend some ledges you’ll reach a Forgotten Rifstone and a chest containing a ![]() Ferrystone, while if you ascend you’ll end up near some harpy nests, where you’ll aggravate more venin harpies and the odd gore harpy.
Ferrystone, while if you ascend you’ll end up near some harpy nests, where you’ll aggravate more venin harpies and the odd gore harpy.

(1 of 2) To bring down the Golem you’ll need to climb and attack its blue weakspots.

To bring down the Golem you’ll need to climb and attack its blue weakspots. (left), Be careful when the Golem’s weakspots turn red, as this indicates the Golem has entered a rage state, where it’s much more dangerous. (right)
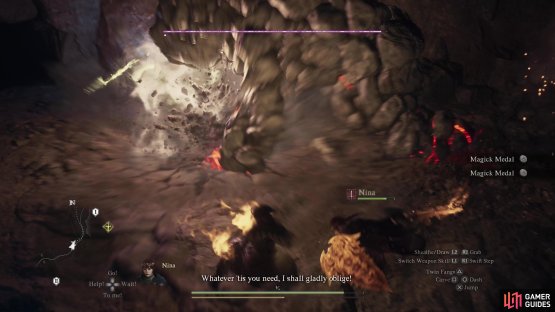
To continue on, make your way south and enter an unmarked cave to the southwest, where you’ll shortly find yourself in the company of ![]() Golems. Most of them are rubble, but one of them is still active and dangerous, and if you’re low level you may want to just run past this foe. To kill a Golem you have to destroy all the glowing blue spots on its body, some of which won’t be active until other weakspots have been destroyed. Generally, you want to try to destroy the glowing spots that are the most difficult to reach, first, as the Golem will go berserk when its health is low - its weakspots will turn red, and it’ll become much more aggressive and deal tremendous damage. Needless to say, you don’t want to deal with the Golem in this state for long. You can always flee the cave via the route you entered and wait for the Golem’s rage to subside. It’s completely unnecessary to defeat this enemy if you just want to reach Battahl but slaying it will allow you to loot its chamber in peace, and it drops numerous
Golems. Most of them are rubble, but one of them is still active and dangerous, and if you’re low level you may want to just run past this foe. To kill a Golem you have to destroy all the glowing blue spots on its body, some of which won’t be active until other weakspots have been destroyed. Generally, you want to try to destroy the glowing spots that are the most difficult to reach, first, as the Golem will go berserk when its health is low - its weakspots will turn red, and it’ll become much more aggressive and deal tremendous damage. Needless to say, you don’t want to deal with the Golem in this state for long. You can always flee the cave via the route you entered and wait for the Golem’s rage to subside. It’s completely unnecessary to defeat this enemy if you just want to reach Battahl but slaying it will allow you to loot its chamber in peace, and it drops numerous ![]() Magick Medals as its weakpoints are destroyed, which sell for a pretty penny.
Magick Medals as its weakpoints are destroyed, which sell for a pretty penny.
Assuming you defeat the Golem, loot a chest on the northern side of the room to score 2,730G, then if you can jump up onto the ledges above said chest, you’ll find another chest containing a ![]() Wakestone. Concussive Leap will make this easier to reach, but you can also jump onto the head of a deactivated Golem to give you enough height to reach the chest-bearing ledge with a running jump. This chest may be obscured by a breakable wall which may or may not be destroyed during your fight with the Golem. If not, there’s an explosive barrel nearby you can use to clear the stone. In addition to these two chests, you can find numerous ore veins you can mine.
Wakestone. Concussive Leap will make this easier to reach, but you can also jump onto the head of a deactivated Golem to give you enough height to reach the chest-bearing ledge with a running jump. This chest may be obscured by a breakable wall which may or may not be destroyed during your fight with the Golem. If not, there’s an explosive barrel nearby you can use to clear the stone. In addition to these two chests, you can find numerous ore veins you can mine.

(1 of 2) Avoid the coastal cliff path en route to the Cliffside Cave, but be wary of knackers hiding in ambush along the road.

Avoid the coastal cliff path en route to the Cliffside Cave, but be wary of knackers hiding in ambush along the road. (left), Enter Cliffside Cave and you can choose to fight a Chimera - target the goat head first to squelch its spellcasting. (right)
Guerco Cavern Battahl Shortcut - Cliffside Cave
Exit the Golem cave by ascending to the southwest when you’re ready and you’ll soon find yourself back outside. Back under the sky again your path will split, and while both can take you to your next destination, the narrow passage to the southeast will lead you along a narrow cliffside path while also exposing you to flocks of gore harpies. There’s a lot of opportunity for things to go wrong, especially with how dense pawns can be, and it’s safer to stick to the wider path running west and southwest until you reach the ![]() Cliffside Cave. Unlike the Golem cave, this one is actually marked, although it’s marked as a POI instead of an actual cave. Along the way you’ll have to find off knackers (a third-tier goblin, just ahead of choppers on the pecking order) hiding in ambush in the ledge-covered bushes along the path, but as annoying as they may be, they’re less bother than the gore harpies. The only real benefit to taking the coastal path is a chest containing 10x
Cliffside Cave. Unlike the Golem cave, this one is actually marked, although it’s marked as a POI instead of an actual cave. Along the way you’ll have to find off knackers (a third-tier goblin, just ahead of choppers on the pecking order) hiding in ambush in the ledge-covered bushes along the path, but as annoying as they may be, they’re less bother than the gore harpies. The only real benefit to taking the coastal path is a chest containing 10x ![]() Explosive Arrows, and you can find a side path branching off downhill to the east that leads to the
Explosive Arrows, and you can find a side path branching off downhill to the east that leads to the ![]() Bay Wayside Shrine - an abode of the Dragonforged. This is, frankly, outside the scope of our current exploration goals.
Bay Wayside Shrine - an abode of the Dragonforged. This is, frankly, outside the scope of our current exploration goals.
Enter the Cliffside Cave, assuming you didn’t take the coastal cliff path, in which case you’ll bypass this cave. Inside you should hear some roaring, which portends another optional fight against a dangerous foe. In a side chamber to the right, you’ll find a ![]() Chimera, and of the large foes you’ll encounter en route from Guerco Cavern to Battahl, this is the least of them in many ways. First and most importantly, this is the easiest large enemy to avoid - you aren’t even really running away from it, if you stay out of its lair, it shouldn’t aggro at all. The only way you should end up fighting the Chimera is if you choose to.
Chimera, and of the large foes you’ll encounter en route from Guerco Cavern to Battahl, this is the least of them in many ways. First and most importantly, this is the easiest large enemy to avoid - you aren’t even really running away from it, if you stay out of its lair, it shouldn’t aggro at all. The only way you should end up fighting the Chimera is if you choose to.
The Chimera is, for our money, also the weakest of these enemies. Comparisons to the ![]() Drake shouldn’t be needed, but while the Chimera is a more dynamic foe than the Golem, damaging it is more straightforward and its offensive output is significantly lower on a per-hit basis. It can bite, claw, and kick, the lion head can roar, the snake tail can breathe poison and the goat can cast a variety of spells, including seism. This makes the goat the primary target if you can manage it, as the Chimera is a much less bothersome enemy once its ability to cast spells has been removed. On the other hand, the chimera is a much less lucrative foe than the Golem, as its
Drake shouldn’t be needed, but while the Chimera is a more dynamic foe than the Golem, damaging it is more straightforward and its offensive output is significantly lower on a per-hit basis. It can bite, claw, and kick, the lion head can roar, the snake tail can breathe poison and the goat can cast a variety of spells, including seism. This makes the goat the primary target if you can manage it, as the Chimera is a much less bothersome enemy once its ability to cast spells has been removed. On the other hand, the chimera is a much less lucrative foe than the Golem, as its ![]() Freakish Manes are less numerous than the Golem’s Magick Medals. On the plus side, there are numerous ore veins you can mine in the Chimera’s chamber, making it a fine spot to stock up on uncommon minerals. You can also open an ornate chest to score a
Freakish Manes are less numerous than the Golem’s Magick Medals. On the plus side, there are numerous ore veins you can mine in the Chimera’s chamber, making it a fine spot to stock up on uncommon minerals. You can also open an ornate chest to score a ![]() Wakestone Shard.
Wakestone Shard.


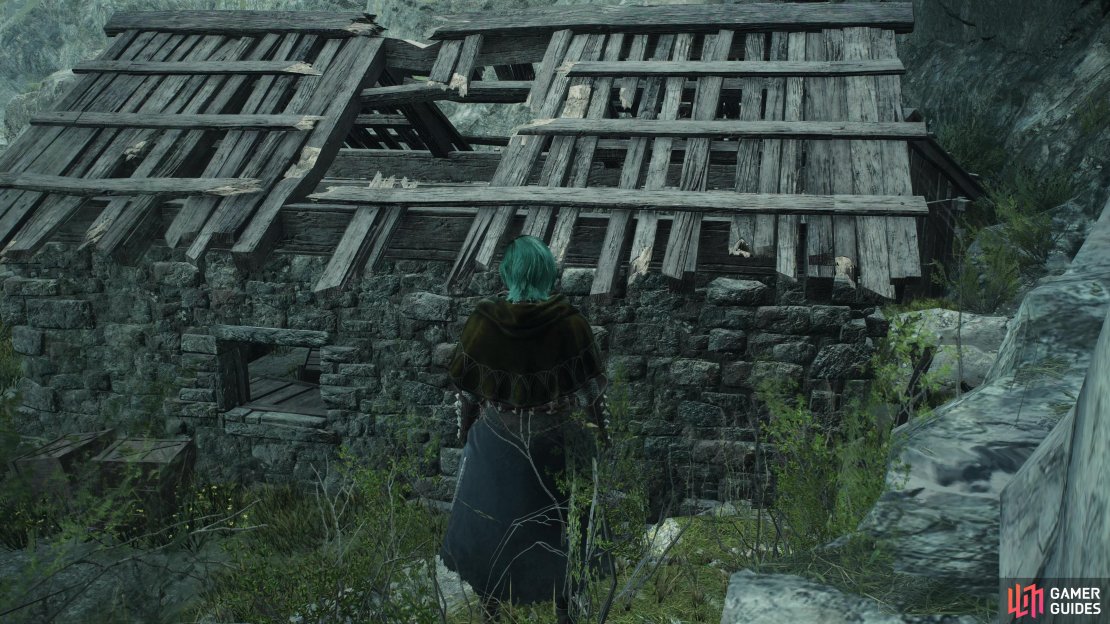
(1 of 5) The ruined village is occupied by lost mercenaries, who scale with the player and can end up surprisingly strong.
Guerco Cavern Battahl Shortcut - Ruined Village
Fight or avoid the Chimera, then exit the cave to the south… or continue along the coastal cliff path. Either route will lead you to a ruined village, where some ![]() Lost Mercenary enemies await. Don’t underestimate them, as they scale with the player’s level. You may not be fighting the 100-200 XP variants of these enemies, and they can deal unexpectedly high damage and may have high stagger thresholds. On the plus side you’ll find a campsite just beyond them, near a bridge, so if you need to rest up, this is an opportunity. Just be warned that resting will respawn enemies behind you, forcing you to fight your way back north if you plan to make a return trip on foot.
Lost Mercenary enemies await. Don’t underestimate them, as they scale with the player’s level. You may not be fighting the 100-200 XP variants of these enemies, and they can deal unexpectedly high damage and may have high stagger thresholds. On the plus side you’ll find a campsite just beyond them, near a bridge, so if you need to rest up, this is an opportunity. Just be warned that resting will respawn enemies behind you, forcing you to fight your way back north if you plan to make a return trip on foot.
Now for the looting. Just north of the village look northwest to find a path up into the mountains. Climb your way up and loot a chest to the right to obtain an ![]() Emergent Vitality, then continue uphill and scale a rock to find a Seeker’s Token. Enter the village and turn your attention to the houses. In the southernmost house, you can find a chest with 2x
Emergent Vitality, then continue uphill and scale a rock to find a Seeker’s Token. Enter the village and turn your attention to the houses. In the southernmost house, you can find a chest with 2x ![]() White-Leather Kerchiefs while in the eastern house, you’ll find an ornate chest containing a
White-Leather Kerchiefs while in the eastern house, you’ll find an ornate chest containing a ![]() Dragon’s Gaze. To get into the eastern house you’ll need to shoot the barred door through a window or get on some nearby rocks and jump on the roof, then drop down through a hole in said roof.
Dragon’s Gaze. To get into the eastern house you’ll need to shoot the barred door through a window or get on some nearby rocks and jump on the roof, then drop down through a hole in said roof.
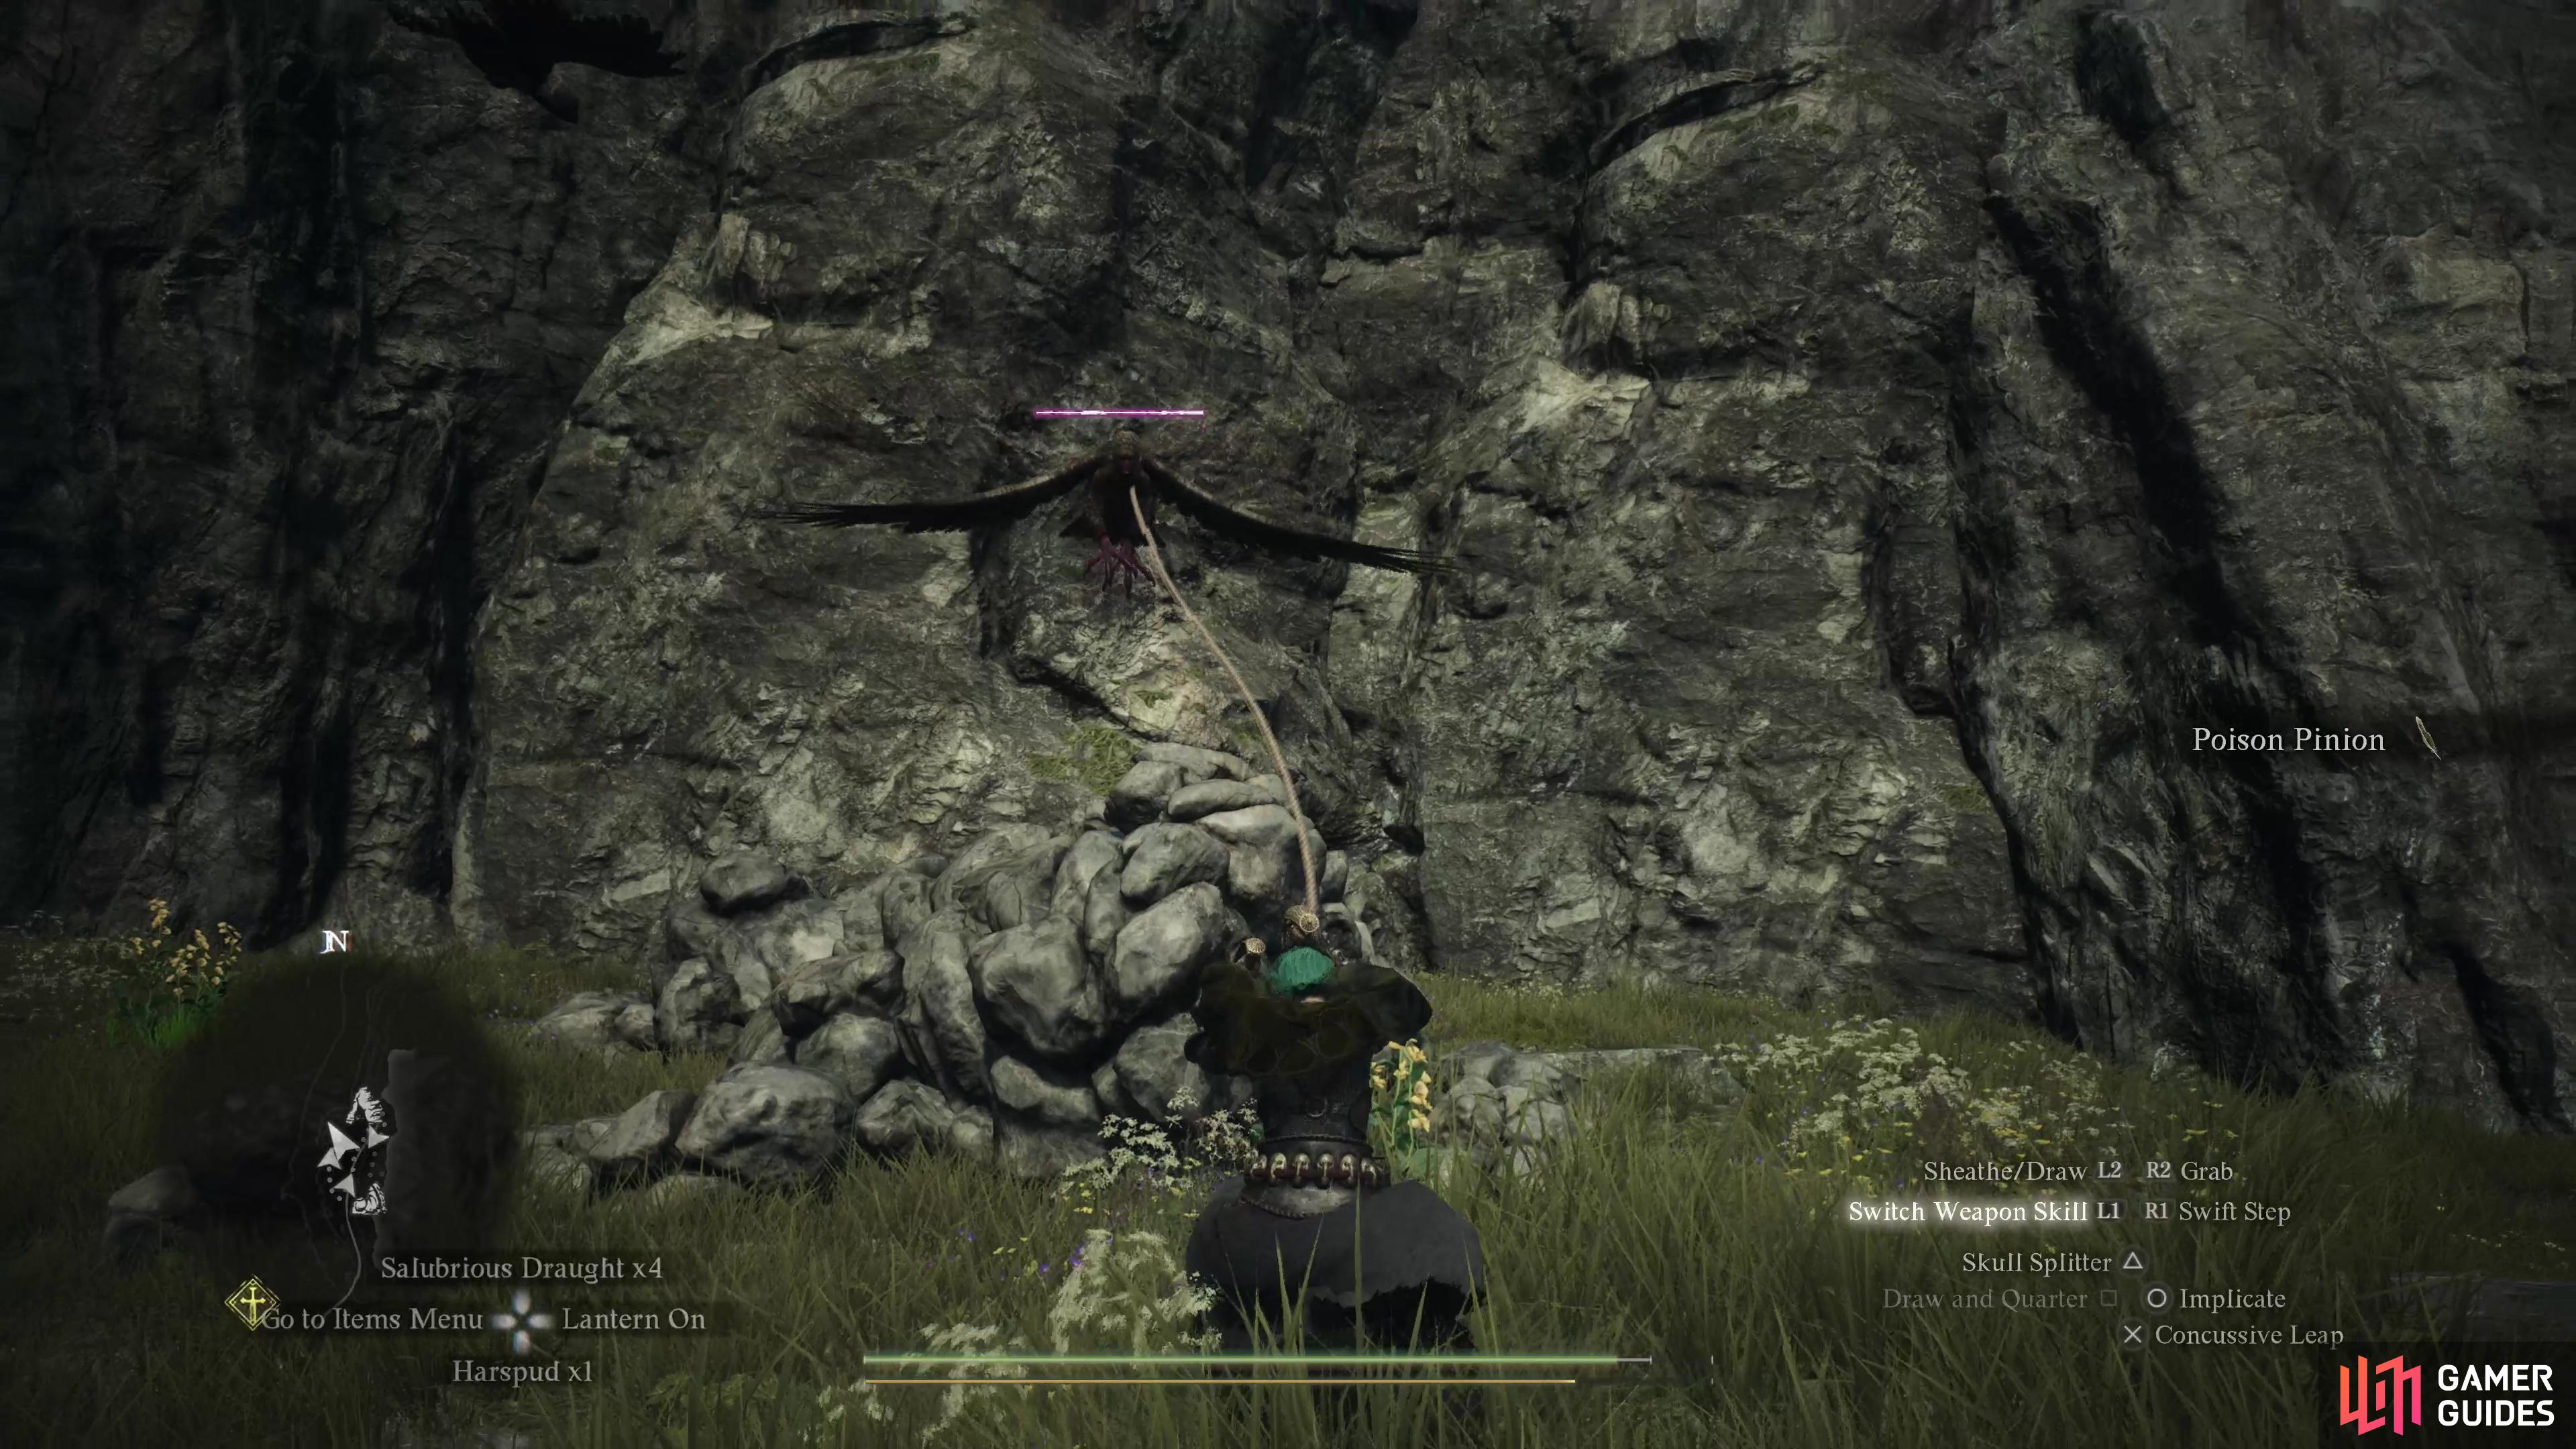
Before you press on, it’s worth noting there are two other optional enemy encounters in the area, but you have to go out of your way for them. First is a griffin which roams the skies in the area. It shouldn’t pester you in the ruined village, but it is prone to making an appearance if you venture east to the Bay Wayside Shrine. A bit more mercurial than the chimera, but still solidly in the camp of “you shouldn’t end up fighting this monster if you don’t want to”. Next is a ![]() Dullahan, who can sometimes spawn on the bridge south of the ruined village. It’ll generally only appear near dawn, so if it’s not night out you won’t see it, and even then, the ominous red fog makes it easy to spot. Another enemy you have to want to fight - if you want to avoid it, just wait it out.
Dullahan, who can sometimes spawn on the bridge south of the ruined village. It’ll generally only appear near dawn, so if it’s not night out you won’t see it, and even then, the ominous red fog makes it easy to spot. Another enemy you have to want to fight - if you want to avoid it, just wait it out.


(1 of 2) Reach the coast at the end of the Guerco Mountain Road and turn southwest to spot some ledges leading up.

Reach the coast at the end of the Guerco Mountain Road and turn southwest to spot some ledges leading up. (left), Ascend these ledges and follow the linear path uphill to reach Bakbattahl. (right)
The Road to Bakbattahl
Cross the bridge and you’ll be relieved to know that you’re almost done with this trek. Don’t let the map lie to you, there’s a lot of nothing between you and Battahl at this point. Shortly you’ll reach a fork, and if you want to get to Bakbattahl with minimal fuss, head southeast, while if your appetite for adventure isn’t quite sated yet, head southwest into a cave. The “cave” doesn’t last long before opening up to the sky, whereupon you’ll find yourself shortly passing under high ground occupied by Red Wolves (tier two wolves native to Battahl). If you climb up to the grassy heights occupied by wolves you can find a statue with an ornate chest near it, within which you’ll find a Wakestone Shard. Abandon the high ground and continue south along the path and you’ll enter a second cave, this one occupied by oozes. Drop down to the left and you’ll be in a small chamber with another ooze and a great number of ore veins. But you might have to throw a mage pawn down here, as they’re often too stupid to follow you. Climb back up and keep going south and you’ll find yourself at a dead end looking down at the road that leads up to Bakbattahl. Gravity is not your friend and picking your way down is perilous, so you’re better off returning to the fork and taking the southeastern path.
The southeastern path is significantly less complicated - follow the linear route ahead and if you see any opportunities to veer left and explore the coast, don’t. Unless you want to pick fights with gore harpies and rattlers, there’s no reason to fuss around near the coast. Instead, when the path you’re on opens up near the coast, turn right and climb some ledges to find a trail leading south and southwest into the mountains. All you have to do is keep ascending and the grey rock of Vermund will give way to the reddish stone of Battahl, and eventually, you’ll emerge in Bakbattahl.
It’s a long, perilous trip, but you should have emerged with a good bit more XP and materials. More importantly, you now have access to Bakbattahl, including its higher-end shops with more potent weapons and armor than can be found in Vermund. If you have a ![]() Portcrystal to spare, deploy it in Bakbattahl somewhere so you don’t have to make the trek through Guerco Cavern again - Bakbattahl surprisingly doesn’t have a native Portcrystal. If you avoid resting and don’t stay too long, the way back through Guerco Cavern should be clear, but a Ferrystone will also suffice.
Portcrystal to spare, deploy it in Bakbattahl somewhere so you don’t have to make the trek through Guerco Cavern again - Bakbattahl surprisingly doesn’t have a native Portcrystal. If you avoid resting and don’t stay too long, the way back through Guerco Cavern should be clear, but a Ferrystone will also suffice.
No Comments