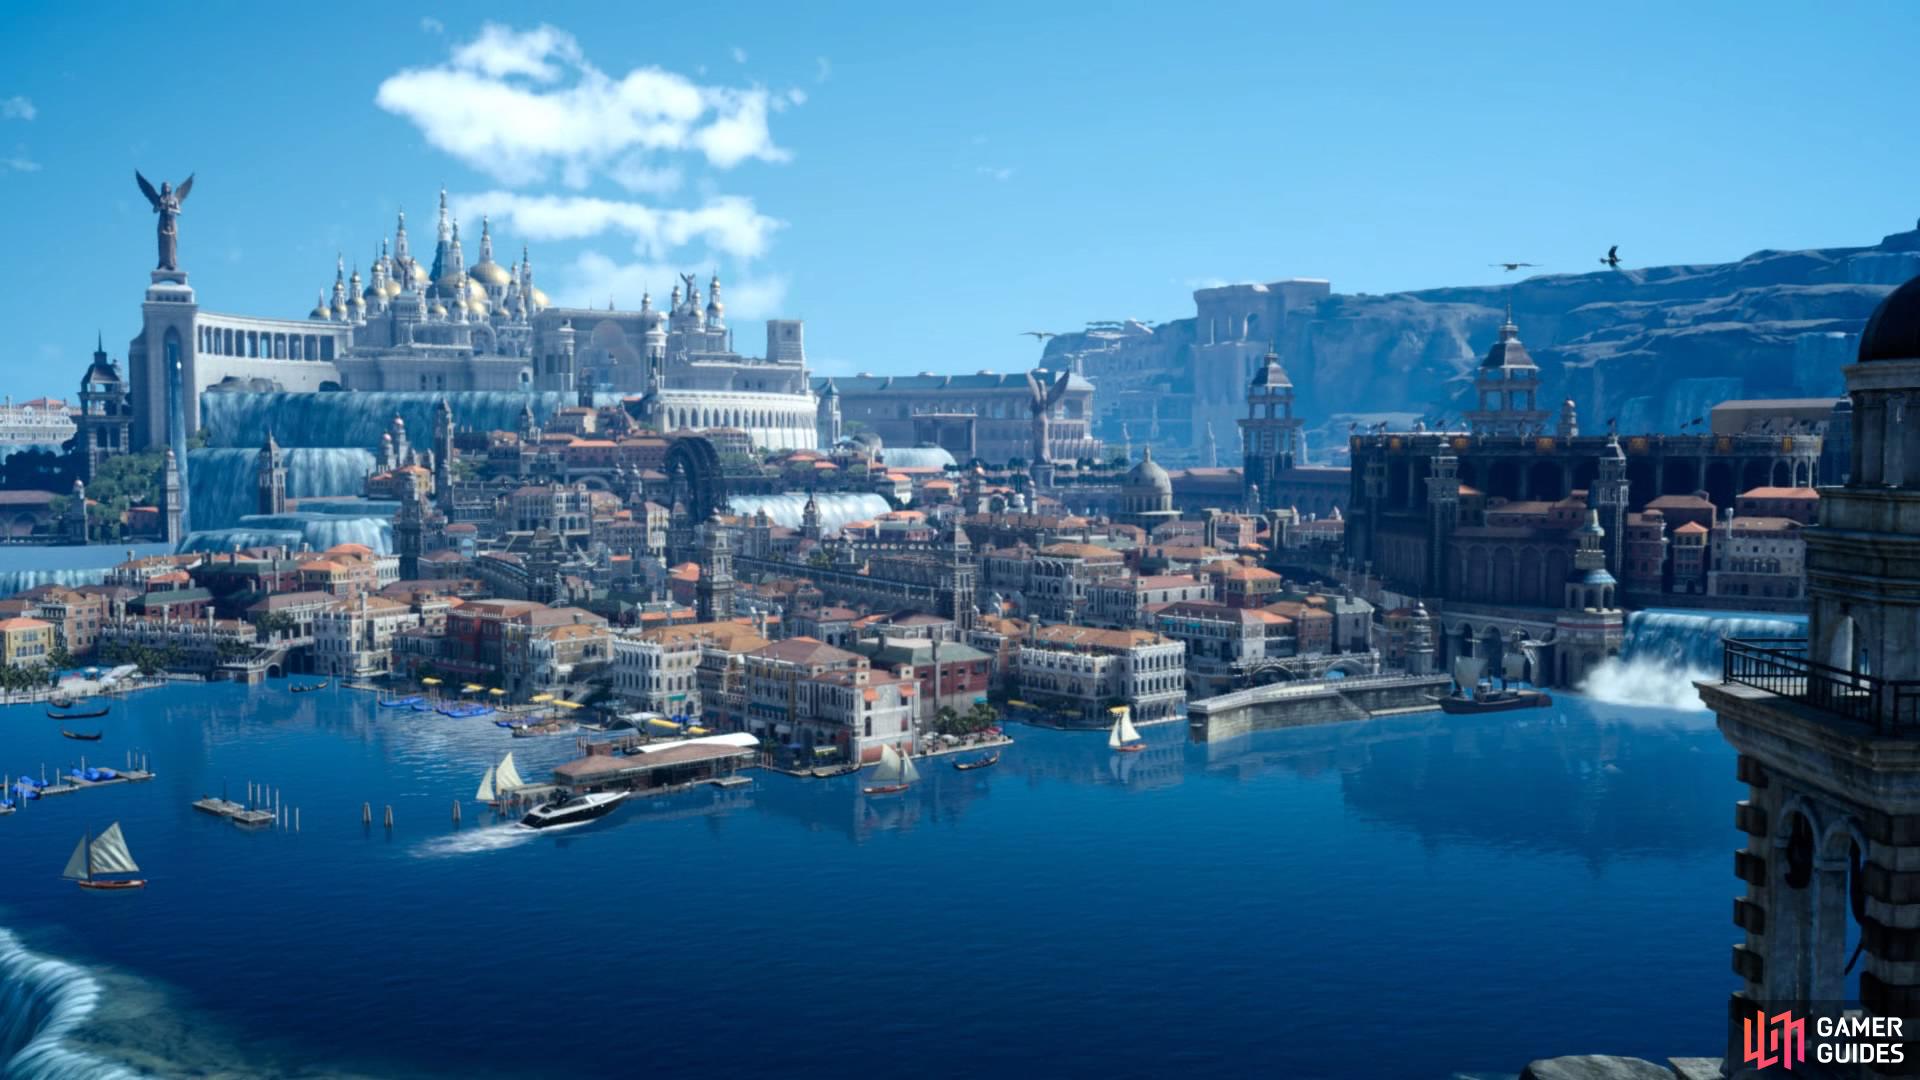
One of the most memorable cities in a Final Fantasy ever and well worth the wait.
Arriving in Altissia
As you sail to Altissia, your companions will use the opportunity to discuss Luna, the Ring of Lucis, Ravus and the task ahead. The battle with Leviathan looms ahead, and it’s doubtful the empire will ignore the opportunity to interfere. After the boys are done talking, Cid will pick up the conversation and chatter until you reach Altissia, along the way mentioning some man named Weskham who you should seek out when you arrive.
Cid’ll get you through one checkpoint with an old permit, but once you’re off the boat he won’t prove so adept a second time. As you pass through another checkpoint a Gatekeeper will stop you, and Noctis, as usual, has no ready answer. You’ll have to lean on either Cid or Ignis to get you past, and if you choose Cid he’ll prove almost as inept at Ignis, ending up getting raked for 3,000 Gil - which you’ll have to refund him. Pick Ignis and save yourself some money, then continue on into Altissia.
The party will discuss politics as they sail to Altissia (left). Make sure you lean on Ignis at the security checkpoint to avoid being robbed (right).
Your main goal is to make your way to the Maagho Restaurant and talk to Weskham. On your way, however, there’s a whole lot of a city explore, shopping to do, photo-ops to take advantage of, fishing, Justice Monsters V and perhaps some gambling at the local bloodsport arena.
First head north-east and, near a bridge, you’ll encounter two women talking about Luna’s dress, which is apparently on display. Like all red-blooded males, your party naturally wants to go check out this wedding dress, hence starting the quest “Symbol of the Peace” . One more thing to do while you explore Altissia.
Return south-west to the dock by which you entered Altissia and from there continue south-west to find the Port Station Gondola Station. You don’t have the Regalia and Altissia is just big enough to warrant fast-traveling, a need that gondolas satisfy quite well in Venice… er… Altissia. Best of all, they’re free! You’ll need to use one of these to reach your ultimate destination (Floating Market Station - Maagho), so if you can’t be bothered to explore Altissia… well, just take a boat ride to Maagho.
San Ello Plaza Fishing Spot
Head back to the dock by which you entered Altissia and turn south-east down an alley, and when the alley ends turn south-west to find the San Ello Plaza Fishing Spot. New waters mean new fish, and new fist often call for new lures, but you can probably nap some Lucinian Sea Bass if you’re up to the challenge.
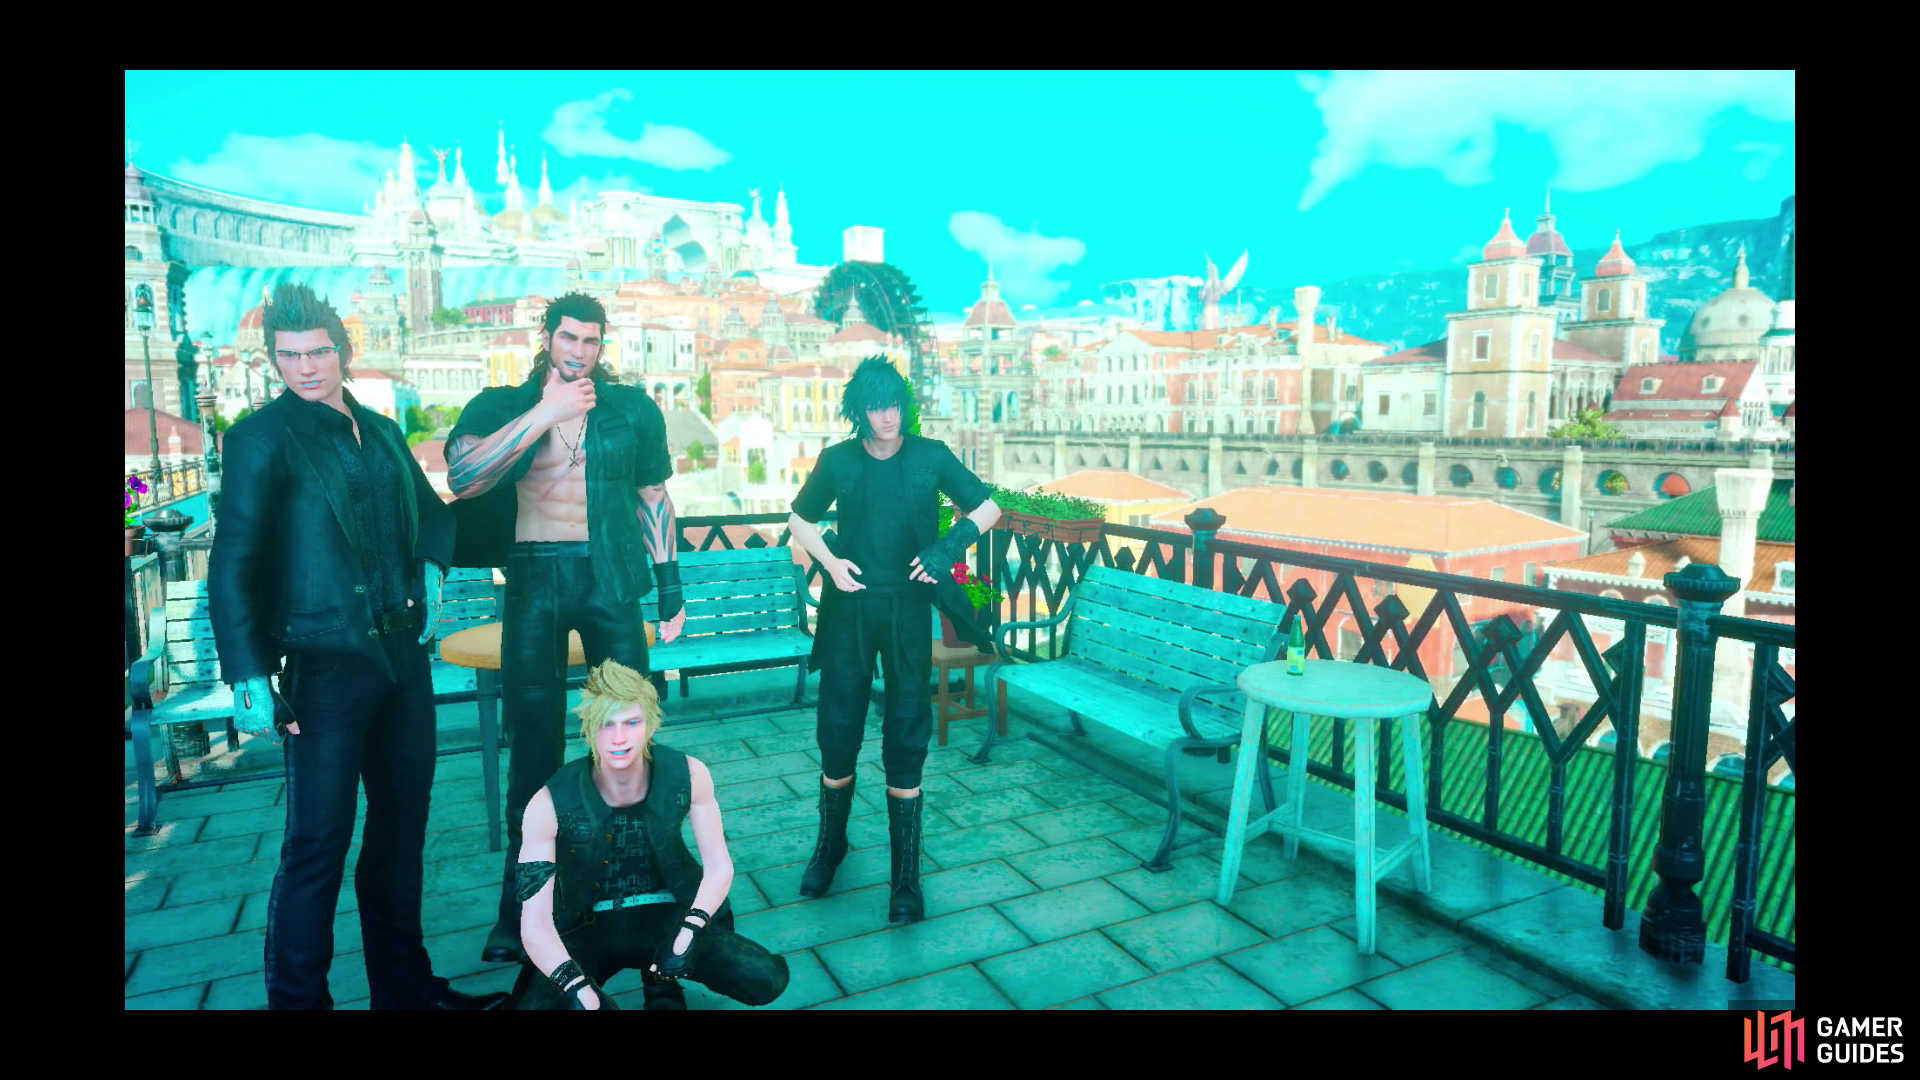
When you’re done fishing, make your way to the north-eastern end of this island and cross a bridge to the south-east to reach another, smaller island. From here head to the north-eastern corner of this island and Prompto should bug you about a nearby photo-op, staring the quest “Photo-Op: Bar” . Unfortunately for him, you’ll have to make it to Maagho to satisfy this request, so put it on the back-burner for now.
Purgola Canal Fishing Spot
From the north-eastern corner of this island turn north-east to find another bridge you can cross to another island. Do so and stick to the eastern coast to find the Ministerial Quarter Station Gondola Station. Continue further north-east along the coast and you’ll discover the Purgola Canal Fishing Spot. You can nab a variety of Sea Bass here, if you care to fish.
Carliano
Make your way north-west to the island north of the one you arrived on and search the eastern shore to find the Carliano store, which specializes in accessories. Buy anything you might need (if anything), but don’t spend too much, as there are more stores ahead.
Carliano (Accessories)
| Item | Price |
|---|---|
| Bulletproof Vest | 5,000 Gil |
| Fireproof Inners | 3,000 Gil |
| Warm Inners | 3,000 Gil |
| Insulated Inners | 3,000 Gil |
| Titanium Bangle | 2,500 Gil |
| Heliodore Bracelet | 2,000 Gil |
| Talisman | 1,500 Gil |
| Knight’s Anklet | 2,500 Gil |
| Oracle Card | 2,500 Gil |
After disembarking at Altissia, you’ll overhear some women talking about Luna’s wedding dress (left). New cities mean new merchants, and new merchants mean a new Cactuar for Talcott (right).
JM Market - Altissia
The lower four islands have been covered, so now it’s time to turn your attention further north, to a larger island. Continue north-east to reach the north-western corner of the island with the Carliano store on it to find a bridge that crosses the canal. Shortly beyond this bridge is another shop, JM Market - Altissia. While it may not have the signature red truck like most of these stores in Lucis had, the JM Market in Altissia still offers a variety of wares, just like you’d come to expect.
Aside from being one of the rare stores that sells Ethers and Remedies, they sell a variety of car parts, including a super-expensive Superhydrophobic Coating. If you’ve got more gil than sense and want your car to stay sparkly, you can pick up this mod. If you’re an audiophile you can also grab Memories of FF TYPE-0, and the usual assortment of decals - albeit somewhat more expensive than you may be used to.
You can also buy a variety of fishing supplies, including any variety of line, the new Stormer model of lures as well as the absurdly expensive Gemlight: Caster Carbuncle lure, which will drop you back 3,000 gil. Last and least is the Cactuar Sculpture Key Item, which will also cost you 3,000 gil.
JM Market - Altissia (Items)
| Item | Price |
|---|---|
| Potion | 50 Gil |
| Hi-Potion | 100 Gil |
| Elixir | 400 Gil |
| Hi-Elixir | 800 Gil |
| Phoenix Down | 1,000 Gil |
| Antidote | 10 Gil |
| Gold Needle | 50 Gil |
| Smelling Salts | 50 Gil |
| Maiden’s Kiss | 100 Gil |
| Ether | 100 Gil |
| Remedy | 500 Gil |
| Power EX | 500 Gil |
| Mettle VX | 500 Gil |
| Spirit ZX | 500 Gil |
| Verve WX | 500 Gil |
JM Market - Altissia (Auto Parts)
| Item | Price |
|---|---|
| Armory on Wheels | 6,000 Gil |
| Caution: Wild Beasts Sticker | 1,000 Gil |
JM Market - Altissia (Key Items)
| Item | Price |
|---|---|
| Iron Shelf Recipes, Vol. 7 | 2,000 Gil |
As you explore Altissia, Prompto will inform you of photo-ops around town (left). Visit The Leville to meet Gentiana, who will now allow you to use Umbra to travel between the past and present (right).
The Leville
Continue north-east from the JM Market - Altissia but keep your attention turned to the south-east, as you’ll find The Leville - the only rest stop in Altissia. The only one you can make us of, anyways. Head inside and you’ll meet Gentiana and Umbra.
From this point on, whenever you rest anywhere that isn’t a campground (save for a few future story resting spots) you’ll get the ability to “Call Umbra”, whom you can use to “Travel to past Lucis”… or, if you’re already in Lucis, you can pick the option “Return to the present” to return to Altissia. This is your way of traveling between Lucis and Altissia for now, and it’s handy if you’ve got unfinished business in Lucis. If you’ve been following this guide, however, and completed the dungeons and sidequests primarily in chapters three and eight, you shouldn’t need to bother traveling about until post-game.
As for The Leville itself, it should be pointed out that there are two receptionists here. Clones! Anyways, one offers the typical service of 300 gil for a 1.5x experience bonus, while the other offers the more luxurious “Royal Suite” which costs 30,000 gil, but grants a whopping 3x experience boost. If you find yourself with a massive surplus of experience, throwing down some gil The Leville can really help you maximize your gains.
Photo Ops and Fishing Spots
Leave The Leville and continue north-east to find The Leville Station Gondola Station, which you can use to travel about, of course. You may have had Prompto bug you for a few more photo-ops now, including Photo-Op: Dock, and if that’s the case, feel free to use the gondola to travel to the Altissia Docks Gondola Station, north of which is the Gondola Marina Fishing Spot. You can, of course, also satiate Prompto’s photo desires by letting him snap a photo here.
| Objective | Reward |
|---|---|
| For indulging Prompto | EXP 400 |
Culless Munitions - Altissia
Once you’re done messing around with Noctis’s fishing hobby (again) and Prompto’s photo obsession (again), return to The Leville and from there head south-west back to JM Market - Altissia. From there, continue south-west to the stairs that lead to the bridge connecting this island to the island with the Carliano store. Don’t go on the stairs, however, continue south-west beside them until you reach the waterfront, at which point turn south-east an go through a tunnel. When it ends, turn north-east and you’ll find more stairs - neglect these ones, too, and instead walk through another tunnel beside them to find another merchant, the proprietor of Culless Munitions - Altissia.
What’s shady about buying weapons from a secluded boat? Nothing! She sells a variety of weapons, many of them new, although few of them compare to what you could have already found or purchased earlier. Still, they may be useful for their various properties (life leech, midair damage boosts, elemental effects, etc).
Culless Munitions - Altissia
| Item | Price |
|---|---|
| Blood Sword | 5,000 Gil |
| Thunderbolt | 5,000 Gil |
| Wyvern Lance | 5,000 Gil |
| Delta Daggers | 5,000 Gil |
| Flame Gun | 5,000 Gil |
| Hero’s Shield | 5,000 Gil |
Head back through the tunnel and climb the stairs near the Culless Munitions - Altissia shop (from which you bought those totally legal weapons!). Atop these stairs you’ll find yourself at a small plaza with a octagonal fountain in its center, from which are multiple branching paths. If you head down a roofed bridge to the south-east you’ll find yourself on a larger island south-east of the ones you’ve previously explored. While this may be one of your quest destinations, there’s more sight-seeing and shopping to do, first.
Instead, head up some stairs to the north-east to reach the Port West Station Gondola Station, which will take you further north-east to a larger plaza on the outskirts of the palace.
| Objective | Reward |
|---|---|
| For indulging Prompto | EXP 400 |


 Sign up
No Comments