
During your first trip from ![]() Melve and its environs to the capital city of
Melve and its environs to the capital city of ![]() Vernworth you’ll likely see many tantalizing opportunities for adventure just off the beaten path. These will likely include two caves south of the road, beyond easy reach, but with undeployed ladders teasing future egress if only you could reach those heights. This dungeon - the
Vernworth you’ll likely see many tantalizing opportunities for adventure just off the beaten path. These will likely include two caves south of the road, beyond easy reach, but with undeployed ladders teasing future egress if only you could reach those heights. This dungeon - the ![]() Cavern of the Forsaken - is one of many optional dungeons found in
Cavern of the Forsaken - is one of many optional dungeons found in ![]() Dragon’s Dogma 2, and while completely extraneous, the loot and XP you can earn by exploring these dungeons often makes it a job well worth doing! This page will provide a walkthrough for the Cavern of the Forsaken, including how to enter the cave, what enemies you’ll encounter dwelling within, and the treasure you can expect to find along the way.
Dragon’s Dogma 2, and while completely extraneous, the loot and XP you can earn by exploring these dungeons often makes it a job well worth doing! This page will provide a walkthrough for the Cavern of the Forsaken, including how to enter the cave, what enemies you’ll encounter dwelling within, and the treasure you can expect to find along the way.
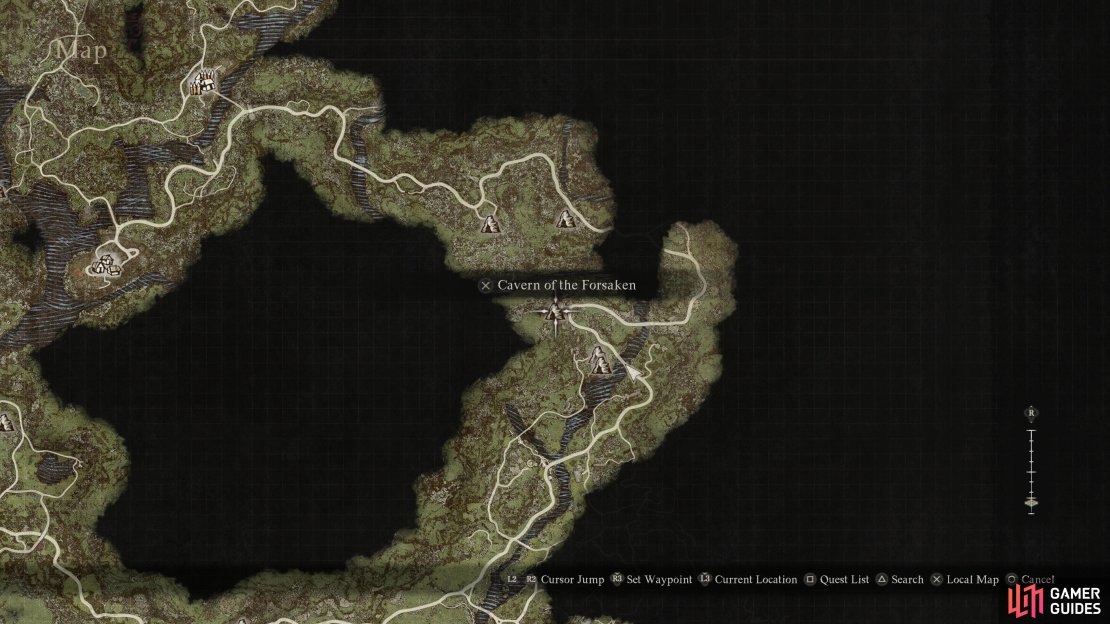

(1 of 3) The location of the Cavern of the Forsaken on the map.
Cavern of the Forsaken Dungeon Location - Dragon’s Dogma 2
There are no fewer than three entrances to the Cavern of the Forsaken, and only one of them - the southernmost one - is initially accessible, with the other two only becoming available after you’ve reached them by going through the dungeon and kicking ladders down. To find the entrance, you’ll need to follow the main road from Melve to Vernworth, and when the road reaches its easternmost extent it’ll turn south before veering west again. A bridge will span a river, beyond which the road will continue west - the entrance to the cave can be found on the western end of this strip of road.
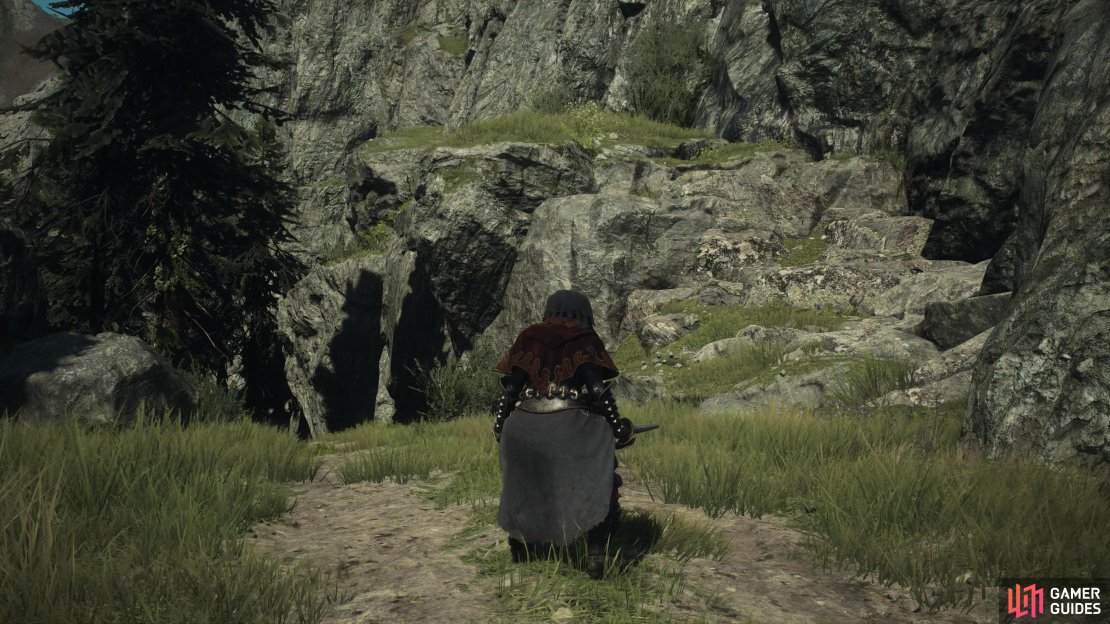
To reach it, keep your eyes to the north and you’ll find a strip of land running along and above the road. Get up there - you should find a rocky slope you can ascend just after crossing the bridge and rounding a corner - and continue west on this strip of high ground. Beware of harpies as you go, however, as they’re thick in these mountains and would love nothing more than to pluck you off your perch and send you crashing into the road below. Follow the ledge long enough and you should find the ![]() Riftstone of the Straightforward, where you’ll exclusively find pawns with the Straightforward inclination. The entrance to the Cavern of the Forsaken is just northwest of this riftstone.
Riftstone of the Straightforward, where you’ll exclusively find pawns with the Straightforward inclination. The entrance to the Cavern of the Forsaken is just northwest of this riftstone.
Cavern of the Forsaken Treasure and Enemies
| Treasure | Enemies |
|---|---|


(1 of 2) The southern half of the Cavern of the Forsaken is occupied by saurians.
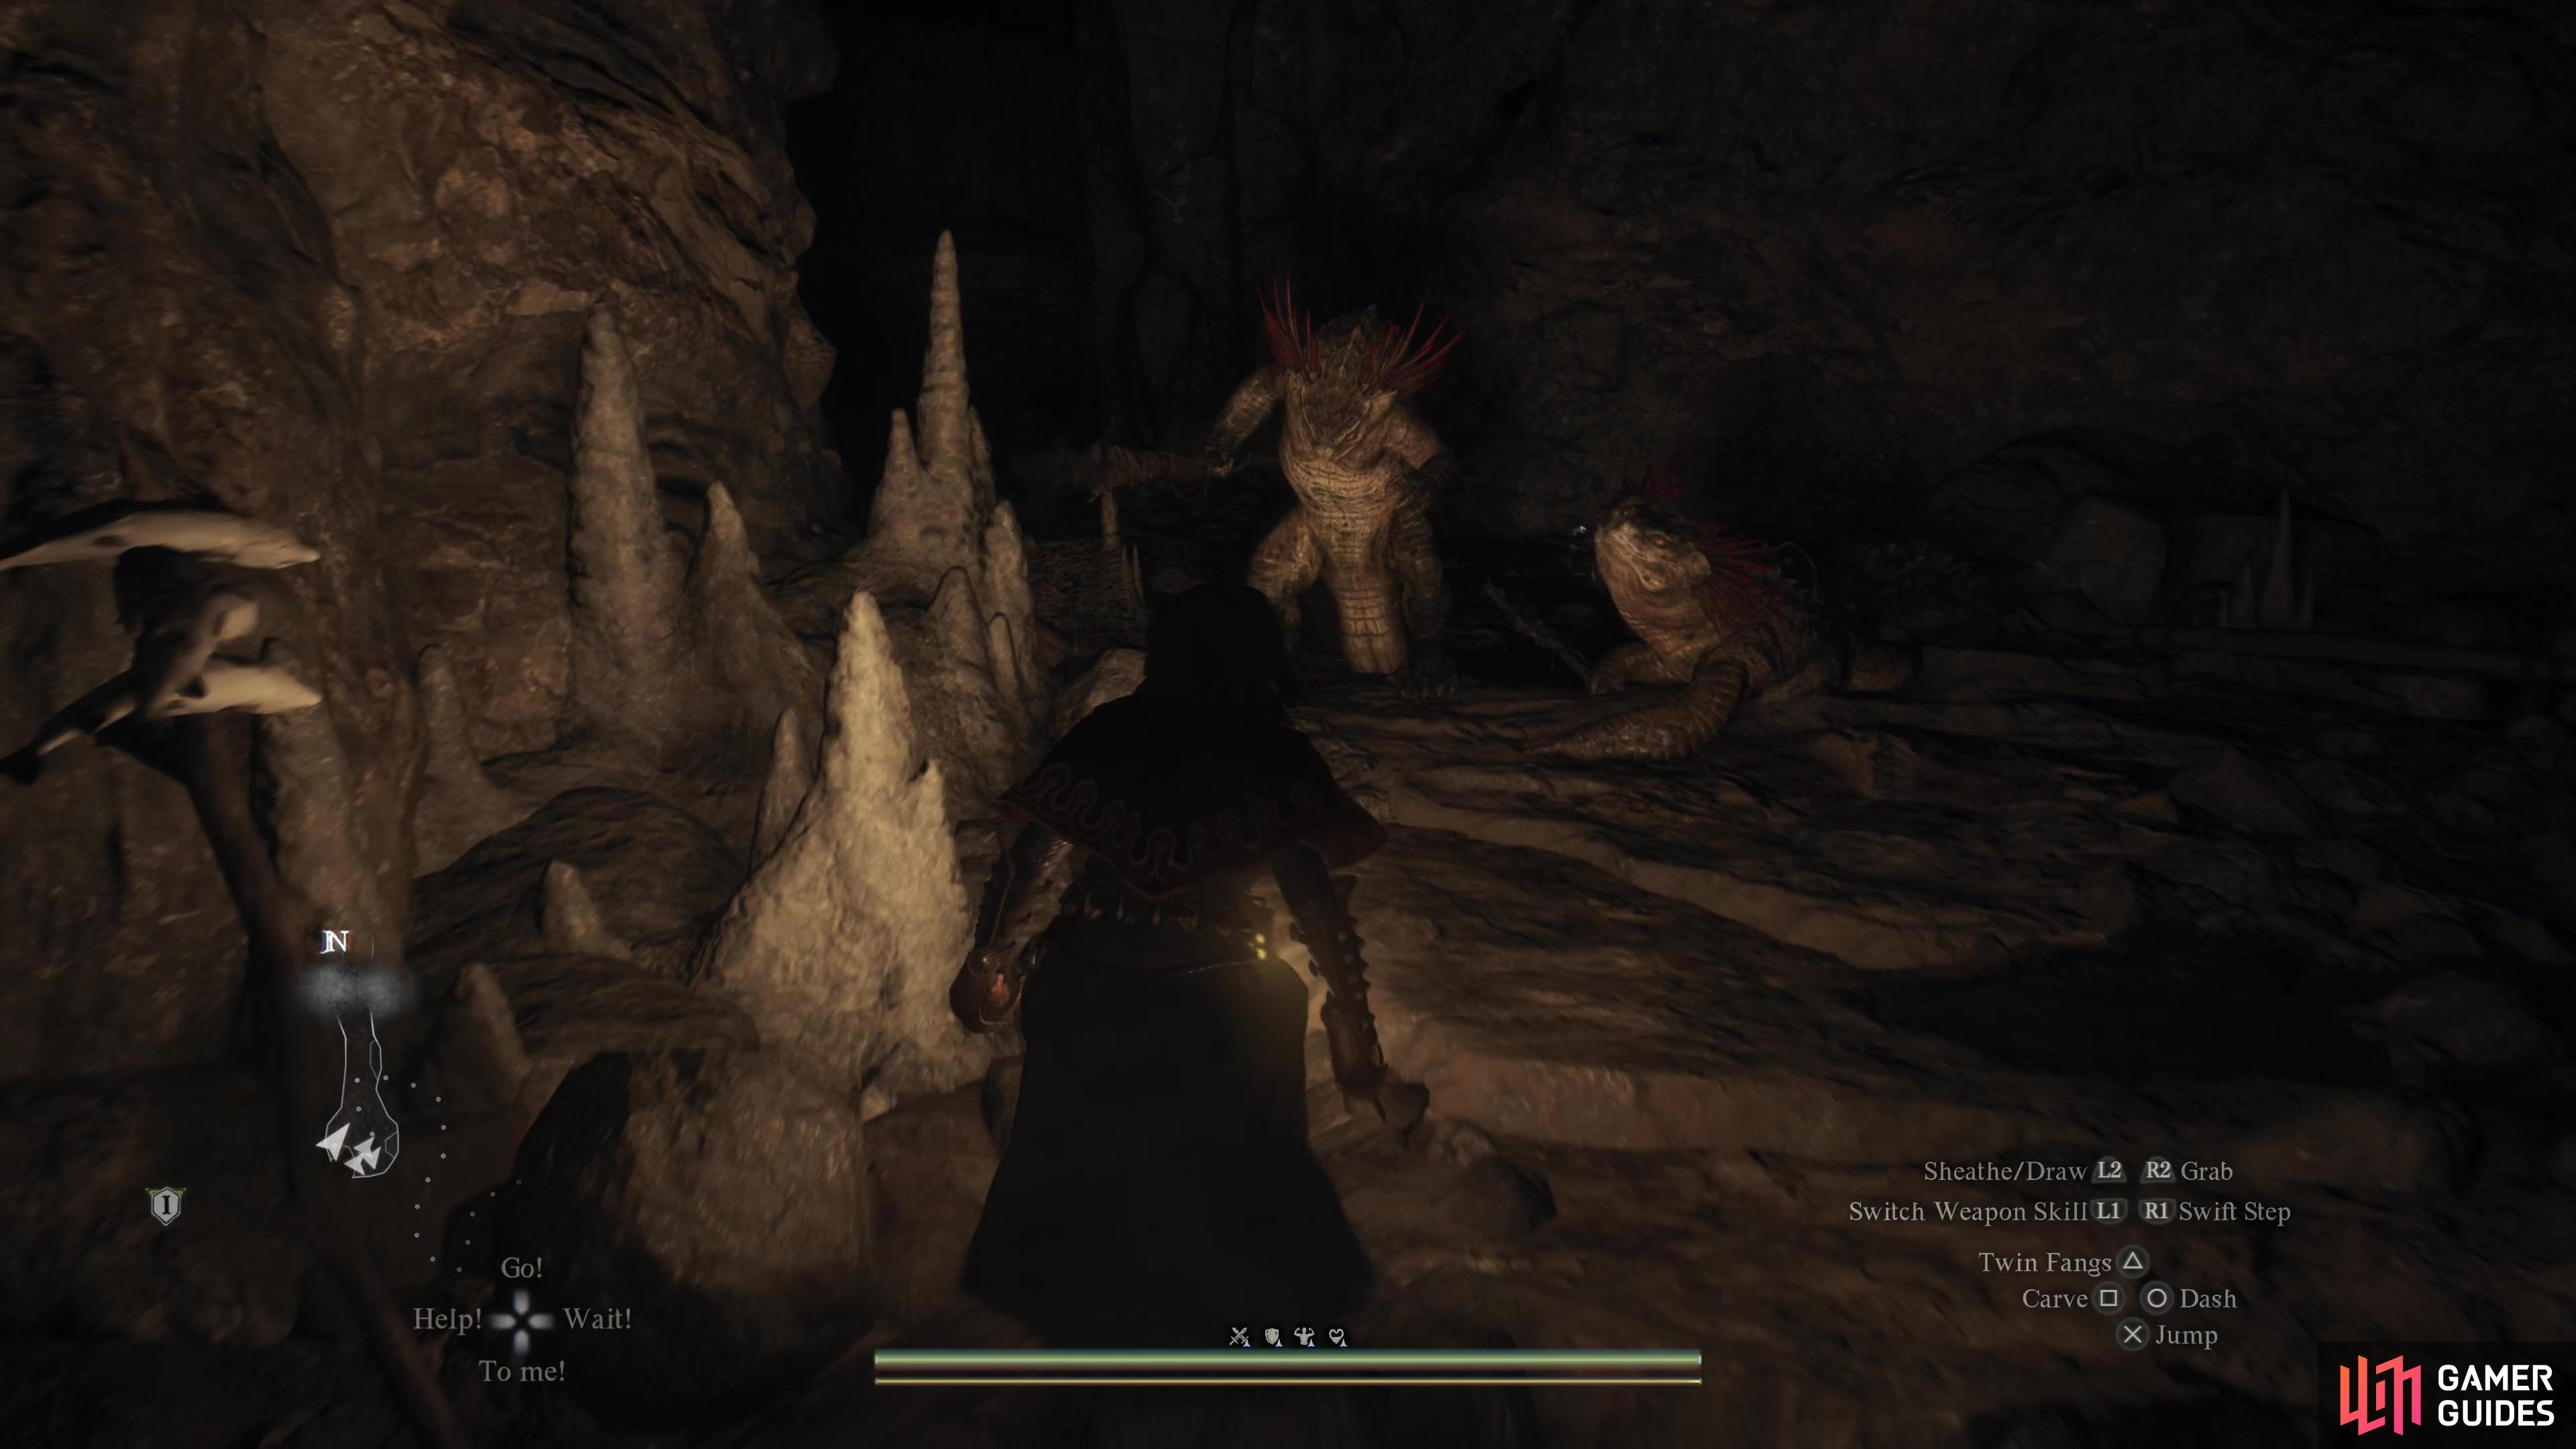

The southern half of the Cavern of the Forsaken is occupied by saurians. (left), Fight your way through the cave until you reach a mountain stream, where you’ll find two chests - the ornate chest houses a Hunter’s Bow. (right)
Cavern of the Forsaken Treasure - Hunter’s Bow
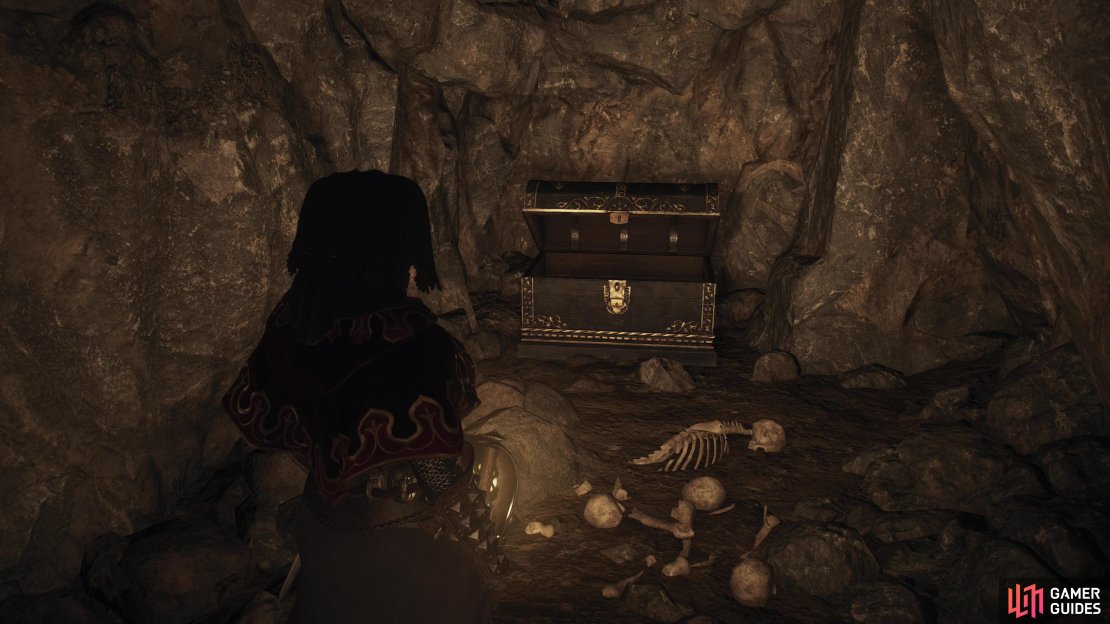
Enter the Cavern of the Forsaken and follow the linear path north and east, scrambling over uneven terrain when you must and keeping an eye out for ore veins. When the passage turns south, climb some ledges to find a chest (![]() Dried Meat). Turn south and scramble up some ledges until you find your first cave occupants - a pair of
Dried Meat). Turn south and scramble up some ledges until you find your first cave occupants - a pair of ![]() Saurians. Be wary of the explosive barrels lying around as you dispatch these foes, then continue north until you find yourself outside at a mountain stream. Kill any Saurians lurking about, then turn right (east) to find a common chest and an ornate chest, housing a
Saurians. Be wary of the explosive barrels lying around as you dispatch these foes, then continue north until you find yourself outside at a mountain stream. Kill any Saurians lurking about, then turn right (east) to find a common chest and an ornate chest, housing a ![]() Panacea and a
Panacea and a ![]() Hunter’s Bow, respectively.
Hunter’s Bow, respectively.
To the north, you’ll find that the cave continues on, but before you enter this new stretch of cave, you might want to save - a powerful foe lies within, and it can prove quite a fight for lower-level parties.
If you decide to brave the second half of the cave, venture north, and - after downing another sleeping saurian on a ledge - you’ll come to an ![]() Ogre in a narrow ravine. There’s not a whole lot of room to maneuver unless you get past the brute and onto the ledge above, where you’ll find the odd explosive barrel you can use to soften up your foe. This doesn’t make the fight easy, but it can prove useful in a pinch.
Ogre in a narrow ravine. There’s not a whole lot of room to maneuver unless you get past the brute and onto the ledge above, where you’ll find the odd explosive barrel you can use to soften up your foe. This doesn’t make the fight easy, but it can prove useful in a pinch.
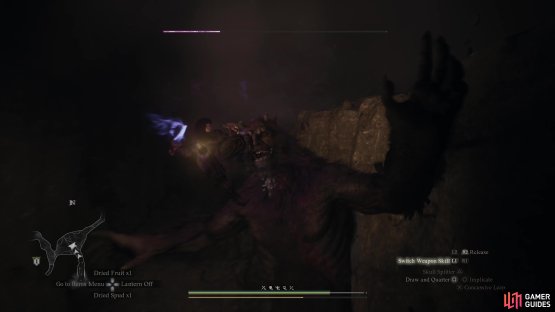

(1 of 2) In the second half of the Cavern of the Forsaken you’ll need to do battle with an ogre in a ravine.
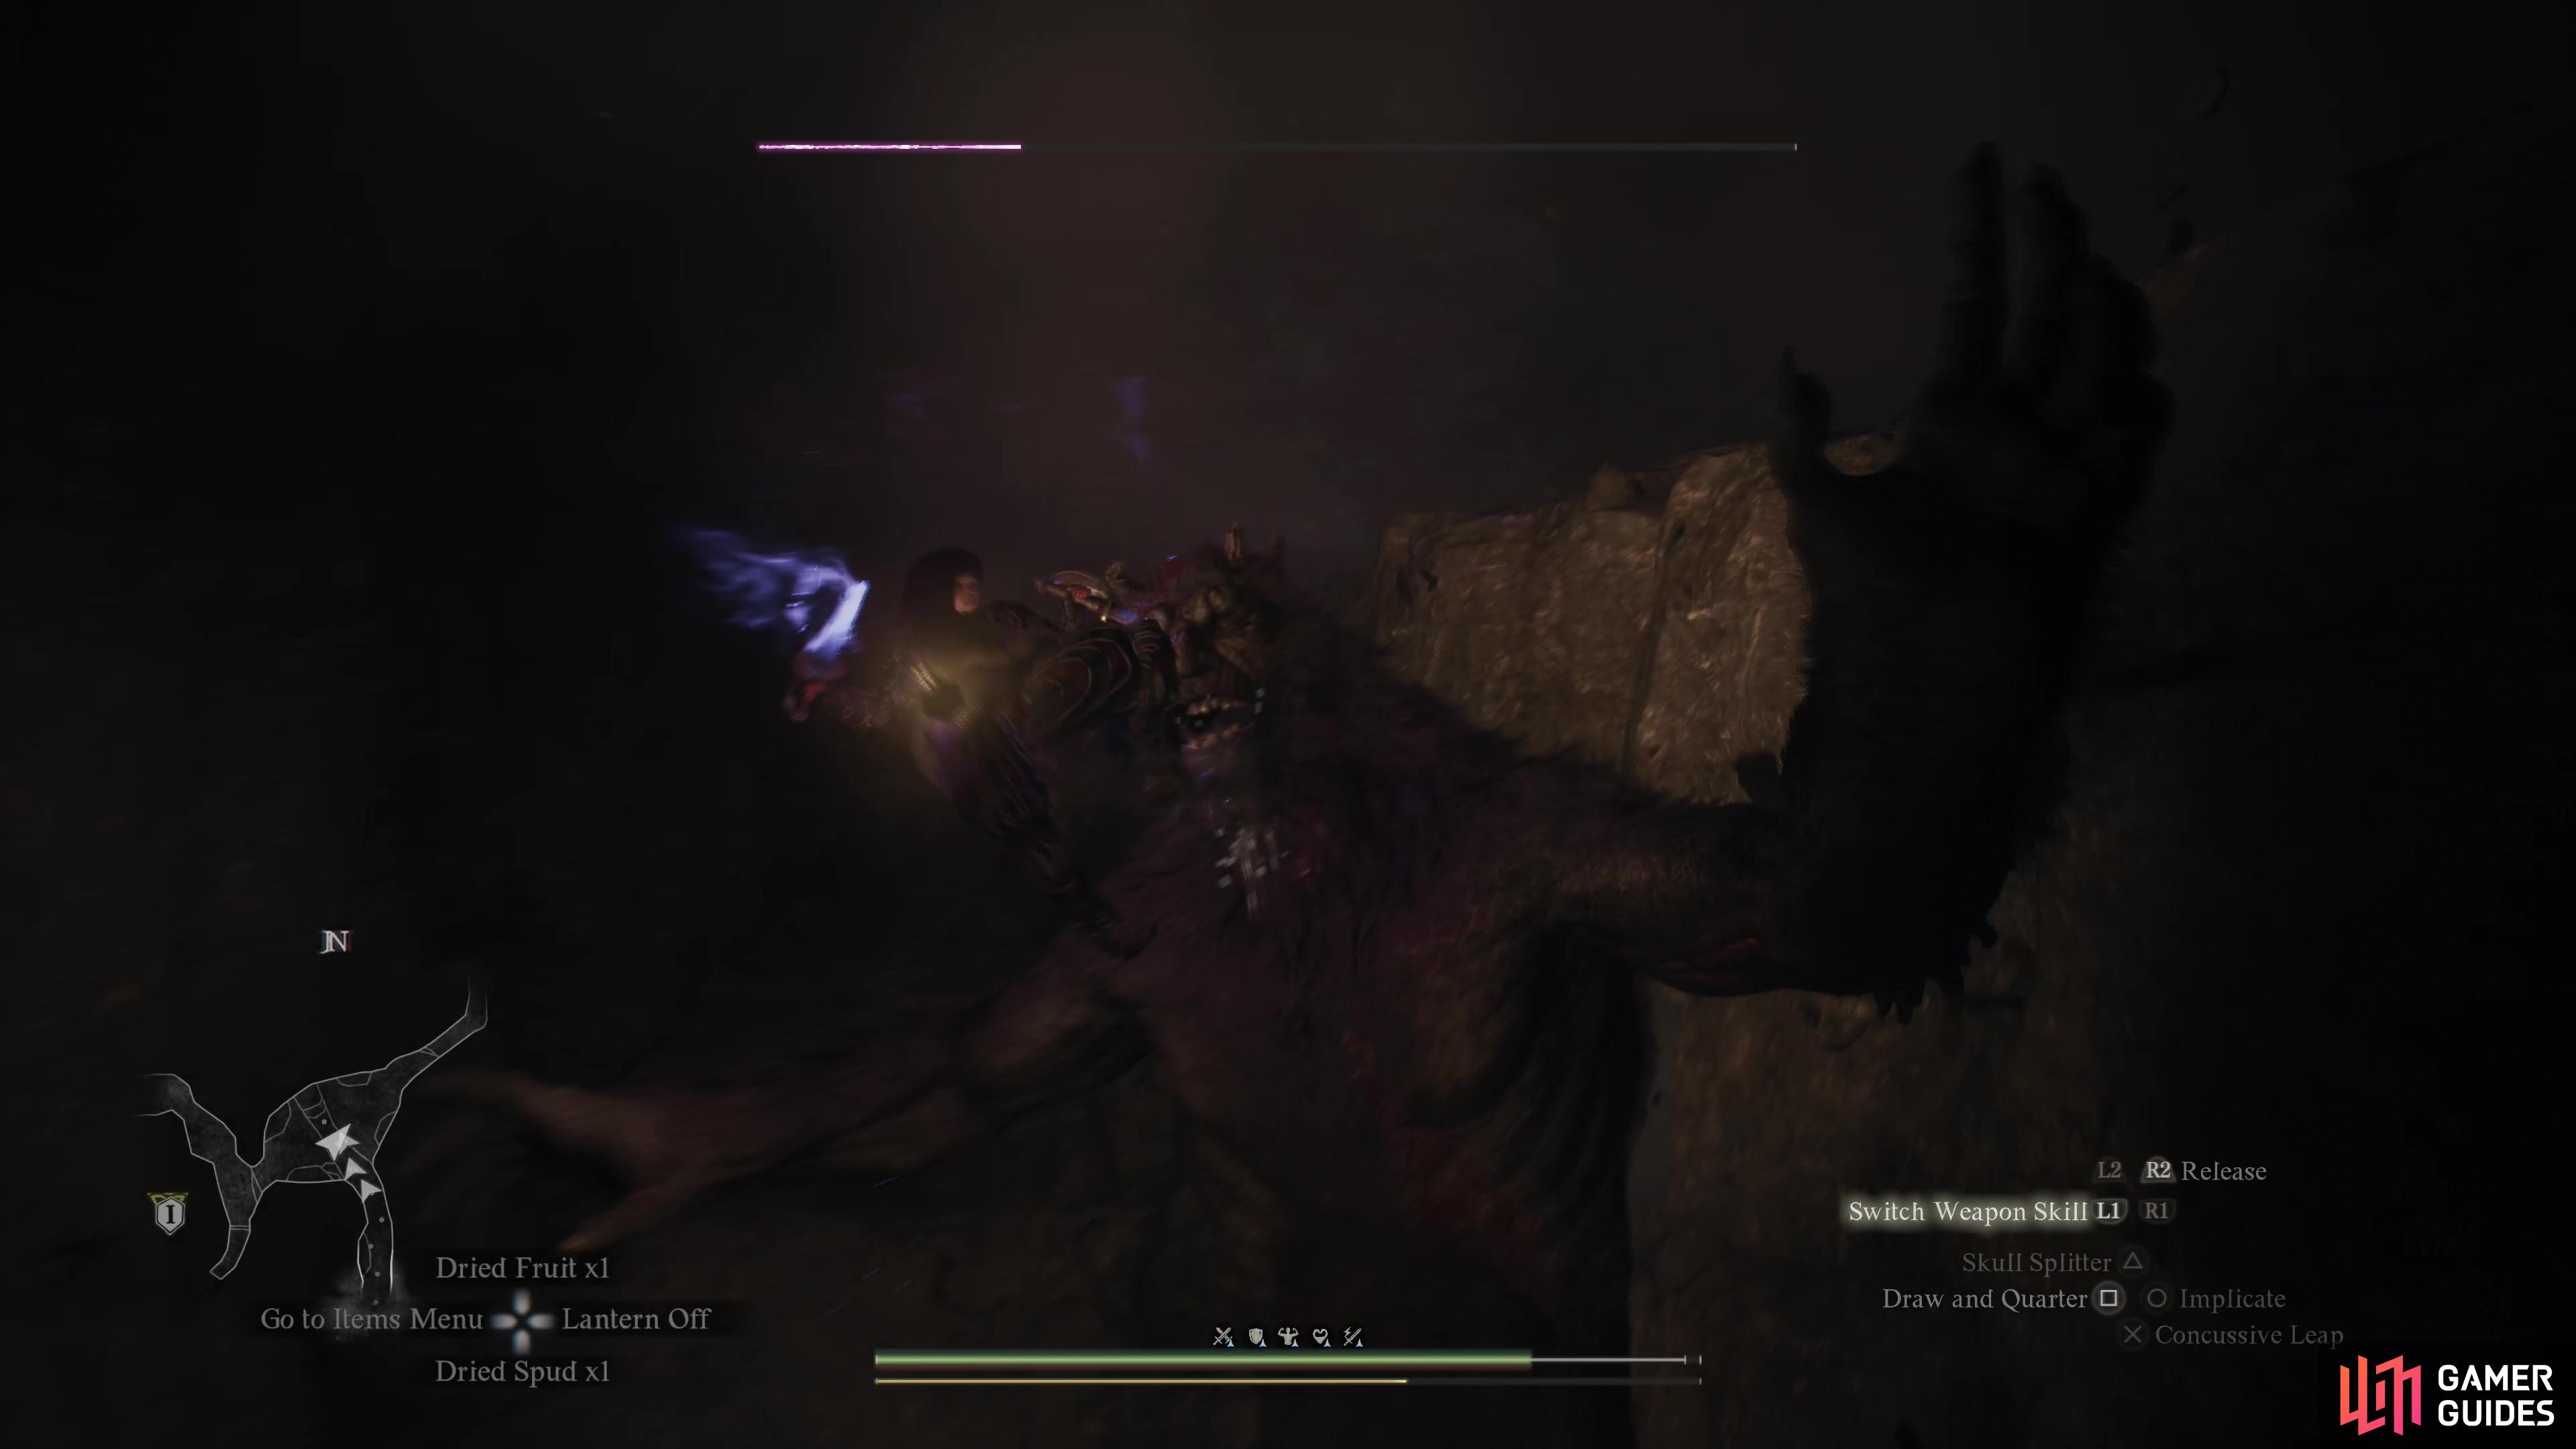
In the second half of the Cavern of the Forsaken you’ll need to do battle with an ogre in a ravine. (left), If you follow the high ground northeast of the ogre ravine you’ll find yourself back outside. Grab a Seeker’s Token and kick down a ladder to create a shortcut. (right)
Seeker’s Token and Ladder Shortcut - Cavern of the Forsaken
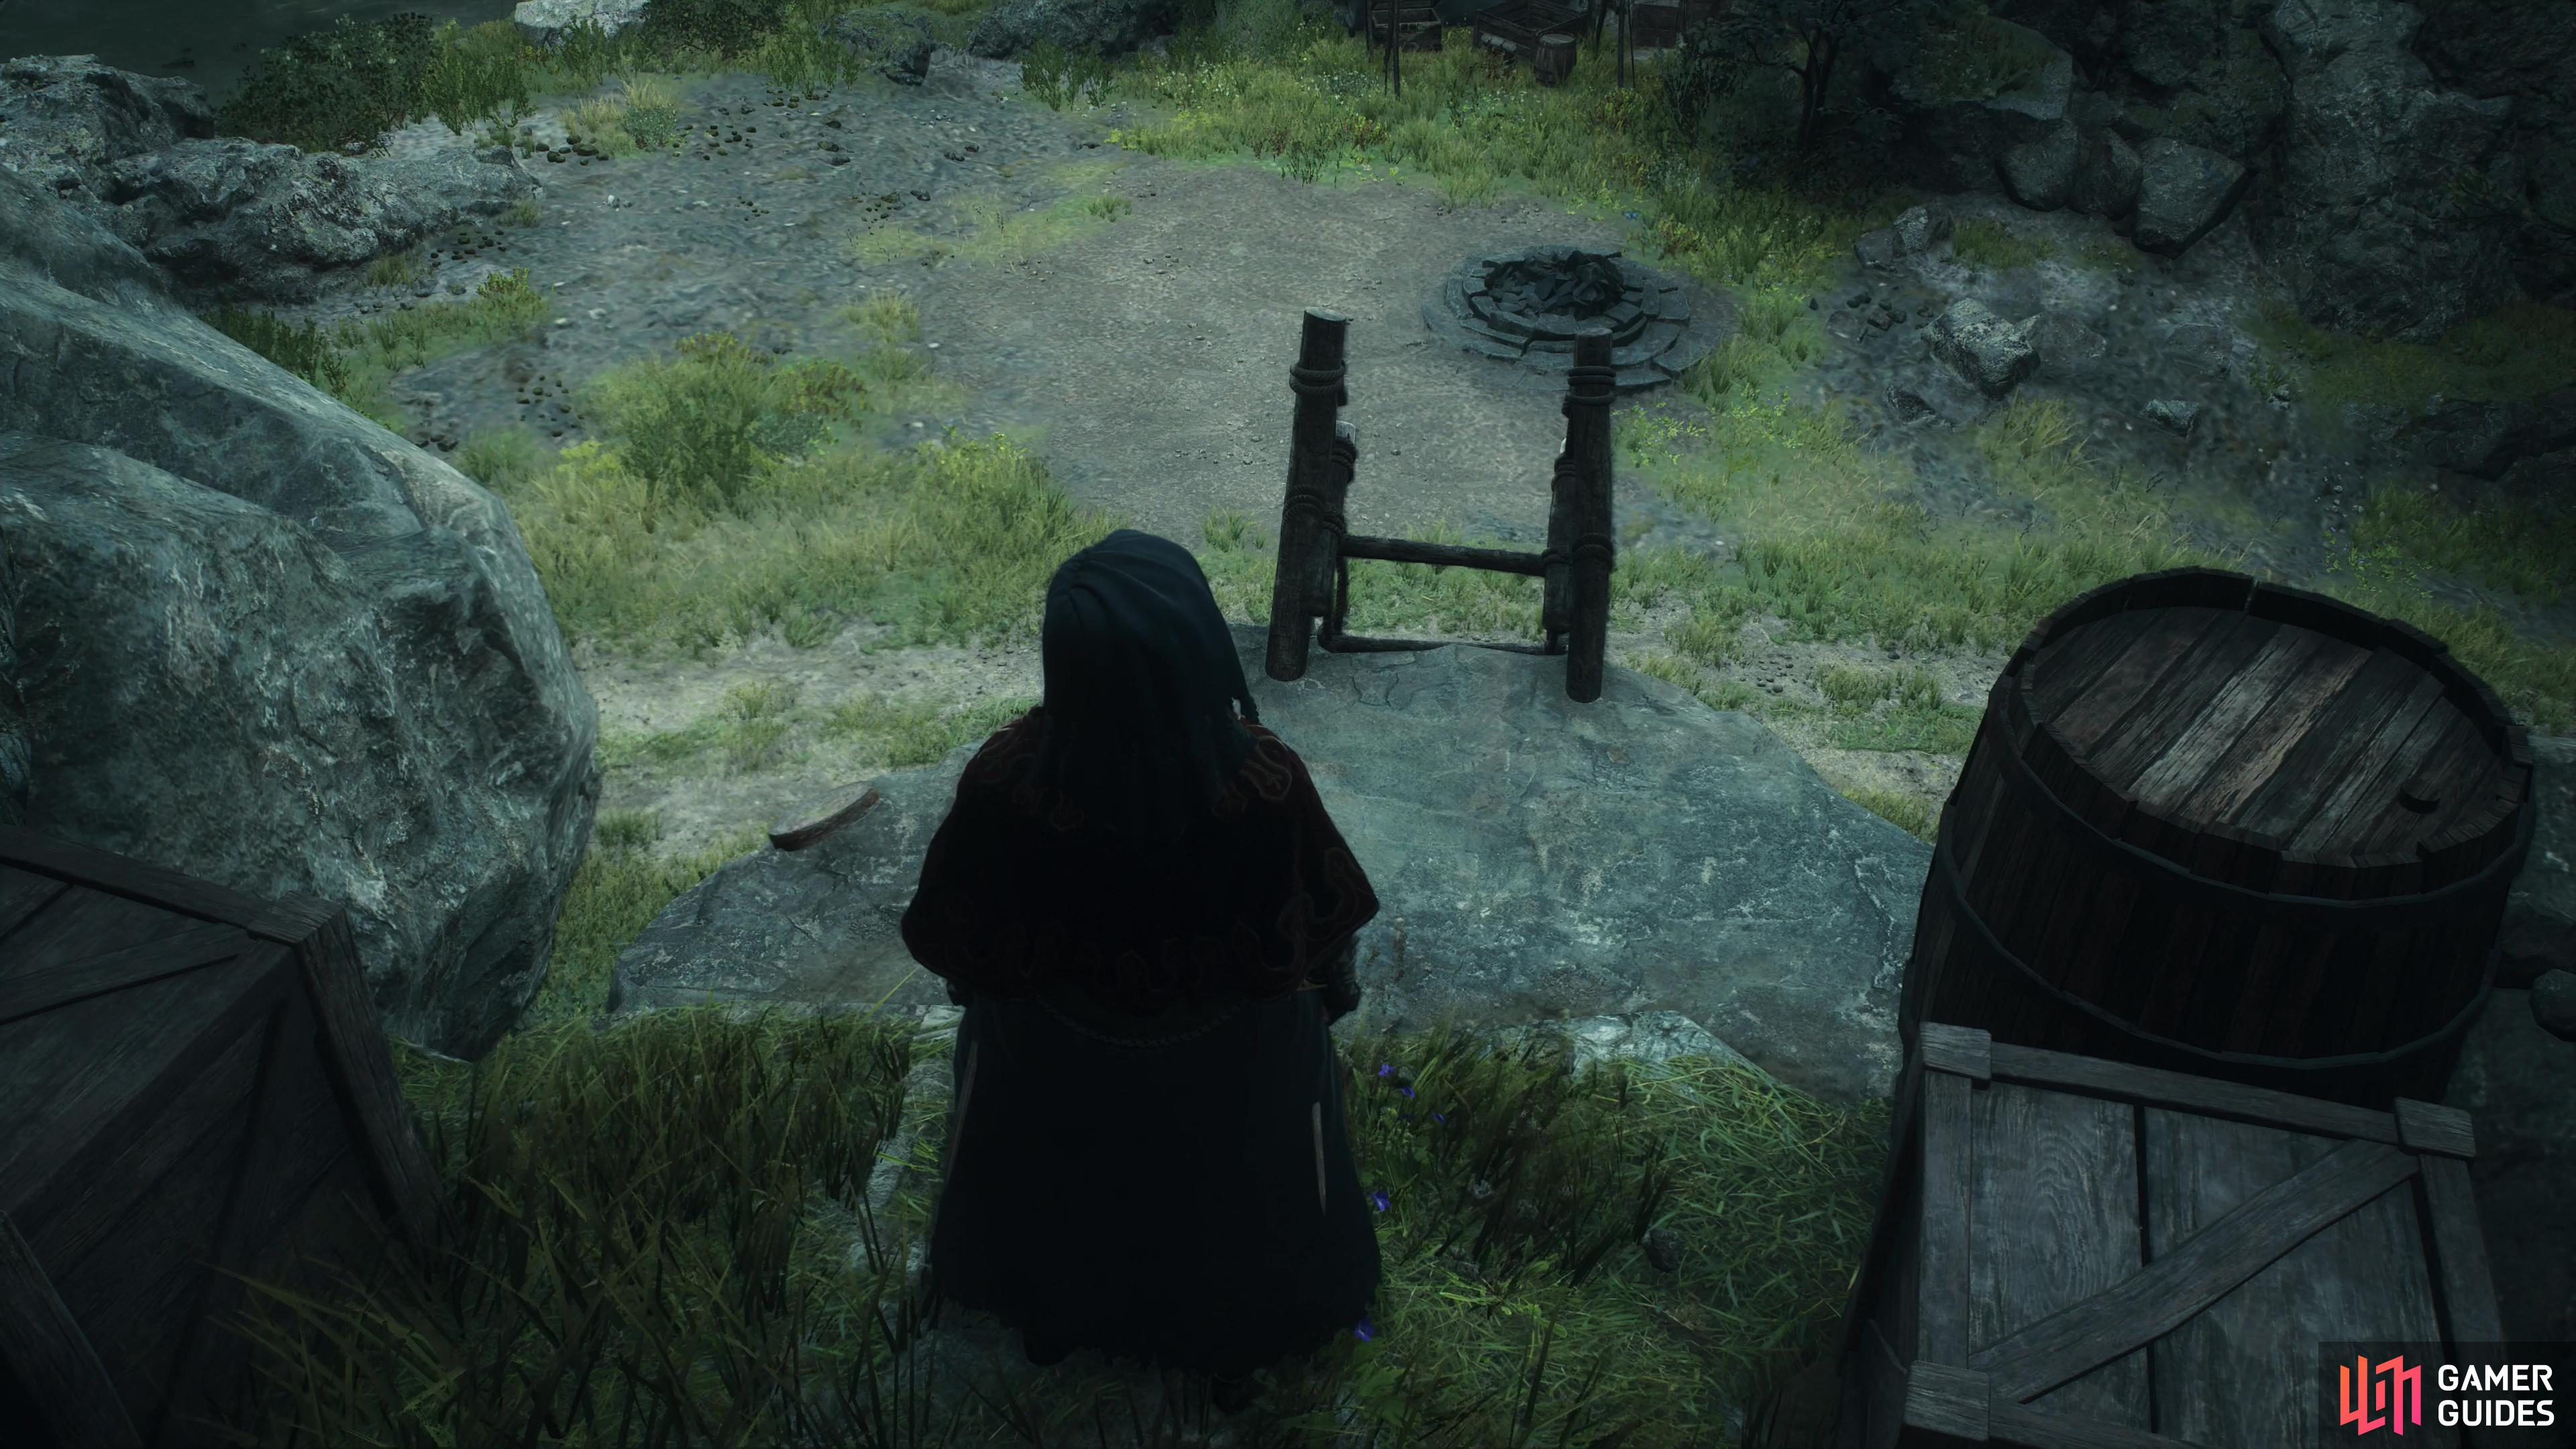
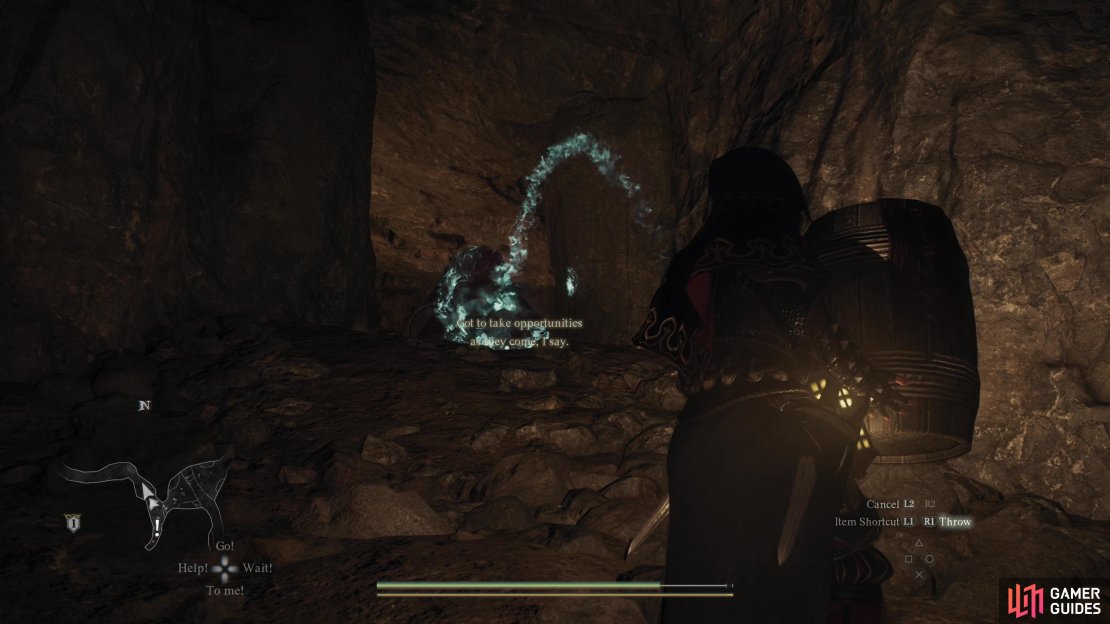
Defeat the ogre and climb out of its ravine, where the cave splits depending on which side of the ravine you end up on. To the northeast, you’ll find a passage leading uphill before eventually exiting on a ledge overlooking the road to Melve. Kick a ladder down and you’ve got yourself a permanent shortcut, and even better, you can find a ![]() Seeker’s Token up here. If you can’t best the ogre, running out of this cave exit and kicking down the ladder will still provide a nice shortcut for future expeditions. There’s even a campsite just outside!
Seeker’s Token up here. If you can’t best the ogre, running out of this cave exit and kicking down the ladder will still provide a nice shortcut for future expeditions. There’s even a campsite just outside!
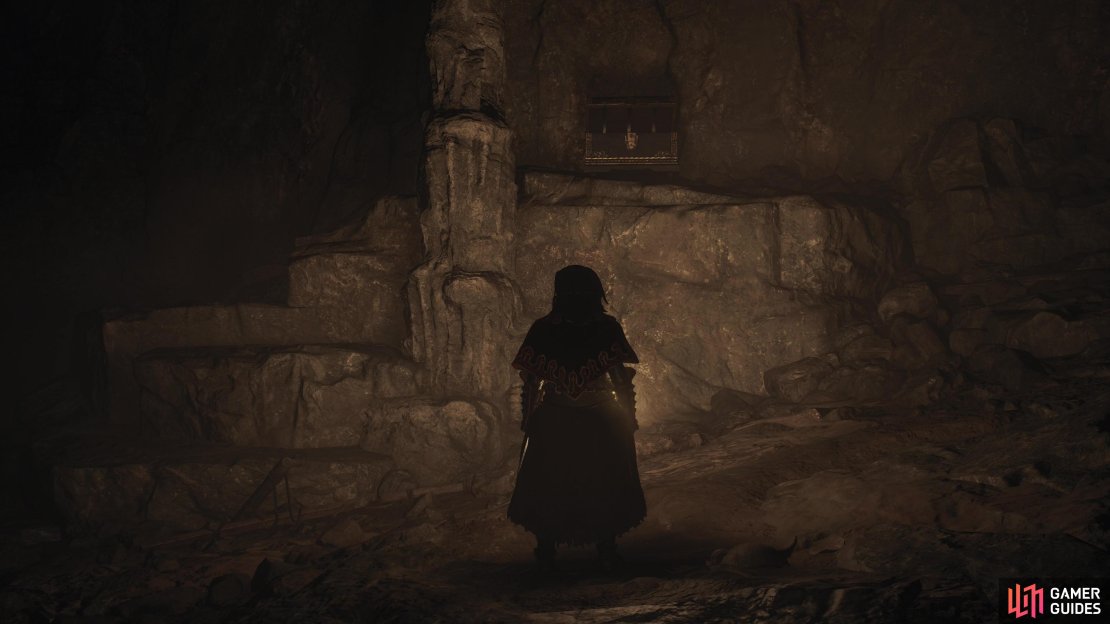
(1 of 4) Southwest of the ogre ravine you’ll find a chest containing a Scale Band.
Cavern of the Forsaken Treasure - Scale Band and Ring of Exultation
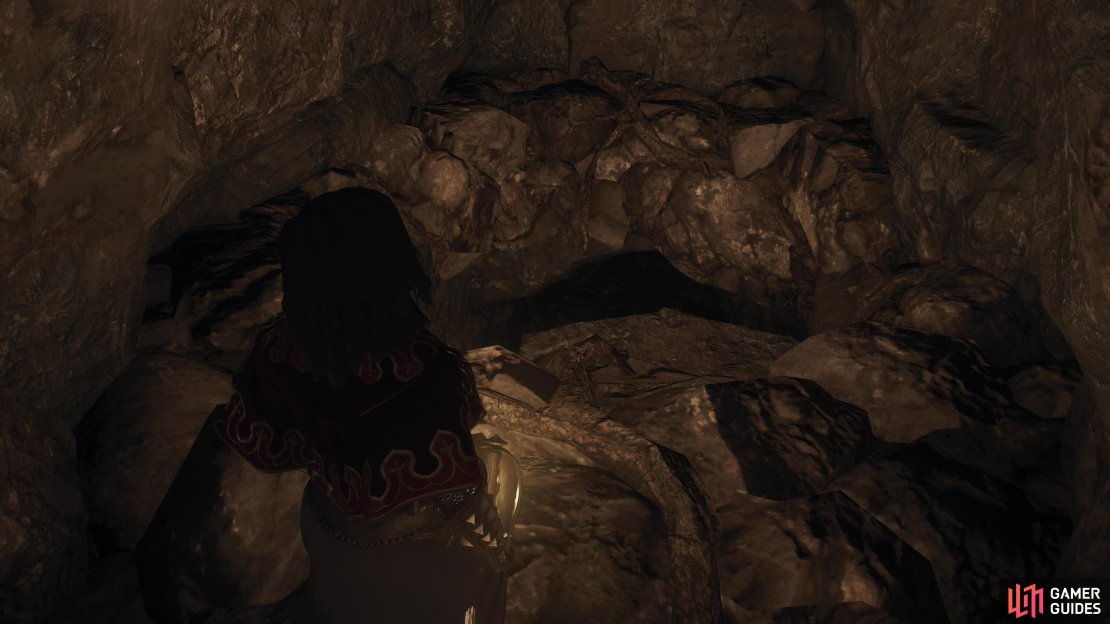
If you make your way to the high ground southwest of the ravine, you’ll find even more forks to contend with, as the passage to the southwest will eventually split north-south. Before that, climb some cliffs to the south and loot an ornate chest to score a ![]() Scale Band. At the aforementioned north-south split, take the southern path and explore an alcove. It appears as if it’s a dead-end, but the floor should collapse under you, leaving you in a tunnel with an ornate chest containing a
Scale Band. At the aforementioned north-south split, take the southern path and explore an alcove. It appears as if it’s a dead-end, but the floor should collapse under you, leaving you in a tunnel with an ornate chest containing a ![]() Ring of Exultation. Nice.
Ring of Exultation. Nice.
Climb back up and take the northern passage now, where your way into a chamber will be blocked by a series of stacked explosive barrels. Lurking behind these barrels are some bandits, and you should be able to predict what the goal here is - you get too close, the bandits attack, and bad explosive things happen to your face. If you have spells or a ranged weapon, take out those barrels before they can become a nuisance, or go back into the ogre cavern and grab an explosive barrel from there and chuck it at the pile - with any luck you’ll not only clear an obstacle but also kill some bandits!
Get past the explosive barrels, then clear out the bandits - all that lies ahead are a handful of bandits and another cave exit. There’s another ladder you can kick down to open up a third route into the cave, but there’s nothing particularly interesting loot or enemy-wise between the explosive barrels and the exit.
Now that you’ve cleared out the Cavern of the Forsaken, check out walkthroughs for more dungeons you can plunder!
No Comments