
One of the more difficult achievements (PC/Xbox)/Trophies (PS5) to get in ![]() Dragon’s Dogma 2 is The Collector. This requires you to find at least 80 of the 240
Dragon’s Dogma 2 is The Collector. This requires you to find at least 80 of the 240 ![]() Seeker’s Tokens scattered around the world. These coins are hidden in the most obnoxious places that you can think of, including on top of random mountains, buried in tall grass, on top of hard-to-reach places such as roofs and towers. This page is a work in progress, and we will update them as we find more, but right now, these are the 80 we recommend going for.
Seeker’s Tokens scattered around the world. These coins are hidden in the most obnoxious places that you can think of, including on top of random mountains, buried in tall grass, on top of hard-to-reach places such as roofs and towers. This page is a work in progress, and we will update them as we find more, but right now, these are the 80 we recommend going for.
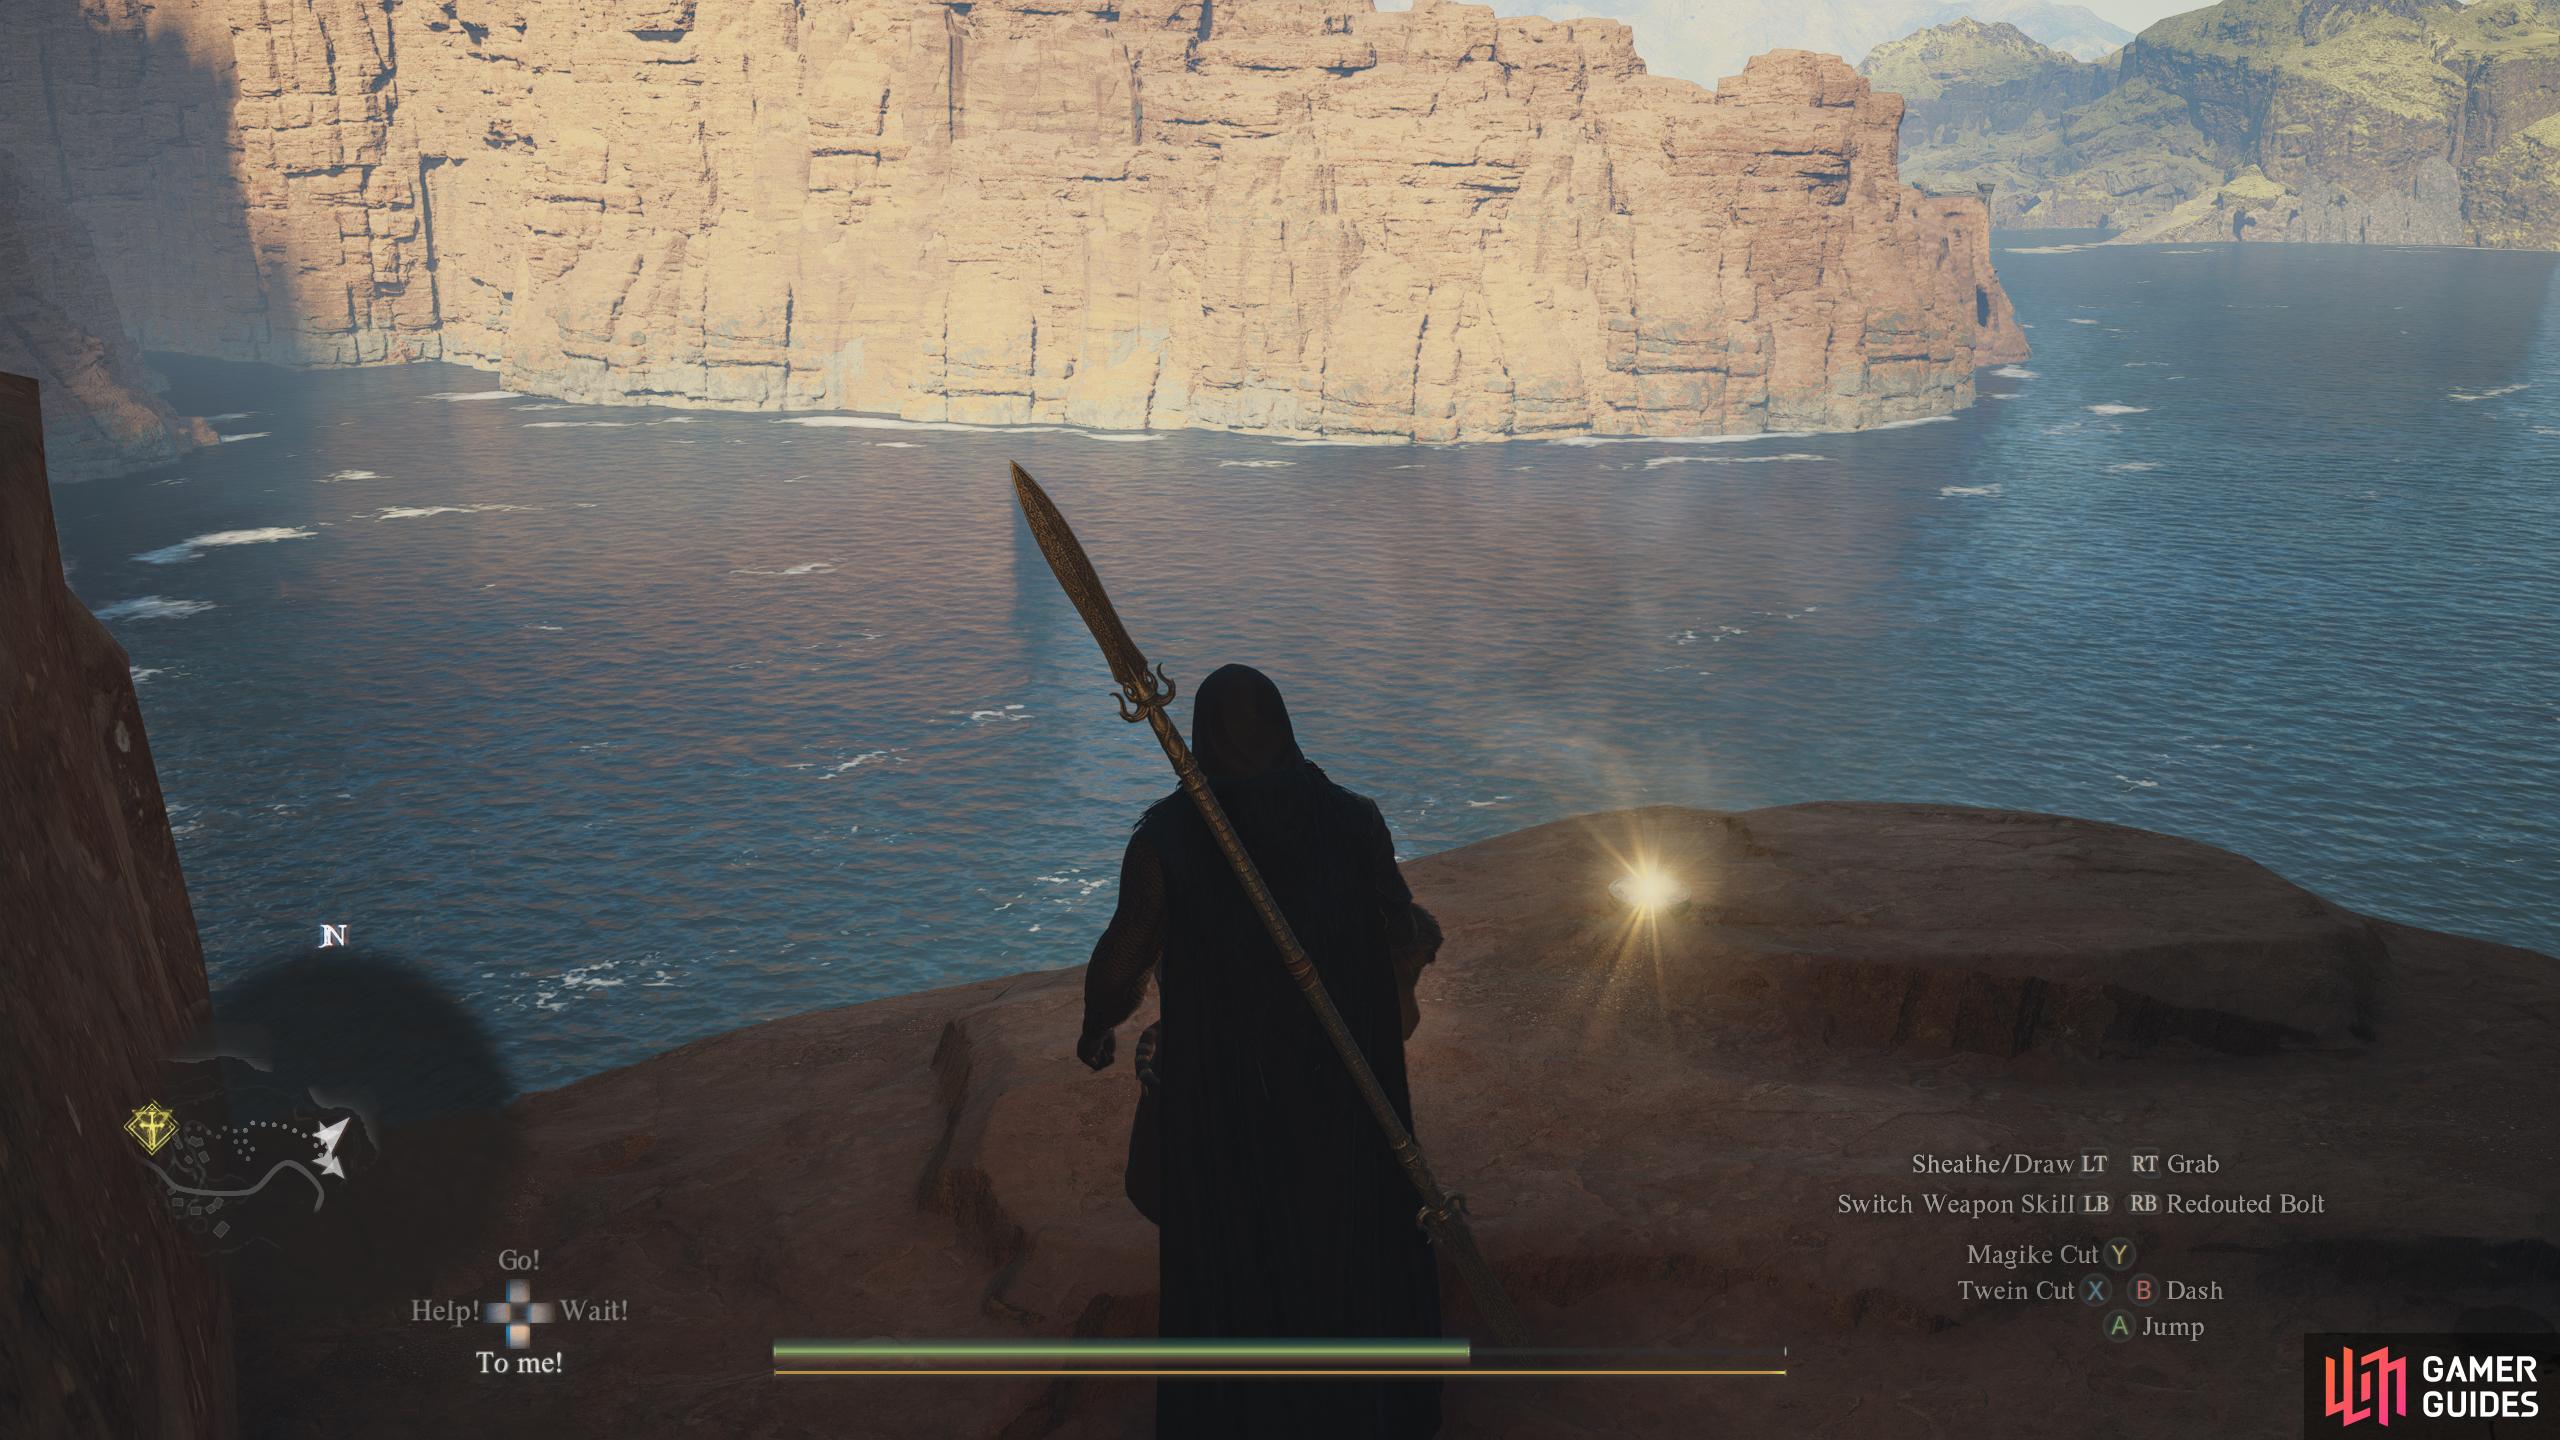
Seeker’s Tokens can be found anywhere in the world, including the most obscure places.
Finding Seeker’s Token Tip
Before we get started on where to find the tokens, we highly recommend unlocking the ![]() Trickster Vocation for the
Trickster Vocation for the ![]() Detection Augment. This will play a sound that speeds up the nearer you get to a token. On top of that, the tokens will blink giving off a brief moment of light, making them easier to spot. You can get the Trickster Vocation in the Battahl region, and you can get it early if you know where to go. Read our Trickster Vocation Unlock Guide for more information.
Detection Augment. This will play a sound that speeds up the nearer you get to a token. On top of that, the tokens will blink giving off a brief moment of light, making them easier to spot. You can get the Trickster Vocation in the Battahl region, and you can get it early if you know where to go. Read our Trickster Vocation Unlock Guide for more information.
Seeker’s Token Locations
Here you’ll find a list of all the tokens, where you can find them, and a map marker to show you where they are on the map.
| No. | Location | Map Marker |
|---|---|---|
| 1 | In an abandoned building through the cave. | Map Marker |
| 2 | On the roof above the Commissary in |
Map Marker |
| 3 | Head east out of |
Map Marker |
| 4 | On a cliff ledge on the southern side of the bridge in between |
Map Marker |
| 5 | Inside a |
Map Marker |
| 6 | By the statue. Follow the woodland trail northwest of |
Map Marker |
| 7 | In |
Map Marker |
| 8 | In |
Map Marker |
| 9 | Turn down Oxcart to |
Map Marker |
| 10 | Follow the road east toward |
Map Marker |
| 11 | From the |
Map Marker |
| 12 | Heading south toward |
Map Marker |
| 13 | Area east of |
Map Marker |
| 14 | Inside the |
Map Marker |
| 15 | Map Marker | |
| 16 | Map Marker | |
| 17 | Map Marker | |
| 18 | East of |
Map Marker |
| 19 | At the edge of the cliff east of |
Map Marker |
| 20 | Next to the window of a small house near the |
Map Marker |
| 21 | On a rock in the river northeast of the farm. | Map Marker |
| 22 | At the edge of the shore near the docks north of the farm. | Map Marker |
| 23 | On a rocky platform across the river north of |
Map Marker |
| 24 | Map Marker | |
| 25 | Map Marker | |
| 26 | Map Marker | |
| 27 | Map Marker | |
| 28 | Map Marker | |
| 29 | Map Marker | |
| 30 | Map Marker | |
| 31 | Map Marker | |
| 32 | Map Marker | |
| 33 | Map Marker | |
| 34 | Travel from the western bridge from |
Map Marker |
| 35 | In between the rocks by the shore edge southeast of |
Map Marker |
| 36 | On top of the rocks south of |
Map Marker |
| 37 | On the edge at the top of the |
Map Marker |
| 38 | On a stone wall above the rubble in the ruins north of |
Map Marker |
| 39 | Follow the riverside north from the |
Map Marker |
| 40 | In a shallow puddle in the |
Map Marker |
| 41 | On a small cliff you can parkour up to the east of the |
Map Marker |
| 42 | On top of a raised section of the ruins in Malachite Forest. Accessed by jumping to the top of the nearby pieces. | Map Marker |
| 43 | Follow the river north east of the |
Map Marker |
| 44 | On top of a broken piece of ruin in the |
Map Marker |
| 45 | At the end of a passage on B1F of the |
Map Marker |
| 46 | At the top of a rocky slope at the end of the path in the |
Map Marker |
| 47 | Under the large wooden bridge southwest of the |
Map Marker |
| 48 | On the floor between two cages near the |
Map Marker |
| 49 | On some rocks north of the |
Map Marker |
| 50 | On the floor by some rubble southeast of the |
Map Marker |
| 51 | In a small cave northeast of |
Map Marker |
| 52 | On top of the dilapidated wall among the ruins southeast from the |
Map Marker |
| 53 | At the end of the southern part of the broken bridge. | Map Marker |
| 54 | On the roof of the building where |
Map Marker |
| 55 | On top of the archway leading to the Checkpoint in |
Map Marker |
| 56 | Need Border Permit (complete |
Map Marker |
| 57 | Coming South down the pass, climb the stairs to your left and clamber onto the rock ledge. Follow it around the corner and the token will be on the ground. | Map Marker |
| 58 | Follow the road east of Shultram Falls. The token will be on a rock near the waterfall. | Map Marker |
| 59 | Climb up the rock formation by the |
Map Marker |
| 60 | On a rock west of the stream. Southeast of |
Map Marker |
| 61 | Follow the river west of the |
Map Marker |
| 62 | Among the shrubbery south of the river near Enoa’Battahl Forest. | Map Marker |
| 63 | Under a tent near the |
Map Marker |
| 64 | On top of the rock formation where Harpies fly east of the ruins. | Map Marker |
| 65 | In a bird’s nest underneath the large statue east of Enoa’Battahl Forest. | Map Marker |
| 66 | On top of the |
Map Marker |
| 67 | Climb the |
Map Marker |
| 68 | Obscured by the long grass west of the |
Map Marker |
| 69 | At the edge of the cliff halfway up the mountain. Opposite the Campfire. | Map Marker |
| 70 | Map Marker | |
| 71 | Halfway up the mountain south of Ropeway Station Two. Use the nearby rocks to reach the area. | Map Marker |
| 72 | On the raised platform in the |
Map Marker |
| 73 | On top of the large pillar behind the |
Map Marker |
| 74 | By the pillar, halfway up the mountain east of Ropeway Station One. Use the edges of the mountain to pull you up. | Map Marker |
| 75 | On top of the pillar northwest of Pilgrim’s Inn. You’ll need to climb the mountain by grabbing the rocks to pull yourself up. | Map Marker |
| 76 | On top of the overhanging red piece of fabric opposite Mettlefere’s Cosmetics. Climb up the mountain opposite Pilgrim’s Inn and jump across the other pieces of fabrics to reach it. | Map Marker |
| 77 | In the water feature west of the |
Map Marker |
| 78 | Next to the Dragon Statue in the Forbidden Magic Research Lab in the |
Map Marker |
| 79 | Left of the Altar in the Flamebearers Audience Chamber. | Map Marker |
| 80 | On top of the box by the bookshelf in the |
Map Marker |
Dragon’s Dogma 2 Seeker’s Token Route
This list generally has a route that is the best that it can be, although sometimes you’ll need to go out of your way to get some of them due to the way the game is designed. In general, you’ll start the game in the far north of the game (after the excavation site). You have to head west to ![]() Borderwatch Outpost and then to
Borderwatch Outpost and then to ![]() Melve for the story. Before you head to Melve, you can head west for a few tokens before heading back to the outpost. On your way to Melve, you’ll find a boulder you can break to expose a cave which leads to another token.
Melve for the story. Before you head to Melve, you can head west for a few tokens before heading back to the outpost. On your way to Melve, you’ll find a boulder you can break to expose a cave which leads to another token.
When you have that, head to Melve to get the tokens there before continuing on with the story. You’ll be tasked to locate the oxcart to Vernworth, but about halfway through your journey, you can take the discovered oxcart to the city with Gregor. Do not accept this as you’ll miss a lot of tokens. Instead, follow the eastern path while picking up the tokens along the way. There are some tokens in the Cave of the Forsaken, but you’ll need to spend a bit of time there, so skip these for now and continue along the path.
Shortly before you reach Vernworth, there is a large area to the east of the city with a lot of caves containing tokens, which is why the list is directing you there. Once you’re done with that area, there are a couple of tokens around the farm before you head into the city. In the city, there are an abundance of tokens to find, with the majority being on a roof accessed by various ladders scattered around the city. It’s recommended that you do the story quests with Captain Brant while you’re here, as you’ll need the Border Permit for the Battahl tokens (you can get there without one, but it’s a hassle).
There are some tokens in and around the palace area we’ve left off the list due to them being extremely difficult to get, with some we haven’t found out how to get yet (on top of the brothel). When you’re done with ![]() Vernworth, head out the northwest gate and start the token collecting the token under the bridge (No. 33). This is where the route gets messy, as there are a ton of tokens up to the north. Ideally you would want to head west, but you’d miss out on a lot of tokens, which is why we send you there. After you’ve collected the northern tokens, you need to come back down and head west while taking a quick trip to the Misty Marshes for a couple of tokens, and then continue west collecting tokens as you make your way to
Vernworth, head out the northwest gate and start the token collecting the token under the bridge (No. 33). This is where the route gets messy, as there are a ton of tokens up to the north. Ideally you would want to head west, but you’d miss out on a lot of tokens, which is why we send you there. After you’ve collected the northern tokens, you need to come back down and head west while taking a quick trip to the Misty Marshes for a couple of tokens, and then continue west collecting tokens as you make your way to ![]() Checkpoint Rest Town.
Checkpoint Rest Town.
Battahl Seeker’s Tokens
Collect the couple listed here before heading up to the checkpoint gate, as you’ll need to head to Battahl. You won’t be able to get through these gates unless you have the Border Permit or the Beastren Border Permit and a ![]() Beastren Mask. Past the checkpoint, follow the road south until you reach
Beastren Mask. Past the checkpoint, follow the road south until you reach ![]() Beren’s Childhood Home, as there’ll be a token to the west of it, over the western wall. Continue you south until you reach some stairs, where you’ll need to clamber onto the rocky ledge on your left for another token.
Beren’s Childhood Home, as there’ll be a token to the west of it, over the western wall. Continue you south until you reach some stairs, where you’ll need to clamber onto the rocky ledge on your left for another token.
Now you’ll be in the Battahl region, and you’ll want to search the entirety of the Enoa’Battahl Forest including the rivers and ruins for numerous tokens. Start with the center and west side of the forest first before you head east towards the ![]() Reverent Shrine where you can unlock the Trickster Vocation. Proceed south, collecting the tokens along the way until you reach the plethora of Ropeway stations. This area is a pain to navigate, which is why we’ve left out the more difficult tokens to find. Instead, head east and you’ll soon find the capital of Battahl,
Reverent Shrine where you can unlock the Trickster Vocation. Proceed south, collecting the tokens along the way until you reach the plethora of Ropeway stations. This area is a pain to navigate, which is why we’ve left out the more difficult tokens to find. Instead, head east and you’ll soon find the capital of Battahl, ![]() Bakbattahl. The rest of your tokens will be in here and the adjoining
Bakbattahl. The rest of your tokens will be in here and the adjoining ![]() Flamebearer Palace to the east. A lot of these tokens will be up on mountains where you’ll need to get creative to reach them, and finally the last few tokens will be in the Flamebearer Palace and the Forbidden Magic Research Lab.
Flamebearer Palace to the east. A lot of these tokens will be up on mountains where you’ll need to get creative to reach them, and finally the last few tokens will be in the Flamebearer Palace and the Forbidden Magic Research Lab.
No Comments