
You finally reached the capital of ![]() Vernworth in
Vernworth in ![]() Dragon’s Dogma 2, and you may be interested in changing your vocation. A
Dragon’s Dogma 2, and you may be interested in changing your vocation. A ![]() Warrior or
Warrior or ![]() Sorcerer Vocation sounds good right about now. However, you won’t have them unlocked yet. Well, fortunately, you can unlock them now. Simply head over to the Vocation Guild and accept the quest “
Sorcerer Vocation sounds good right about now. However, you won’t have them unlocked yet. Well, fortunately, you can unlock them now. Simply head over to the Vocation Guild and accept the quest “![]() Vocation Frustration” as it will unlock both vocations for you. Read on to find out where to find the Archistaff and Greatsword that unlocks both the Warrior and Sorcerer in this Vocation Frustration quest walkthrough.
Vocation Frustration” as it will unlock both vocations for you. Read on to find out where to find the Archistaff and Greatsword that unlocks both the Warrior and Sorcerer in this Vocation Frustration quest walkthrough.
Klaus is the receptionist in Vernworth’s Vocation Guild.
Vocation Frustration Quest Location
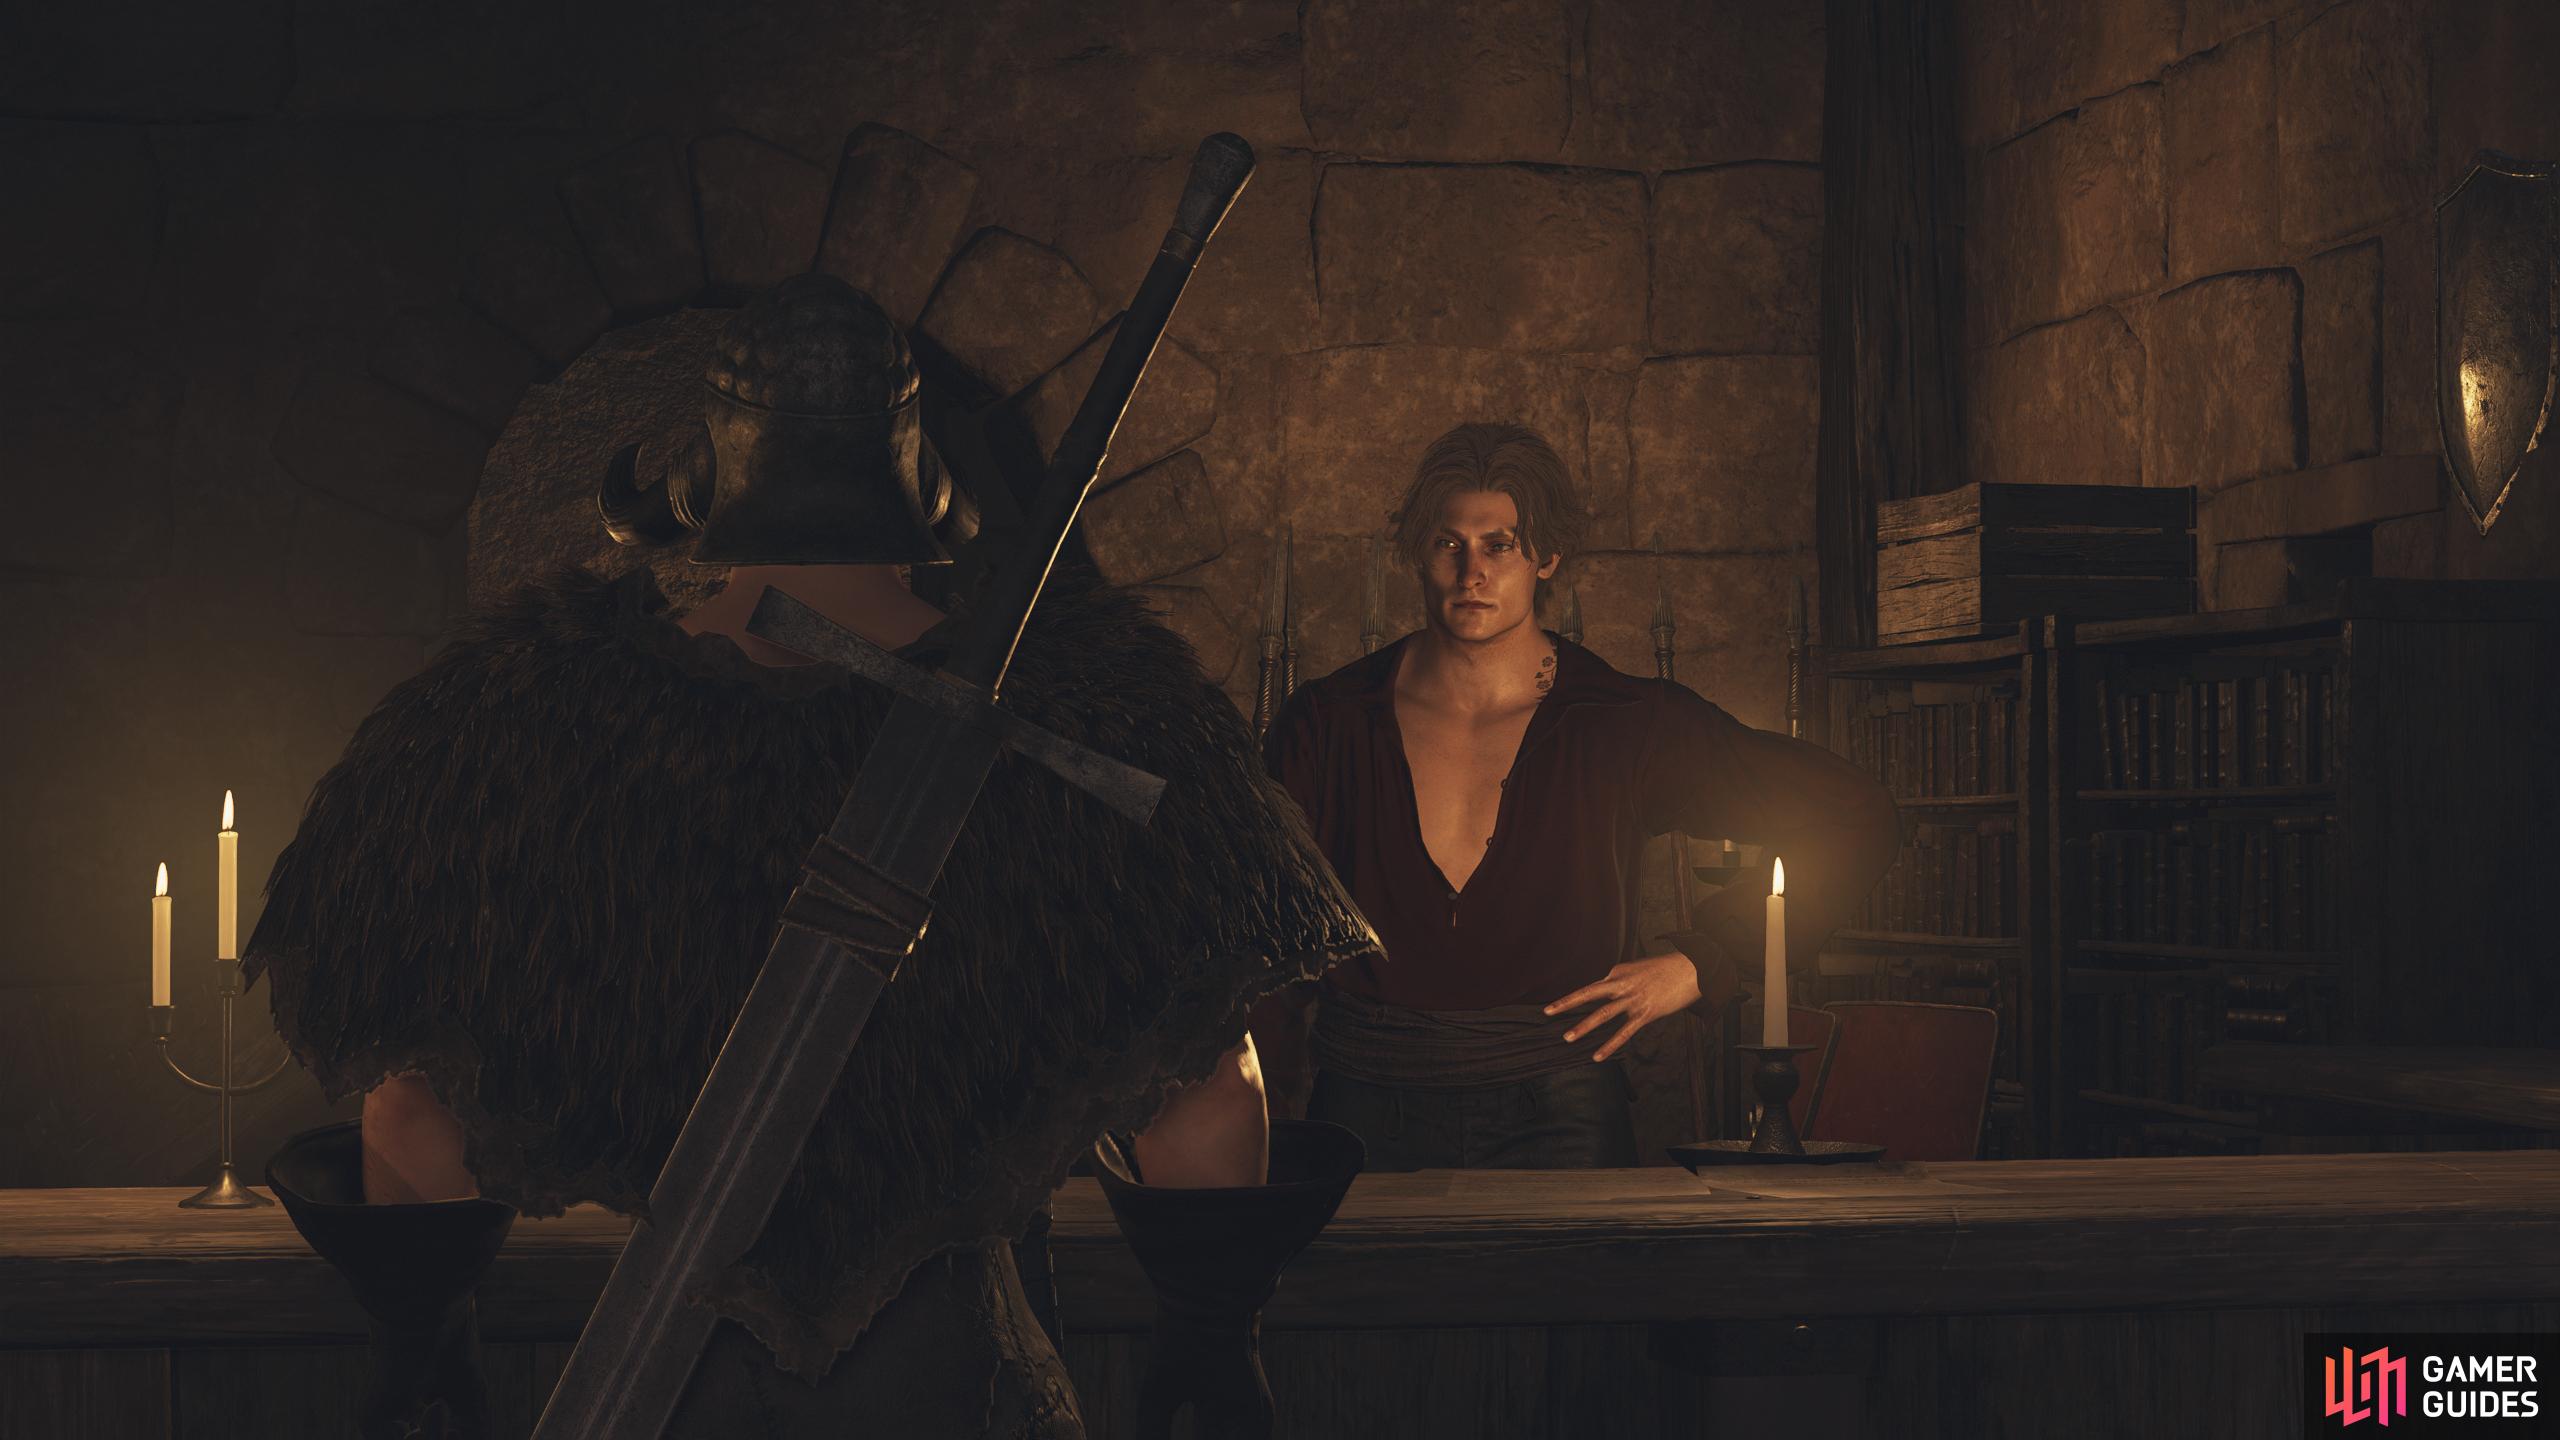
The quest is started in Vernworth, which is the capital of Vermund. If you haven’t reached the place yet, progress with the main story, as it’ll take you there. Once you’ve reached Vernworth, head to the marketplace in the Merchant Quarter, and head south toward “![]() Shakir’s Inn”. The Vocation Guild can be accessed via a door underneath the Inn. Inside the Guild, speak to the receptionist, Klaus, and select change vocation. Here, you’ll see both Sorcerer and Warrior the “Acquire” prompt is red, meaning you can’t unlock it right now.
Shakir’s Inn”. The Vocation Guild can be accessed via a door underneath the Inn. Inside the Guild, speak to the receptionist, Klaus, and select change vocation. Here, you’ll see both Sorcerer and Warrior the “Acquire” prompt is red, meaning you can’t unlock it right now.
Exit the Vocation screen and Klaus will tell you that they can’t accept registrations for both those classes right now due to a shortage of equipment, more specifically, archistaves and greatswords. Allegedly, the shipment of these weapons was plundered by a group of ragtag goblins and Klaus will tell you to speak to Roderick the armorer for more information.


(1 of 2) The Vocation Guild is underneath Shakir’s Inn.
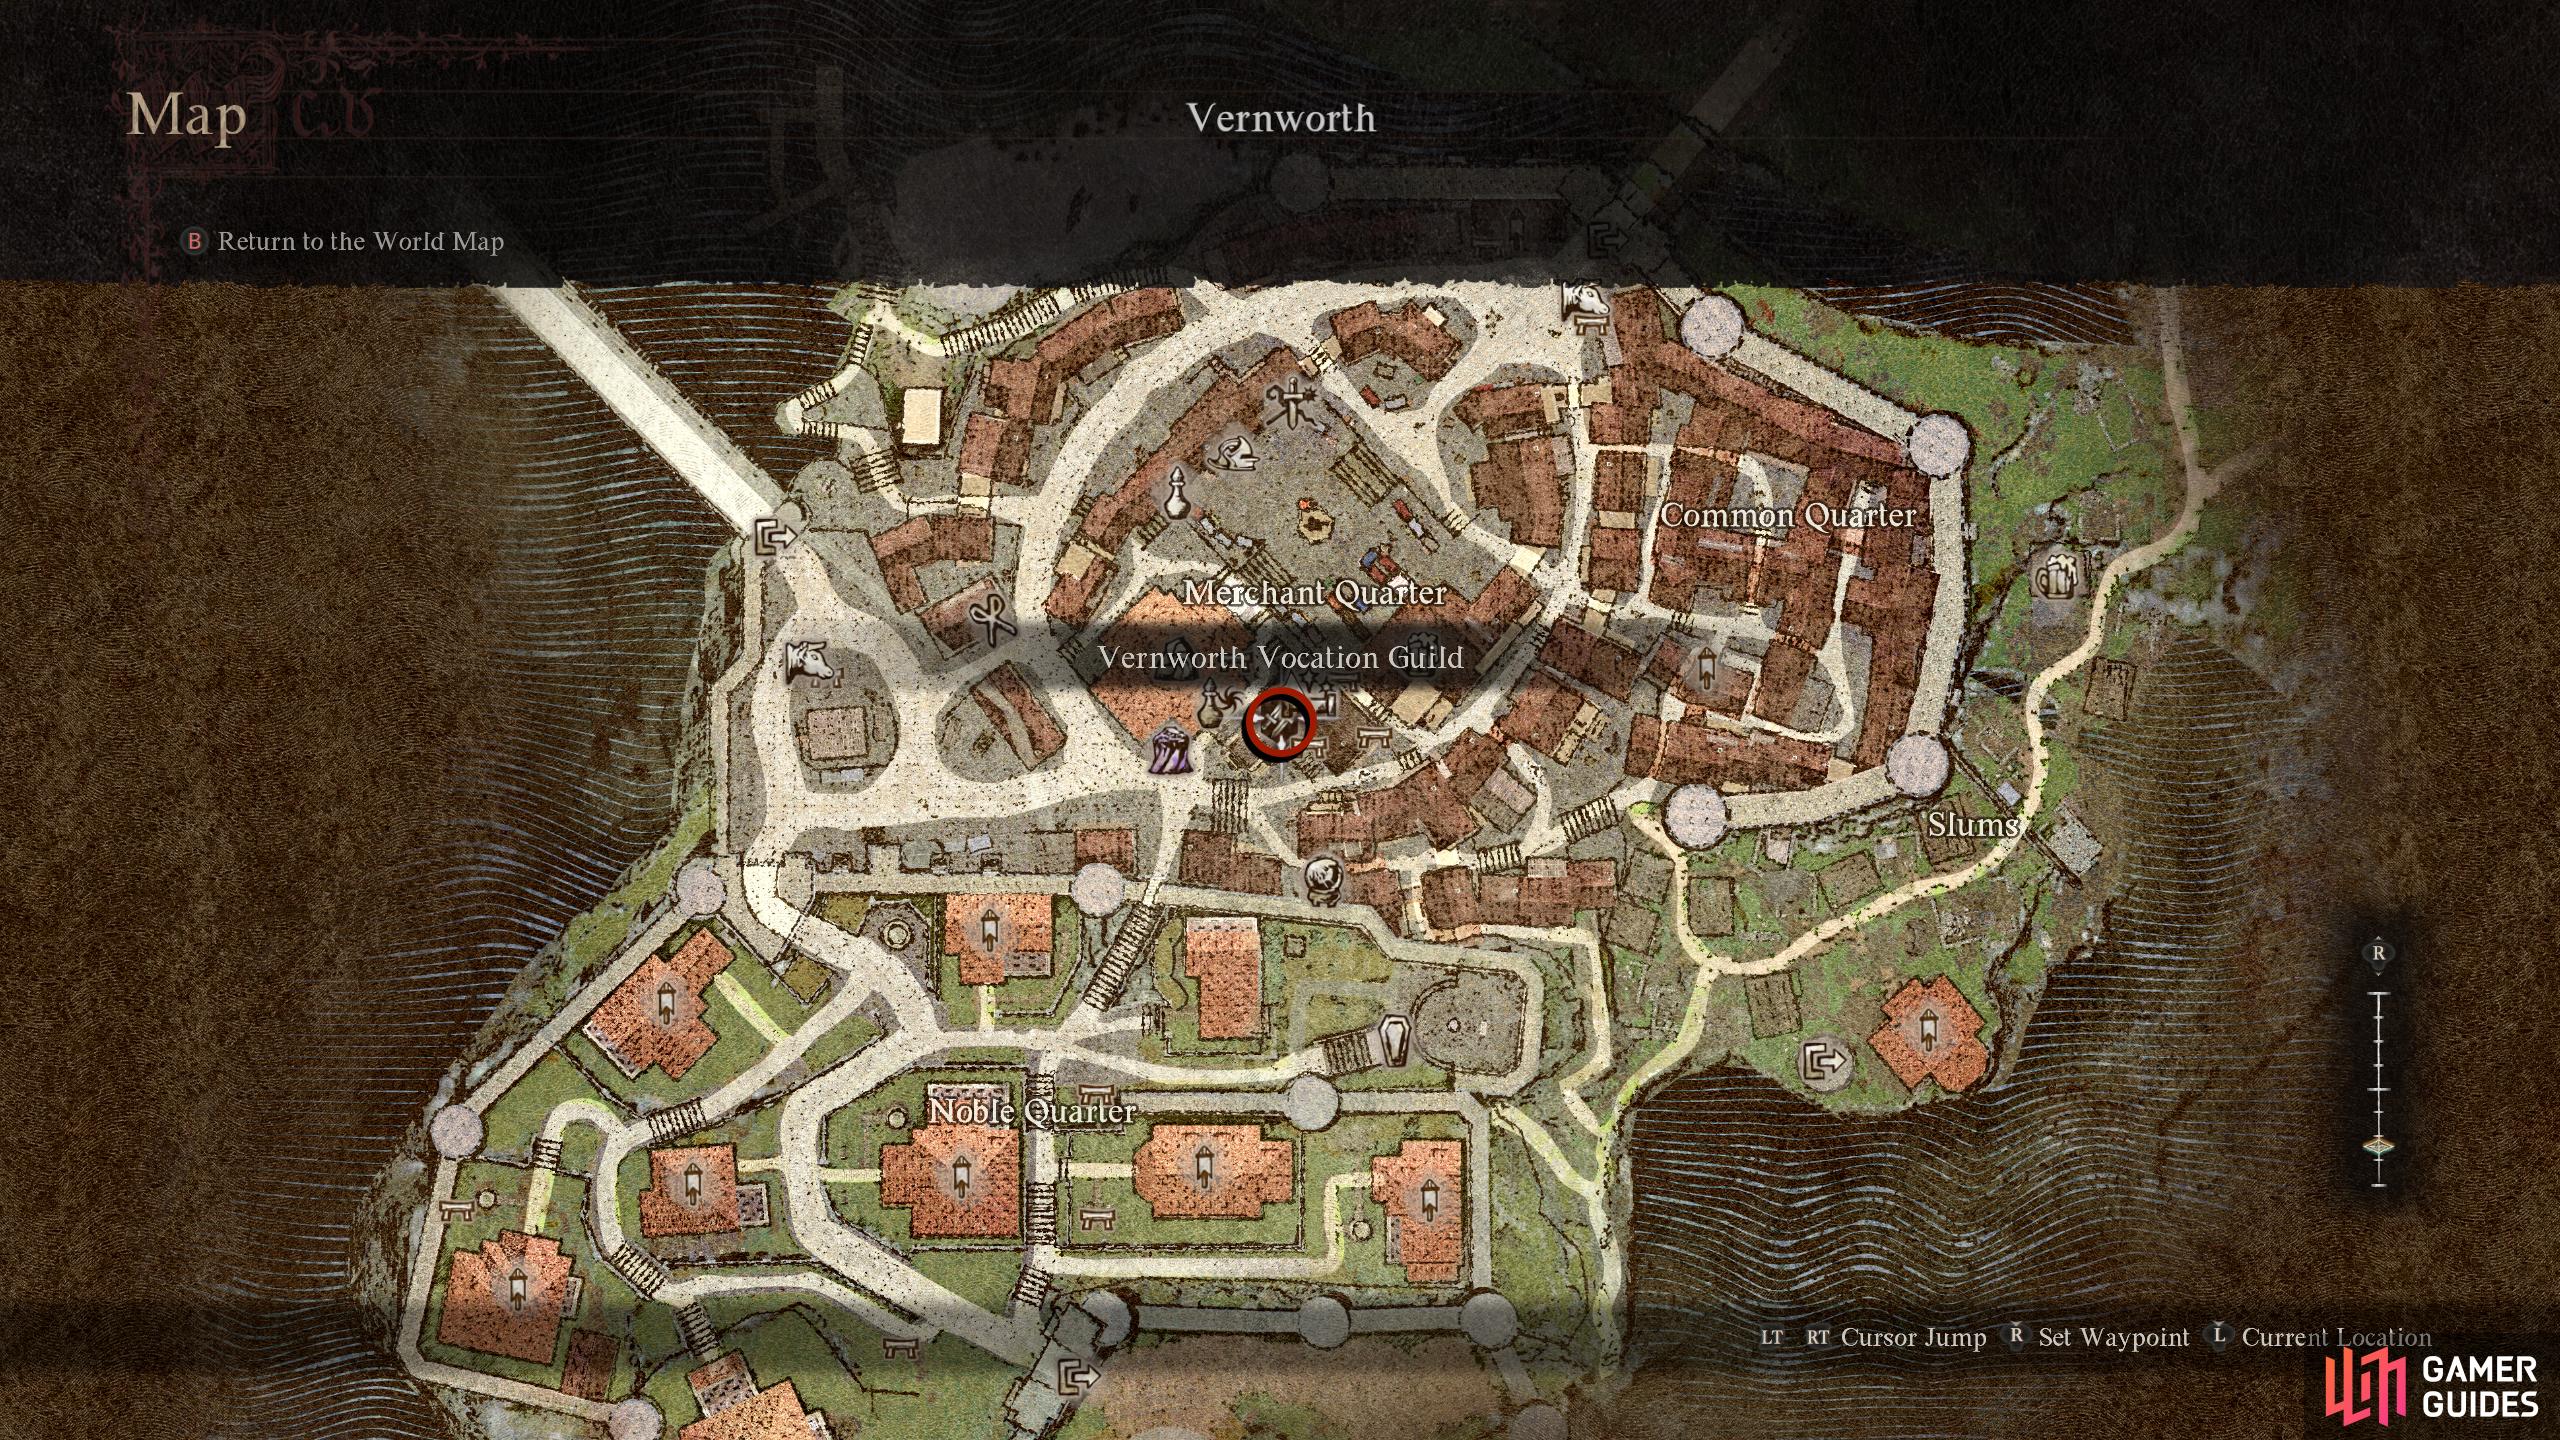
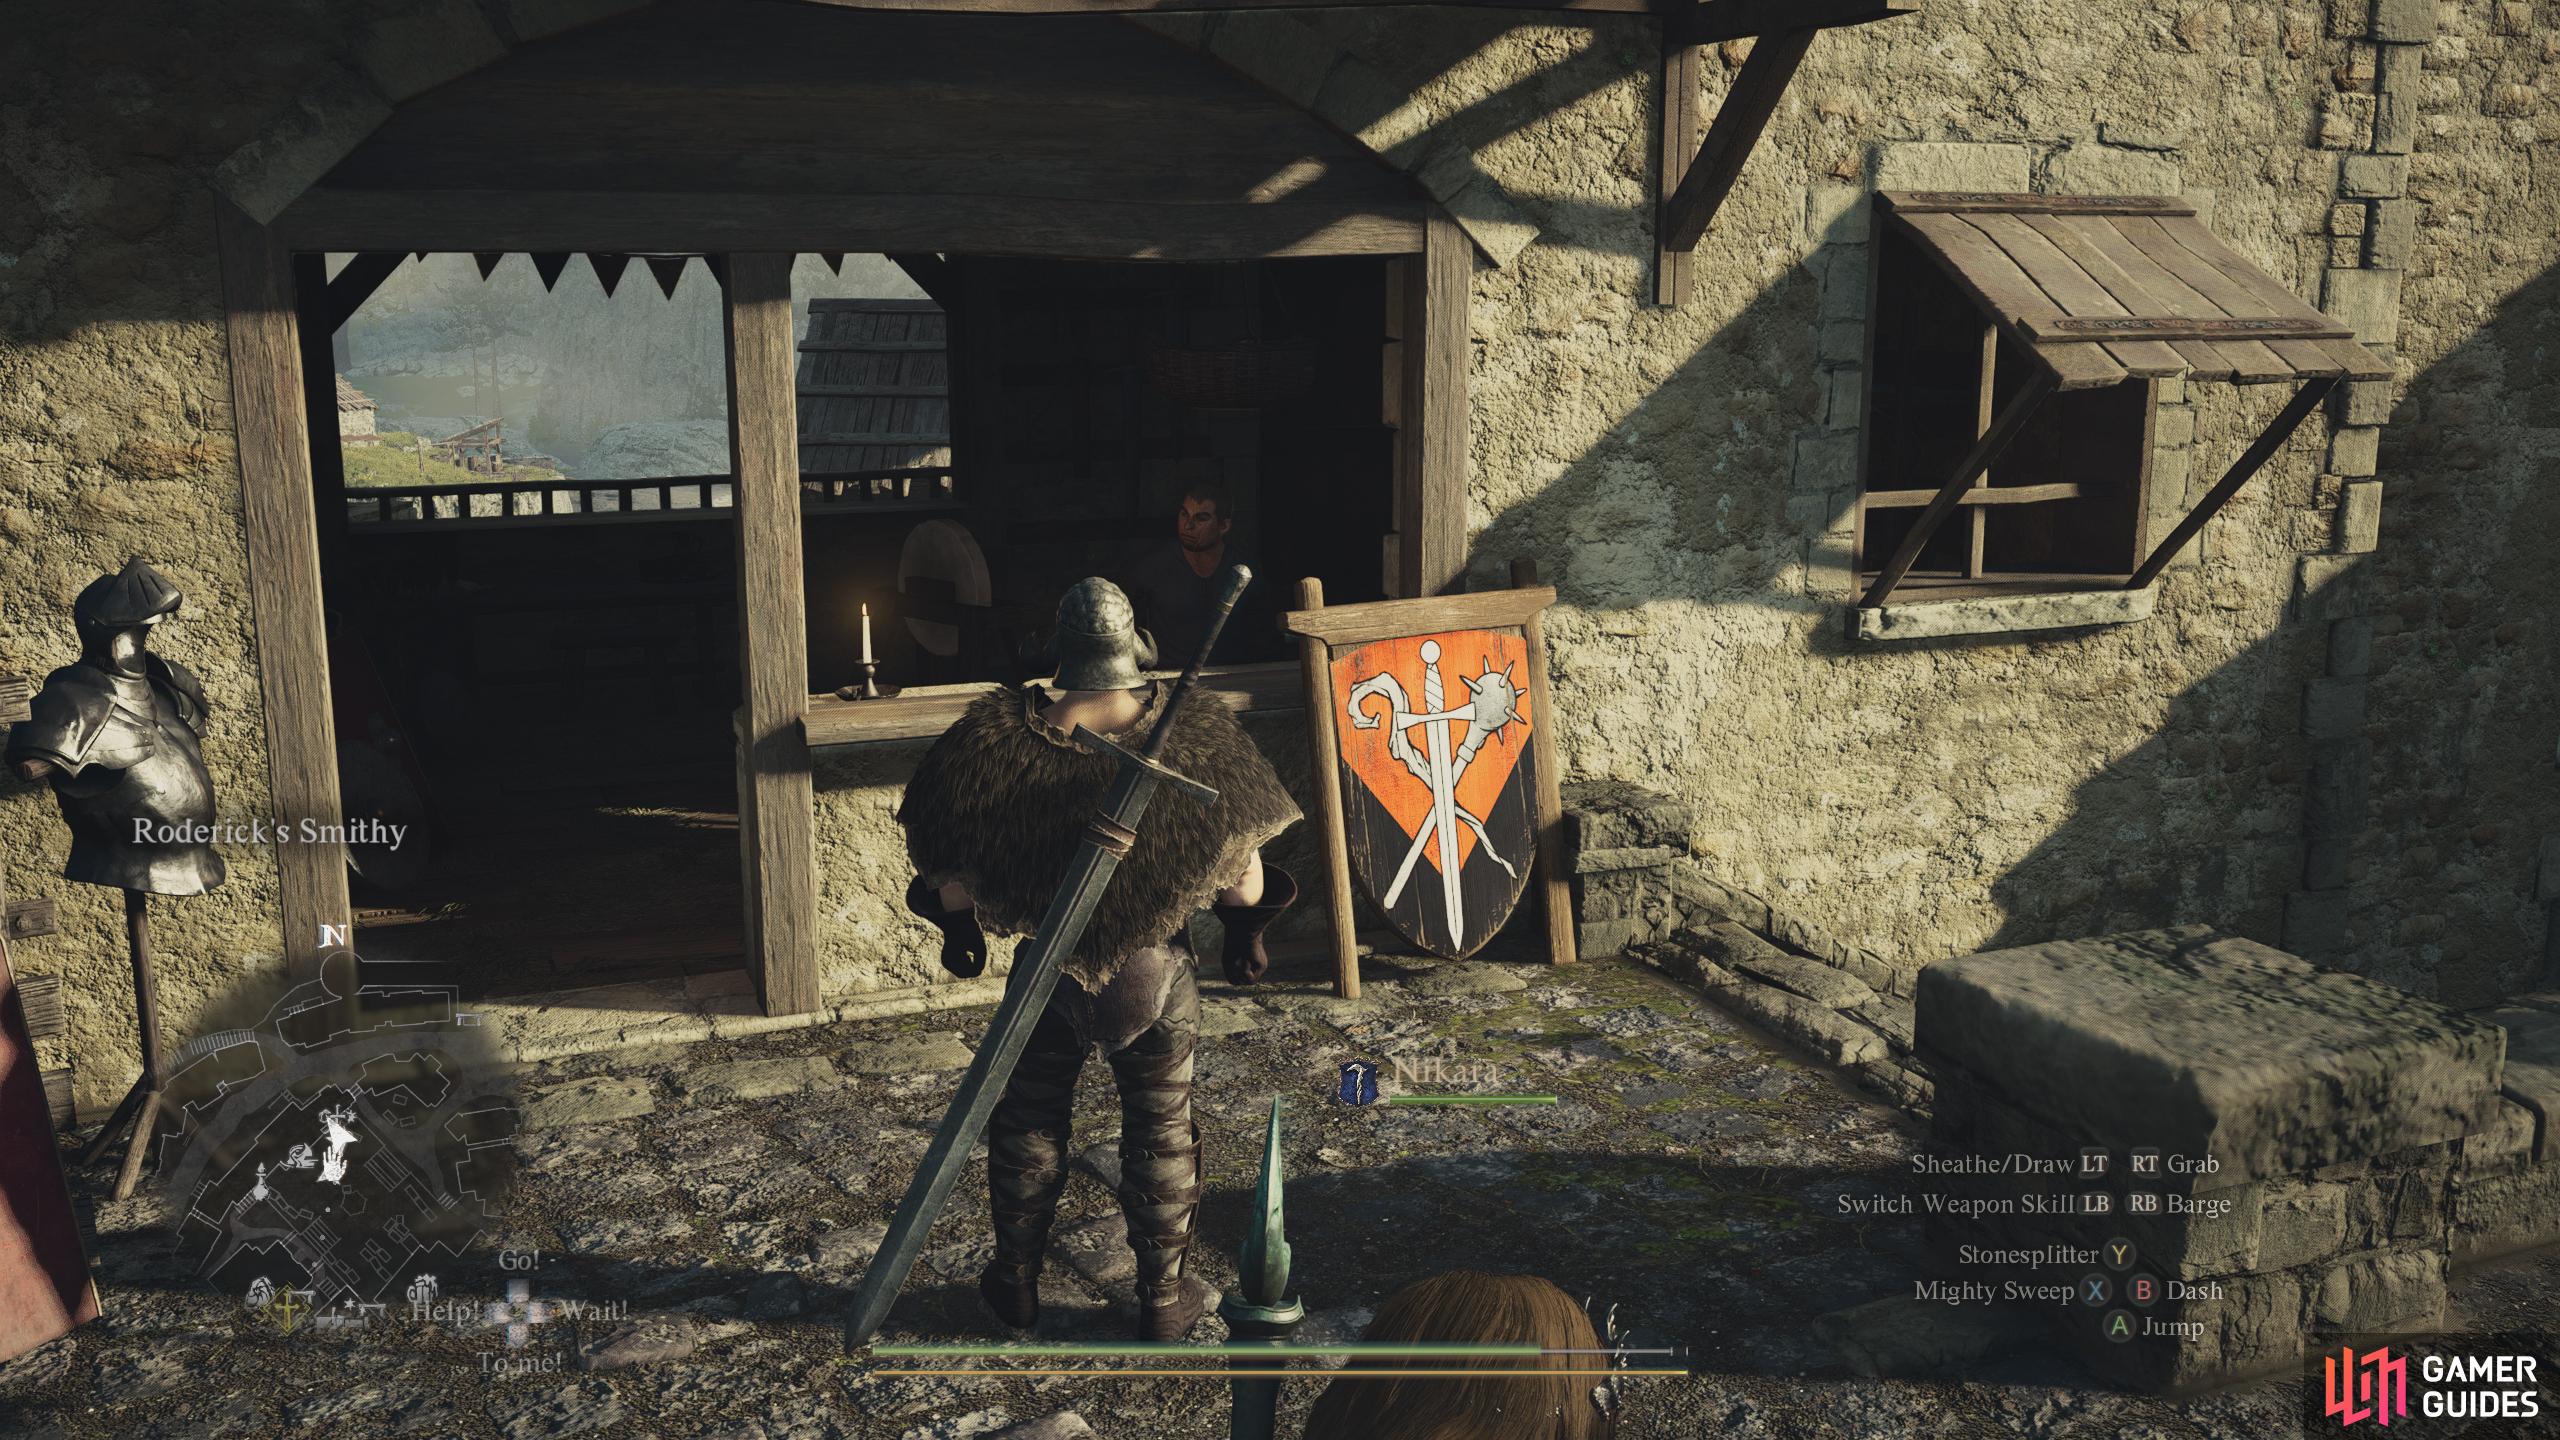
The Vocation Guild is underneath Shakir’s Inn. (left), Roderick can be found behind the counter of his armory, north of the Merchant Quarter. (right)
Where to Find Roderick
Roderick can be found on the other side of the marketplace. His store will be the one with the red and black signboard, north of the Vocation Guild. Talk to Roderick and he’ll confirm that goblins are behind the raid and that their lair lies along the western road out of Vernworth. If you have a Pawn with quest knowledge, they’ll lead you there, otherwise you’ll need to follow the western road.
Goblin Lair Location
The ![]() Goblin Lair is called
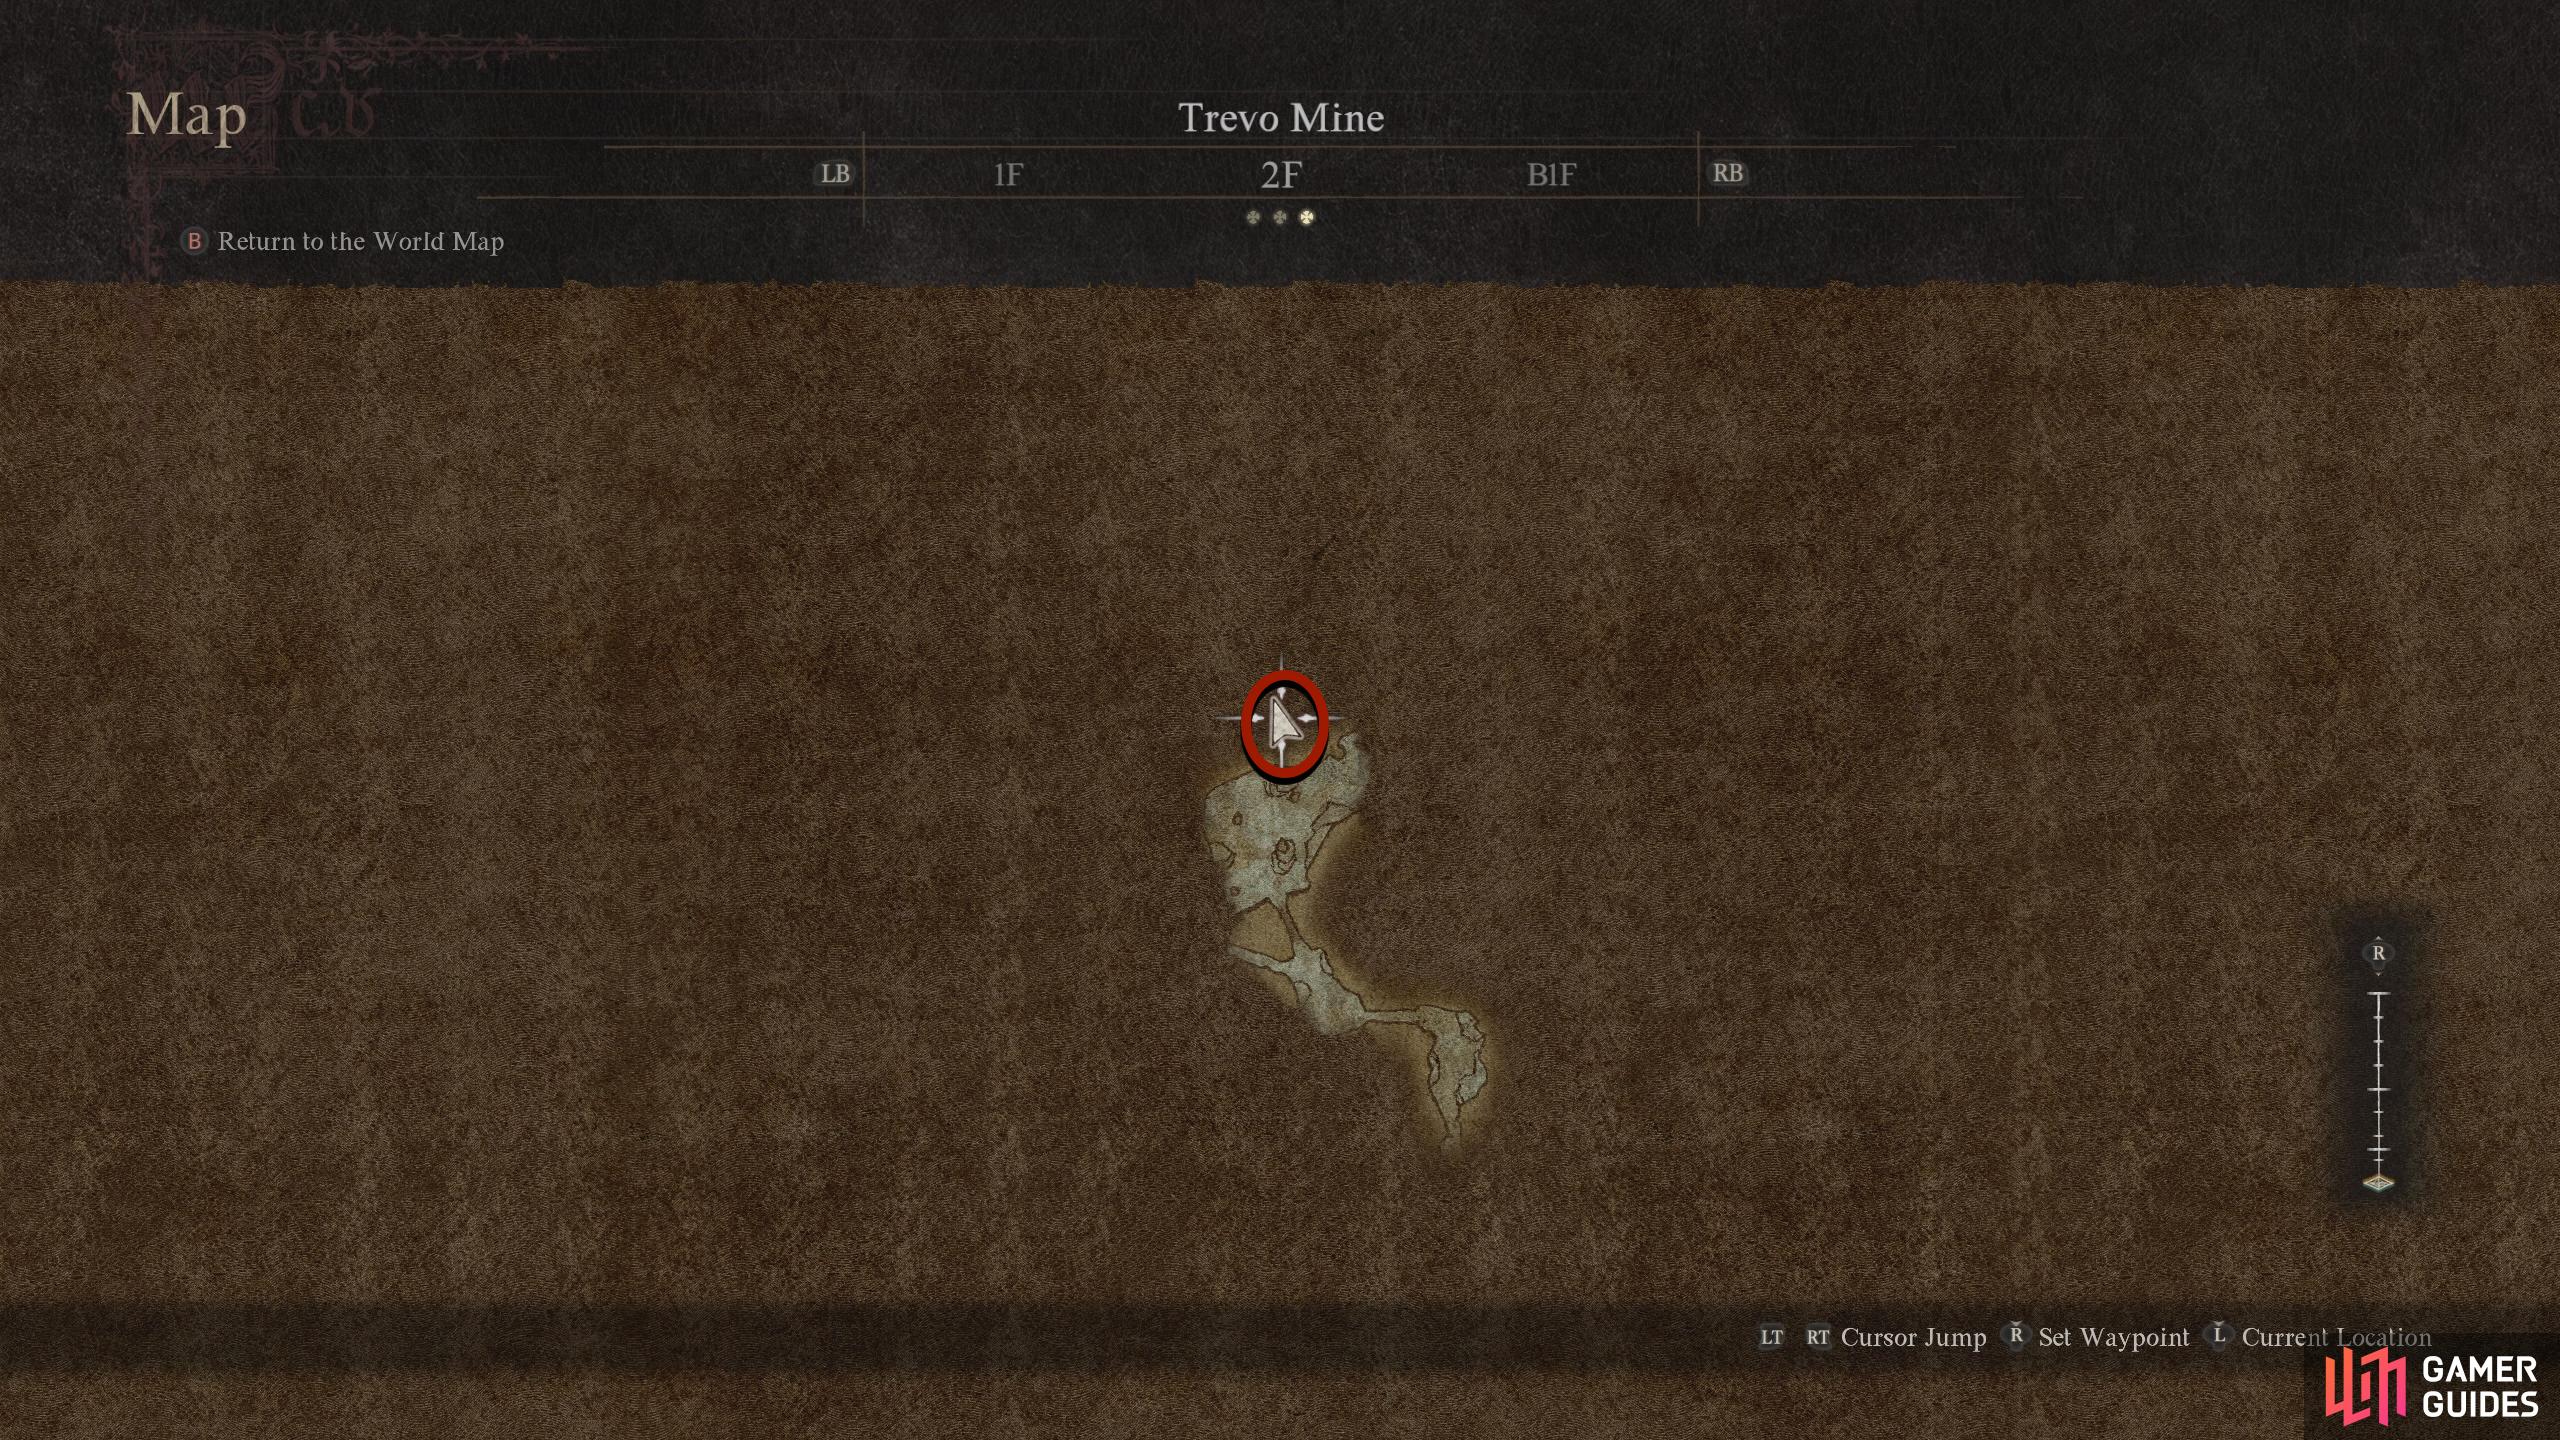
Goblin Lair is called ![]() Trevo Mine, which is a fair way west. Leave Vernworth via the northwestern exit, follow the road until you reach a crossroad, and then follow the western road. Now stay on this road while heading west until you reach another crossroad where you can head west or northwest (with a smaller trail heading north). Take the northwestern road and keep following it until you reach the Mine.
Trevo Mine, which is a fair way west. Leave Vernworth via the northwestern exit, follow the road until you reach a crossroad, and then follow the western road. Now stay on this road while heading west until you reach another crossroad where you can head west or northwest (with a smaller trail heading north). Take the northwestern road and keep following it until you reach the Mine.
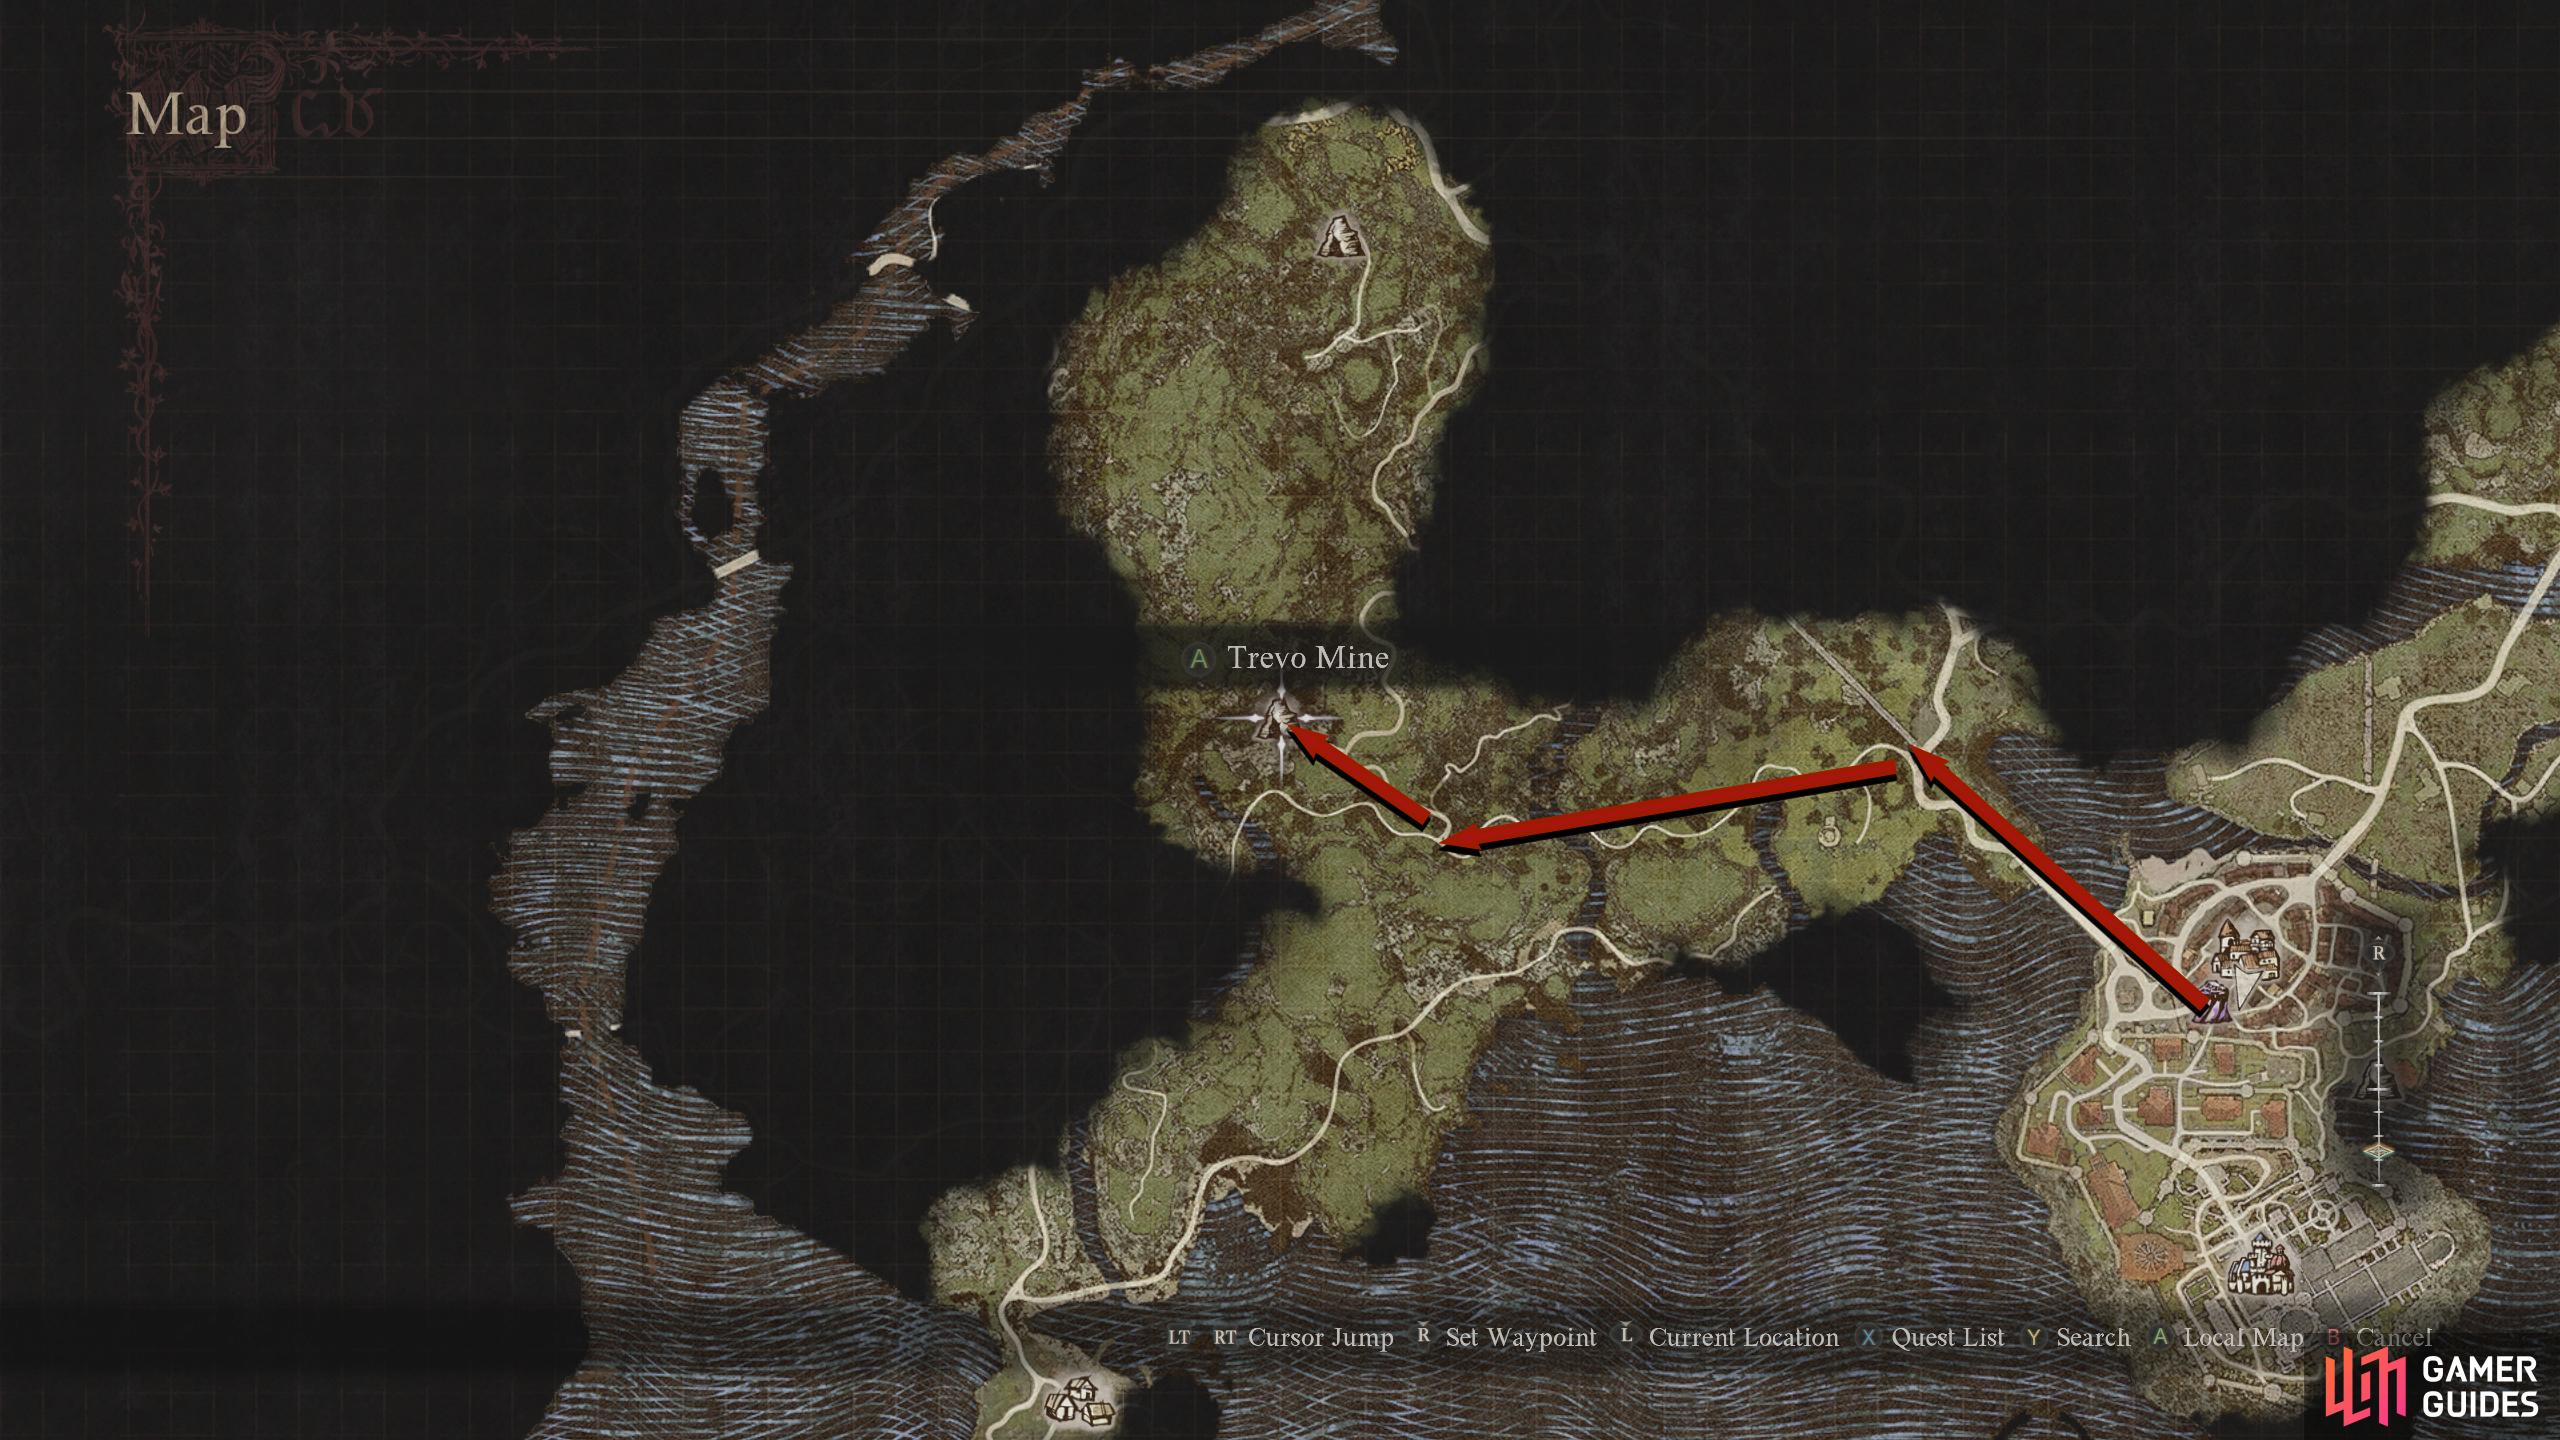
Trevo Mine is due west of Vernworth. Simply follow the northwestern road out of town and head west.
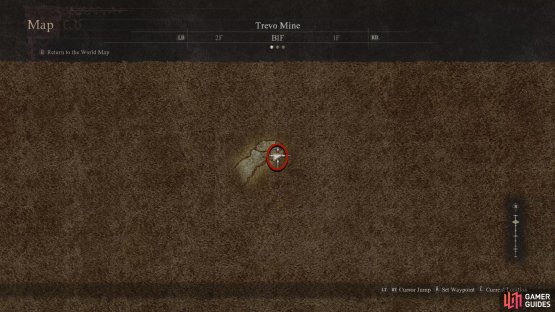
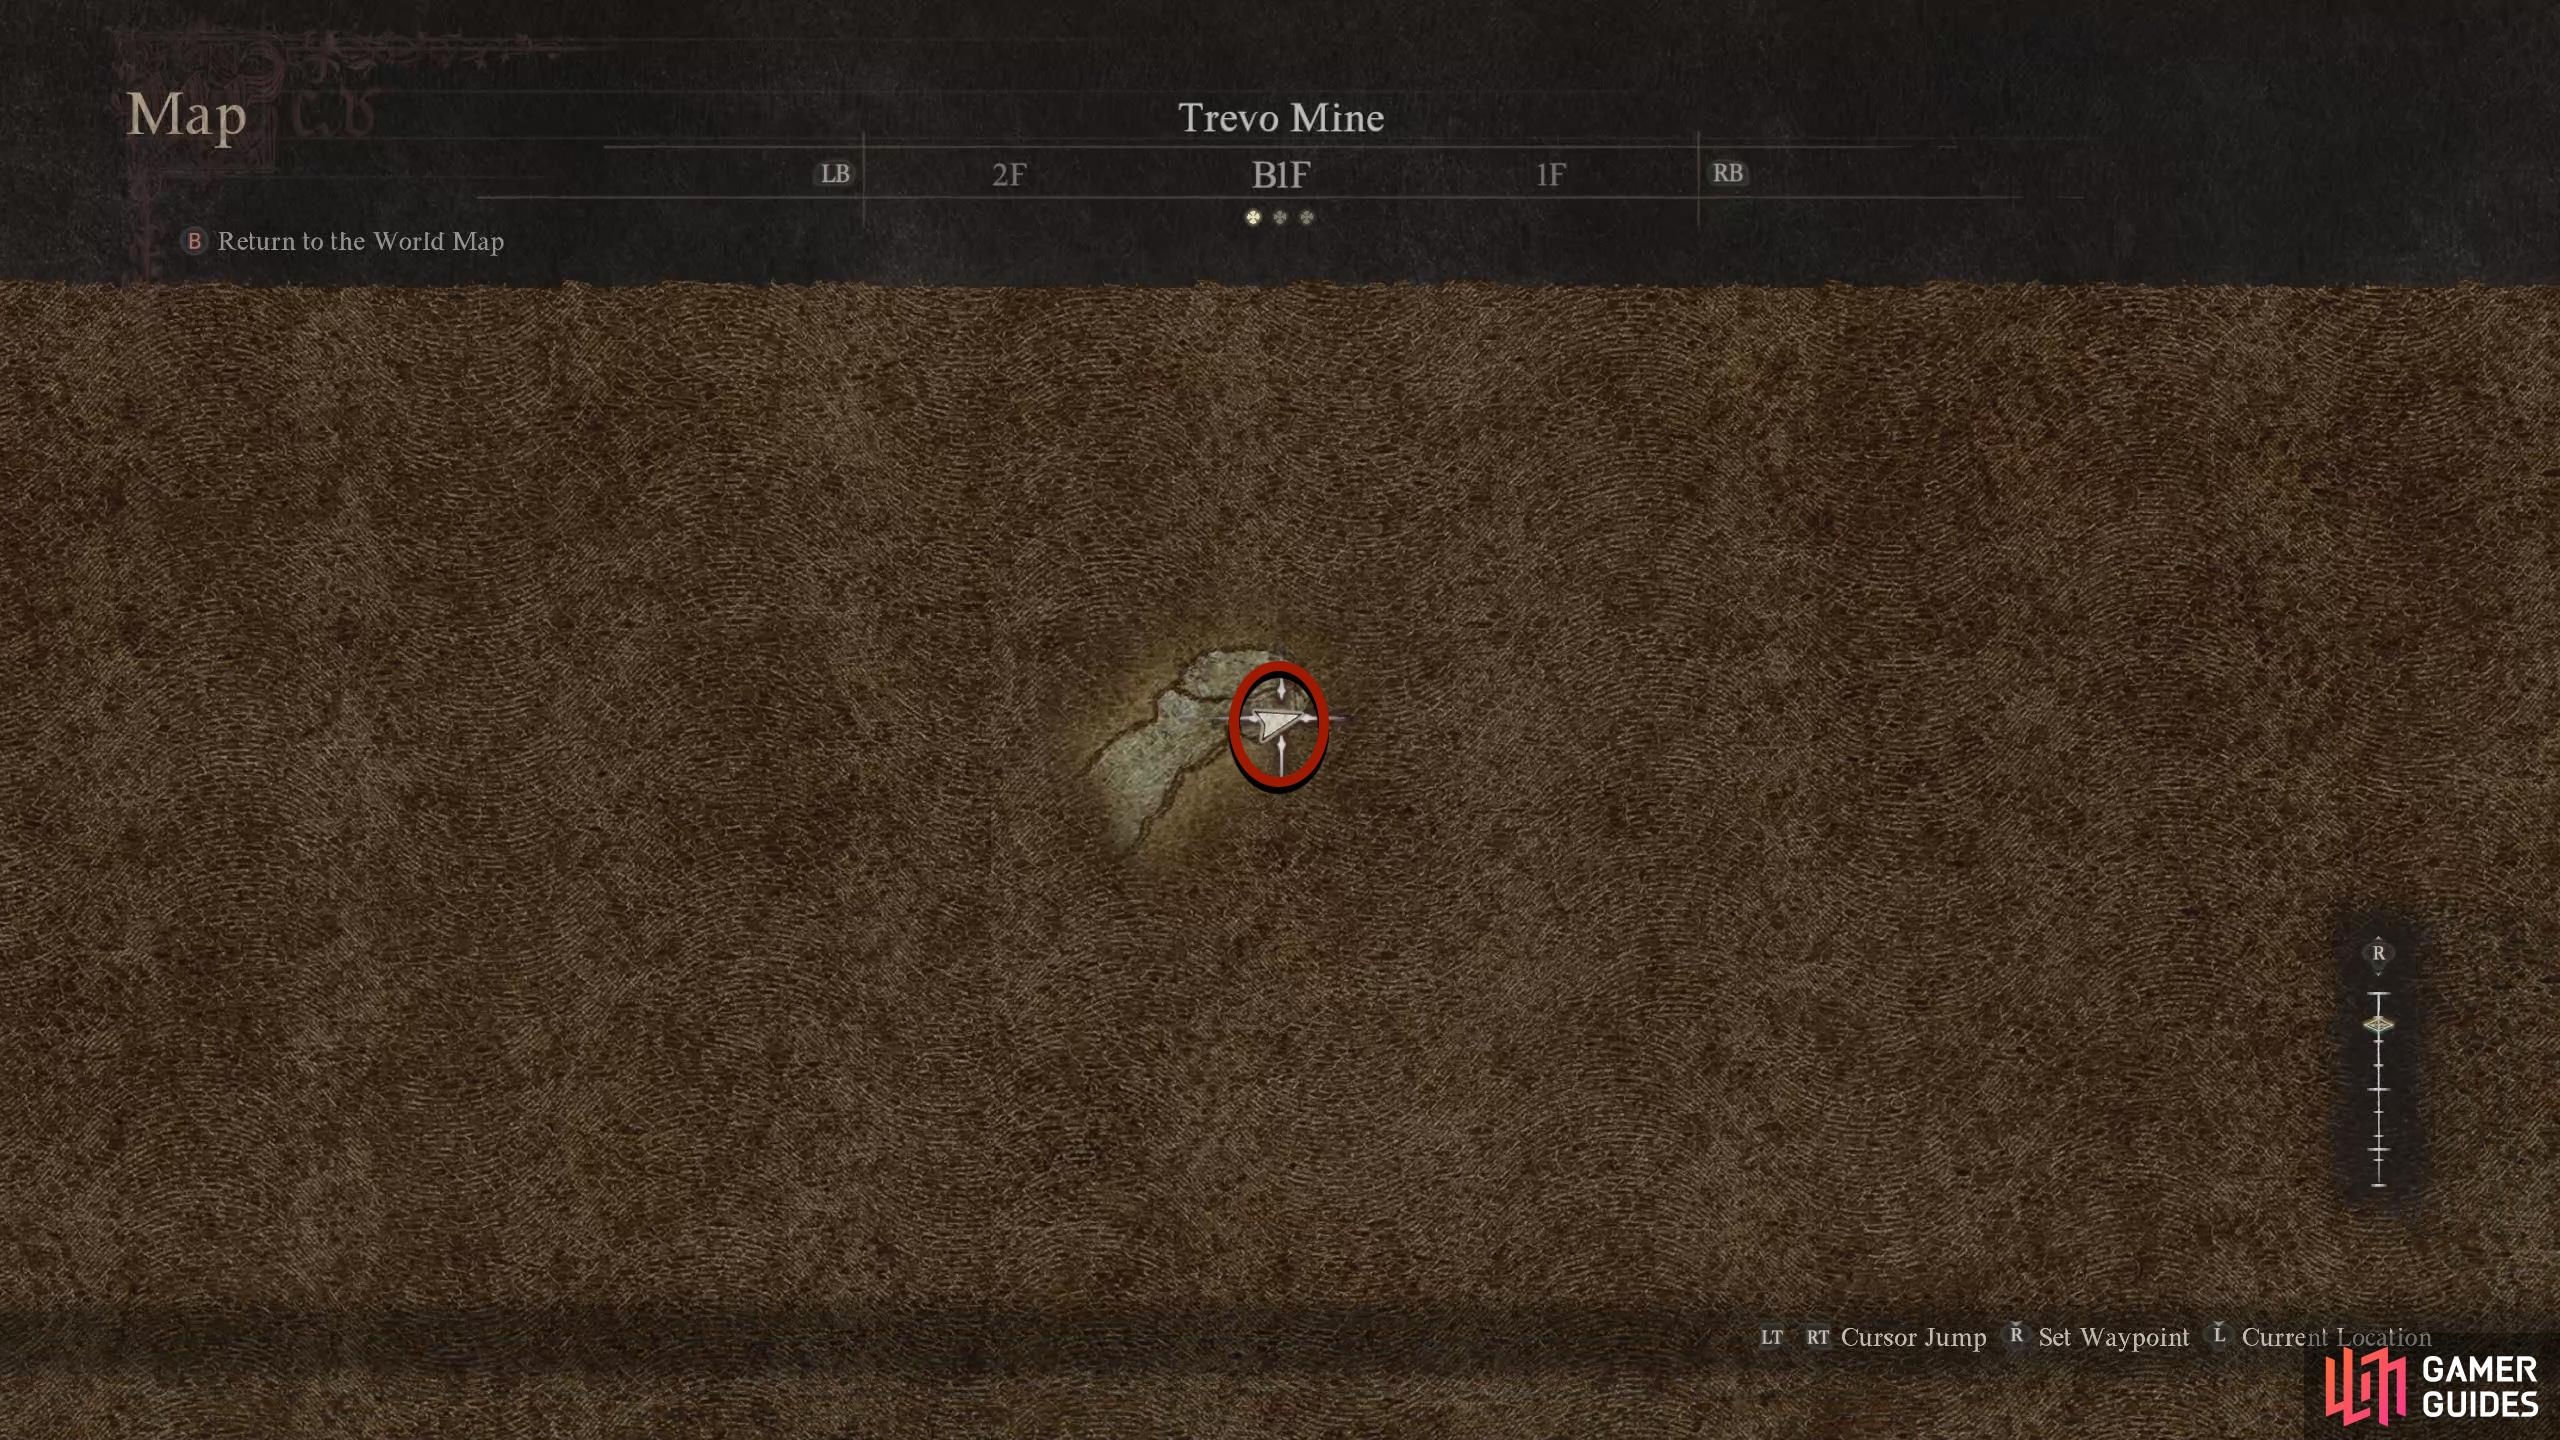
Greatsword Location - Trevo Mine
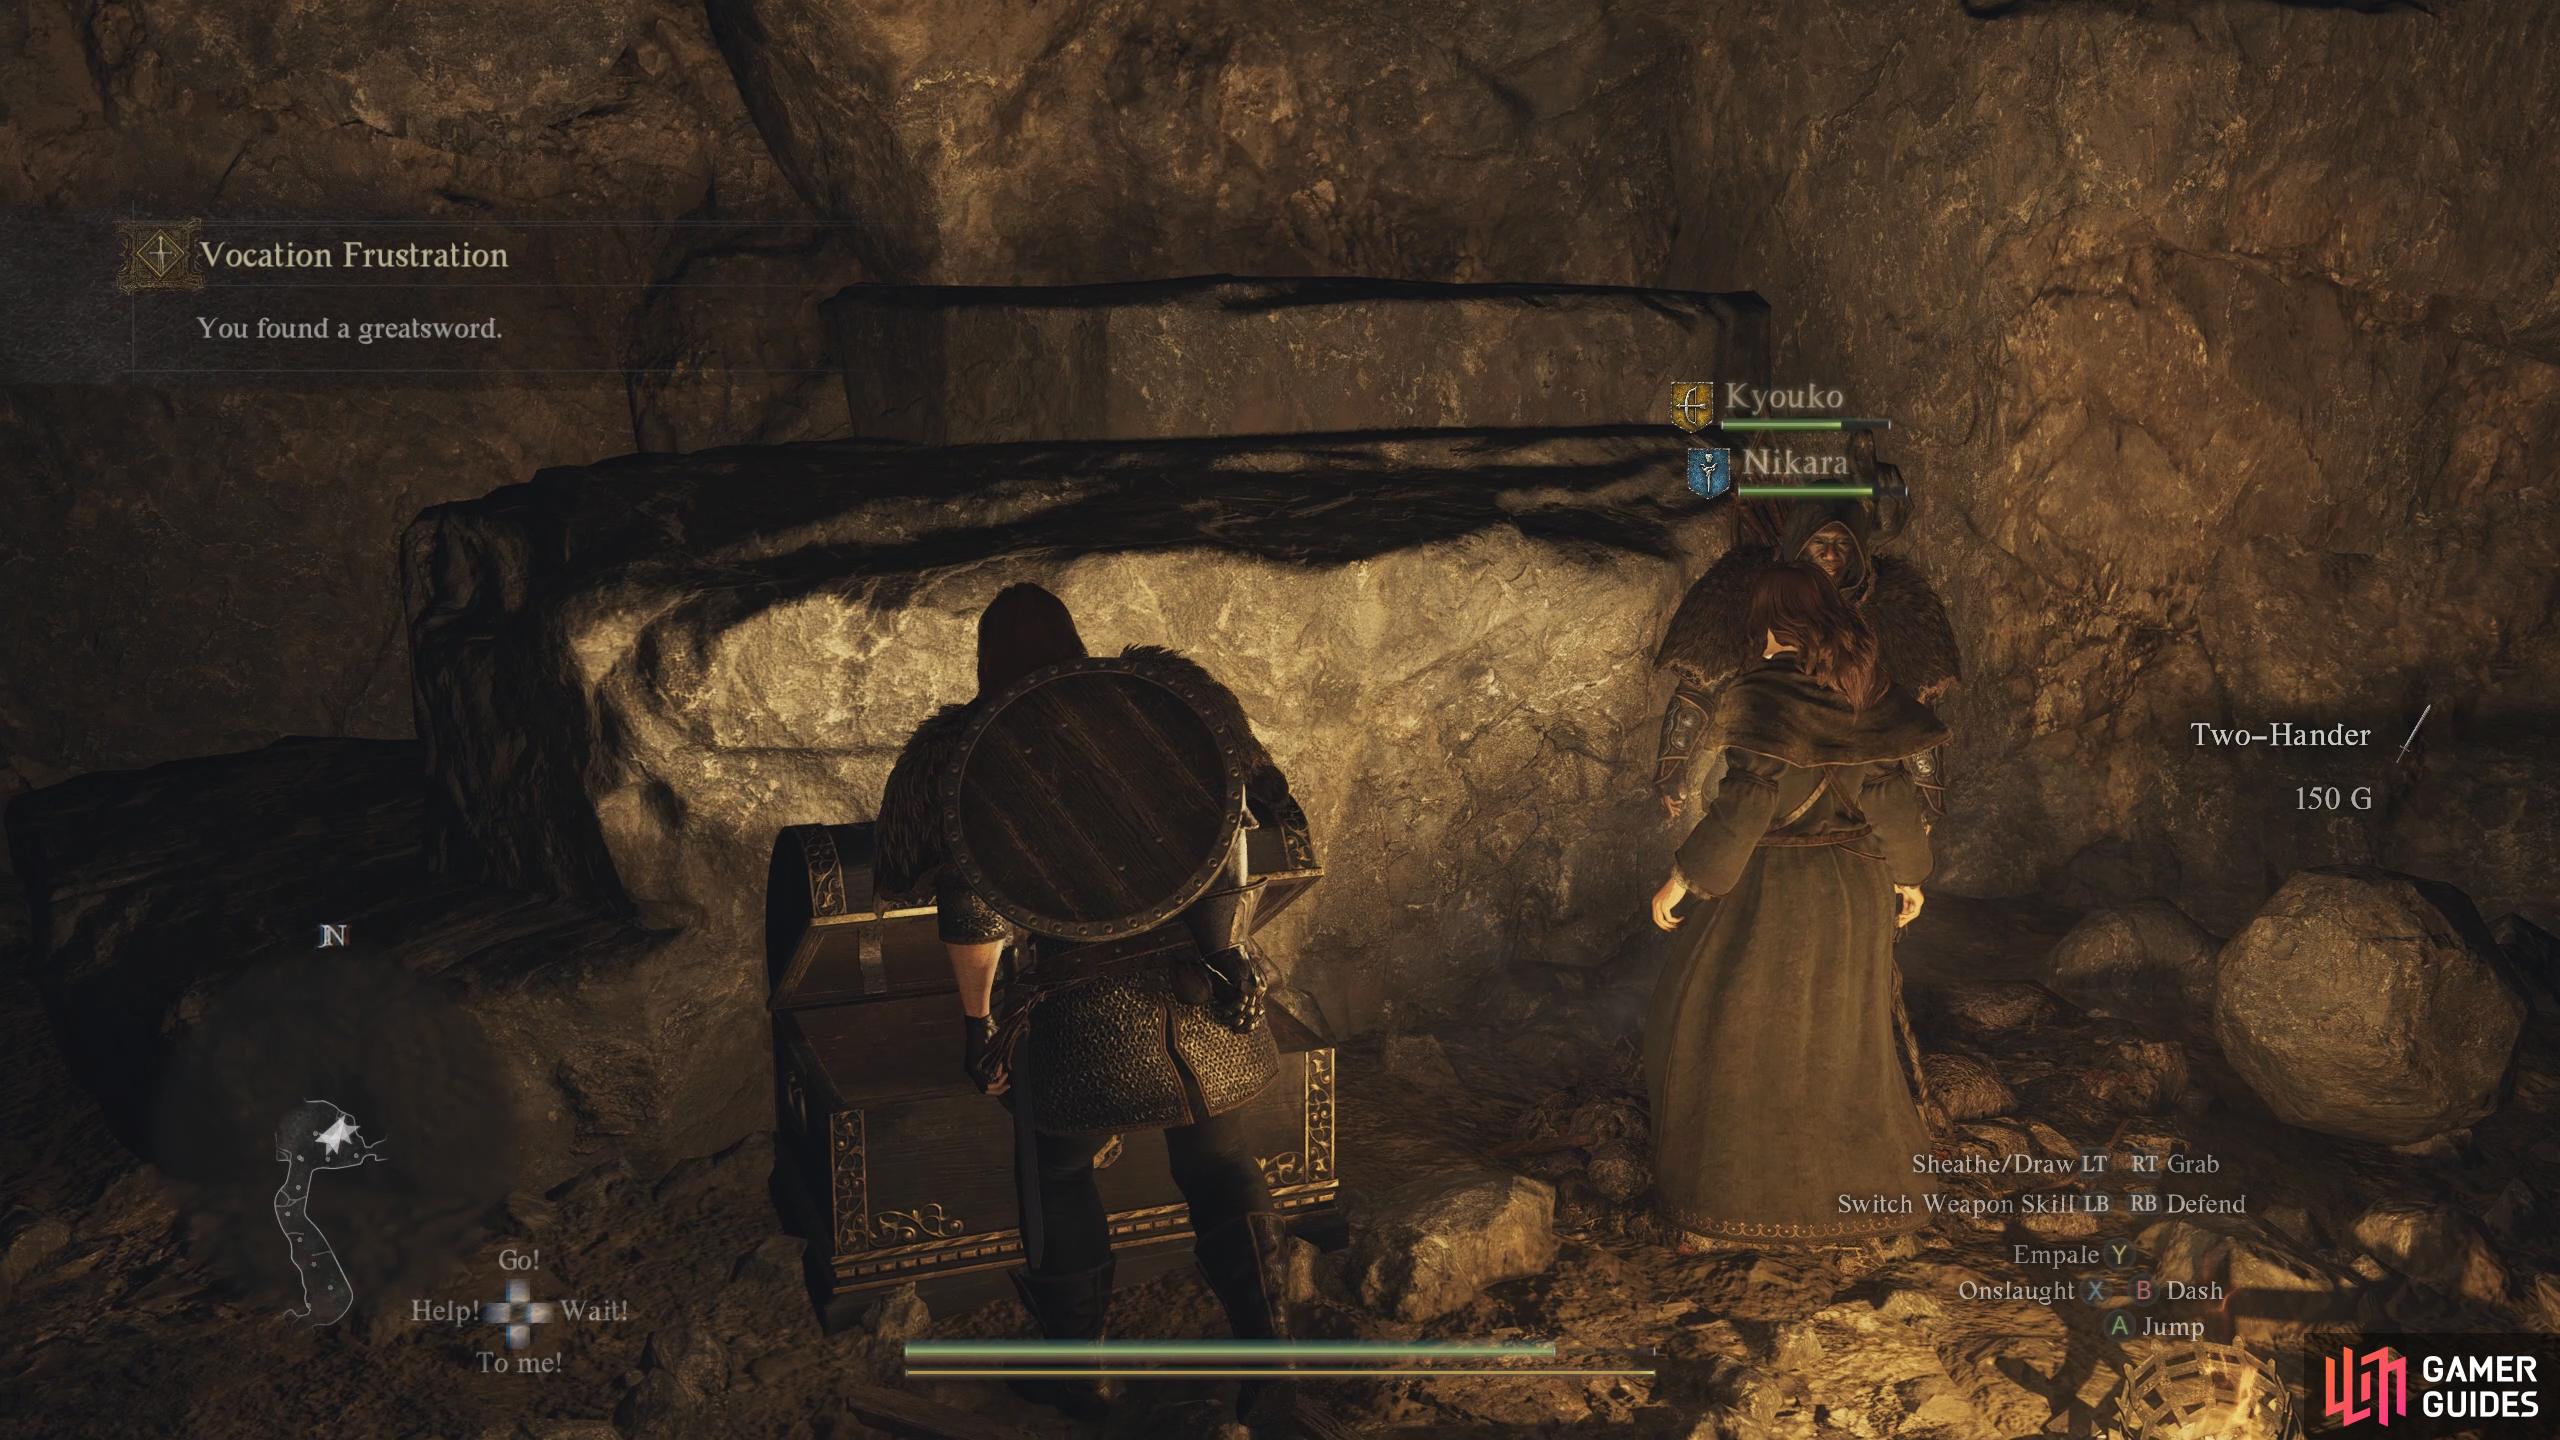
When you enter the mine, turn on your lantern in the menu, and follow the linear tunnel until you reach the first couple of goblins. Defeat them and proceed further along the tunnel until you reach a slope. Go up the slope but before going into the next tunnel, make sure you mine the ore deposit to your left (you’ll need silver and gold ore for a quest later). Continue through the next tunnel until you reach an open room with more goblins, defeat them, and you’ll have two ways you can go, up the rocks to the north, or down south. For now, head up the rocks to your north to enter another largish area with more goblins to defeat. Once they’re defeated, head into the adjacent room to the north, where even more goblins will ambush you. Dispatch them and open the chest to the left of the door to obtain the ![]() Two-Hander Greatsword.
Two-Hander Greatsword.

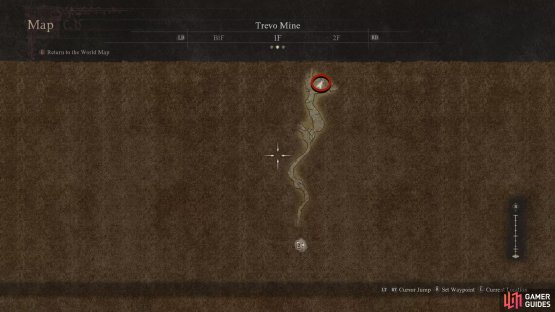
(1 of 2) The Greatsword is in a chest to the left of the wooden door.
The Greatsword is in a chest to the left of the wooden door. (left), This can be found in the north of the first floor. (right)
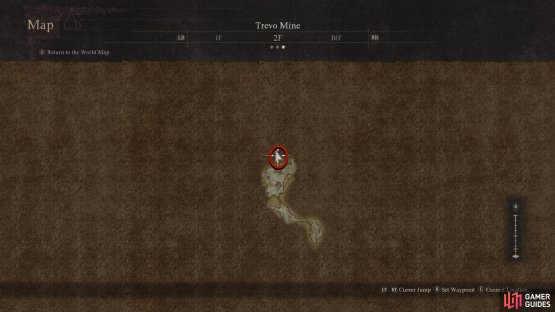
Archistaff Location - Trevo Mine
Head back the way you came until you reach the intersection and take the northwestern tunnel down. In the next area, you’ll have a bunch of goblins to fight. At the back of the area, there are some large boulders you can attack (or push) to make them roll down and deal damage to the goblins but make sure you don’t get hit by it yourself as it will deal significant damage to you. If you climb up the ledges to the west, you’ll find a singular goblin as well as an ore deposit, so make sure you take this route to the boulders. When you finish the room, take the western tunnel north, defeat the goblins, and continue north. As the tunnel narrows, you’ll find an ore deposit on your right.
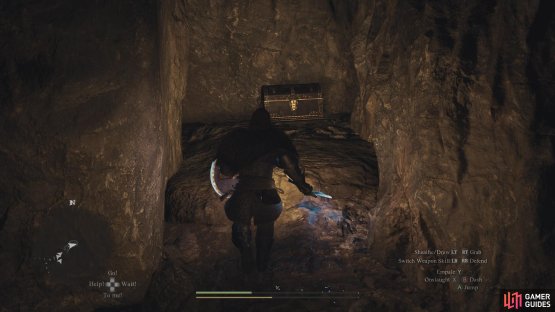
Continue following the tunnel north, which curves to the east, and when you exit it, you’ll be in a large room with more goblins. Defeat them, and head through the narrow gap opposite the tunnel you entered from. This is on the same level (don’t go up any ledges yet) as the entrance. Follow the path, and you’ll soon find a chest containing the ![]() Grievous Horns Archistaff. Before you go, make sure you search the area for various ore deposits and chests. All you need to do now is head back to Klaus at the Vocation Guild to complete the quest and unlock Warrior and Sorcerer. The best way to get out is to use a Ferrystone which will take you back to the Portcrystal in Vernworth (you did touch this, right?), otherwise, keep heading up to exit the Mine, and then follow the road east to town.
Grievous Horns Archistaff. Before you go, make sure you search the area for various ore deposits and chests. All you need to do now is head back to Klaus at the Vocation Guild to complete the quest and unlock Warrior and Sorcerer. The best way to get out is to use a Ferrystone which will take you back to the Portcrystal in Vernworth (you did touch this, right?), otherwise, keep heading up to exit the Mine, and then follow the road east to town.
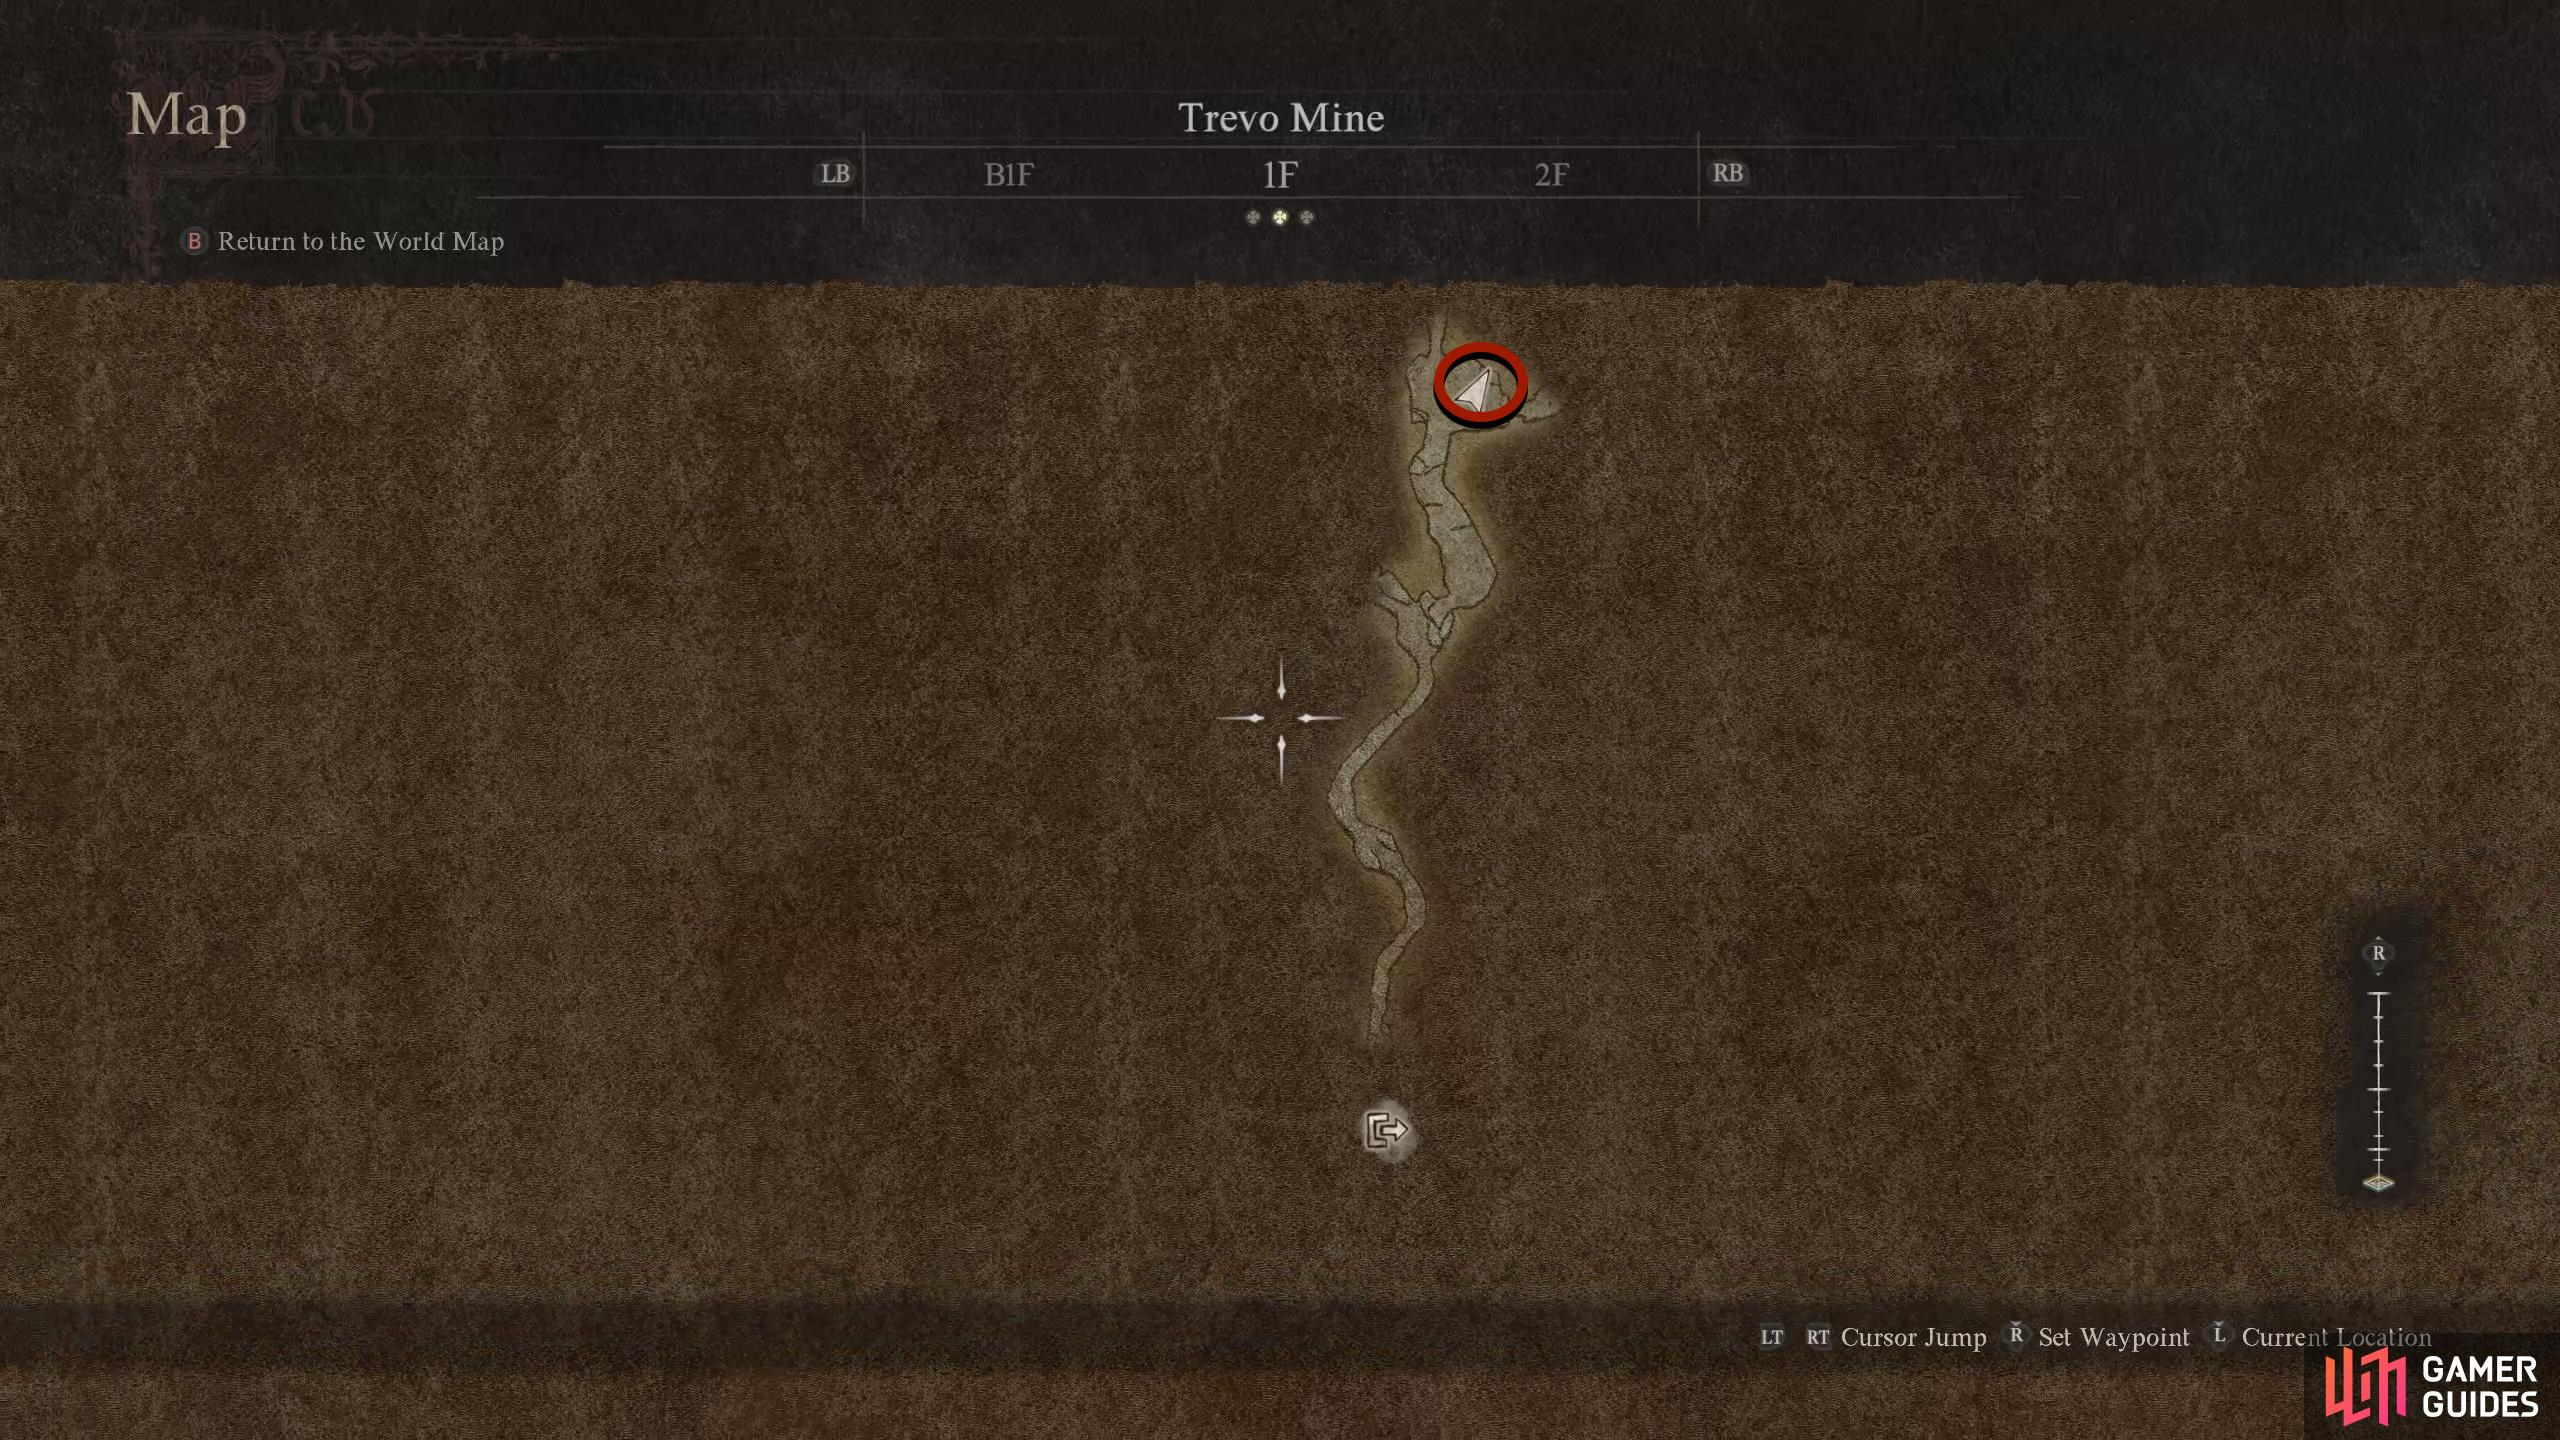
(1 of 2) The Archistaff can be found in a chest which is situated through a narrow tunnel.

The Archistaff can be found in a chest which is situated through a narrow tunnel. (left), This is on the lowest floor of Trevo Mine. (right)
Monster Culling - Trevo Mine
Now, head through the nearby door and proceed through the tunnel, passing through some goblins, until you arrive at an open area with a small wooden bridge. There is a chest situated above the bridge on a ledge to your right that contains a Ferrystone. You will need to exit the Mine via the exit at the top and come from above. You may be able to get this with support skills like ![]() Levitate, but we didn’t have any of those spells at the time, so you may want to try that first. Anyway, head across the bridge and help out the guards fighting the goblins. This will complete the “Monster Culling” quest Brant gives you upon arriving in Vernworth. Once the goblins are dealt with, open up the chest at the back for the Daggers:
Levitate, but we didn’t have any of those spells at the time, so you may want to try that first. Anyway, head across the bridge and help out the guards fighting the goblins. This will complete the “Monster Culling” quest Brant gives you upon arriving in Vernworth. Once the goblins are dealt with, open up the chest at the back for the Daggers: ![]() Signs of Valor. Now, if you continue up, you’ll exit the Mine where you can find another opening to drop to get the Ferrystone chest mentioned earlier.
Signs of Valor. Now, if you continue up, you’ll exit the Mine where you can find another opening to drop to get the Ferrystone chest mentioned earlier.

(1 of 2) Help out the guards to defeat the goblins across the bridge to complete one of the Monster Culling objectives.
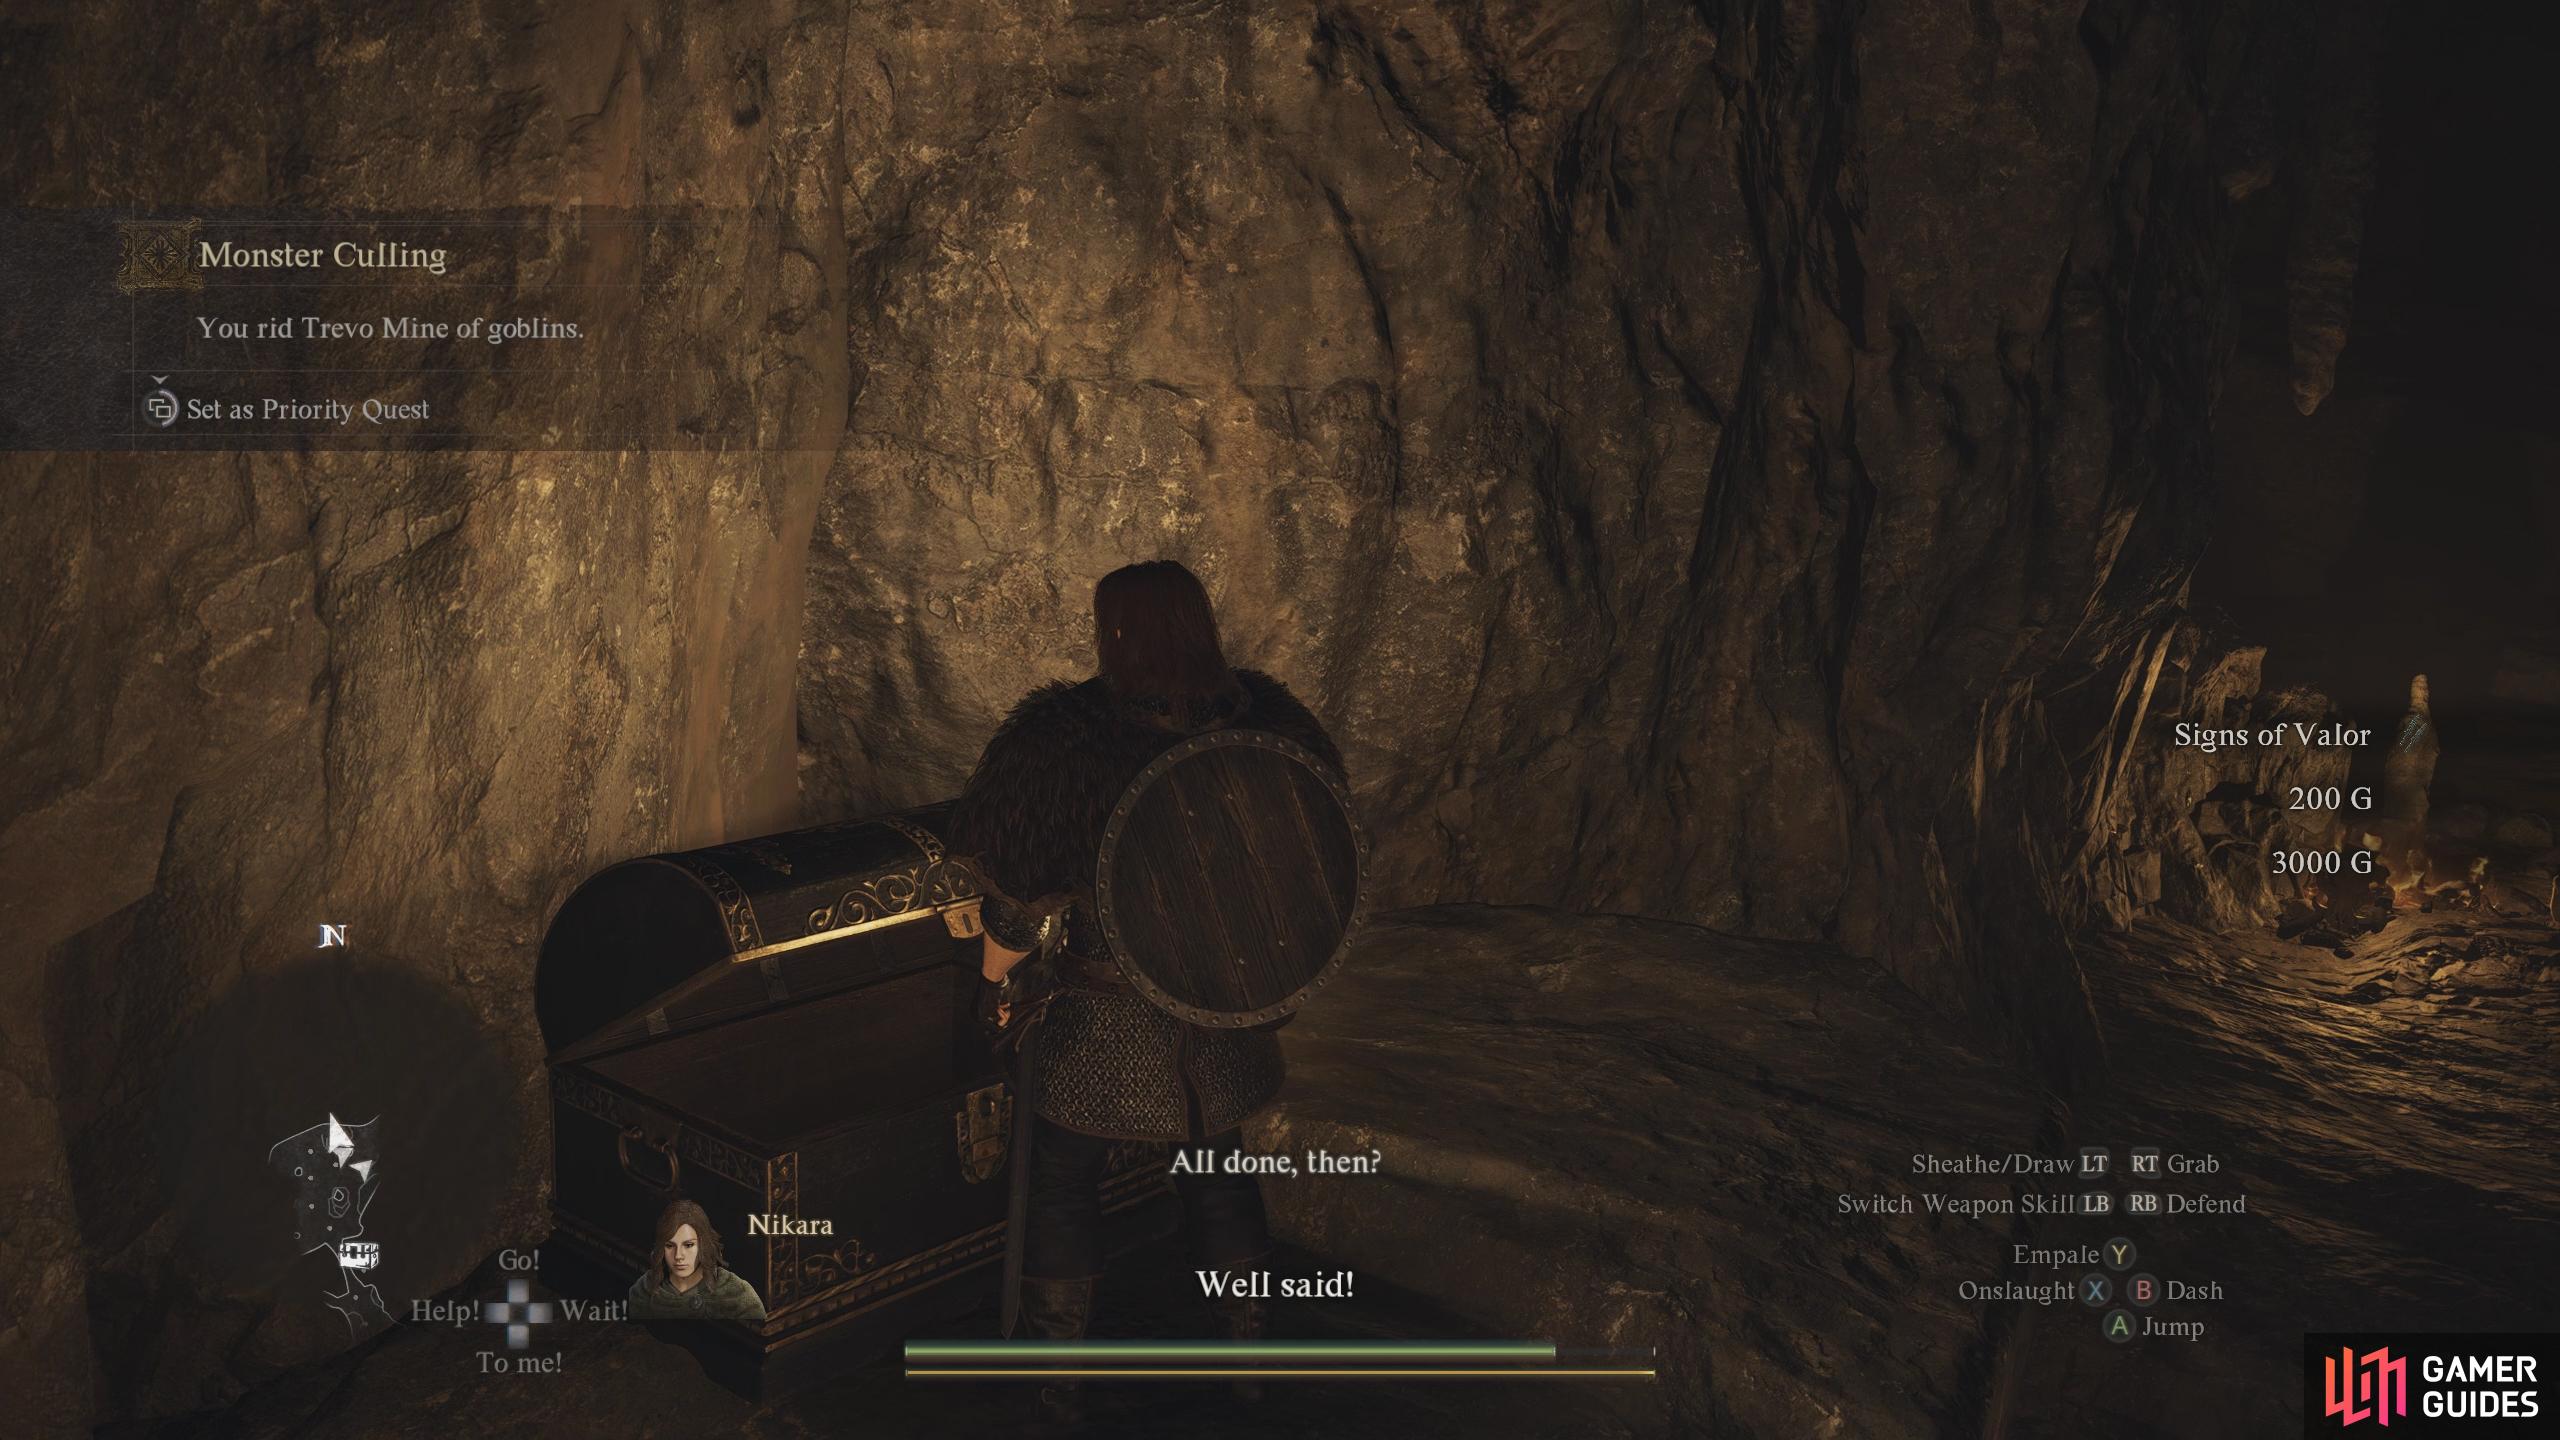
Help out the guards to defeat the goblins across the bridge to complete one of the Monster Culling objectives. (left), This is on the second floor of Trevo Mine. (right)
No Comments