

Den A
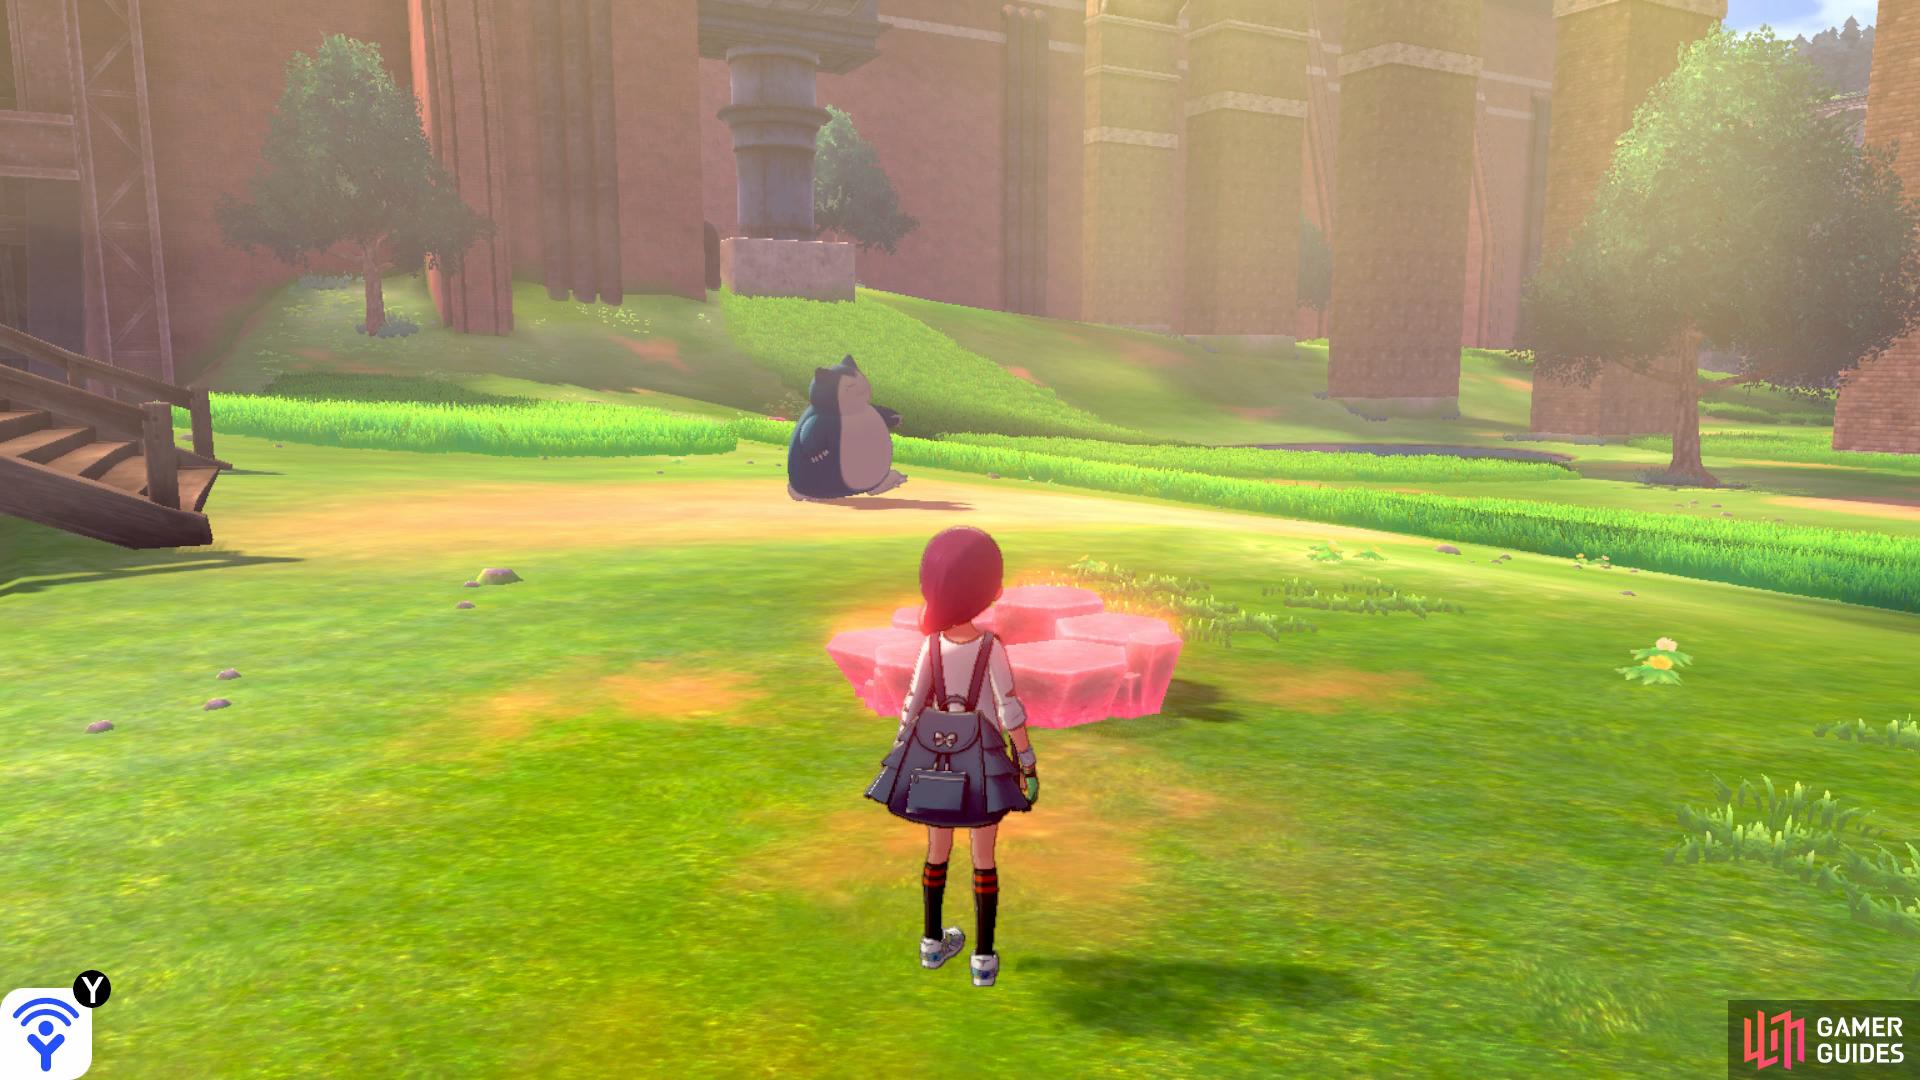
Den A can be found just to the east of the bridge.
Common Den
| Name | Type | Encounter Rate |
|---|---|---|
 Skwovet Skwovet |
Normal | ☆ - 35% |
 Wooloo Wooloo |
Normal | ☆ - 35% |
 Zigzagoon Zigzagoon |
Dark/Normal | ☆ - 20%, ☆☆ - 40% |
 Munchlax Munchlax |
Normal | ☆ - 10%, ☆☆ - 10% |
 Indeedee Indeedee |
Psychic/Normal | ☆☆ - 10% |
 Greedent Greedent |
Normal | ☆☆ - 40%, ☆☆☆ - 40% |
 Linoone Linoone |
Dark/Normal | ☆☆☆ - 20%, ☆☆☆☆ - 35% |
 Dubwool Dubwool |
Normal | ☆☆☆ - 20%, ☆☆☆☆ - 25%, ☆☆☆☆☆ - 30% |
 Diggersby Diggersby |
Normal/Ground | ☆☆☆☆ - 15%, ☆☆☆☆☆ - 20% |
 Braviary (Sword only) Braviary (Sword only) |
Normal/Flying | ☆☆☆☆☆ - 15% |
 Oranguru (Shield only) Oranguru (Shield only) |
Normal/Psychic | ☆☆☆☆☆ - 15% |
 Snorlax Snorlax |
Normal | ☆☆☆☆☆ - 5% |
Rare Den
| Name | Type | Encounter Rate |
|---|---|---|
 Bunnelby Bunnelby |
Normal | ☆ - 35% |
 Pidove Pidove |
Normal/Flying | ☆ - 35% |
| Skwovet |
Normal | ☆ - 20%, ☆☆ - 40% |
 Eevee Eevee |
Normal | ☆ - 10%, ☆☆ - 10%, ☆☆☆☆☆ - 15% |
 Tranquill Tranquill |
Normal/Flying | ☆☆ - 25%, ☆☆☆ - 20% |
| Wooloo |
Normal | ☆☆ - 25%, ☆☆☆ - 40% |
 Unfezant Unfezant |
Normal/Flying | ☆☆☆ - 20%, ☆☆☆☆ - 20%, ☆☆☆☆☆ - 10% |
| Dubwool |
Normal | ☆☆☆ - 20%, ☆☆☆☆ - 20%. ☆☆☆☆☆ - 20% |
| Braviary (Sword only) |
Normal/Flying | ☆☆☆☆ - 20%, ☆☆☆☆☆ - 25% |
| Oranguru (Shield only) |
Normal/Psychic | ☆☆☆☆ - 20%, ☆☆☆☆☆ - 25% |
| Indeedee |
Normal/Psychic | ☆☆☆☆ - 40%, ☆☆☆☆☆ - 25% |
| Snorlax |
Normal | ☆☆☆☆☆ - 5% |
Den B
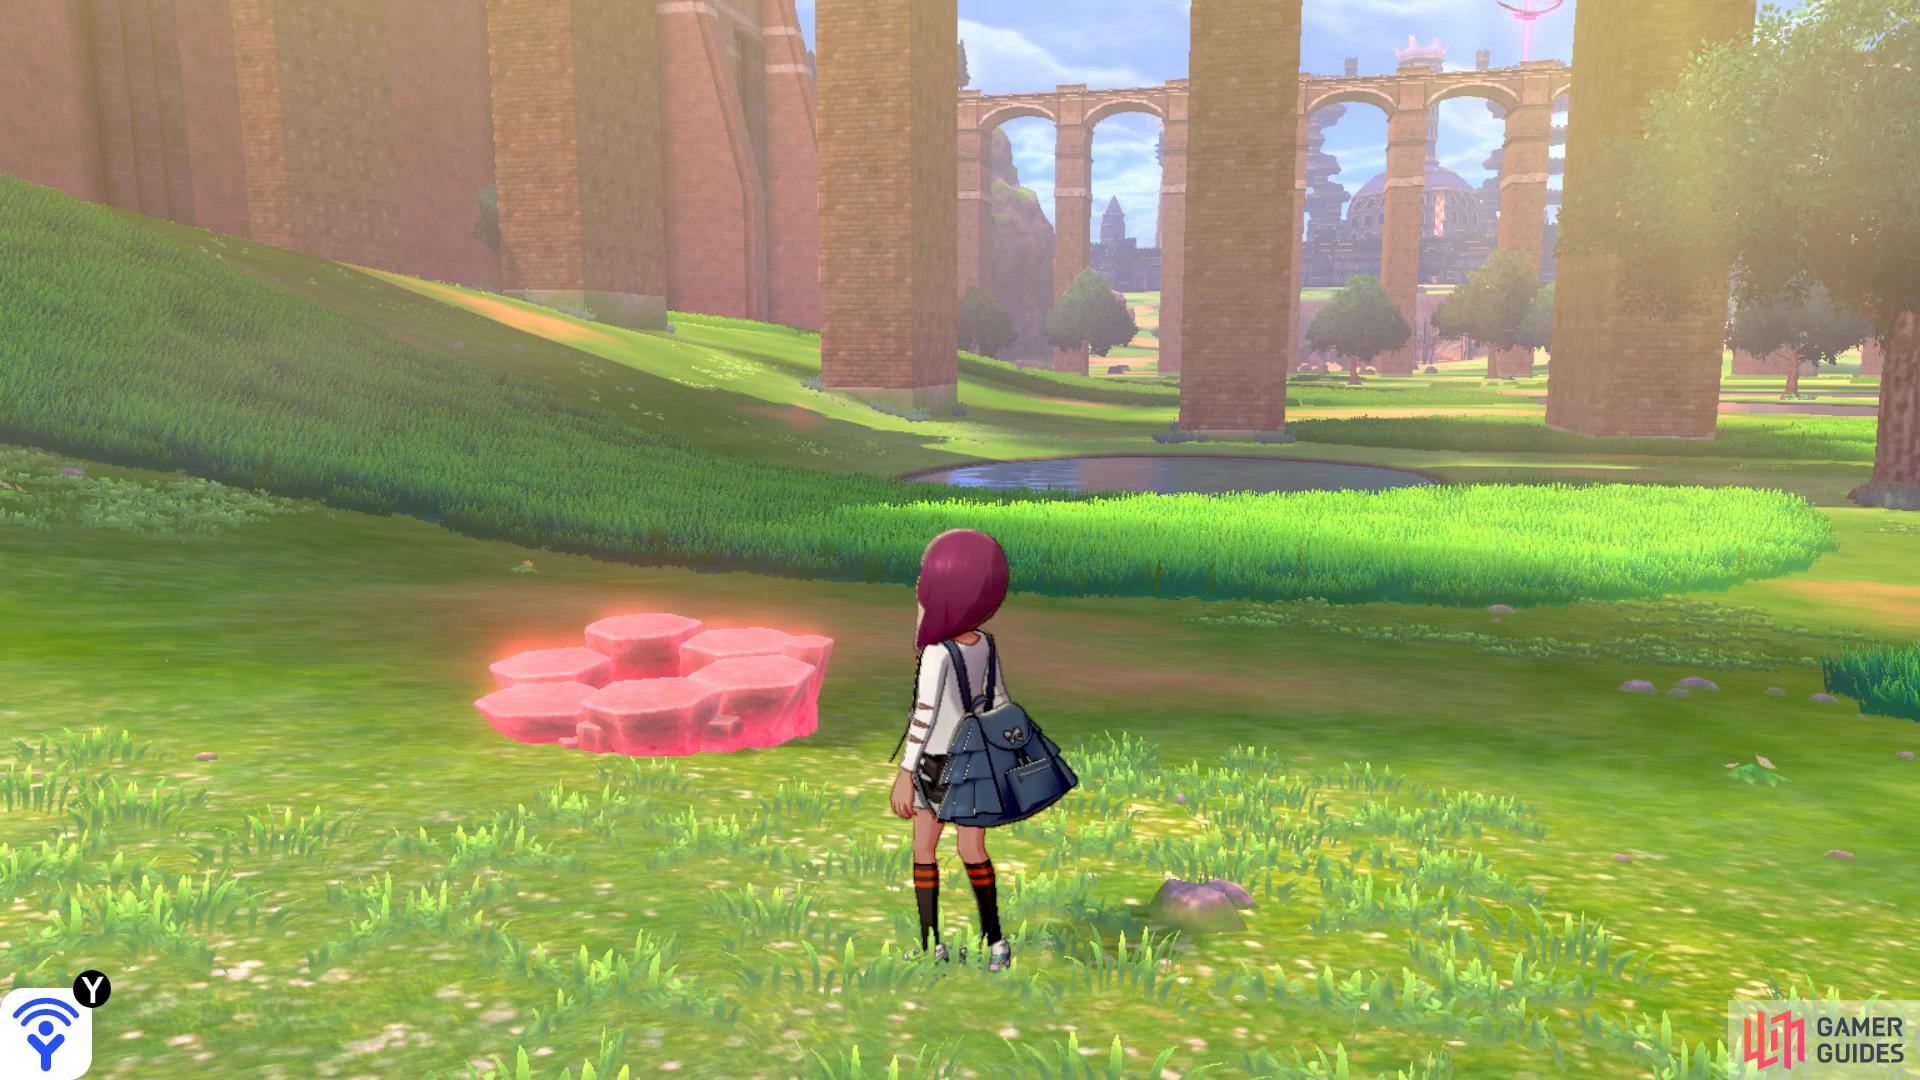
You’ll find Den B a little to the south of the pond.
Common Den
| Name | Type | Encounter Rate |
|---|---|---|
 Pichu Pichu |
Electric | ☆ - 35% |
 Electrike Electrike |
Electric | ☆ - 35% |
 Joltik Joltik |
Bug/Electric | ☆ - 20%, ☆☆ - 30% |
 Chinchou Chinchou |
Water/Electric | ☆ - 10%, ☆☆ - 30% |
 Charjabug Charjabug |
Bug/Electric | ☆☆ - 20% |
 Pikachu Pikachu |
Electric | ☆☆ - 20%, ☆☆☆ - 40% |
 Manectric Manectric |
Electric | ☆☆☆ - 20%, ☆☆☆☆ - 25%, ☆☆☆☆☆ - 20% |
 Lanturn Lanturn |
Water/Electric | ☆☆☆ - 20%, ☆☆☆☆ - 25%, ☆☆☆☆☆ - 30% |
 Galvantula Galvantula |
Bug/Electric | ☆☆☆☆ - 15%, ☆☆☆☆☆ - 30% |
 Vikavolt Vikavolt |
Bug/Electric | ☆☆☆☆☆ - 10% |
 Raichu Raichu |
Electric | ☆☆☆☆☆ - 10% |
Rare Den
| Name | Type | Encounter Rate |
|---|---|---|
 Yamper Yamper |
Electric | ☆ - 35% |
 Toxel Toxel |
Electric/Poison | ☆ - 35% |
| Pikachu |
Electric | ☆ - 20%, ☆☆ - 30% |
| Joltik |
Bug/Electric | ☆ - 10%, ☆☆ - 30% |
| Chinchou |
Water/Electric | ☆☆ - 20%, ☆☆☆ - 20% |
| Lanturn |
Water/Electric | ☆☆ - 20%, ☆☆☆ - 40% |
 Boltund Boltund |
Electric | ☆☆☆ - 20%, ☆☆☆☆ - 20%, ☆☆☆☆☆ - 10% |
 Toxtricity Toxtricity |
Electric/Poison | ☆☆☆ - 20%, ☆☆☆☆ - 20%, ☆☆☆☆☆ - 20% |
 Pincurchin Pincurchin |
Electric | ☆☆☆☆ - 20%, ☆☆☆☆☆ - 25% |
| Galvantula |
Bug/Electric | ☆☆☆☆ - 40%, ☆☆☆☆☆ - 25% |
 Togedemaru Togedemaru |
Electric/Steel | ☆☆☆☆☆ - 15% |
 Morpeko Morpeko |
Electric/Dark | ☆☆☆☆☆ - 5% |
Den C
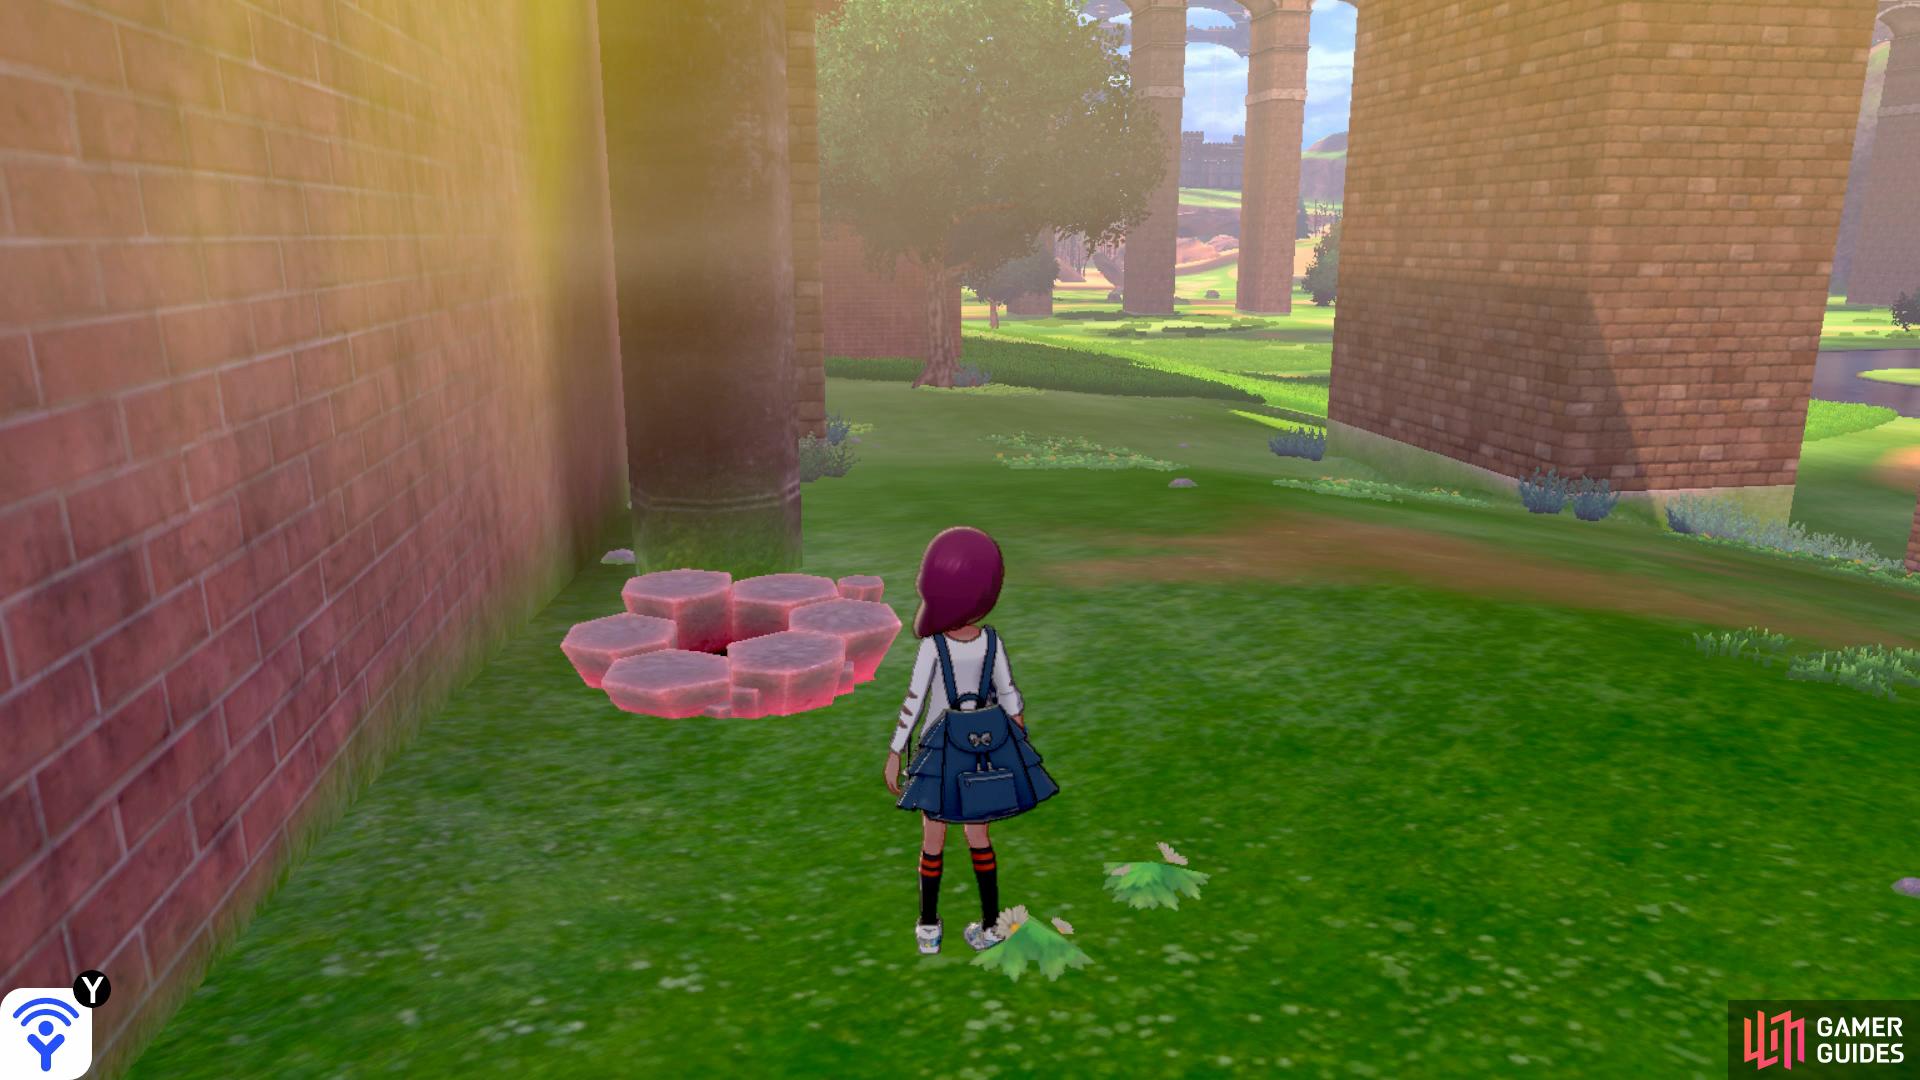
Head to the western wall from the pond to reach Den C.
Common Den
| Name | Type | Encounter Rate |
|---|---|---|
| Toxel |
Electric/Poison | ☆ - 35% |
 Gastly Gastly |
Ghost/Poison | ☆ - 35% |
 Skorupi Skorupi |
Poison/Bug | ☆ - 20%, ☆☆ - 30% |
 Oddish Oddish |
Grass/Poison | ☆ - 10%, ☆☆ - 30% |
 Gloom Gloom |
Grass/Poison | ☆☆ - 20% |
 Haunter Haunter |
Ghost/Poison | ☆☆ - 20%, ☆☆☆ - 40% |
 Koffing Koffing |
Poison | ☆☆☆ - 20%, ☆☆☆☆ - 35% |
 Qwilfish Qwilfish |
Water/Poison | ☆☆☆ - 20%, ☆☆☆☆ - 25%, ☆☆☆☆☆ - 30% |
 Vileplume Vileplume |
Grass/Poison | ☆☆☆ - 20%, ☆☆☆☆ - 25%, ☆☆☆☆☆ - 30% |
 Roselia Roselia |
Grass/Poison | ☆☆☆☆ - 15%, ☆☆☆☆☆ - 20% |
| Toxtricity |
Electric/Poison | ☆☆☆☆☆ - 15% |
 Weezing Weezing |
Poison/Fairy | ☆☆☆☆☆ - 5% |
Rare Den
| Name | Type | Encounter Rate |
|---|---|---|
 Stunky Stunky |
Poison/Dark | ☆ - 35% |
 Trubbish Trubbish |
Poison | ☆ - 35% |
| Skorupi |
Poison/Bug | ☆ - 20%, ☆☆ - 30% |
| Koffing |
Poison | ☆ - 10%, ☆☆ - 30% |
 Mareanie (Sword only) Mareanie (Sword only) |
Poison/Water | ☆☆ - 20%, ☆☆☆ - 20% |
 Salandit (Shield only) Salandit (Shield only) |
Poison/Fire | ☆☆ - 20%, ☆☆☆ - 20% |
| Toxel |
Electric/Poison | ☆☆ - 20%, ☆☆☆ - 40% |
 Garbodor Garbodor |
Poison | ☆☆☆ - 20%, ☆☆☆☆ - 20%, ☆☆☆☆☆ - 10% |
 Drapion Drapion |
Poison/Dark | ☆☆☆ - 20%, ☆☆☆☆ - 20%, ☆☆☆☆☆ - 20% |
| Toxtricity |
Electric/Poison | ☆☆☆☆ - 20%, ☆☆☆☆☆ - 25% |
 Skuntank Skuntank |
Poison/Dark | ☆☆☆☆ - 40%, ☆☆☆☆☆ - 25% |
| Weezing |
Poison/Fairy | ☆☆☆☆☆ - 15% |
 Toxapex (Sword only) Toxapex (Sword only) |
Poison/Water | ☆☆☆☆☆ - 5% |
 Salazzle (Shield only) Salazzle (Shield only) |
Poison/Fire | ☆☆☆☆☆ - 5% |
Den D
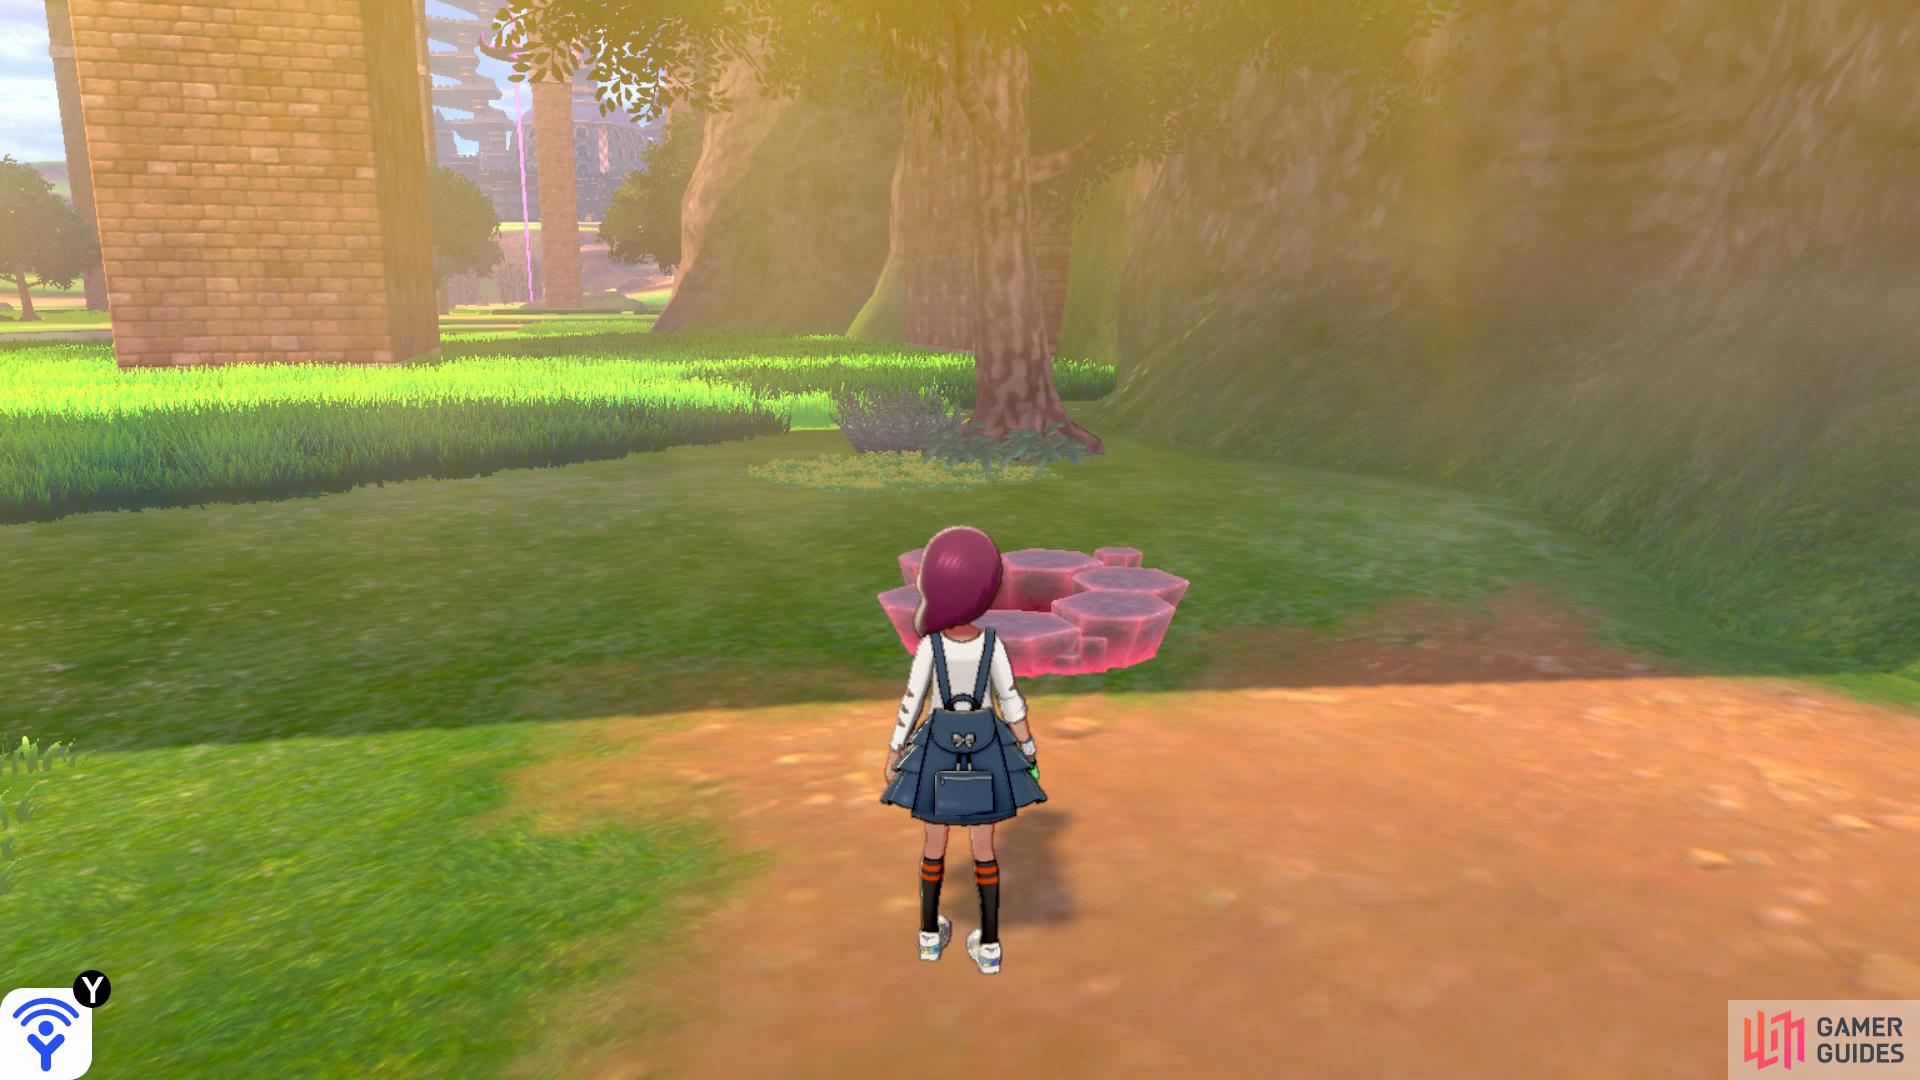
You’ll find Den D along the edge to the northeast.
Common Den
| Name | Type | Encounter Rate |
|---|---|---|
 Mime Jr. Mime Jr. |
Psychic/Fairy | ☆ - 35% |
 Wynaut Wynaut |
Psychic | ☆ - 35% |
 Natu Natu |
Psychic/Flying | ☆ - 20%, ☆☆ - 30% |
 Baltoy Baltoy |
Ground/Psychic | ☆ - 10%, ☆☆ - 30% |
 Bronzor Bronzor |
Steel/Psychic | ☆☆ - 20% |
 Mr. Mime Mr. Mime |
Ice/Psychic | ☆☆ - 20%, ☆☆☆ - 40%, ☆☆☆☆ - 15% |
 Sigilyph Sigilyph |
Psychic/Flying | ☆☆☆ - 20%, ☆☆☆☆ - 25% |
 Xatu Xatu |
Psychic/Flying | ☆☆☆ - 20%, ☆☆☆☆ - 25% |
| Indeedee |
Psychic/Normal | ☆☆☆ - 20%, ☆☆☆☆ - 20%, ☆☆☆☆☆ - 25% |
 Claydol Claydol |
Ground/Psychic | ☆☆☆☆ - 10%, ☆☆☆☆☆ - 25% |
 Mr. Rime Mr. Rime |
Ice/Psychic | ☆☆☆☆☆ - 25% |
 Wobbuffet Wobbuffet |
Psychic | ☆☆☆☆☆ - 25% |
Rare Den
| Name | Type | Encounter Rate |
|---|---|---|
 Inkay Inkay |
Dark/Psychic | ☆ - 35% |
 Ralts Ralts |
Psychic/Fairy | ☆ - 35% |
| Mr. Mime |
Ice/Psychic | ☆ - 20%, ☆☆ - 30% |
 Woobat Woobat |
Psychic/Flying | ☆ - 10%, ☆☆ - 30% |
 Hatenna Hatenna |
Psychic | ☆☆ - 20%, ☆☆☆ - 20% |
 Hattrem Hattrem |
Psychic | ☆☆ - 20%, ☆☆☆ - 40% |
 Kirlia Kirlia |
Psychic/Fairy | ☆☆☆ - 20%, ☆☆☆☆ - 20% |
 Swoobat Swoobat |
Psychic/Flying | ☆☆☆ - 20%, ☆☆☆☆ - 20%, ☆☆☆☆☆ - 20% |
 Hatterene Hatterene |
Psychic/Fairy | ☆☆☆☆ - 20%, ☆☆☆☆☆ - 30% |
| Mr. Rime |
Ice/Psychic | ☆☆☆☆ - 40%, ☆☆☆☆☆ - 30% |
 Malamar Malamar |
Dark/Psychic | ☆☆☆☆☆ - 15% |
 Gardevoir Gardevoir |
Psychic/Fairy | ☆☆☆☆☆ - 5% |
No Comments