

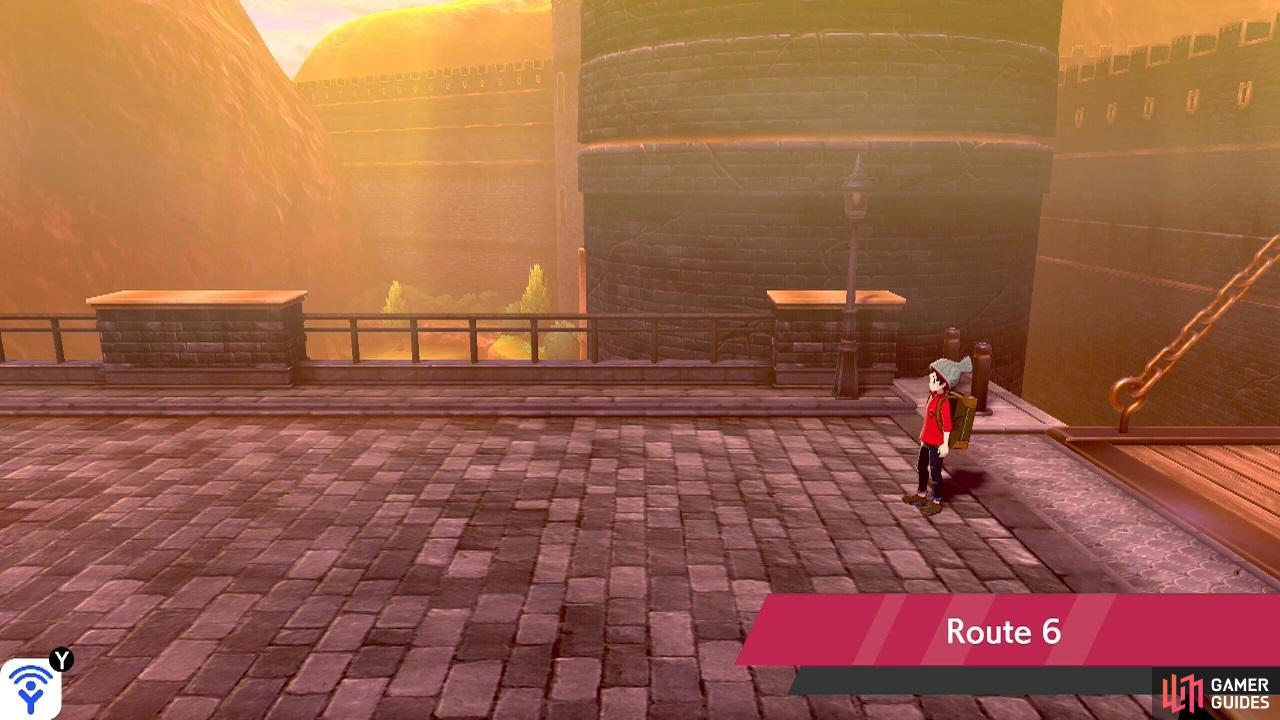
This route connects Hammerlocke and Stow-on-Side.
Wild Pokémon - Overworld
| Pokémon | Type | Encounter Rate |
|---|---|---|
 Yamask Yamask |
Ground/Ghost | 35% |
 Helioptile Helioptile |
Electric/Normal | 29% |
 Dugtrio Dugtrio |
Ground | 20% |
 Maractus Maractus |
Grass | 10% |
 Axew Axew |
Dragon | 5% (Sword) 1% (Shield) |
 Trapinch Trapinch |
Ground | 1% (Sword), 5% (Shield) |
Wild Pokémon - Random Encounters
| Pokémon | Type | Encounter Rate |
|---|---|---|
 Silicobra Silicobra |
Ground | 30% |
 Durant Durant |
Bug/Steel | 20% (Sword), 5% (Shield) |
 Duskull Duskull |
Ghost | 18% |
 Skorupi Skorupi |
Poison/Bug | 10% |
 Hippopotas Hippopotas |
Ground | 10% |
 Heatmor Heatmor |
Fire | 5% (Sword), 20% (Shield) |
 Torkoal Torkoal |
Fire | 5% |
 Hawlucha Hawlucha |
Fighting/Flying | 2% |
 Greedent Greedent |
Normal | Berry Tree - 100% |
Wild Pokémon - Fishing


You’ll start on a bridge-like pathway, located above the Wild Area. Travel west to the end of this pathway. When you reach the other side, some Team Yell Grunts will be huddled around a Silicobra, next to the number 6 signpost. If you want to get past, you’ll need to force your way through. Be wary as you’ll be fighting two trainers in a row.
Team Yell Grunt
 Stunky is weak to Ground only. If you don’t have one of those, Steel-types can work as they’re immune to Poison. Thankfully, it’s unevolved so you can just brute-force it, but keep your Psychic-types away. For Galarian
  Linoone, you have more options; it takes 4x damage from Fighting and double damage from Bug and Fairy.
Team Yell Grunt
| Pokémon | Level | Type |
|---|---|---|
 Liepard Liepard |
30 | Dark |
Liepard is a pure Dark-type, so it’s weak to Fighting, Bug and Fairy. On its first turn, it’ll probably use Fake Out to cause a flinch, but this won’t work on subsequent turns.
After sending Team Yell packing for the umpteenth time, Opal will come along. You’ll receive Opal’s League Card as a parting gift. Moving on, continue west along the sun-baked path. Soon, there’ll be a trainer standing between you and new horizons.
Beauty Anita
 Clefairy is, gasp, a Fairy-type, while
  Clefable is the evolved version of it. Naturally, Poison or Steel Pokémon would be excellent choices here. Given the chance, they will both use Metronome to use a completely random move from the hundreds that are available.
Past Anita, there’s a long patch of tall grass. Go through it, then jump over the nearby ledge along the bottom. Pick up the 3 Ultra Balls on the right. Next, head left back into the tall grass, then go around it towards the north. If you want, climb up the nearby ladder. Up here, there’s a small pond where you can forget your worries and do some fishing.
Carry on west past the first ladder. When you reach the end of the tall grass, there will be two ladders with a pair of trainers in-between them. If you want to climb up the left-hand side ladder, you’ll need to fight the trainers. Otherwise, climb up the right-hand side ladder. They both go to the same place.
Medical Team Iwan and Evelyn
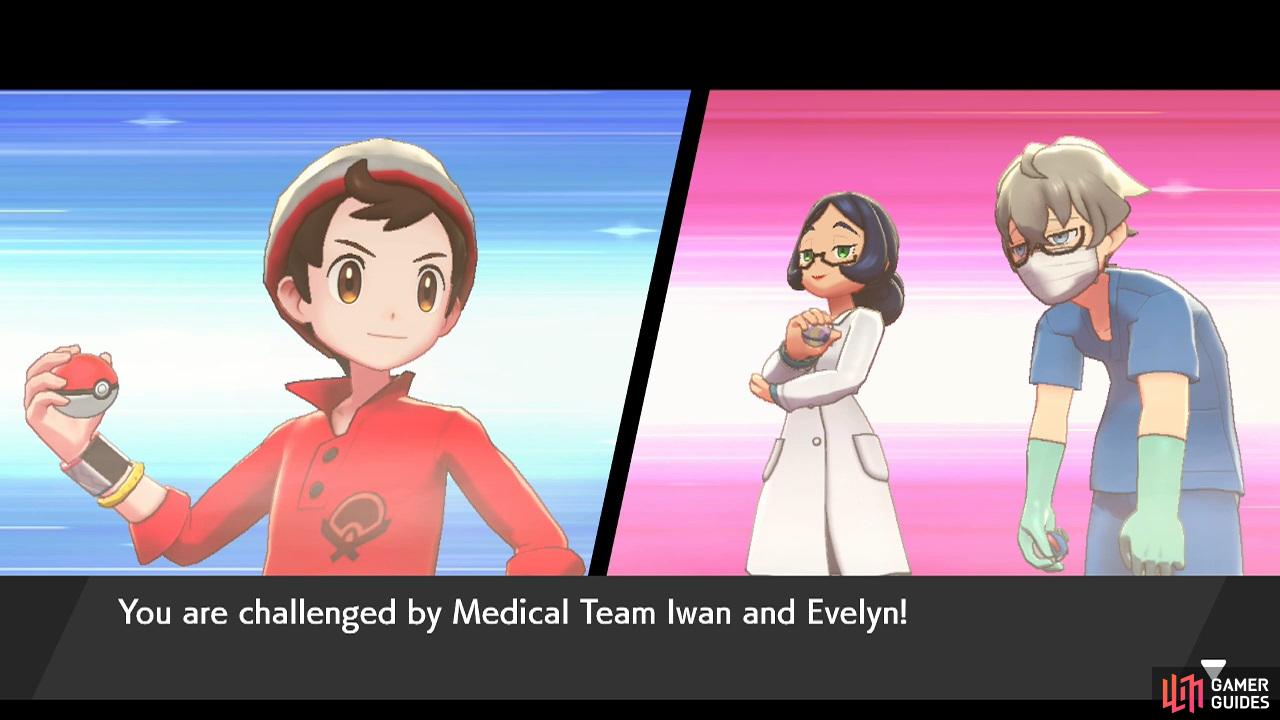
This will be a Double Battle.  Pawniard takes a hefty 4x damage from Fighting and 2x damage from Fire and Ground.
  Togetic is an evolved
  Togepi that has gained the Flying-type. It’s weak to Electric, Rock, Ice, Poison and Steel. Togetic is the support here, using Yawn to make your Pokémon drowsy and Life Dew to restore HP for its team.
After climbing either ladder, you’ll reach an area with tall grass running from centre to right. Towards the left and right are more ladders going up. Finally, there’s a trainer standing to the left of the tall grass, nearer to the left half of the area. Firstly, we want to go up the left-hand side ladder. If you came from the left, this will be easy. Otherwise, fight the trainer or run past when she’s looking right.
Backpacker Diane
| Pokémon | Level | Type |
|---|---|---|
 Sawk Sawk |
31 | Fighting |
Sawk is a no-nonsense Fighting-type. If you have a Flying, Psychic or Fairy-type, let them wreak havoc.
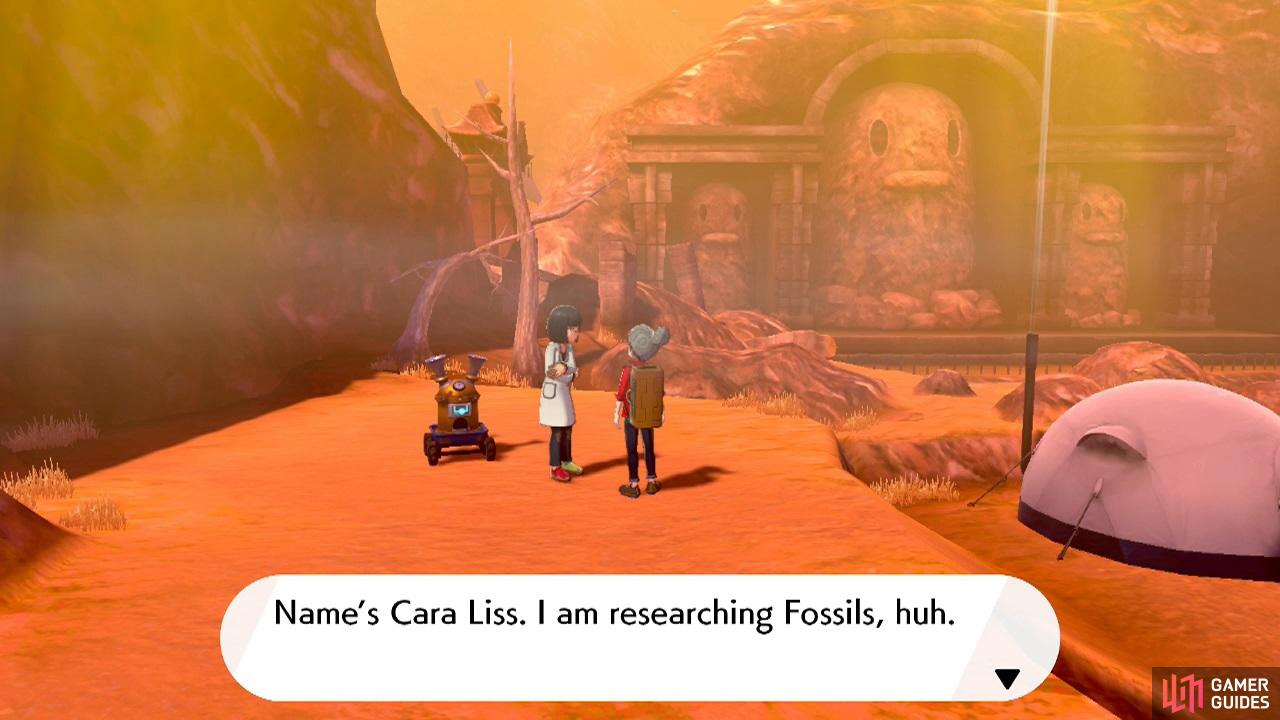
From Diane, climb up the next ladder on the left. Up here, there’s a camp site directly ahead. Go over there and pick up TM15 Dig lying obviously on the floor to the right. Next, head left from the tent. Speak to the lady and she’ll offer a Fossil Restoration service.
In a hurry to restore fossils? You can quickly get here by flying to the nearby camp site.
Go back down towards the top of the ladder that you used to get up here, then turn left. Search the left side of the rock mound to find 2 Fossilized Dino (Sword) or 2 Fossilized Fish (Shield). Then go down the ladder at the end. Down below, head right through the small patch of tall grass. Scoop up the Light Clay by the edge of the ledge, then jump over the ledge.
You’ll be back in the area with Backpacker Diane. Go right through the tall grass, then climb up the right-hand side ladder. When you reach the top, there’s a trainer walking left and right. Head to her left and search the sparkling spot for 2 Rare Bones.
Model Nicola
Skorupi can be found randomly in the grass here. It’s weak to Fire, Flying, Rock and Psychic. There’s a good chance you’ve already fought a Pawniard here. As a reminder, it takes 4x damage from Fighting and 2x damage from Fire and Ground.
North from Nicola, there’s a passageway through a crevasse, with a trainer standing guard. On the right, there’s a ladder going down. Climb down the ladder. Next, head right, while following the ledge below. There will be a trainer looking north-east to south-east and a berry tree at the far corner. If you want to avoid the trainer, run past her when she’s looking south-east.
Backpacker Ruth
| Pokémon | Level | Type |
|---|---|---|
 Throh Throh |
31 | Fighting |
Ruth has the counterpart to Sawk. It’s a pure Fighting-type as well, so go for the usual Flying, Psychic or Fairy-types if you can. Be wary as it can use Circle Throw to switch out your current Pokémon for a random one in your party.
In any case, head into the tall grass to the right of her. Nearby, on the left is a small ledge. Go left past the ledge (without jumping over it). Then climb down the ladder. You’ll reach a small area with tall grass and a trainer tips sign. Step into the tall grass and go to the small rock mound towards the south. Search here for a hidden Rare Candy.

(1 of 2) Use this to boost a Pokémon’s Level by 1.
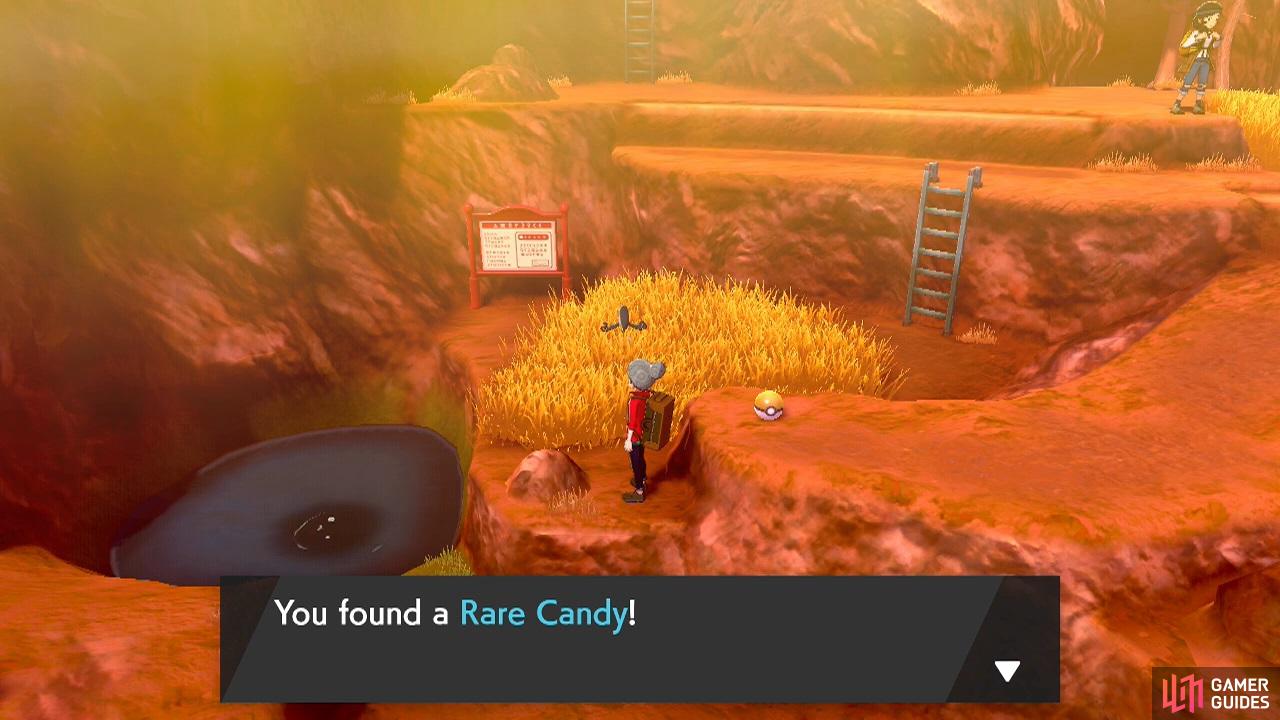

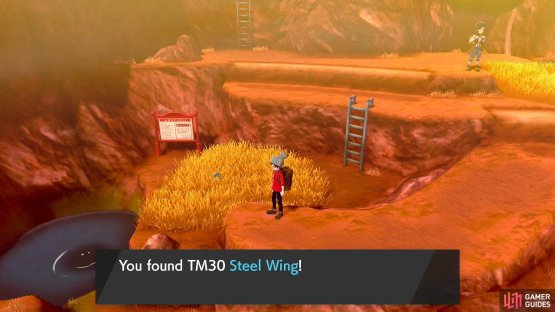
Use this to boost a Pokémon’s Level by 1. (left), This move deals Steel-type damage and may increase the user’s Defence stat. (right)
By now, you’ve probably noticed the golden TM capsule just out of reach. Go back up the ladder, then jump over the ledge that you went past before. After landing, head left and grab the golden capsule, which contains TM30 Steel Wing. Now travel east, then go through the tall grass, back towards the area with the berry tree. Climb back up the ladder to the very top.
From here, go north through the crevasse. There’s no way through without a fight.
Artist Duncan
 Koffing is a pure Poison-type, so it’s weak to Ground and Psychic. Ground moves are A-OK since this one has Neutralizing Gas and not Levitate for its ability. Beware of its Self-Destruct. Next, he’s got a
  Sudowoodo, which is pure Rock. Grass, Ground, Fighting or Steel are recommended; Water has reduced efficiency because of the sun.
Beyond, you’ll discover a fascinating structure known as the “ Diglett Sculptures”. As you admire the sheer artistic talent, no, wizardry needed to create this, head west and up the stairs to reach Stow-on-Side.
No Comments