

The stadium–and the Gym mission–are basically the same in both versions, but with a different coat of paint.
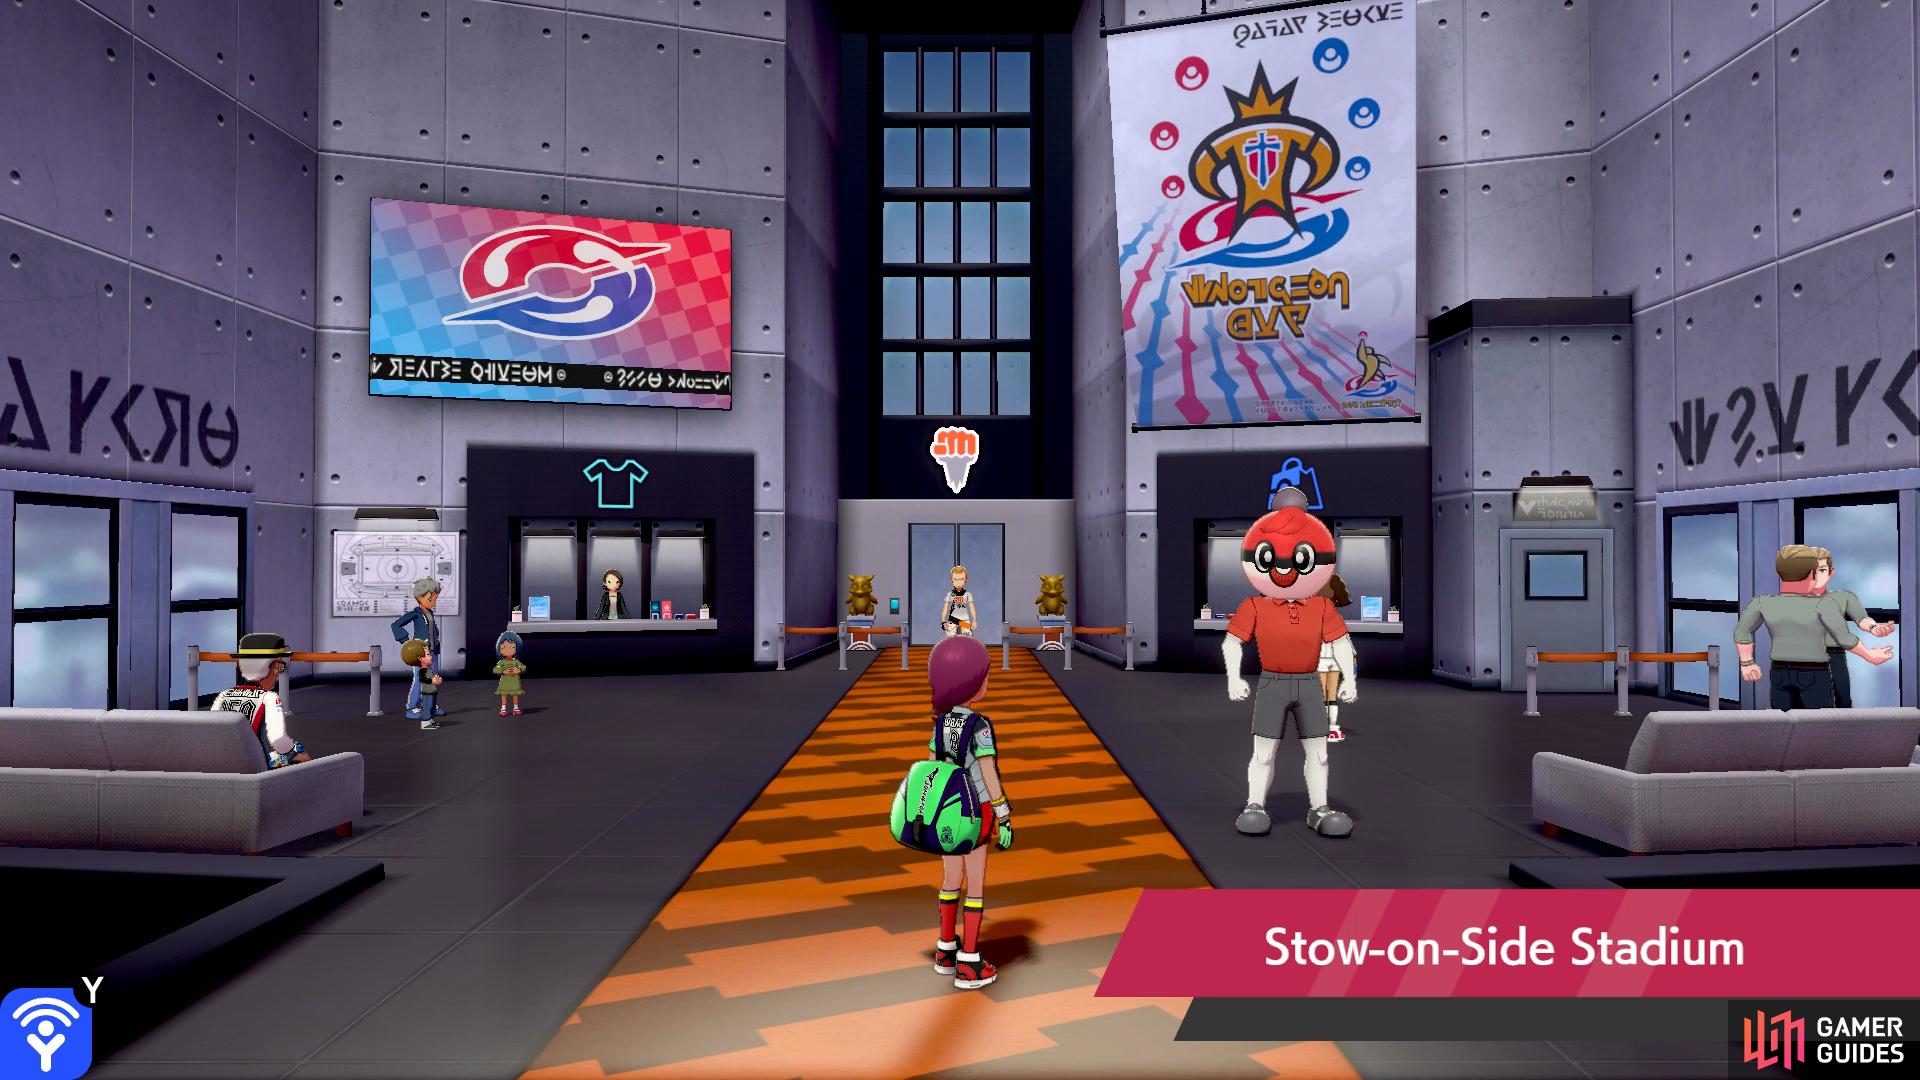
Regardless of which version you’re playing, chat to the Ball Guy by the entrance. They will give you a Heavy Ball, which is a rare ball that’s good at catch very heavy Pokémon. Next, speak to the staff member up ahead to sign up for the Gym mission.
We’re not sure what this has to do with fighting, but let’s roll with it!
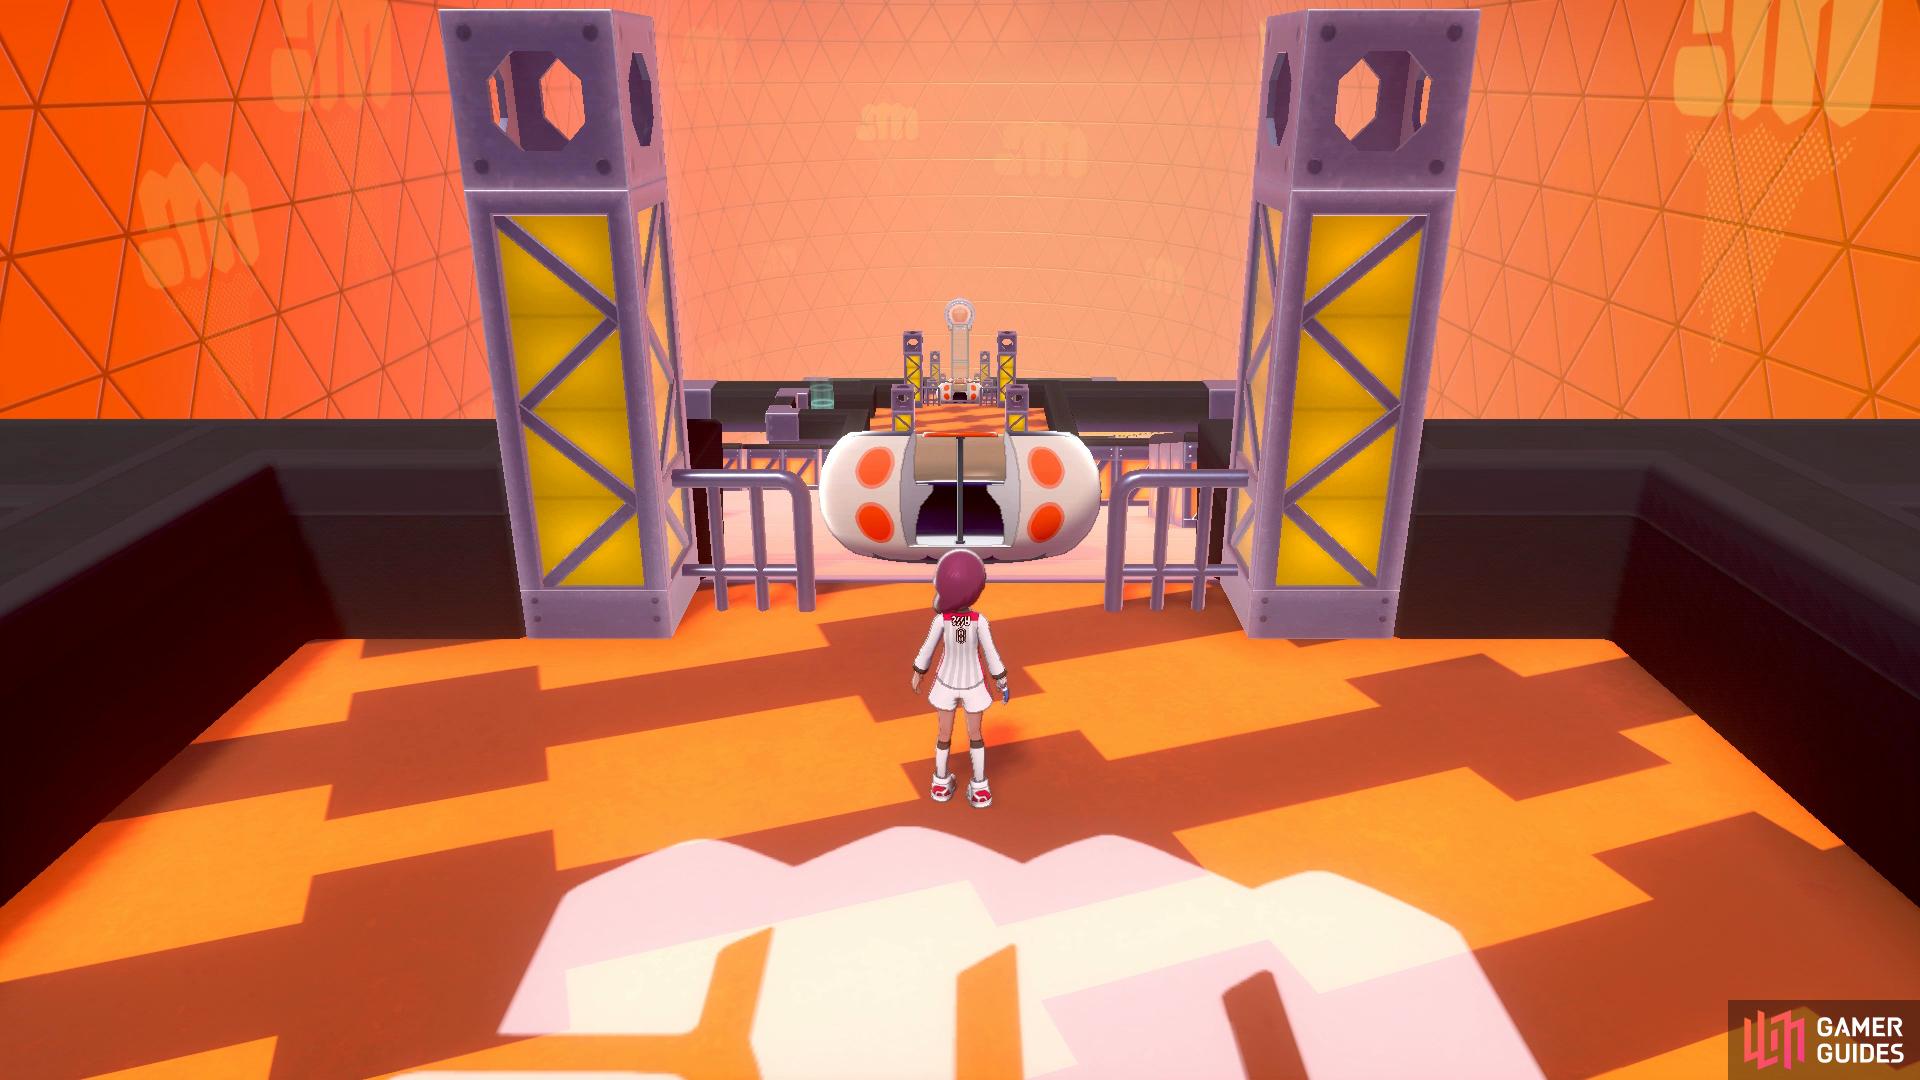
The Gym mission this time is kind of fun. You’ll sit in a spinning tea cup from one of those fairground rides, except it’s free-falling. If you rotate the left control stick right (clockwise), you’ll spin towards the right. Meanwhile if you rotate left (anti-clockwise), you’ll spin left. Your aim is to manouevere through the maze and reach the bottom.
Start by approaching the cup. In the first segment, let the cup fall down by itself. When it falls into the L shape, rotate clockwise so you spin and fall right. The steps below should automatically push you left, but you can spin left to move faster. You should fall towards a diamond shape along the middle. From here, spin left or right, then right or left to continue falling down.
Next, you’ll reach a small buffer area. Halfway along, you’ll have to beat a Fighting-type trainer to proceed.
Gym Trainer Ian

Ian has a  Stufful and its evolved form; they’re both Normal and Fighting, so they’re weak to Fighting, Flying, Psychic and Fairy.
Past the trainer, on the right is a teleport pad to return to the entrance. In case you want to enjoy the tea cup ride again! Actually, it’s so you can exit the Gym if you’re not prepared. Hopefully, that’s not you! Carry on south to start the next tea cup segment.
You’ll fall towards some steps that push you left. Do absolutely nothing and let the tea cup fall by itself. You should pass through a gap between the steps and a boxing glove further left. If you spinned the cup left at the beginning, you might gain enough momentum to reach the boxing glove. But all it’ll do is send you flying up. In which case, you can spin right to proceed.
At the bottom, you’ll bump into a boxing glove, which will send you flying up. Spin right so you hit the next boxing glove. Then repeat for the third glove. You’ll start falling a fair distance. After 3 or 4 seconds, start spinning left, so you enter the gap on the left. Otherwise, don’t worry, as you’ll hit a glove that will send you flying back up so you can try again.
That was pretty fun wasn’t it? Anyway, you’ll arrive at another buffer area. Lo and behold, there’s another Gym trainer to fight.
Gym Trainer Claire
| Pokémon | Level | Type |
|---|---|---|
 Farfetch’d (Galarian) Farfetch’d (Galarian) |
32 | Fighting |
Can ya believe that? In the Galar region, Farfetch’d have honed themselves in the art of the sword… or rather, the leek. It’s a pure Fighting-type, so hit it with the usual Flying, Psychic or Fairy-types. Note that it can use Detect to prevent one of your attacks, but the chance of success will decrease during successive attempts.
In the final segment, the steps below will try and push you right. As you’re about to fall off the steps, spin left. If you miss your chance, don’t worry, as there’s a boxing glove on the right that will send you flying up. Next, there’s a glove pointing downwards that will shove you straight down. Cheeky sod. Spin left into the nearby glove. Then, as you’re flying, spin left again.
You’ll fall down a fair distance, towards a glove that will propel you all the way up. Now spin right, while following the steps. If you gain enough momentum, you should clear the gap along the middle. When you reach the far right, the gloves here will push you all over the place, but you’ll always end up at the exit. That’s it for the tea cup hi-jinks! Go forward and challenge the last trainer.
Gym Trainer Simon
| Pokémon | Level | Type |
|---|---|---|
 Hitmonlee Hitmonlee |
33 | Fighting |
 Hitmonchan Hitmonchan |
33 | Fighting |
Simon has two Pokémon that evolve from  Tyrogue. They’re both plain ol’ Fighting-types, so nothing to stress about. Hitmonchan does have Mach Punch and Bullet Punch, which usually go first.
Unless you want to ride the tea cups again, go up the steps to end the Gym mission. Then run through the entrance tunnel to meet the Fighting-type Gym Leader.
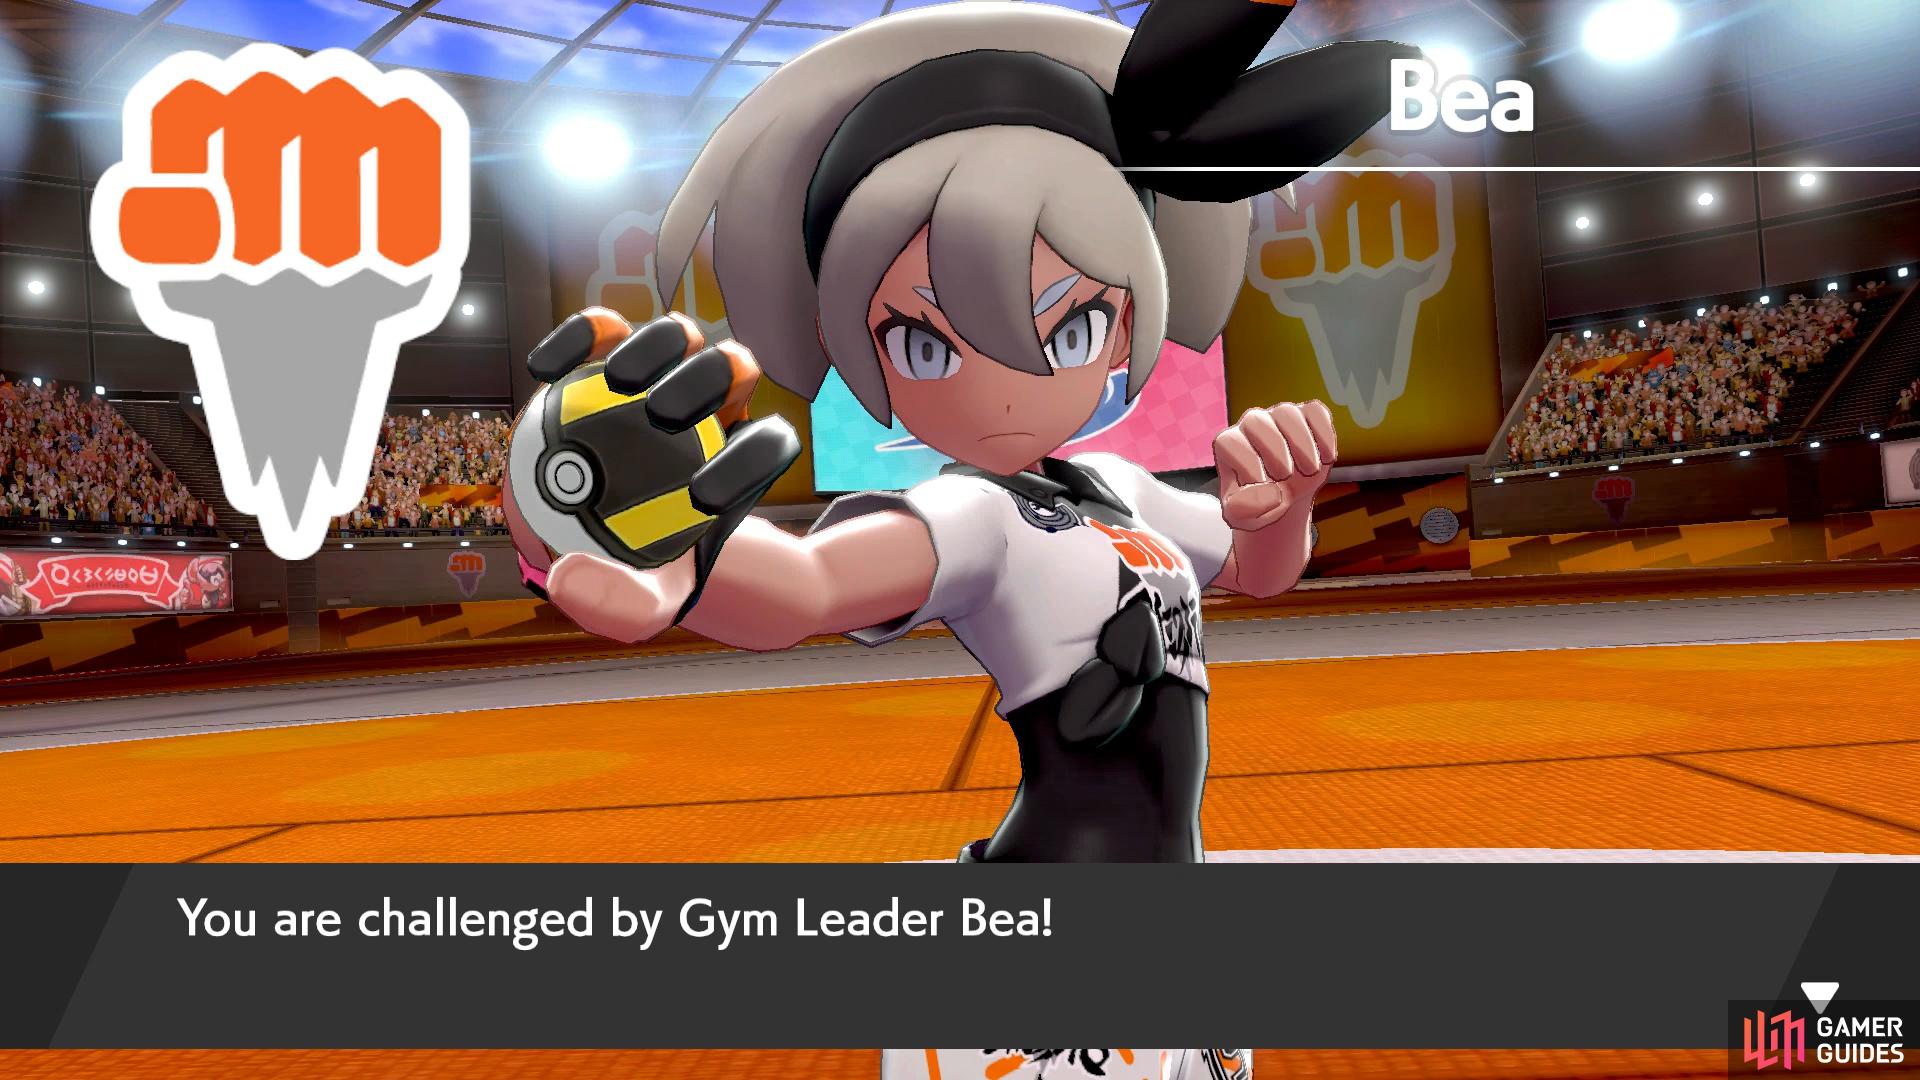
Gym Leader Bea
| Pokémon | Level | Type |
|---|---|---|
 Hitmontop Hitmontop |
34 | Fighting |
 Pangoro Pangoro |
34 | Fighting/Dark |
 Sirfetch’d Sirfetch’d |
35 | Fighting |
 Machamp Machamp |
36 | Fighting |
Bea’s first Pokémon is Hitmontop, one of Tyrogue’s three possible evolutions. It can use Counter to deal double the damage done to it by a physical move on the same turn. Plus Quick Attack to try and sneak in an attack before you.
Next, she may send out Pangoro, which is an evolved  Pancham. It’s gained the Dark-type, so it takes 4x damage from Fairy and 2x damage from Flying and Fighting. Don’t use a Psychic-type against it! It can use Bullet Punch to slap Fairies and Night Slash to hurt Ghosts.
Sirfetch’d is an evolved Galarian Farfetch’d. It can use Detect to waste your time, Swords Dance to greatly increase its Attack and Brutal Swing to punish Psychic and Ghost-types.
Finally, she has a Machamp that she’s proud to Gigantamax on the first turn. This hulking beast can use Max Darkness to damage Psychic and Ghost-types. If possible, knock it out with a Flying or Fairy-type.
Send Bea’s Pokémon into submission and you’ll receive the Fighting Badge. Afterwards, you’ll be given TM42 Revenge and a Fighting Uniform. That’s your 4th badge, so you’re technically halfway through the Gym Challenge! When you’re done basking in your own glory, exit the stadium back to Stow-on-Side.
No Comments