

East Lake Axewell
To reach your next destination, Hammerlocke, we’ll need to traverse the Wild Area again. As a reminder, since you have 3 Gym badges, you can catch Pokémon up to Level 35. If you haven’t visited the Wild Area in a while, you could consider exploring the southern half (below the giant bridges). You might also find that you can now catch some of the strong Pokémon you couldn’t catch before.
Anyway, we’re here to tell you how to reach Hammerlock as efficiently as possible. Like our previous visit to the Wild Area, you’re free to stray from our suggested path. It doesn’t matter how you get to Hammerlocke, as long as you get there!
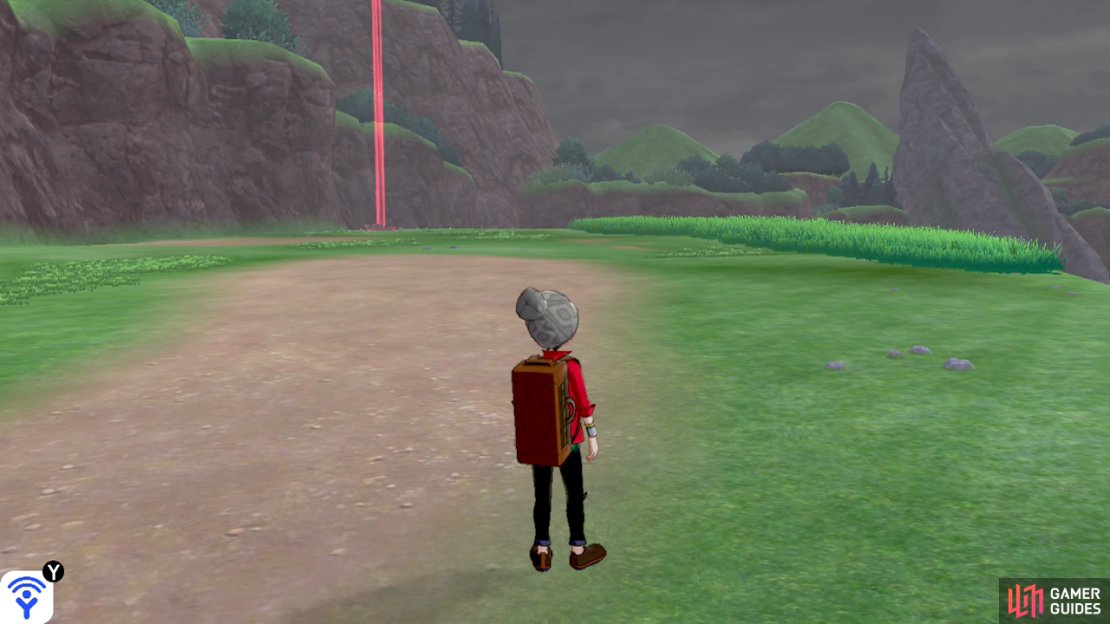
To begin with, make sure you’re facing east from the entrance to Motostoke. In the distance, you should see a faraway bridge on the left. Meanwhile along the right should be Lake Axewell itself. Head forward (east) all the way until you reach the bridge. As you begin to set forth, there may be a strong Pokémon (Level 36) along the path, possibly a  Garbodor.
Along the left, there’s a glowing den. Once you’re roughly halfway towards the bridge, you’ll transition to the next zone.
North Lake Miloch
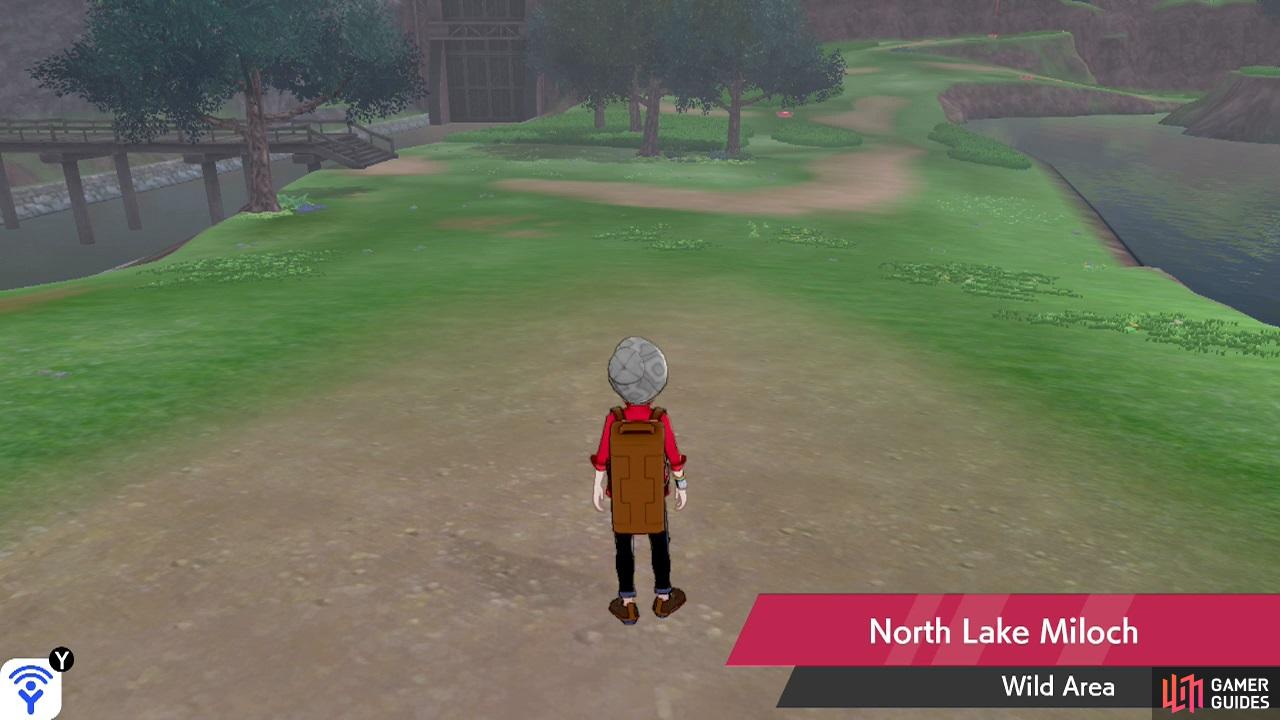
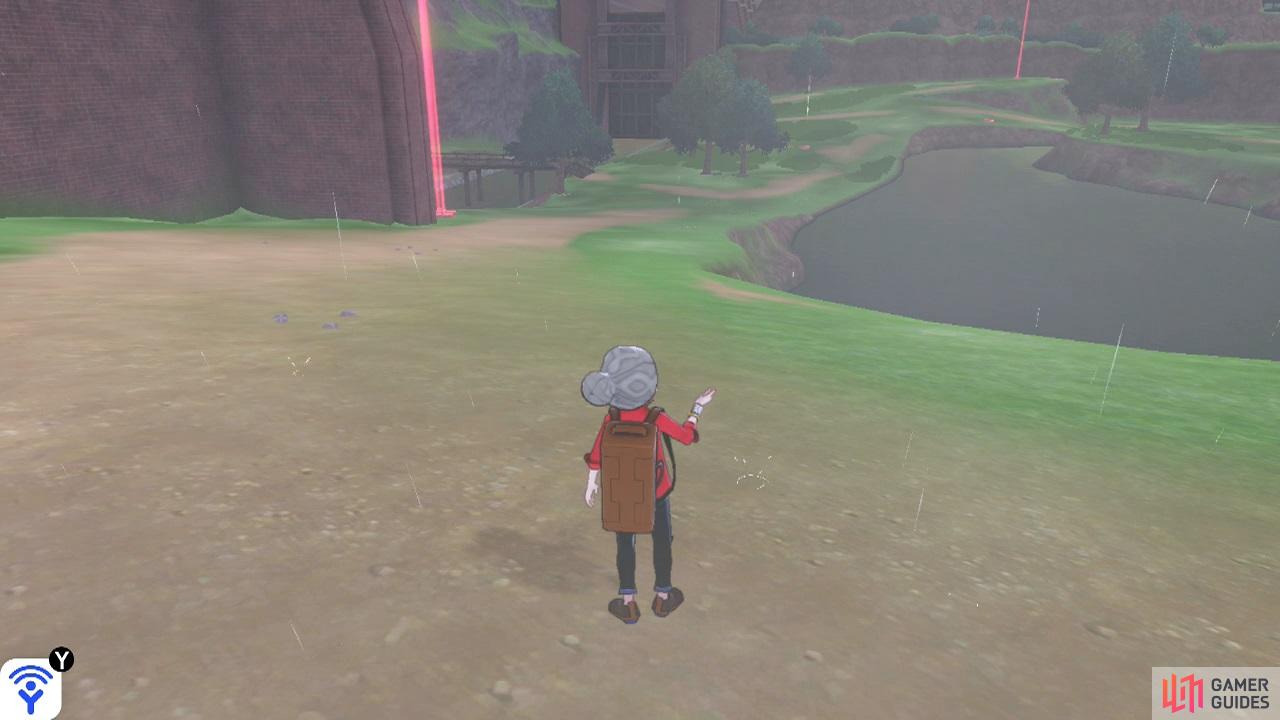
The first step on your journey to Hammerlocke begins when you cross the bridge.
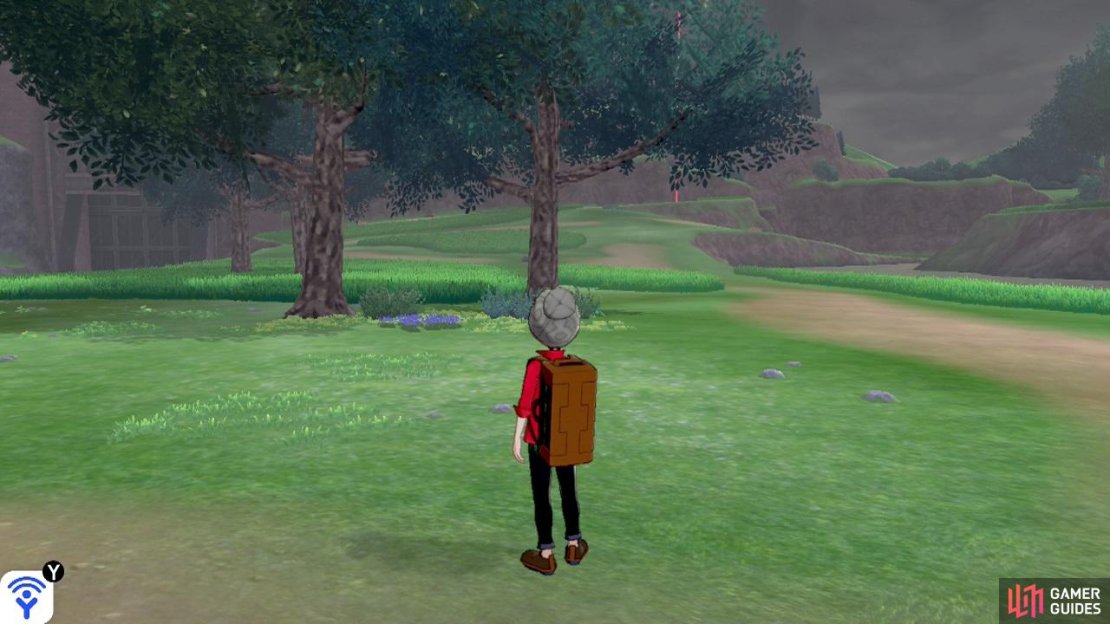
When you arrive here via East Lake Axewell, you should be fairly close to the bridge on the left-hand side. But be cautious of a strong Pokémon just ahead. It should be a Level 28  Liepard. Go ahead and catch it if you’d like. Continue towards the pair of trees ahead, to the right of the bridge. Search the area in-between the trees for a hidden Revive.
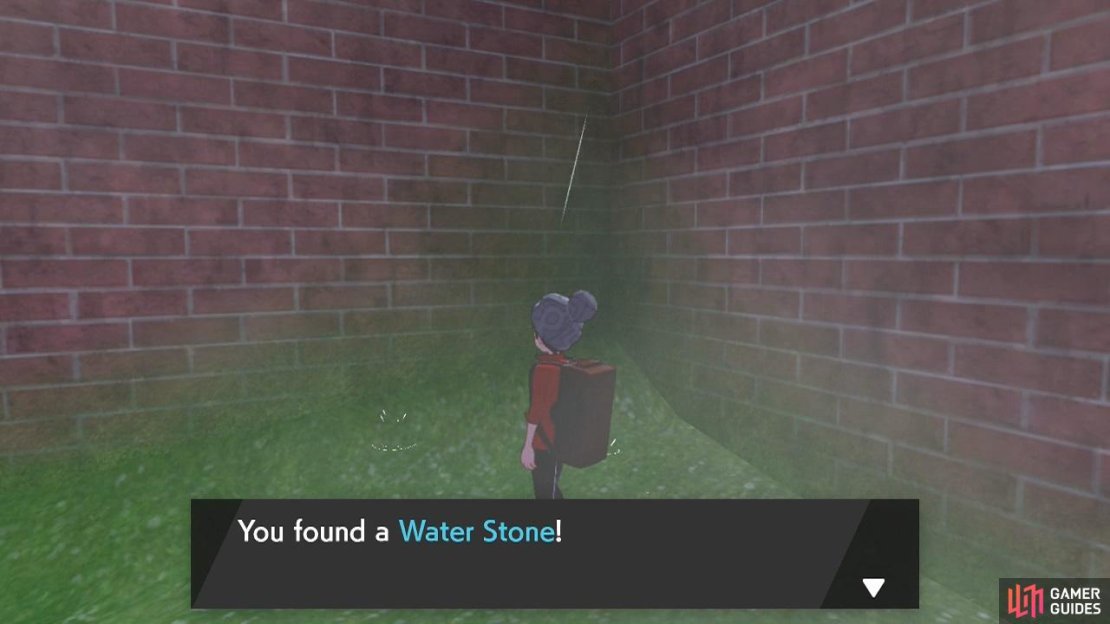
Afterwards, go up towards the bridge. There’s a Watt Trader standing on the left. If you search the tree further left, you can find a Big Mushroom. Now you can go across the bridge. But if you’re feeling resourceful, there’s a useful item you can grab near here.
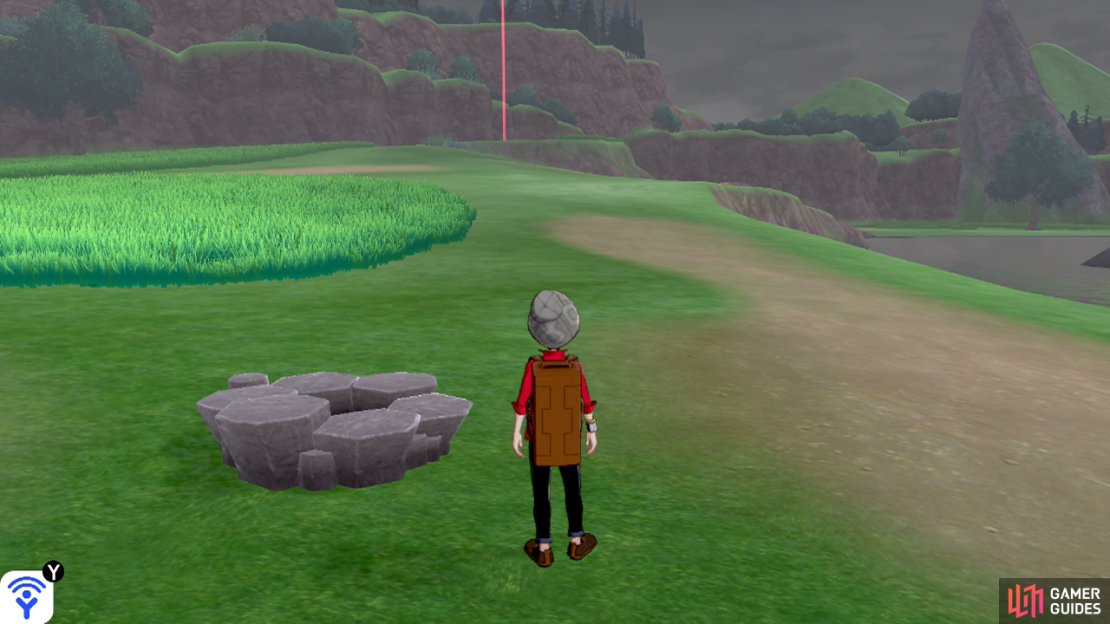

(1 of 4) Follow the dirt path to the right of the pair of trees.
Motostoke Riverbank
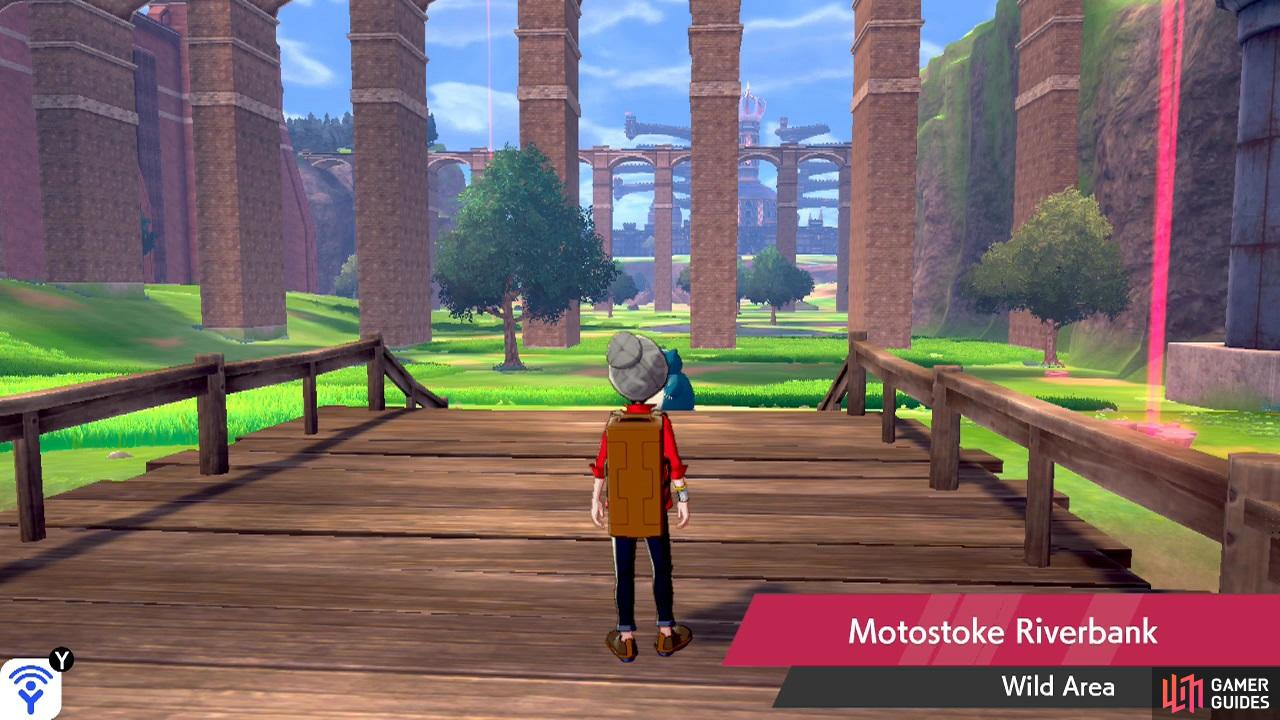
There’s a Snorlax at the end of this bridge, but it’s not sleeping!
On the other side of the bridge, you’ll reach the area underneath the giant bridge connecting Motostoke with Galar Mine No. 2. Ahead, towards the north, there’s a Level 36  Snorlax bumbling along. On the right (east), there’s a glowing den. Further right, there’s another berry tree, with a Level 40 strong Pokémon (usually a
  Drapion) patrolling nearby.

(1 of 2) View from the entrance.
View from the entrance. (left), View from the Fire Stone. (right)
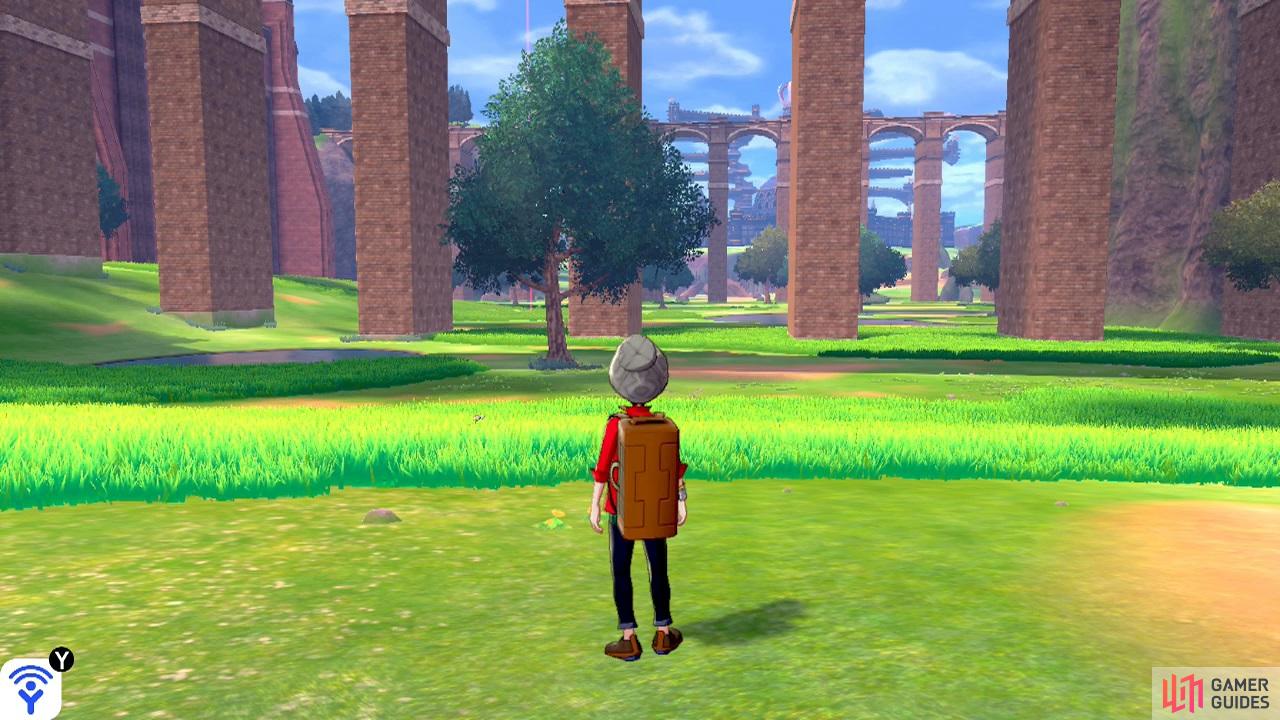
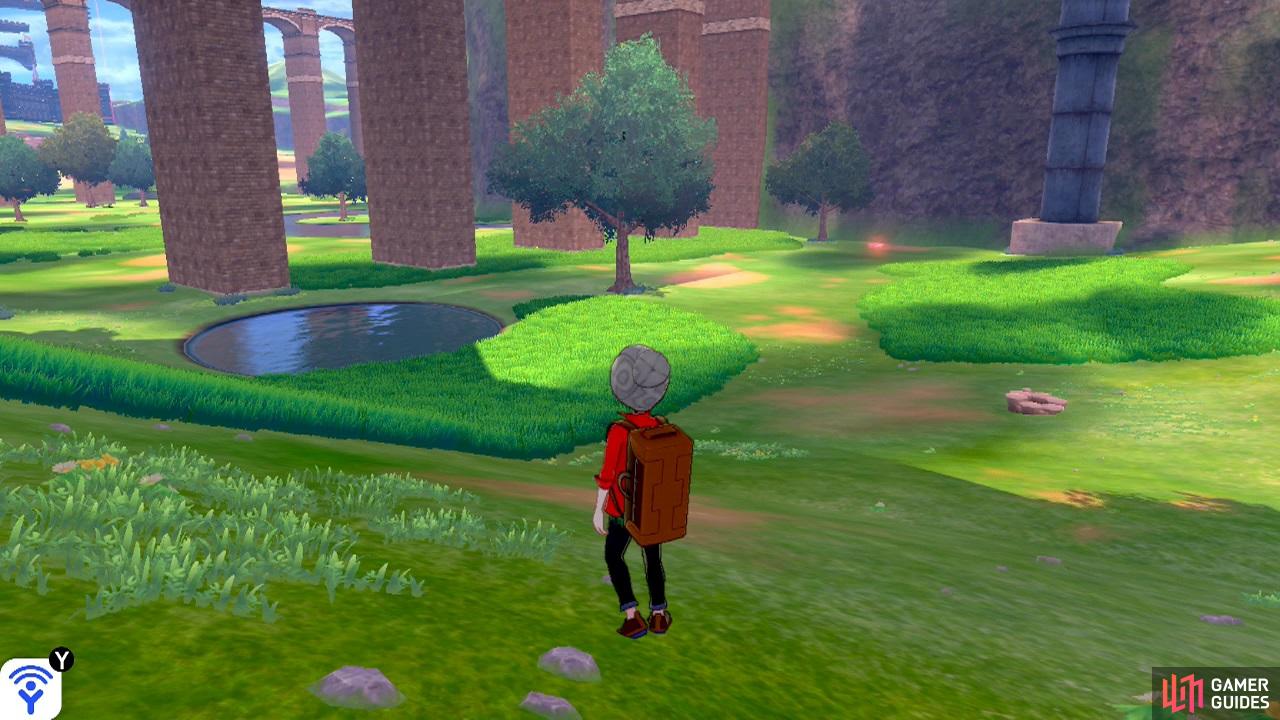
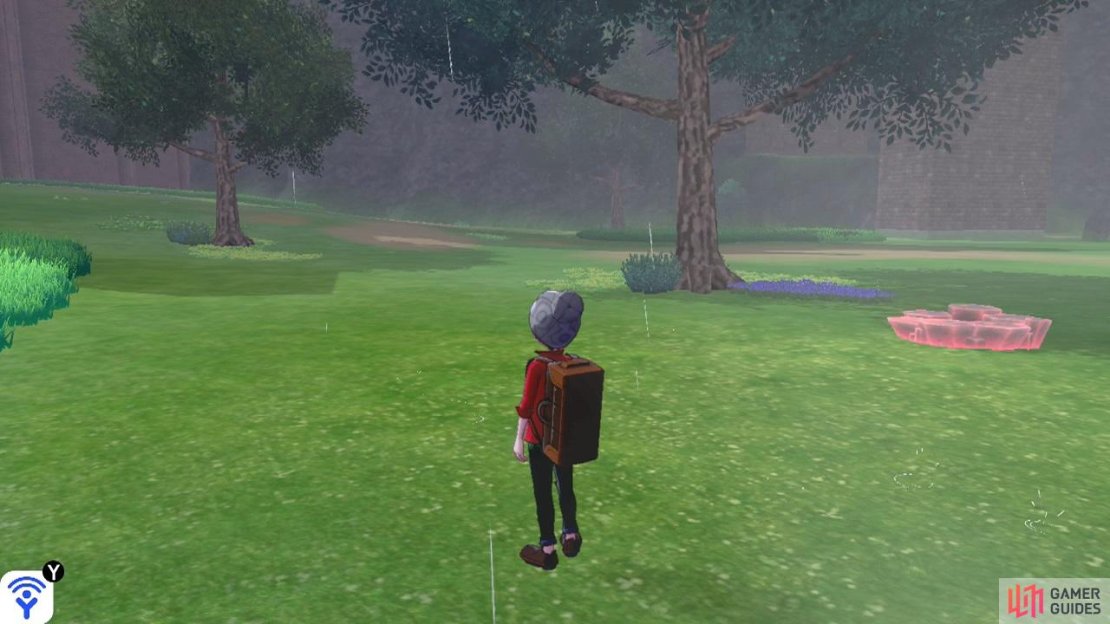
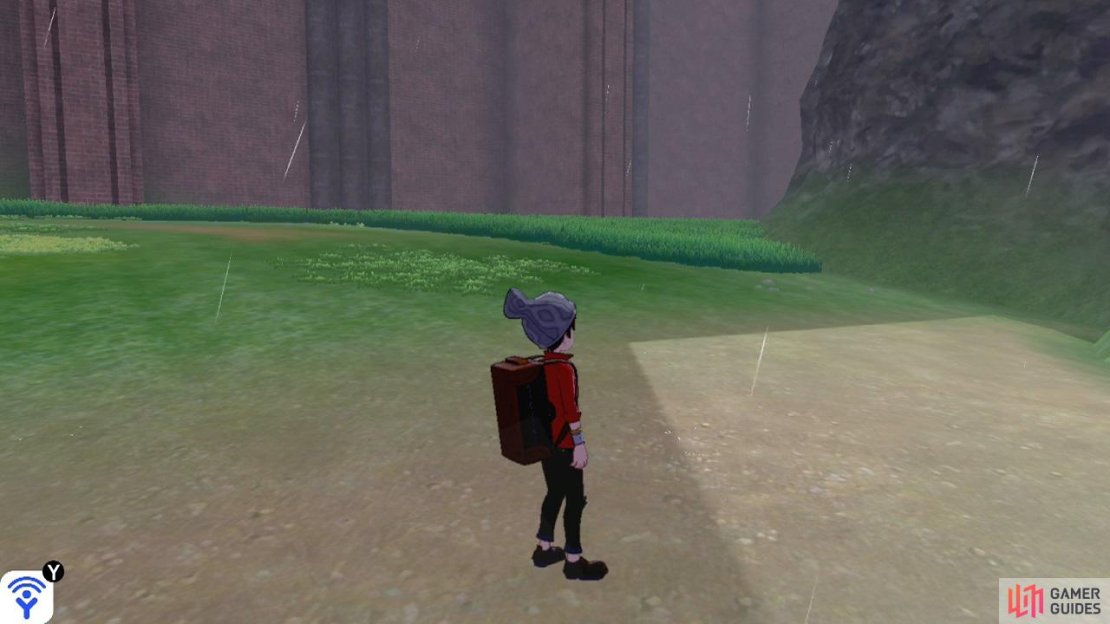
Either way, head for the big tree directly north from the bridge that you used to get here. It’s the big one, with lush green leaves. Once you reach the tree, stop for a moment to take a breather. Directly north, there should be a wide stretch of tall grass surrounding multiple bridge pillars. Depending on the weather, you might also see Hammerlocke in the far distance.
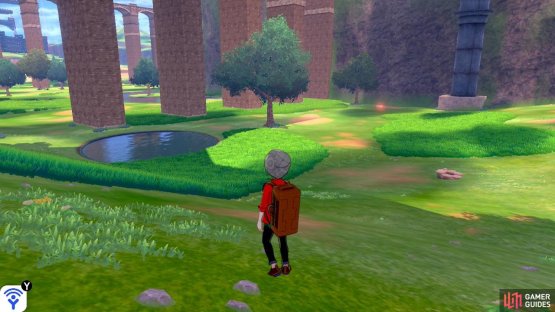
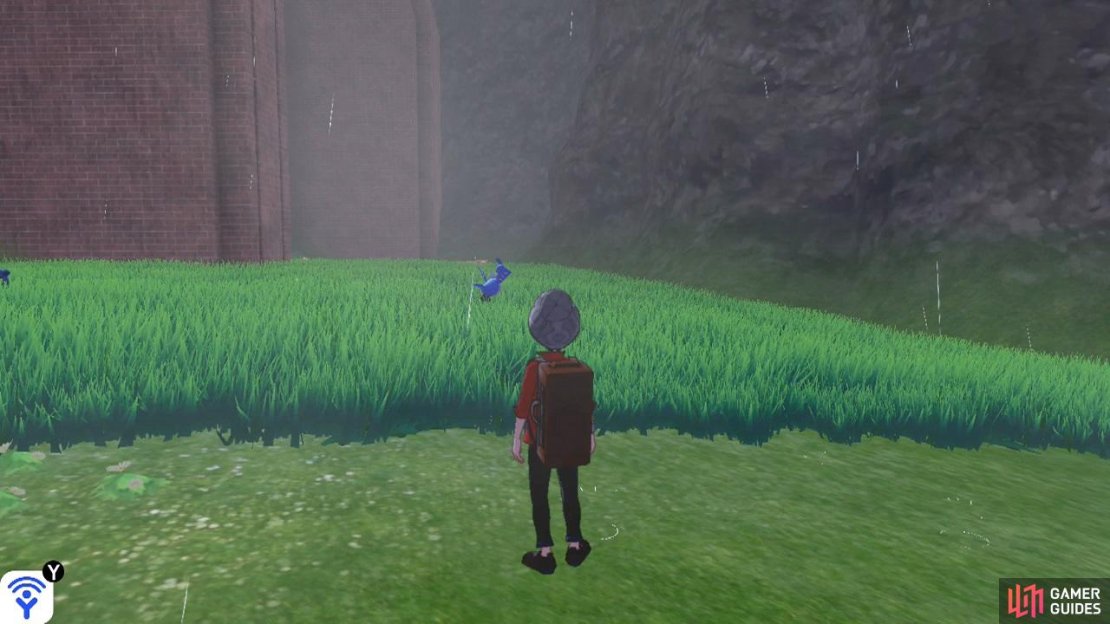
Head north, through the tall grass and underneath the giant bridge. If you’re allergic to the tall grass, go left (west) until you’ve gone past the pond. By that point, there should be no tall grass in your way. Anyway, keep going and you’ll transition to the next zone.
Bridge Field
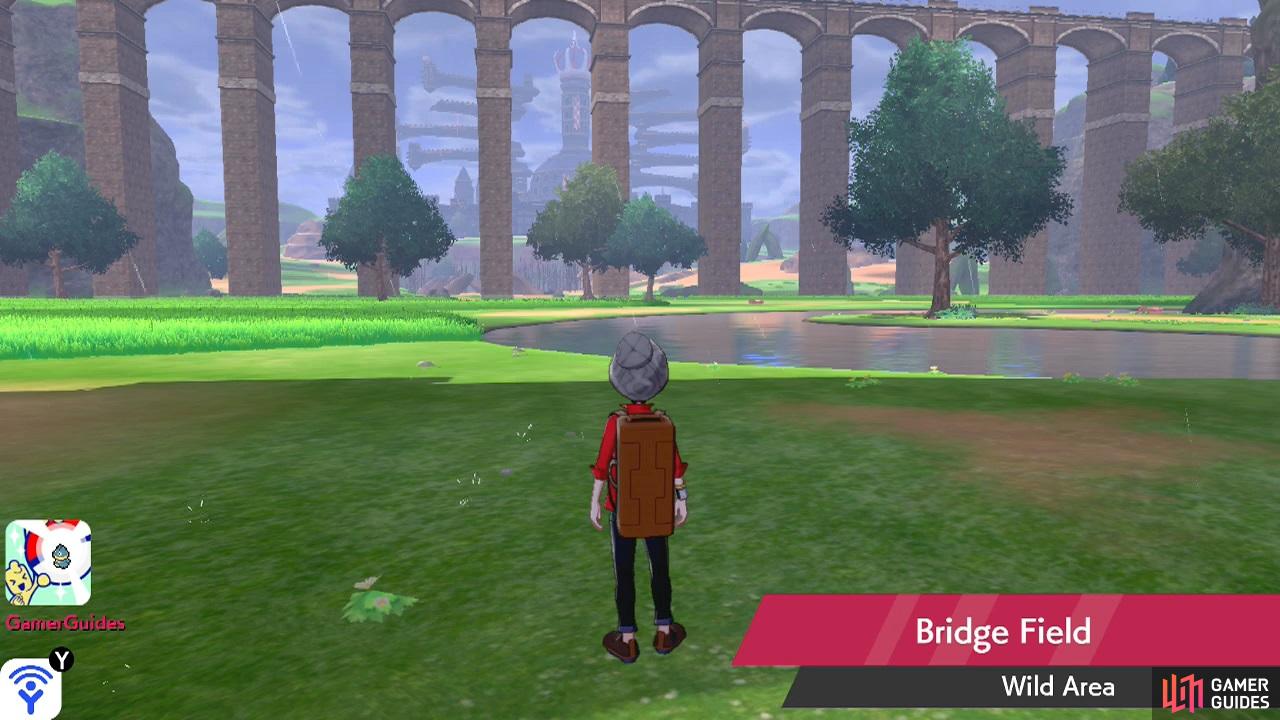
As you can tell by the change in music, things are gettin’ serious!
This area occupies the space between two giant bridges, hence its name. By the entrance, if you came from the centre, there will be a den near the left and a strong Pokémon (it could be a tiny, but powerful  Ribombee or a Galarian
  Linoone running in a square) on the right. Ahead, there’s a lot of tall grass on the left and a body of water on the right.
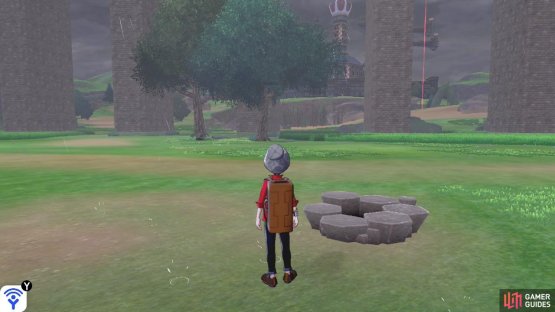
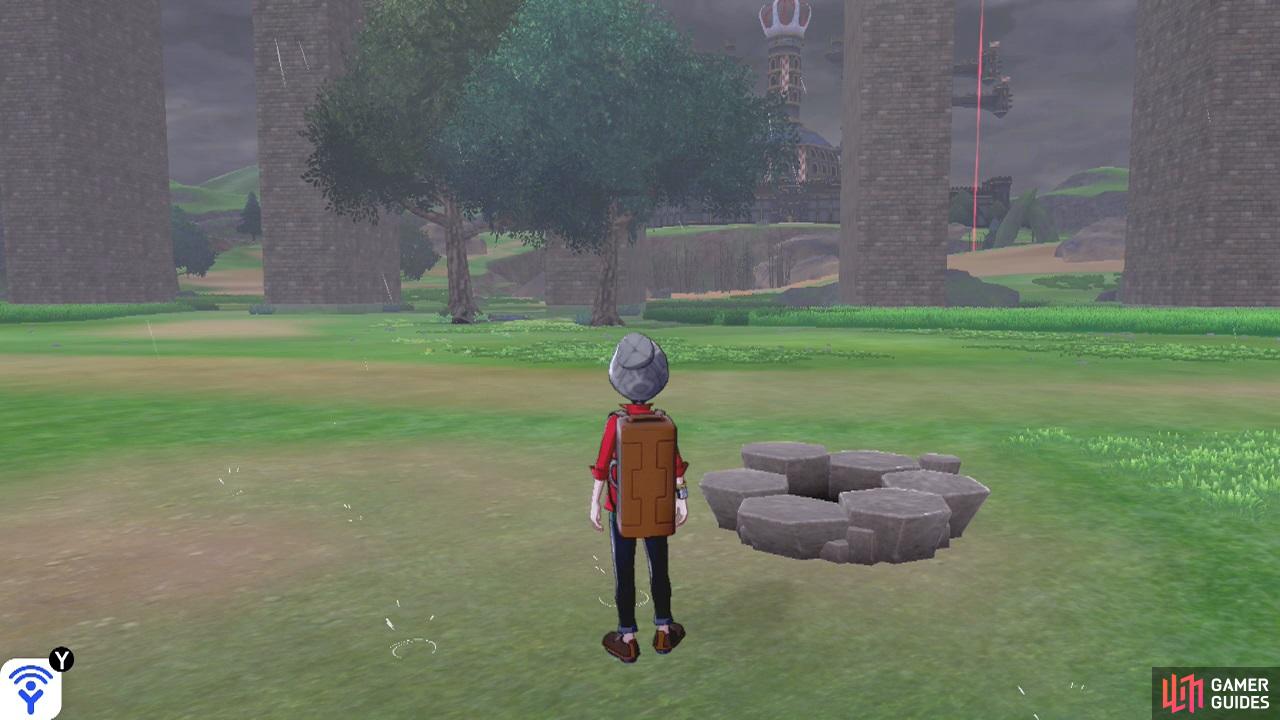
Head directly north, through the tall grass, while keeping close to the water. Once you’ve gone past, there may be another strong Galarian Linoone running in a square. Next, turn slightly right and travel north-east to the nearby den. When you reach the den, stop for a brief moment. Remember where this den is, because you’ll be coming back to it. We’ll call it the “middle den”.
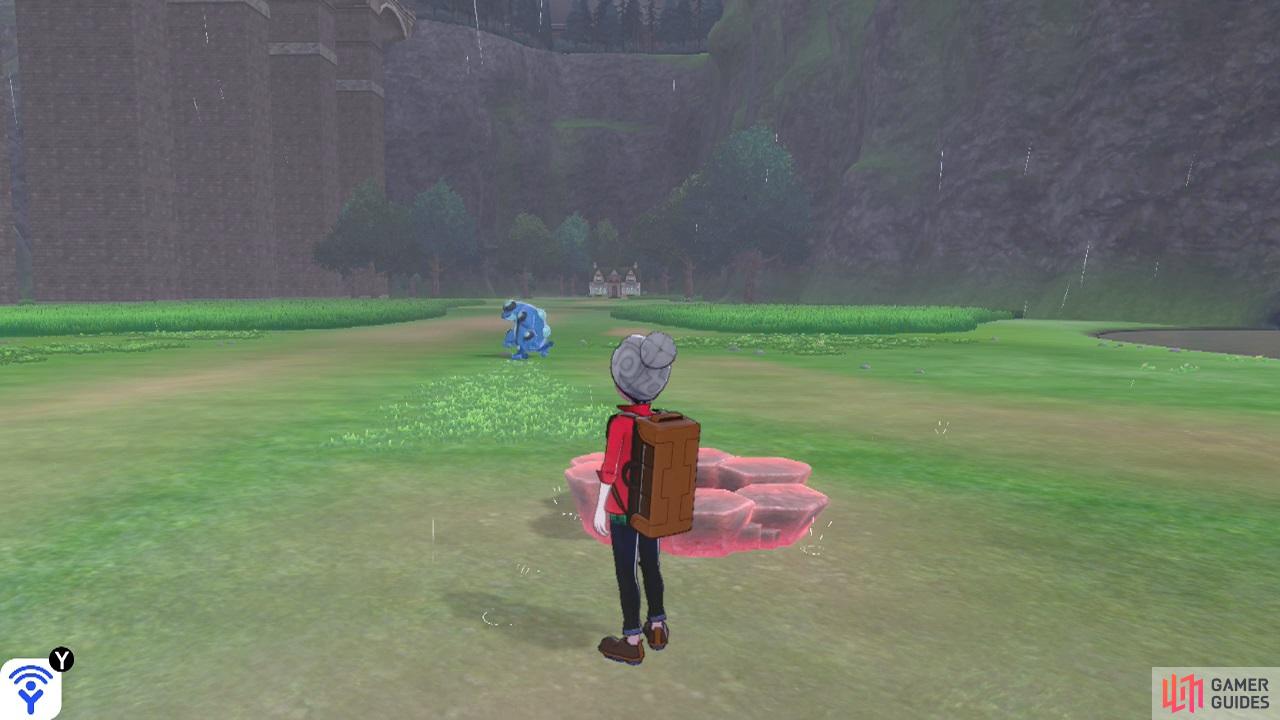
While standing at this middle den, turn slightly right, so the camera is perpendicular to the giant bridges. Ahead, you should see a fancy building in the far distance. In front of you, there’s another strong Pokémon (could be a  Seismitoad). Head all the way (east) towards the building. Stop when you’re roughly halfway there.
The tall grass on the right should be ending. Meanwhile, there will be a den and tree on the right. Search the flowers to the left of the tree for a Revival Herb. In front of you should be another tree, plus two NPCs standing side by side.
Once you’ve had enough fun, continue towards the building. When you get there, you’ll learn it’s another branch of the Pokémon Nursery. Here, you can do the exact same things you can do at the Pokémon Nursery on Route 5. There’s also a Watt Trader nearby. While you’re here, search to the right of the sign for a Poké Ball. Then go and check out the tree on the left to find two Tiny Mushrooms.
We can leave Bridge Field now, but let’s go and pick up another useful item first!
(1 of 5) Stand with the Pokémon Nursery behind you, then travel all the way west in a straight line.

(1 of 2) Face north from the middle den, then go over to the two trees nearby.
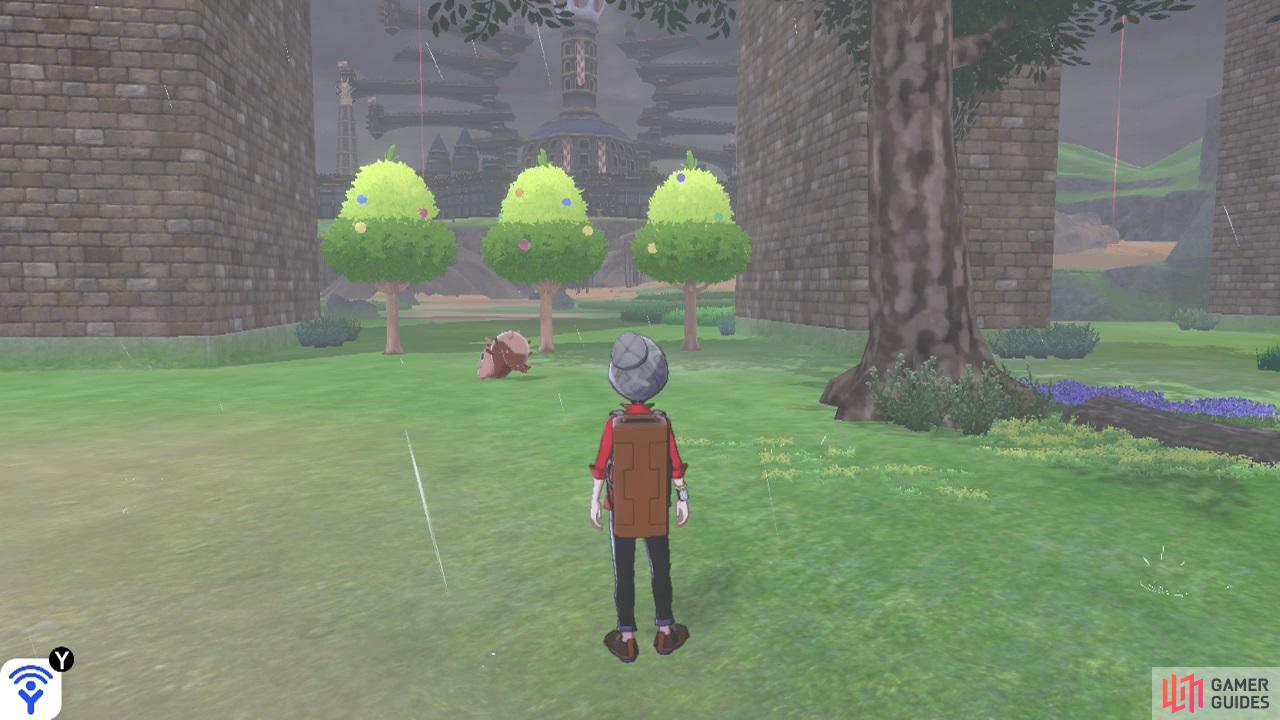
Face north from the middle den, then go over to the two trees nearby. (left), There will be three berry trees in a line. Carefully go past these trees, underneath the giant bridge. (right)
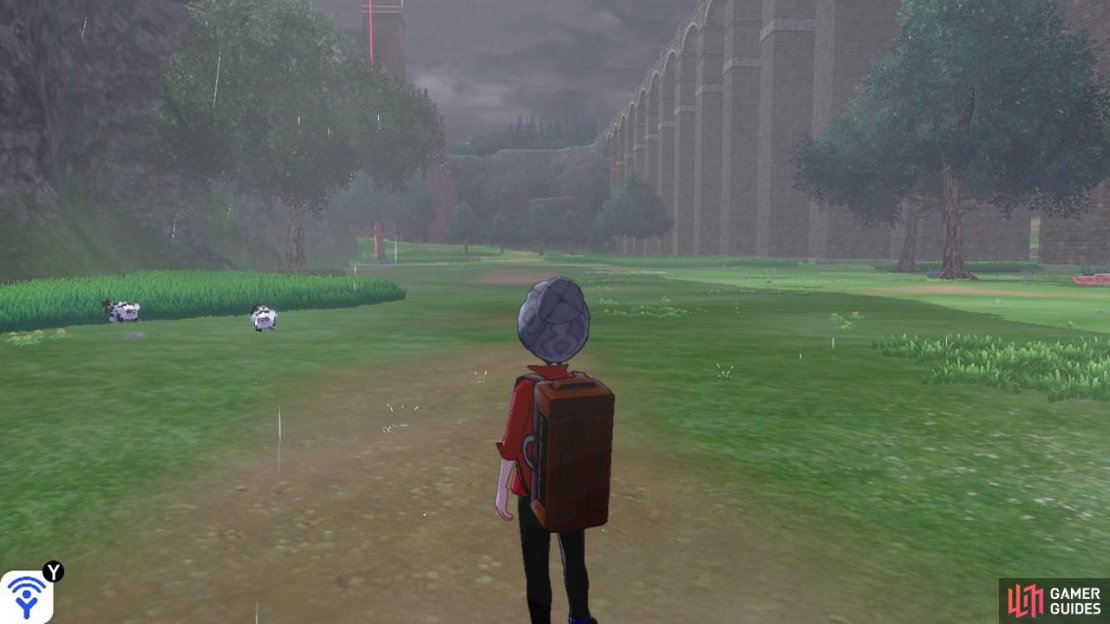
In any case, return to the middle den. Turn your camera so it’s facing north, in the direction of the second giant bridge. Ahead, there are two trees next to one another. Go up to the trees. Once you get there, up ahead and to the left will be three berry trees in a line, being guarded by a Level 42  Greedent (an evolved
  Skwovet). Shake the trees if you’re courageous.
Go past the three berry trees, underneath the giant bridge. Soon, you’ll emerge in the next zone.
No Comments