

By this point, you’ve hopefully caught the original Regi trio:  Registeel,
  Regirock and
  Regice. The last ruin requires these three to enter. Also, you will need the water-traversing bike to proceed. You’ll get this after the 6th gym (at Circhester), when you try to progress through Route 9.
If possible, fly to Rock Peak Ruins in the Giant’s Bed. It’s probably the quickest way to the Giant’s Foot, where we’re headed next. You can also get there by flying to the Watt Trader at Snowslide Slope.
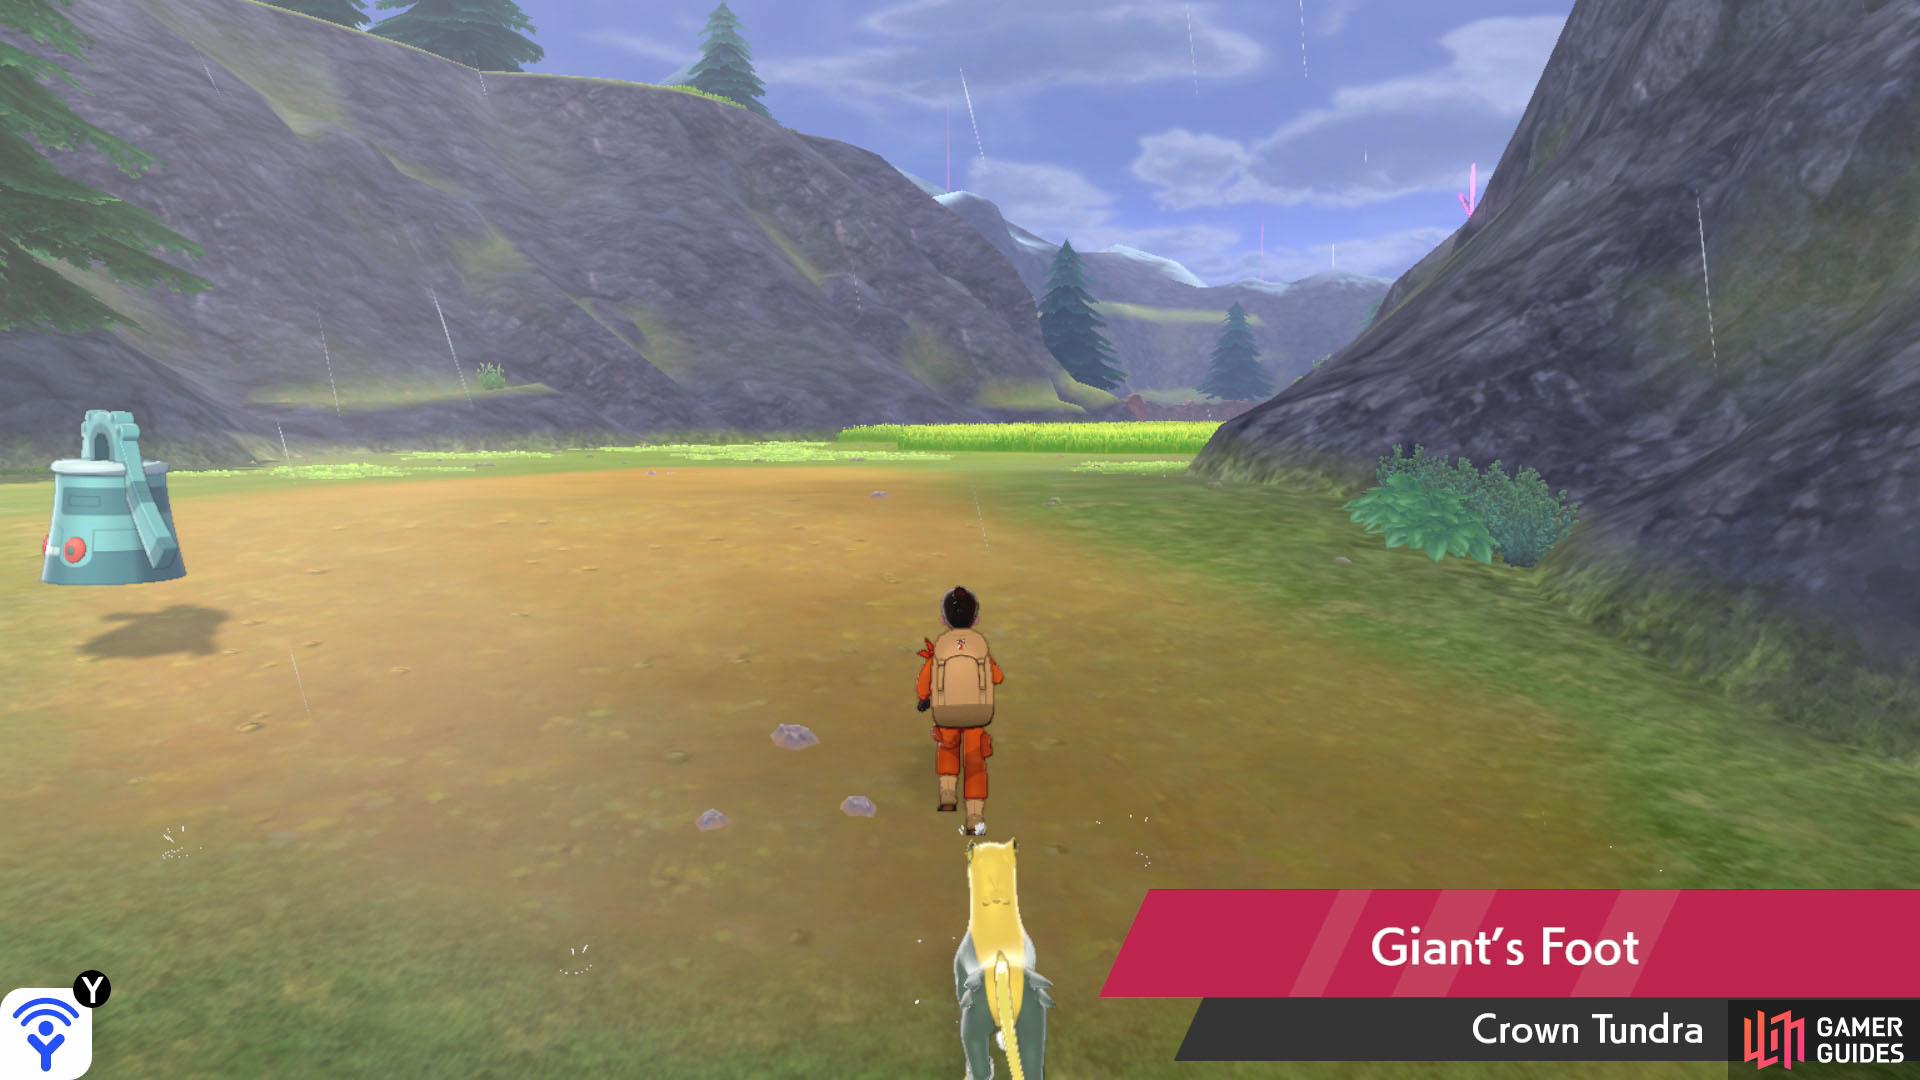
Hopefully the giant has been taking care of its foot hygiene!
Assuming you’re at Rock Peak Ruins, go through the path ahead, back towards the three trees near the stream. Turn right and go under the stone archway. Then turn right again and go through the narrow path, which leads straight into the Giant’s Foot. Keep going until you reach a dividing river. You’ll have to wade through an almost endless stretch of tall grass.
When you reach the river, use the bike to enter it. Then follow the river into the cave towards the left, which leads to Roaring-Sea Caves. Inside, follow the subterranean river until you reach the end. There will be land on the left and right where you can disembark. Go left first to retrieve a Rare Candy and hidden item.
Hop across the river to the other tunnel entrance. Follow the path on the right as it steadily goes downward. You should reach an open space with a strong fossil Pokémon in the centre. Head through the path on the right. This’ll lead you to a TR18 Leech Life and very scary  Lucario!
Return to the open space and go through the path directly ahead (on the left from where you first came). A Big Nugget awaits at the dead end. Finally, head for the remaining path straight ahead from where you first came (or towards the left when you exit this dead end). Turn right and follow the tunnel downwards.
You’ll need to dip your toes in the water once more to reach the promised ruins.
Turn left and you should bump into a  Hydreigon or
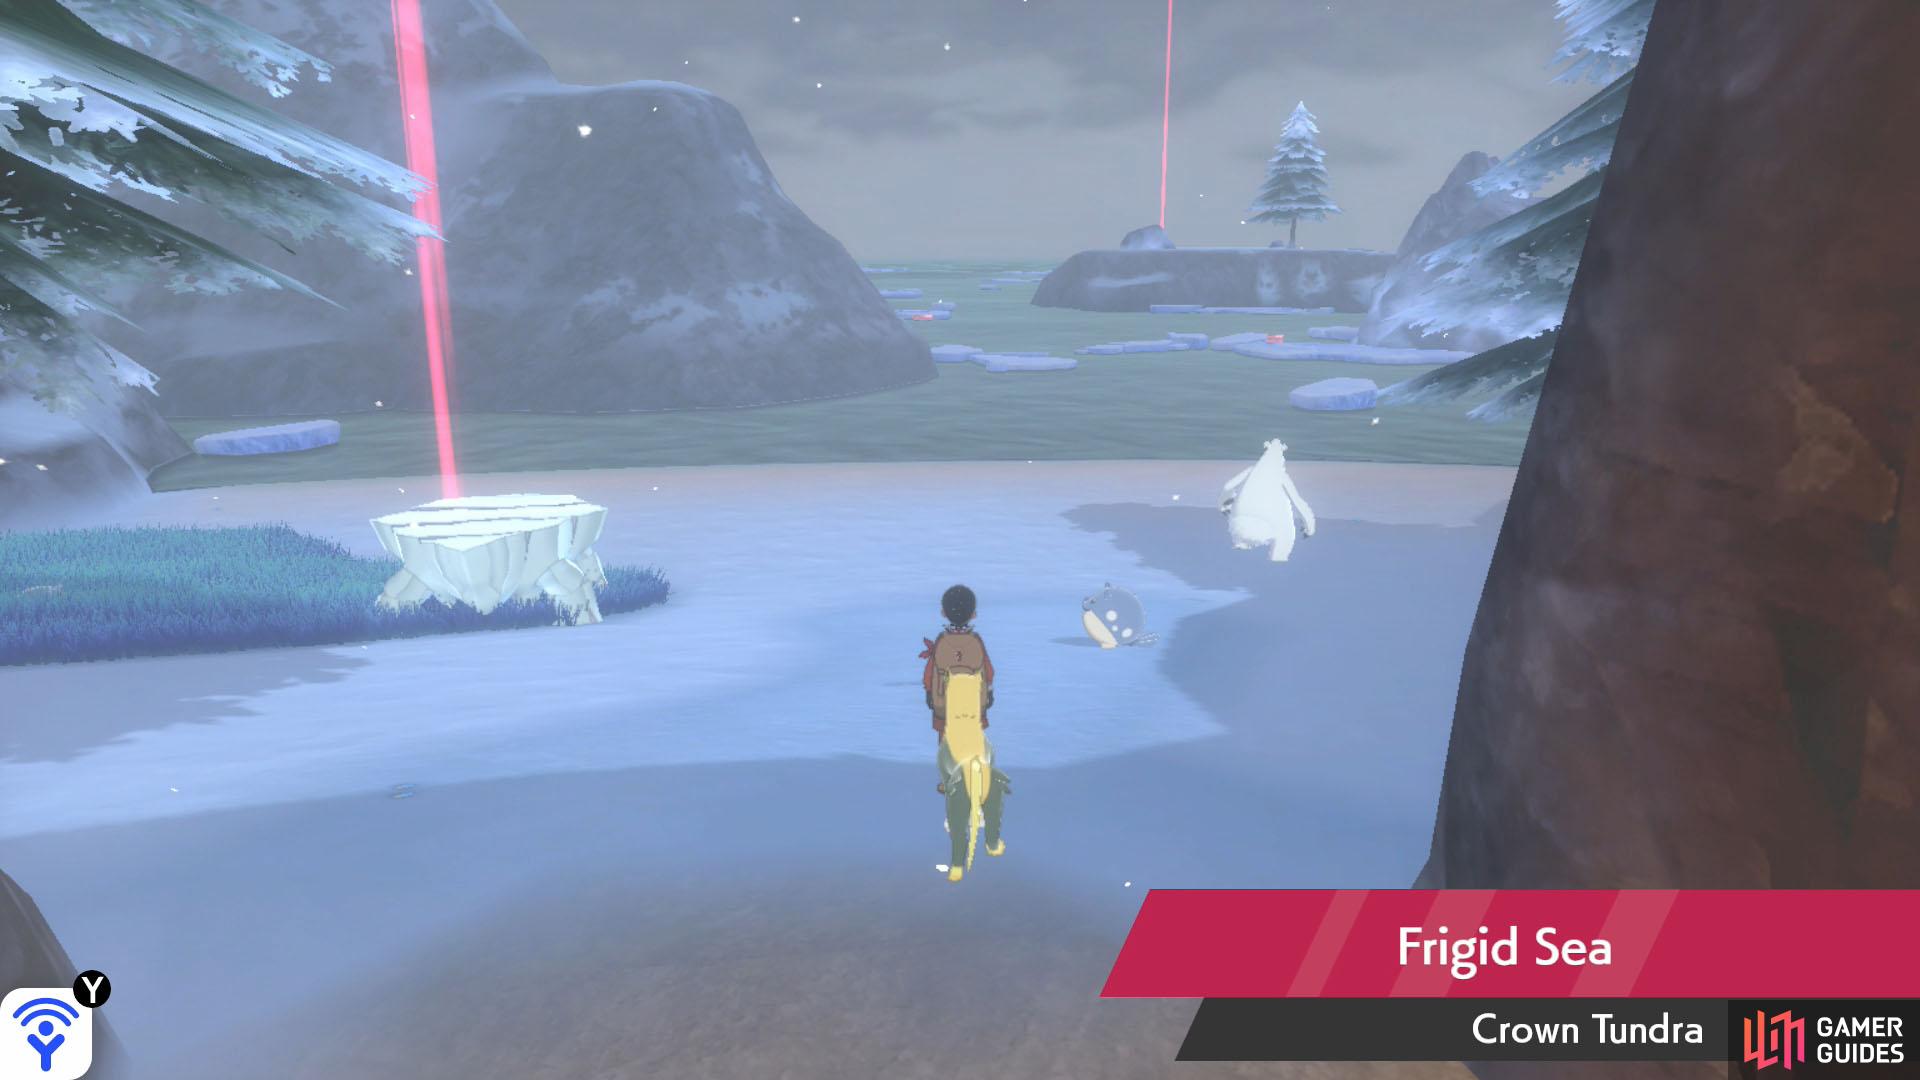
  Tyranitar. Which means you’re going the right way. Continue past it and you’ll reach the exit to Frigid Sea. Ride your bike straight ahead, into the water. If you want, you can turn left and follow the narrow path. This will lead you to a shore where you can re-enter Roaring-Sea Caves.
Back inside the cave, there are a couple of hidden items lining the edges. Head right to find a TR92 Dazzling Gleam in front of a big rock. Go past the rock and say “hello” to the old lady who’s apparently living inside this cave.
Back at the start of Frigid Sea, turn right when you enter the water. You’ll have to navigate around some floating ice. Oh man, the ice-type Pokémon floating in the water are hilarious. Head for the nearby shore, where there are some pine trees further in. This leads to the next area, Three-Point Pass.
Go forward until you reach the slope on the right. Check out the area to the left of the slope. There’s a Shell Bell next to the tree here. Head up the slope to transition to the next area. Head towards the middle of the three rocks that give this place its name. There should be a strong Pokémon in the middle.
The ruins are located to the left. Before going there, turn right. There’s a narrow path that leads to a different section of Roaring-Sea Caves. Back inside the caves, go forward towards an area with a stone pillar in the middle. Next, head right. Watch out for another strong Hydreigon or Tyranitar. Finally, pick up TR10 Earthquake.
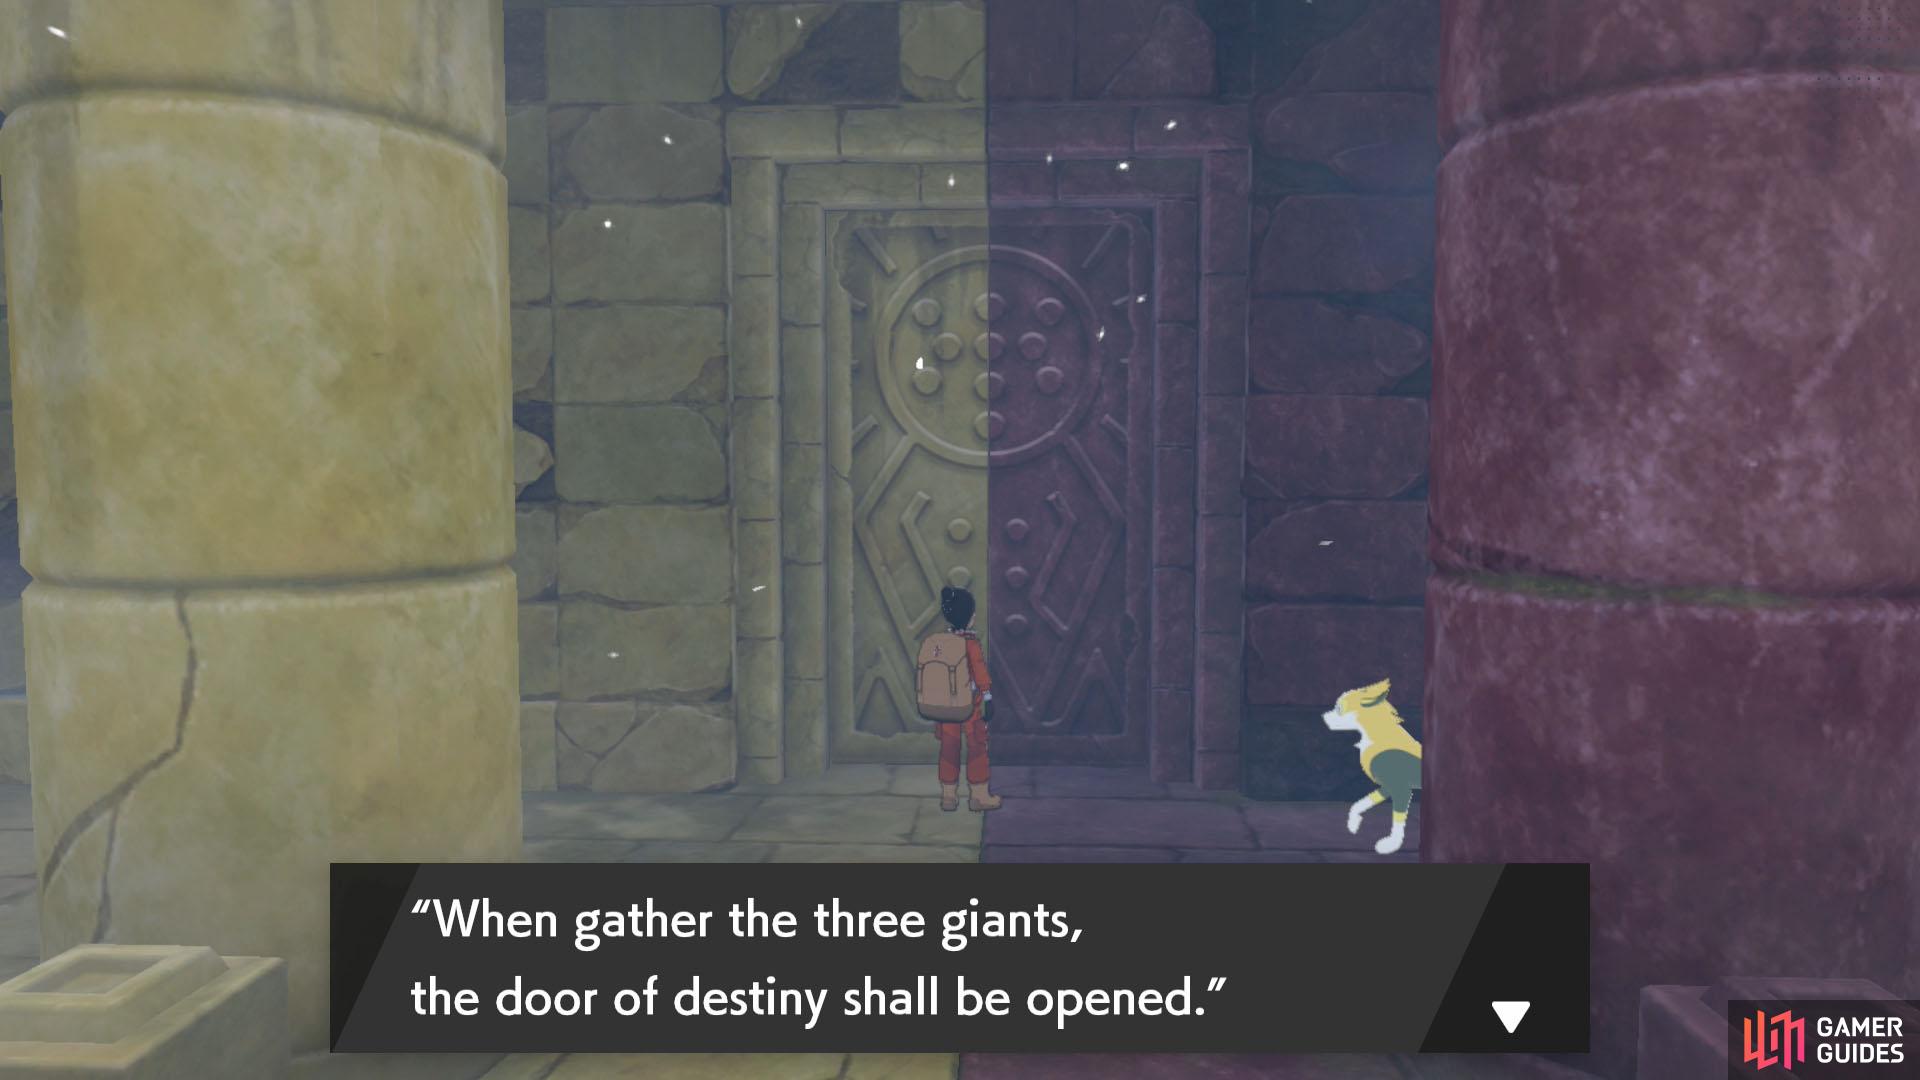
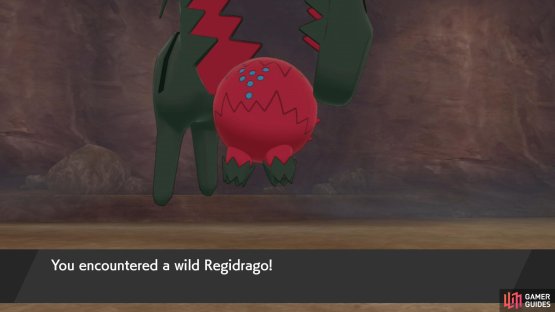
Unlike the rest, this ruin is home to two Regi. Hmm, how do they share the telly?
Return to the three rocks and go straight ahead, along the remaining path. Lo and behold, it’s the final ruins! Climb up the stairs and grab the loot on both sides of the door: a TR09 Thunder and a TR24 Outrage. Hmm, have you noticed this ruin is slightly different compared to the previous three?
Anyway, the clue here is pretty dang straightforward. You want to place Registeel, Regirock and Regice in your party, then inspect the door. Feel free to scream “open sesame.” As you go inside the camera, the camera will pan out to show the patterns along the top of the ruins. This is a clue for what to do next.
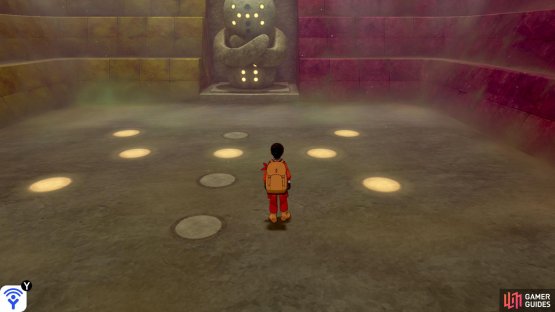

(1 of 2) Pattern to summon Regieleki.

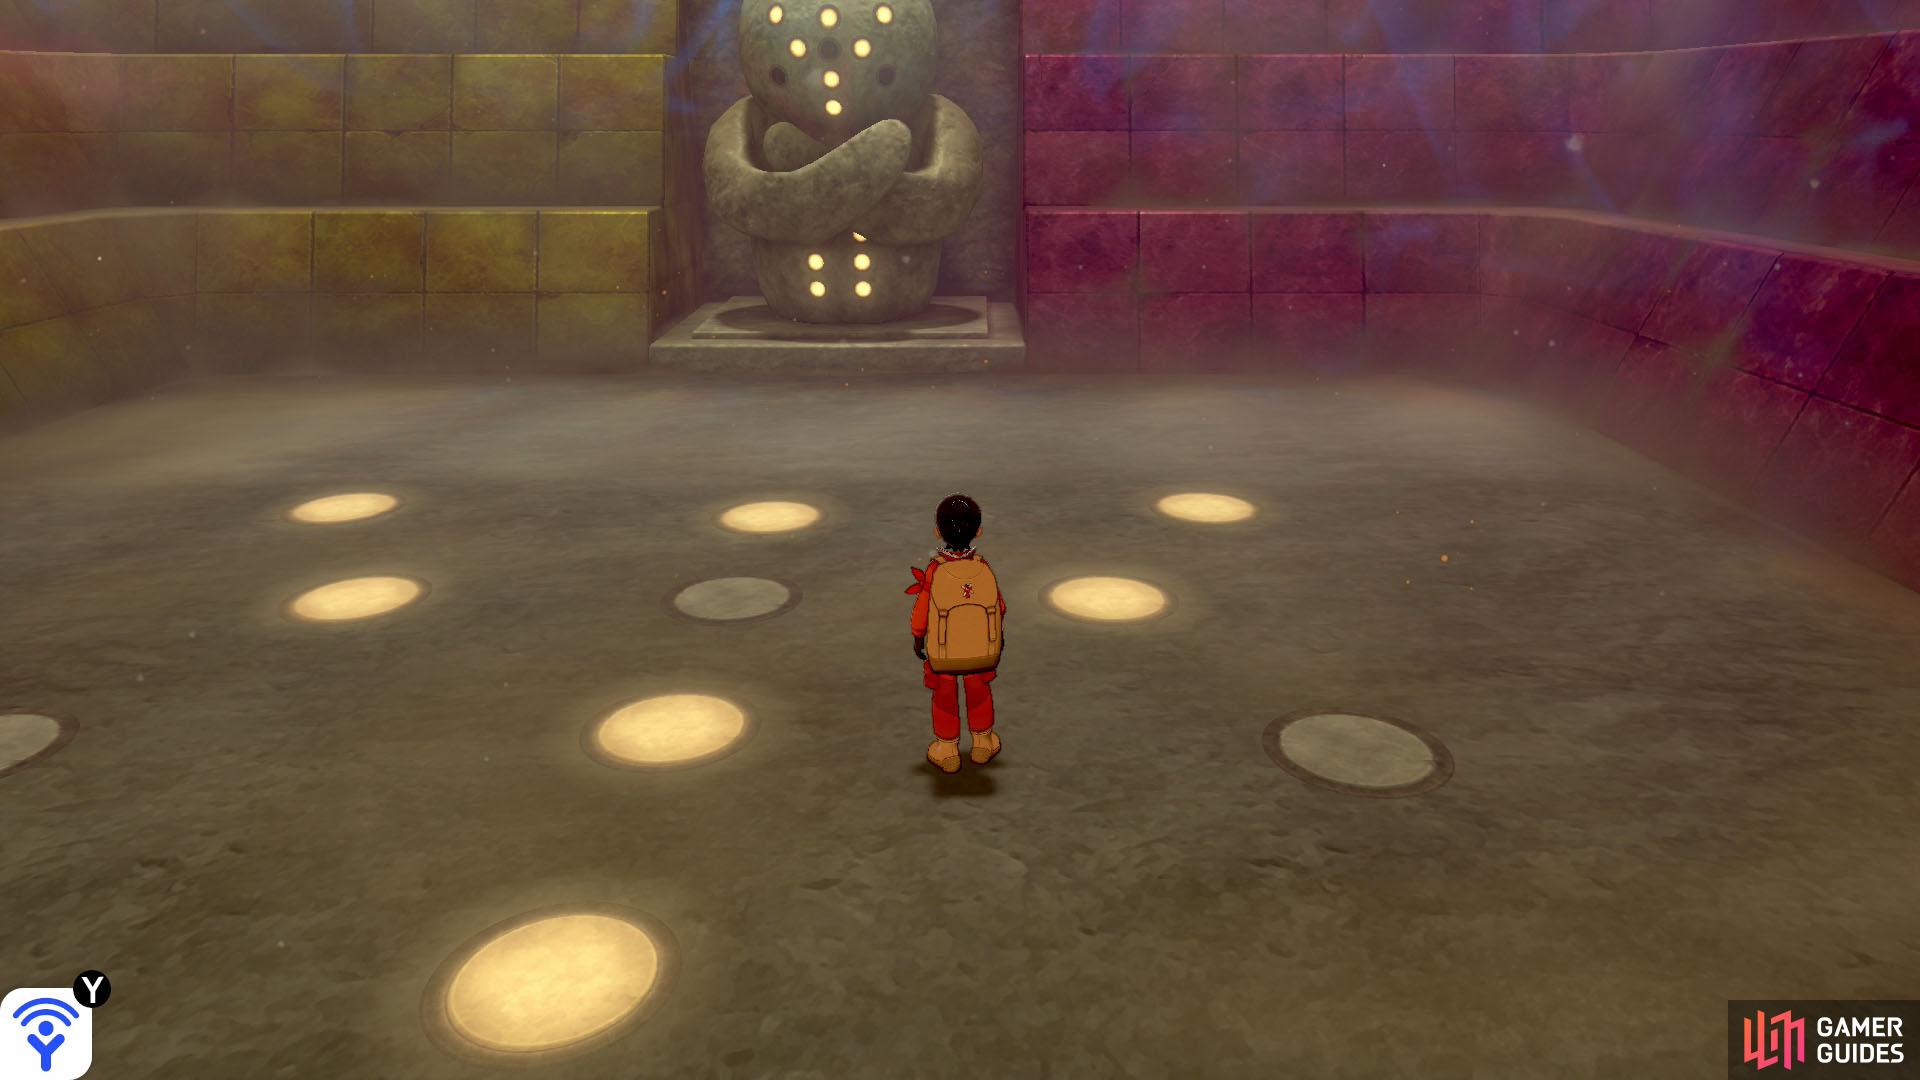
Pattern to summon Regieleki. (left), Pattern to summon Regidrago. (right)
As before, there are circular floor panels that you must light up. But instead of lighting up all of them, you must recreate the pattern of the Regi that you want to face. The pattern on the left is for the Electric-type Regi, while the pattern on the right is for the Dragon-type. If you’re unsure, please refer to our images.
You’ll know it worked if the statue at the back comes to life. Check out the statue and it’ll ask you if you wish to proceed. Similar to  Glastrier and
  Spectrier, you can only catch one of the two Regi here. Both have their own merits, so there’s no wrong choice. To obtain the other, you’ll need to trade.
Legendary Pokémon

(1 of 2) Regieleki
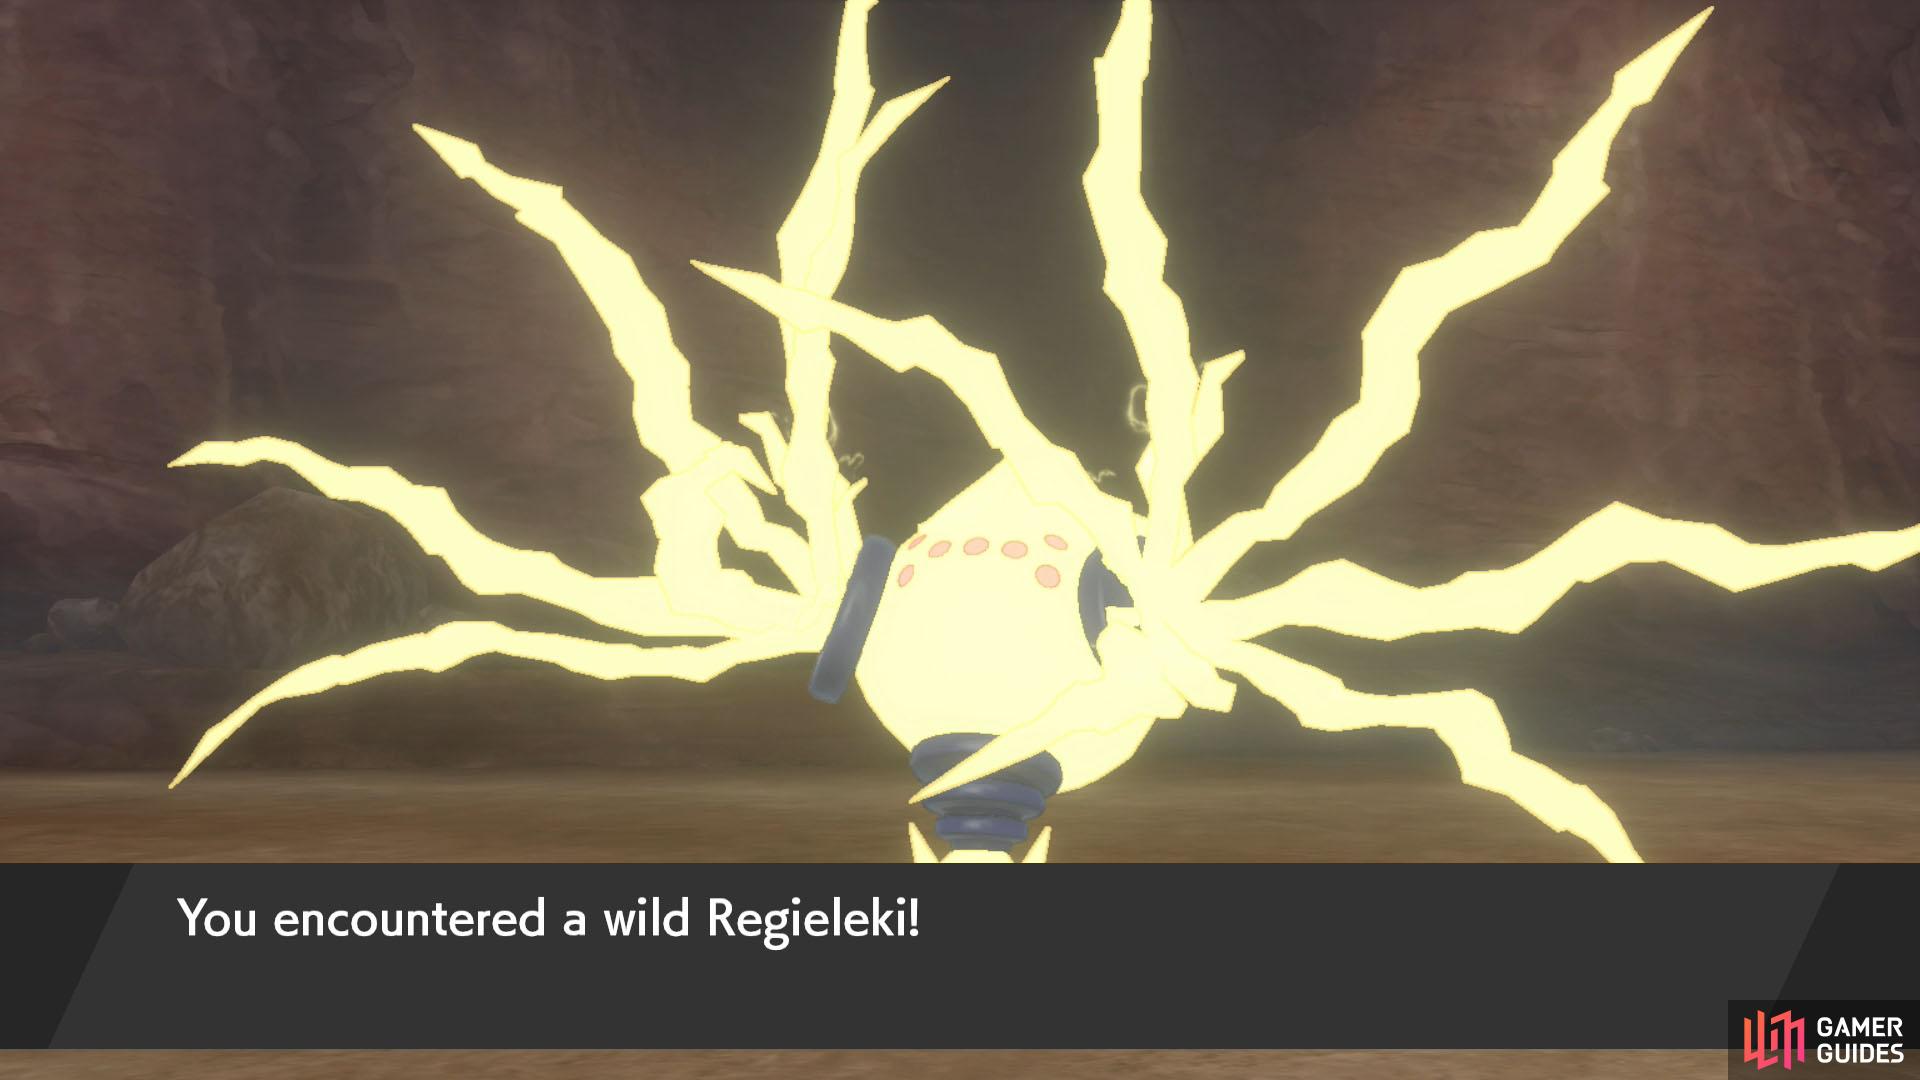
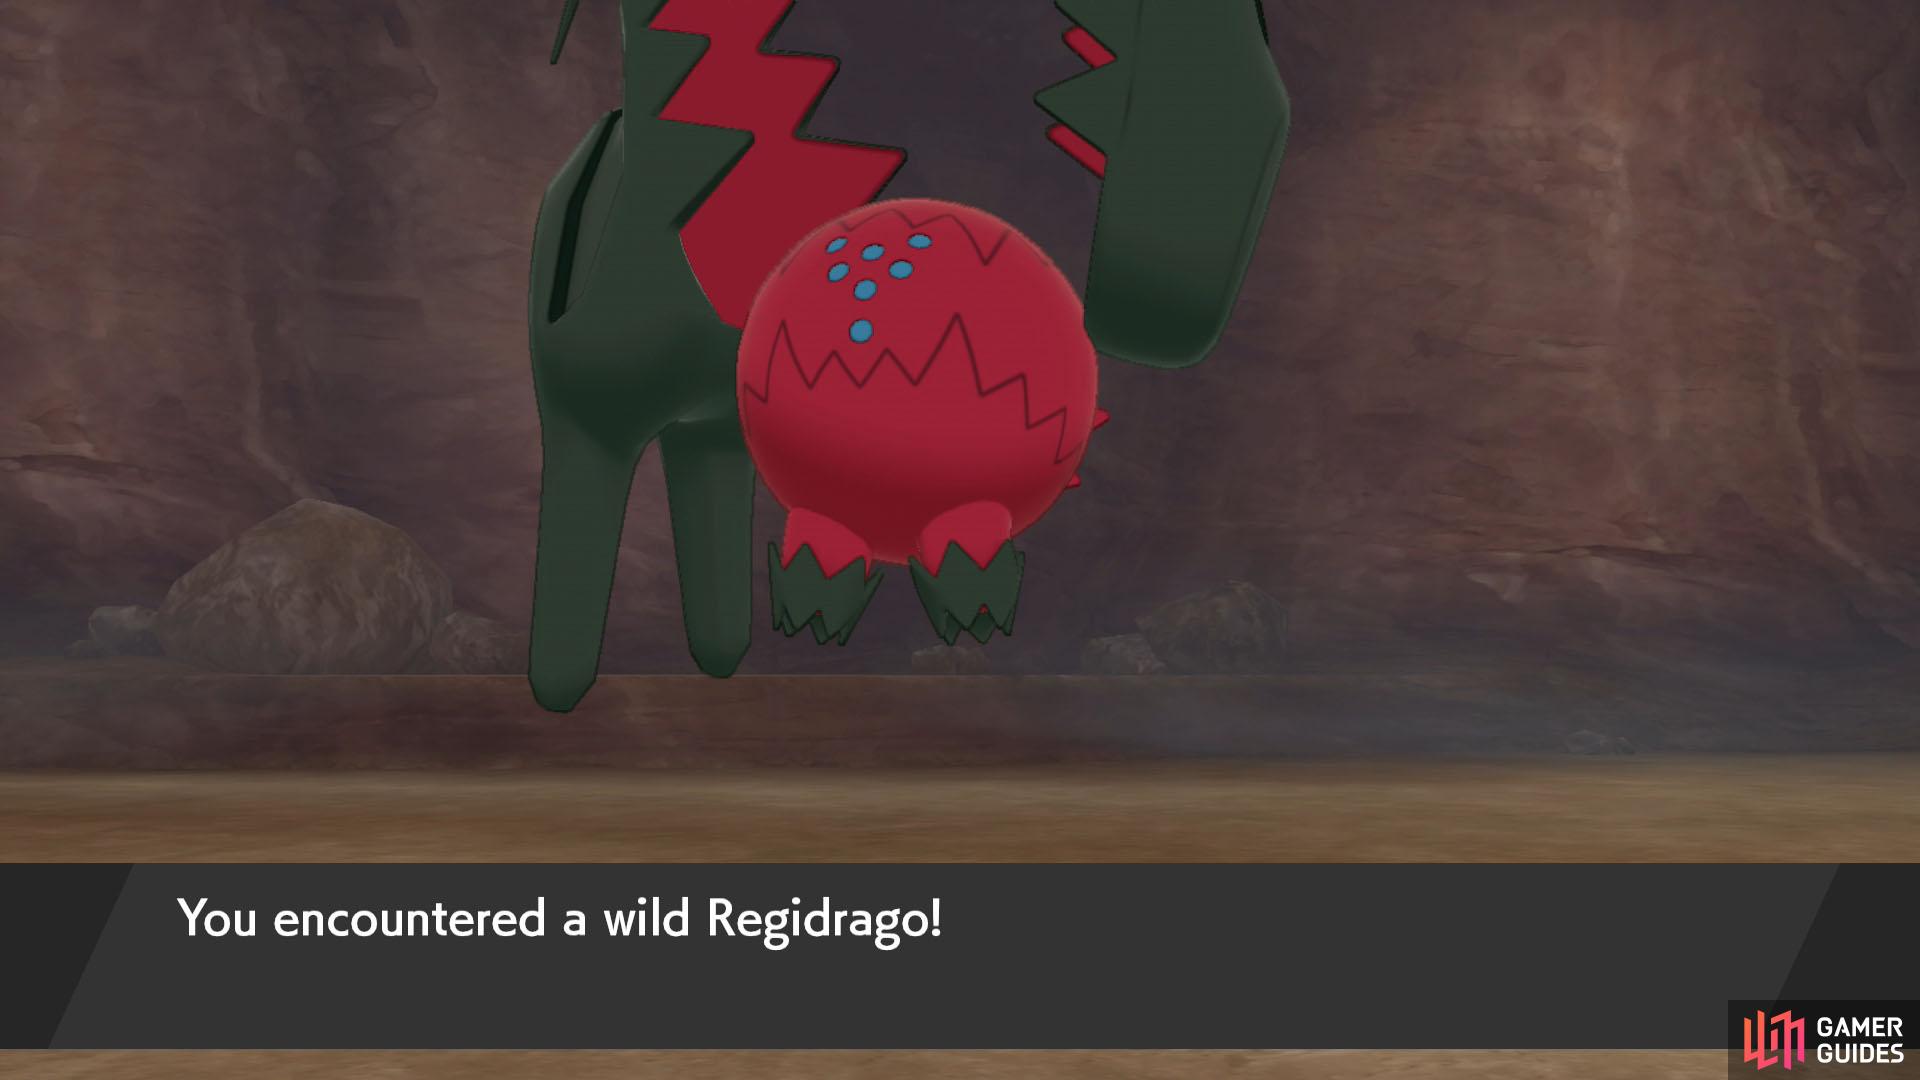
Regieleki (left), Regidrago (right)
These are both brand new Pokémon.  Regieleki boasts blistering Speed and solid offensive stats, but is fragile to compensate. Meanwhile
  Regidrago has the same spread as Regieleki but its HP and Speed stats are swapped. So it’s kind of like
  Blissey, but can actually fight.
Of the two Regieleki is probably the more dangerous. It can use Thunder Cage to trap your Pokémon and continuously deal damage. It can also use Electroweb to reduce your Speed and Extreme Speed to try and go first. Plus Magnet Rise to nullify its weakness to Ground.
Unlike the original Regi, surviving Regieleki will be your main concern, rather than inflicting damage. Being able to avoid Thunder Cage will also be benefical for your long term health. A Ground-type can easily keep Regieleki at bay; remember to give them non Ground moves, since Regieleki may use Magnet Rise.
Regidrago is a mixed bag. At the start, it’s probably more threatening that Regieleki, as it can cause heavy damage with Dragon Energy. However, as you reduce its HP, Dragon Energy’s damage will drop considerably and the rest of its moves aren’t that great. If you really want to trivialise it, field a Fairy-type.
The only other thing to note: Regieleki is an Electric-type, so you won’t be able to paralyse it. Sleep works fine though. If you need a suggestion,  Quagsire (from the Soothing Wetlands) can learn Yawn. Once you’ve gotten the Regi to low enough health, it’s back to ball-throwing business!
Succeed in catching the final Regi and you can report your quest to Peony back at Freezington to close the lid on this ordeal.
No Comments