If you count the lagoon, this is the second zone that’s part of the ocean. As before, you’ll only find  Diglett on dry land, so your first priority should be searching for land in this vast stretch of water. We hope you’re good at navigating with directions!
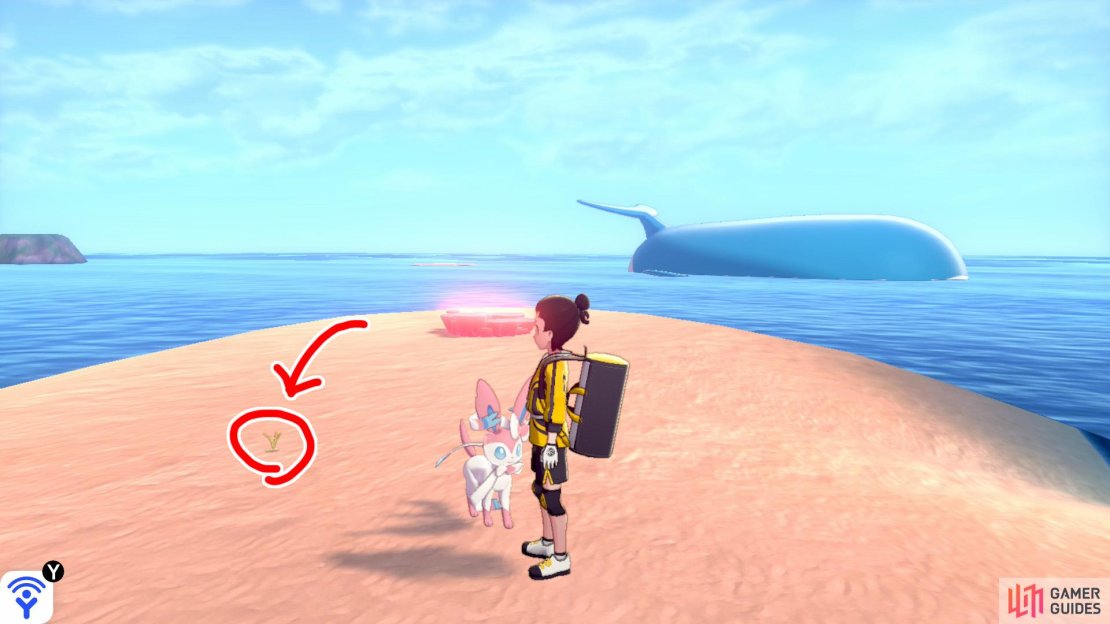
(1 of 4) 1/11: Start from Armor Station in the Fields of Armor (fly there, if possible), then enter the ocean straight ahead. Head towards the first islet that’s ahead and slightly to the left. Turn left a bit and swim to the longer islet up ahead (with a Pokémon Den). It’s in the middle of that islet.
1/11: Start from Armor Station in the Fields of Armor (fly there, if possible), then enter the ocean straight ahead. Head towards the first islet that’s ahead and slightly to the left. Turn left a bit and swim to the longer islet up ahead (with a Pokémon Den). It’s in the middle of that islet.
2/11: From Diglett 1, turn left so you’re parallel to the mainland. Head to the far-off island with three trees (it might look like two trees). Upon arrival, travel clock-wise around the island. It’s in the sand, on the side of the island that’s facing the mainland.
3/11: From Diglett 2, turn 180 degree so the mainland is behind you. Walk up to the nearby tree that’s ahead. Then look to your left. It’s pretending to be a pebble a few paces away.
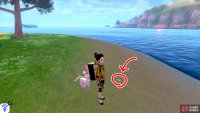
4/11: From Diglett 3, continue clock-wise around the island. When you reach the opposite shore (furthest from the mainland), it’s burrowed in the middle of the sand.
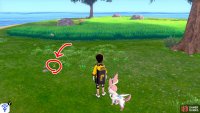
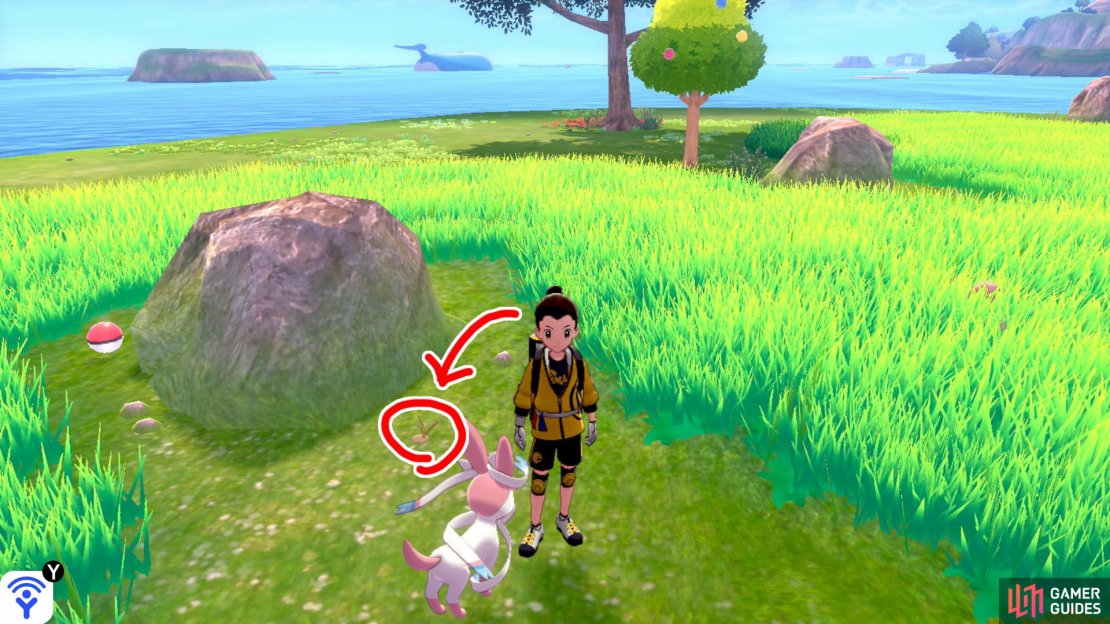
(1 of 4) 5/11: From Diglett 3, go up to the nearest tree; you should be walking in the direction of the mainland. To the left of this tree is a boulder surrounded by some tall grass. The Diglett is just in front of the boulder.
5/11: From Diglett 3, go up to the nearest tree; you should be walking in the direction of the mainland. To the left of this tree is a boulder surrounded by some tall grass. The Diglett is just in front of the boulder.
6/11: From the island where Diglett 2~5 were hiding, turn so the mainland is facing your right. Then swim towards the rocky island that’s slightly on the left. Go past that island, to the islet just ahead to find your prey. There may be a  Wailord nearby.
7/11: From Diglett 6, continue swimming straight ahead (with the mainland on your right). After a while, you should reach a Pokémon Den, then another islet with a rock in the centre. Guess who’s in front of the rock?
8/11: From Diglett 7, face the mainland and turn slightly left. There should be two islands not too far away. Swim to the island on the left. It’s where the Galarica Cuff lady is. From the lady, check the raised land on the left.
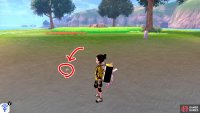
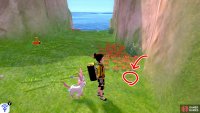
(1 of 3) 9/11: From Diglett 8, head for the centre of the island, where the Rotom is. It’s just below the red flowers on the right.
9/11: From Diglett 8, head for the centre of the island, where the  Rotom is. It’s just below the red flowers on the right.
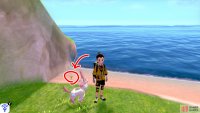
10/11: From Diglett 9, go towards the island’s opposite shore (facing the ocean). It’s on the shore, towards the left, near the grass.
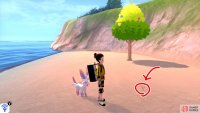
11/11: From the Galarica Cuff lady, enter the sea and turn left. Straight ahead, there’s a small, isolated beach, right where the land begins to stop. The final Diglett is waiting in the sand, to the right of the berry tree.



No Comments