Stony Wilderness
Hammerlocke is waiting for you in the distance!
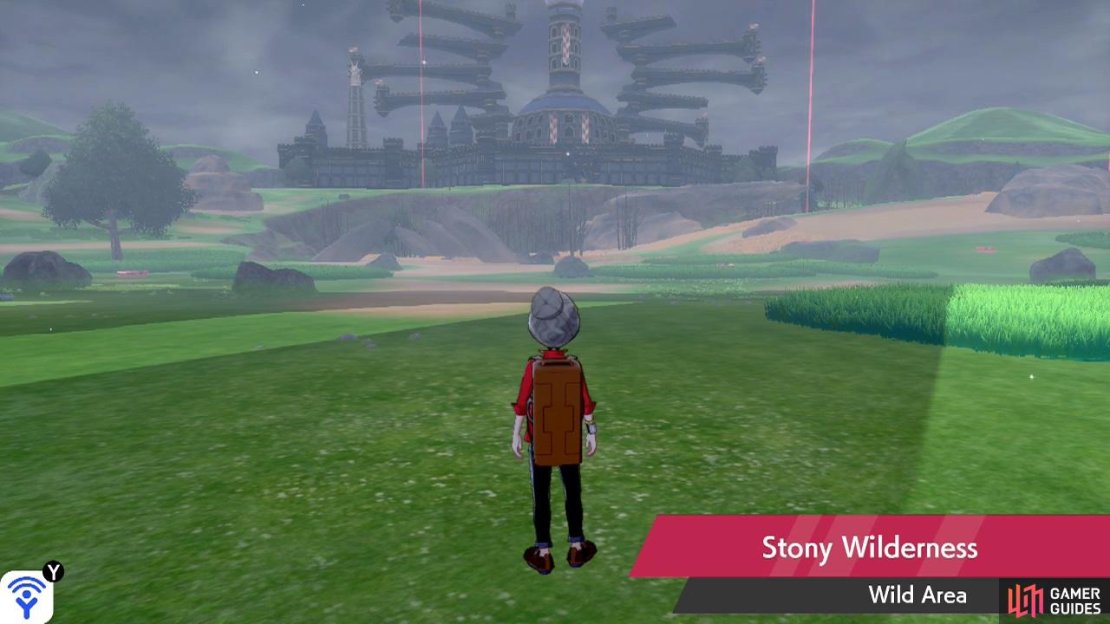
After departing Bridge Field, take a moment to observe your surroundings. Hammerlocke should be clearly visible in the distance. Below the entrance to Hammerlocke is a basin called the Dusty Bowl. Along the left side is a slope going up to Hammerlocke called the Giant’s Cap. Meanwhile, on the right is another slope called the Giant’s Mirror.
If you want to reach Hammerlocke, you’ll need to climb up the Giant’s Cap or the Giant’s Mirror. Either way works, but we’ll be going through the latter. Assuming you came from the three berry trees, go forward (north) a short distance, until you reach the rough ground. There will be a Level 60  Dusknoir hovering around here, so be careful.
(1 of 2) Go towards the rough ground, then face east towards the wall in the far-off distance.
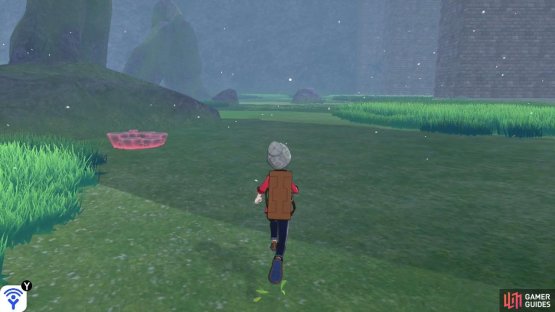
Go towards the rough ground, then face east towards the wall in the far-off distance. (left), Keep going, past the two rocks near each other. (right)
Turn your camera 90 degrees to the right, so you’re facing east. In front of you, there should be a clear path, going between patches of tall grass. Head all the way forward (east) across this path. As you approach the end, there’s a glowing den next to the tall grass and rock on the left. Next, you’ll reach two rocks separated by a couple of metres.
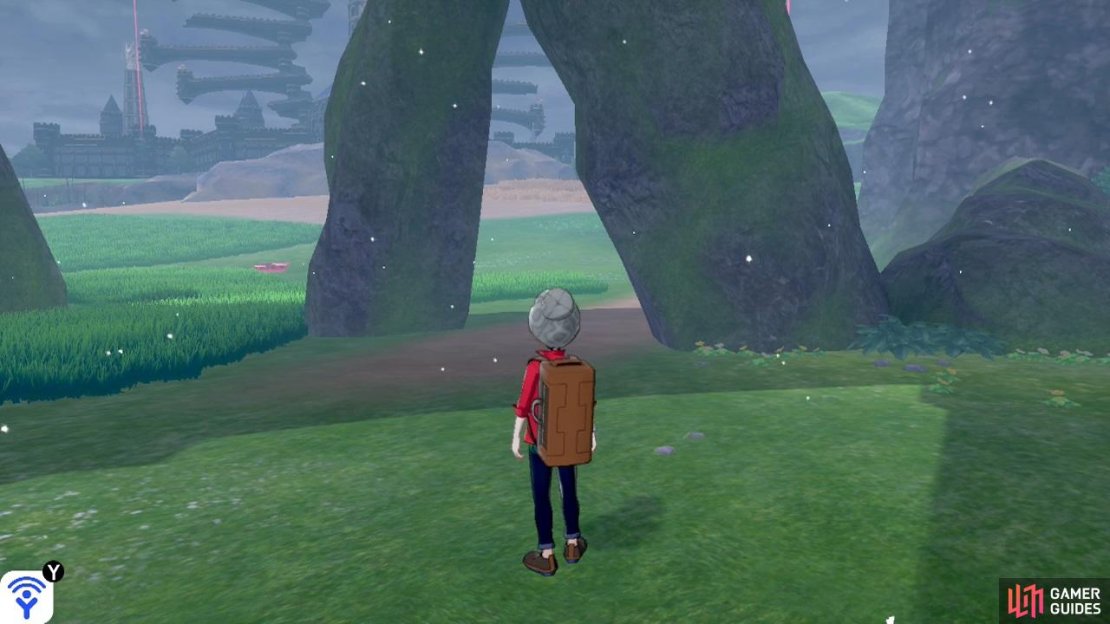
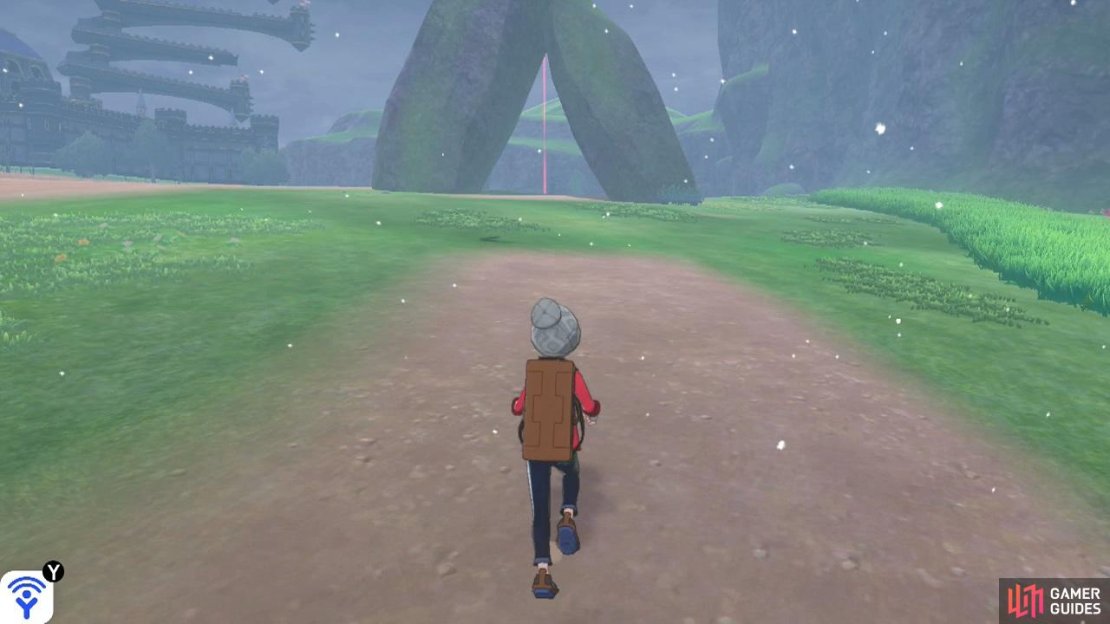
Go in-between the two rocks, to the other side. If you turn left (north) here, there will be a “gate” created by two rock pillars that have fallen on each other. At the base of the gate is the start of a dirt path. Go through the gate and begin to follow the path north, towards the incline. Be wary of a Level 40  Sigilyph floating around near the beginning.
Soon, the dirt path will break up, with another path visible ahead. On the left, there are three dens next to one another. Follow the next path north. At the end, there’s another “gate” created by rock pillars. Go under this and carry on heading forward (north), while keeping slightly to the right (east). After a while, you’ll transition to the Giant’s Mirror.
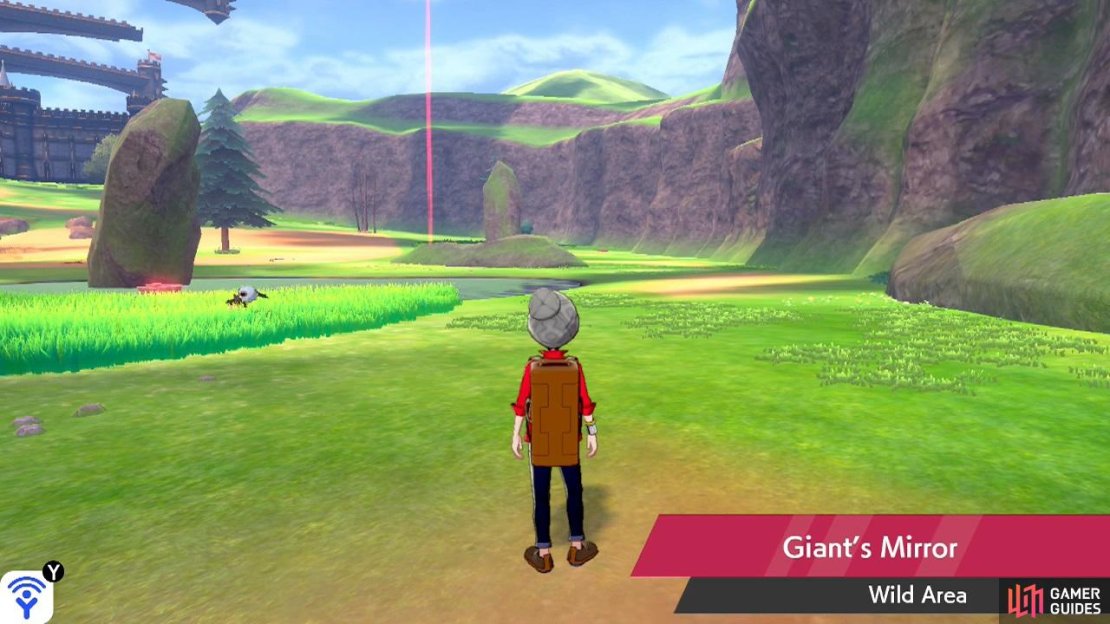
Giant’s Mirror
Do giants need a hair brush as well?
Coming from the Stony Wilderness, there will be tall grass on the left and an elongated rock on the right. Head forward (north), past the pond on the left, stopping when you reach the dirt path going left (west). Ahead, there will be a strong Pokémon (usually a  Machamp), where the path begins to turn. Follow the path left. There will be a glowing den nearby.
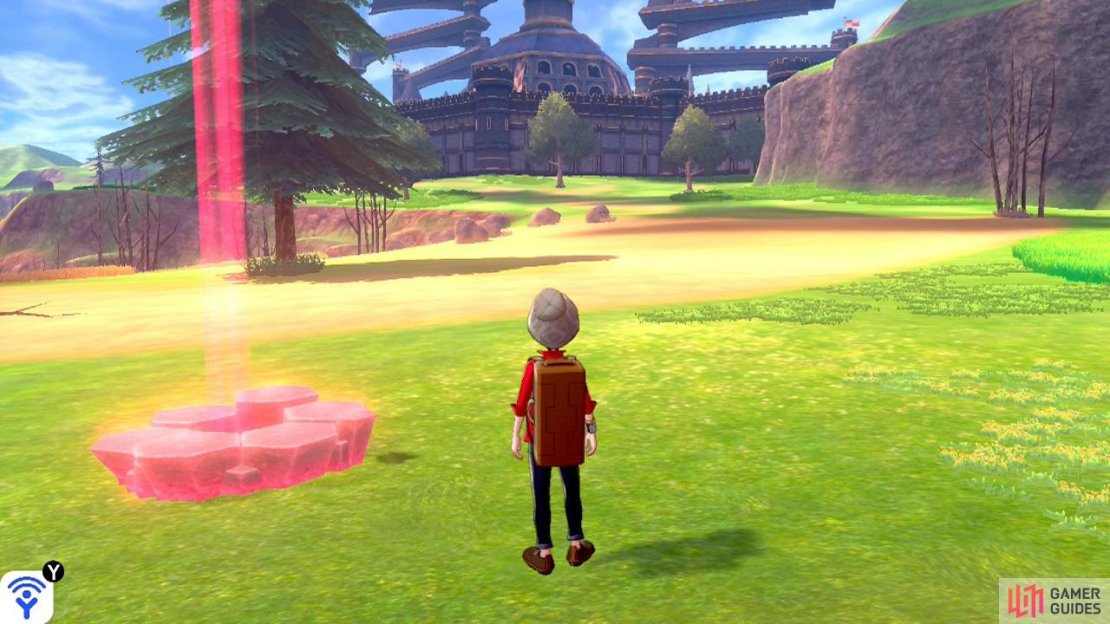
While standing at the den, rotate the camera so it faces Hammerlocke (towards the north-west). There should be a wide stretch of rough ground directly ahead. Towards the left will be the Dusty Bowl, while on the right is the path to Hammerlocke. Without further ado, go up the path on the right. When you leave the rough ground, you’ll transition to the final zone.
Hammerlocke Hills
“Are we there yet?“
After leaving the Giant’s Mirror, there’s a den nearby, next to some tall grass. Go up to the den and turn the camera so the entrance to Hammerlocke, shaped like a dragon’s head, is directly ahead. Now head all the way forward (west). Be wary of a strong  Corviknight flying around. As you approach the entrance, there’s another strong ’mon (usually a
  Vileplume) on the right.
When you finally arrive at the entrance, there are two NPCs on the right. One of them is a Watt Trader, while the other is the Ingredient Seller. Standing in front of the entrance itself is a League member staff who won’t let you past unless you have 3 Gym badges. Show him your badges and he’ll step to one side. Once you’re done here, ascend the stairs to Hammerlocke.



No Comments