

So you’ve defeated Mustard at his peak and completed the Isle of Armor storyline. Now that your training at the dojo has concluded, you’re free to do whatever you want. We bet there are lots of native Pokémon that you haven’t caught. Perhaps there are some places you’ve yet to fully explore? Also, here are some other things you can see and do!
Restricted Sparring
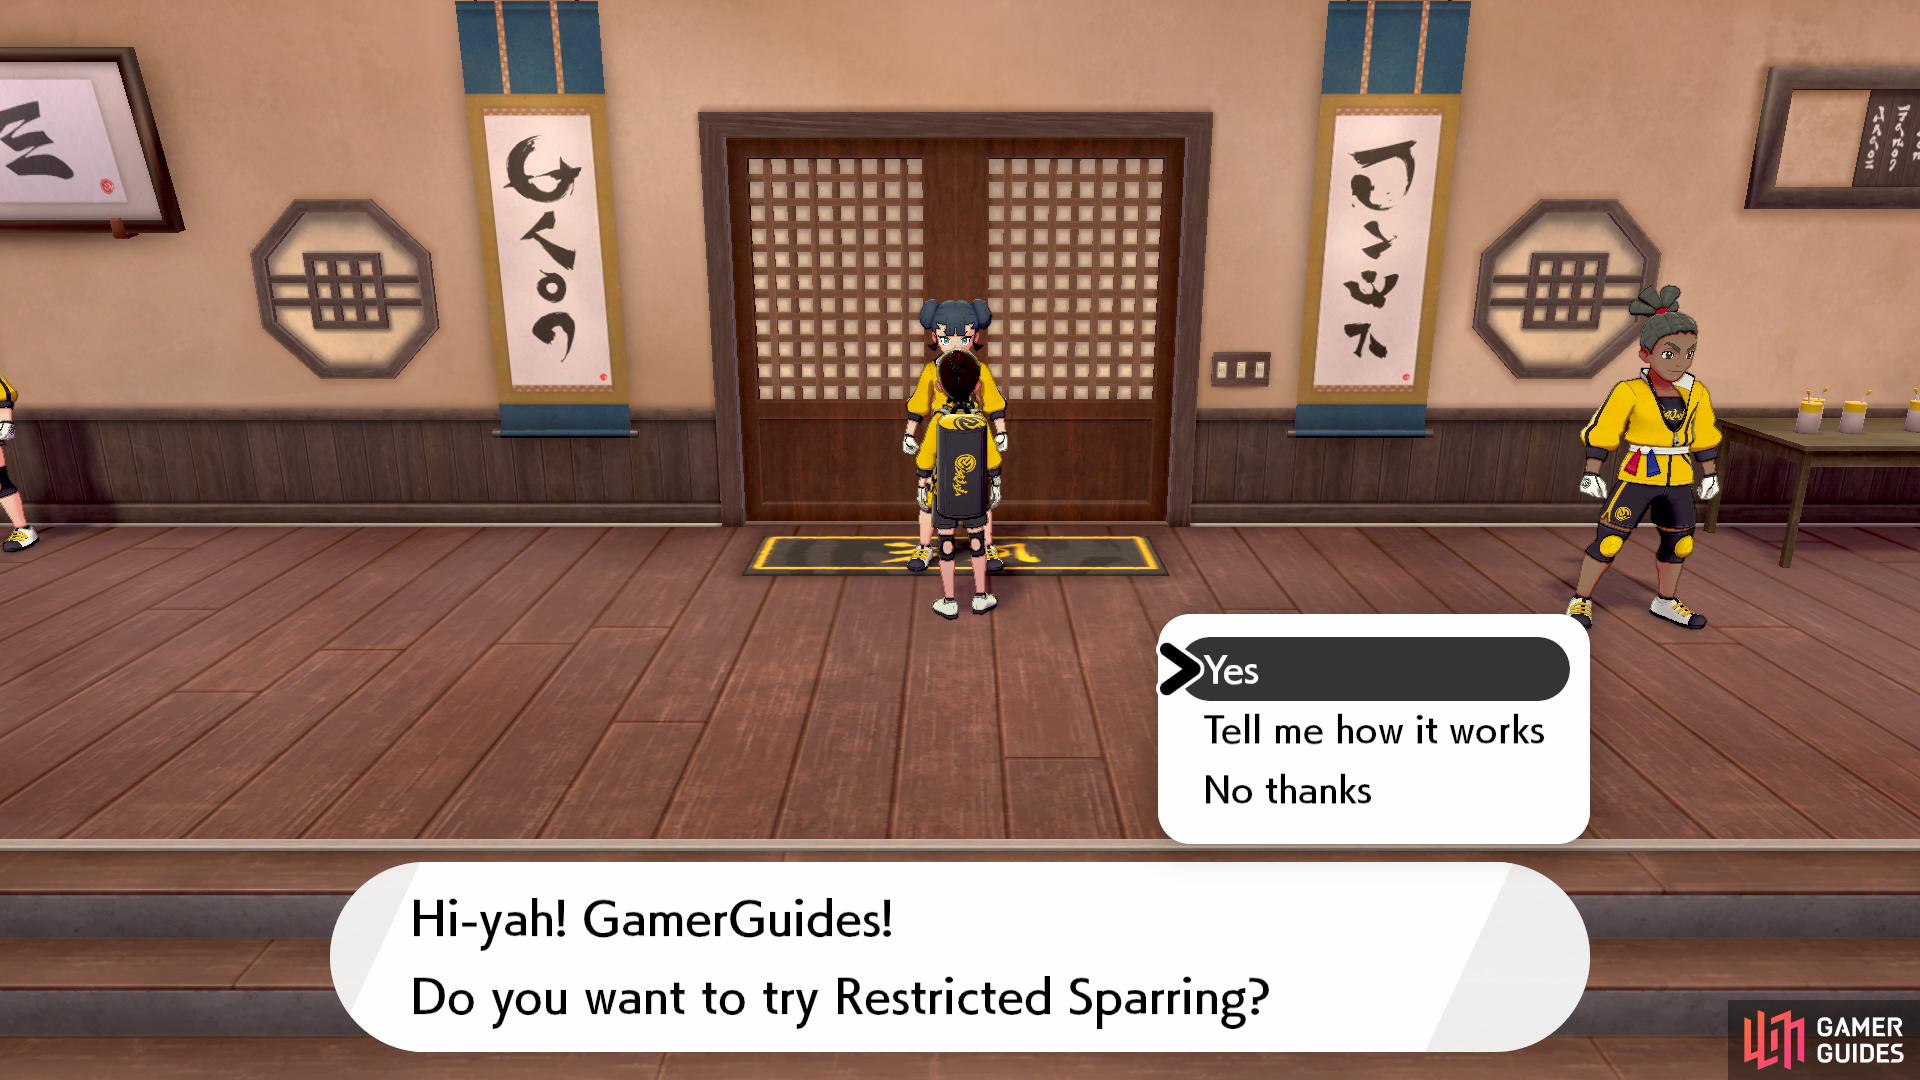
You’ve piqued our interest.
After your last battle with Mustard, the dojo student in front of the Battle Court will introduce you to a new kind of battle called “Restricted Sparring”.
Klara/Avery Commemorative T-Shirt
While you’re still at the dojo, speak to the dojo student to the left of the Battle Court entrance. You’ll receive the Klara 4-ever Casual Tee or the Avery 4-ever Casual Tee. If you speak to them again, they’ll give you a hint where to find Klara/Avery.
Receive a Porygon
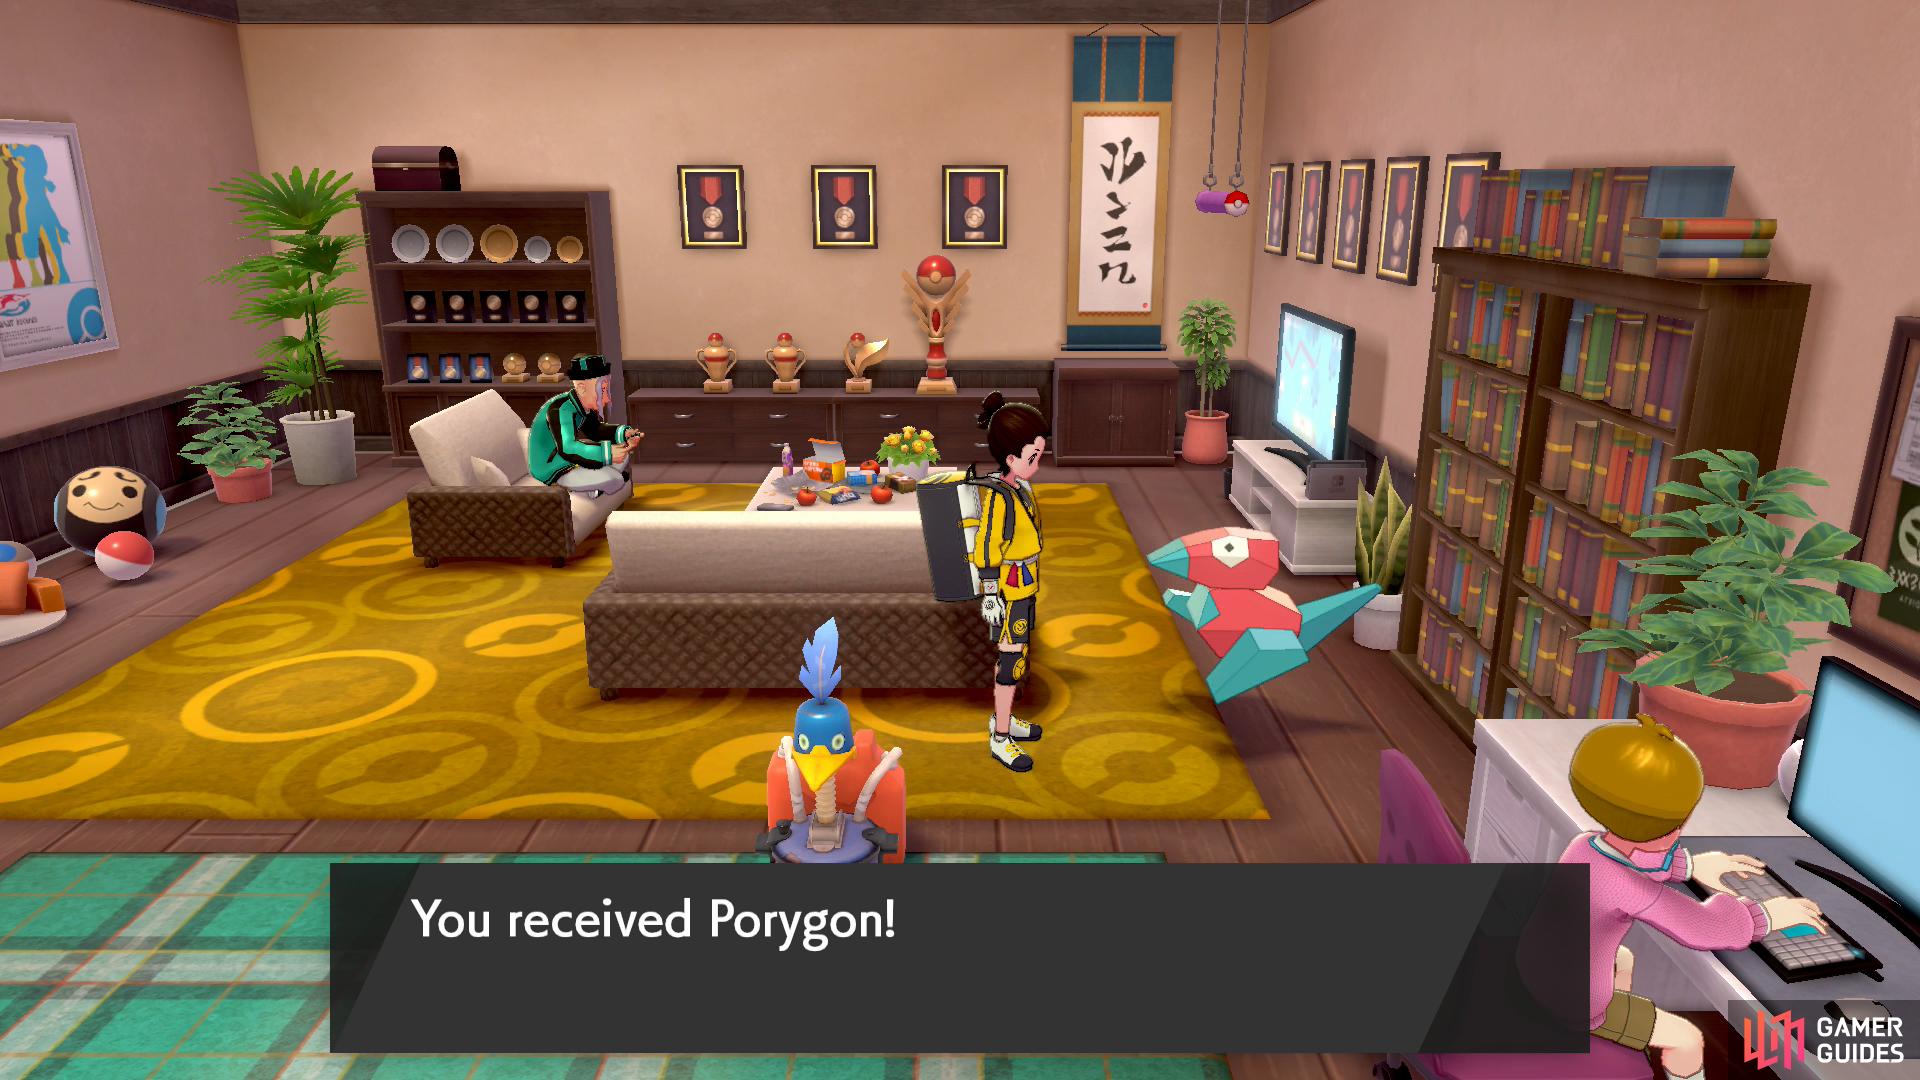
Here’s your free Porygon. Upgrades not included!
While you’re still at the dojo, head for Mustard and Hyde’s room, to the far right. You should notice something out of the ordinary there: a  Porygon next to Hyde. Inspect the Porygon and Hyde will let you keep it for free.
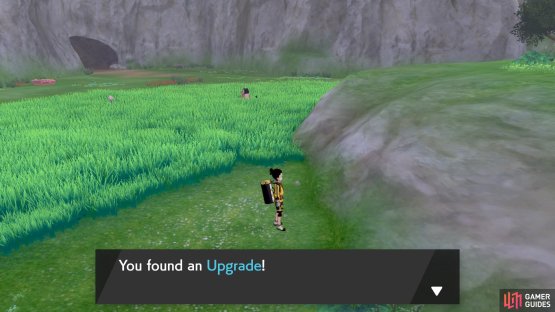
To evolve the Porygon, you need to trade it with an Upgrade item, then a Dubious Disc. Luckily, you can obtain both of these on the isle itself. For the Upgrade, head back to Training Lowlands. With your back to the entrance to Warm-Up Tunnel, go through the tall grass on the right. You’ll find the Upgrade sitting between the grass and rocky hill.
As for the Dubious Disc, you’ll need to get a little bit wet. Fly to Armor Station in the Fields of Honor, where you first arrived. Get on your bike and plunge into the ocean straight ahead. In front of you, there’s a tiny island with a Calcium. On this island, turn very slightly left. Look for a larger island with a Pokémon Den on it, then navigate yonder.

(1 of 2) Trade Porygon with this to evolve it into Porygon2.


Trade Porygon with this to evolve it into Porygon2. (left), Trade Porygon2 with this to evolve it into PorygonZ. (right)
When you reach this second island, go to the opposite tip, past the Pokémon Den. In the distance, there should be a rocky island that you can’t land on. To its right, if you stare hard, there should be another tiny island, like the Calcium one. Venture to the distant island and you’ll discover the coveted Dubious Disc. There may also be a humongous whale nearby…
Lady Clear
Since we’re already here, return to the Calcium island, ideally by flying back to Armor Station. With the mainland behind you, turn 90 degree left. Do you see an island with three trees clustered together in the distance? Go in that direction. Before you reach that island, there’ll be another small island. Here, you’ll find a lady who can reset EVs for 10 Armorite Ore.
Zany Fashion
This one’s easy to miss. Head inside Armor Station and make your way towards the ticket gates. There should be a gentleman standing there nonchalantly. Actually, he’s stranded here and needs funds to leave. If you desire, buy his wares with 3,000 Poké Dollars. You’ll get a W x F x G ensemble (casual tee, hoodie, patterned tights and sports cap).
Evolve your Slowpoke
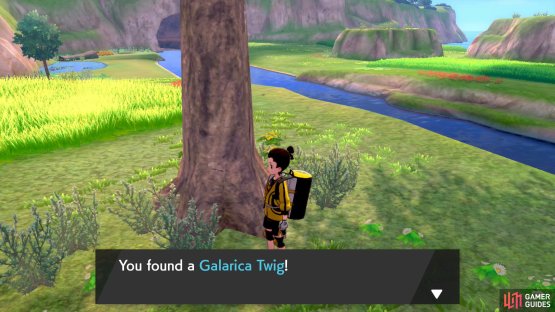

(1 of 2) You can gather twigs up from all across the isle.


You can gather twigs up from all across the isle. (left), After collecting 8 twigs, give them to this lady in Workout Sea. (right)
The method to evolve a Galarian  Slowpoke is quite time-consuming. If you haven’t already done so, make it a habit to inspect every sparkling spot you come across. On the Isle of Armor, there’s a chance of finding a Galarica Twig from these spots. However, it’s entirely RNG-dependent, so you could go for 30 minutes without one, then get multiple in a row.
Once you’ve got 8 of these fancy twigs, fly to Armor Station. Then, while facing the ocean, look right. In the distance, there should be an island with an archway in the middle. Jump on your bike and paddle your heart out, until you reach the island. Living here is a lady who will turn 8 Galarica Twigs into a Galarica Cuff, used to evolve Slowpoke.
Additionally, if you have a Slowpoke and  Slowbro in your party, she’ll give you a Poke and Bro Boatneck Sweatshirt. Also, since you’ve come all the way, if you go left around the narrow part of the island, you can pick up a TR43 Overheat. Meanwhile, in the centre of the island, there’s a roaming
  Rotom, which can be in one of its alternate forms.
Rematch with Klara/Avery
Did you understand the hint that the Klara/Avery fan gave you? When there’s a gap in your schedule, head for Potbottom Desert, via Warm-Up Tunnel. Fastest way there is by flying to the Training Lowlands. At the desert entrance, you should stumble across Klara/Avery and their Galarian Slowpoke. They’ll run off after giving you their Rare League Card.
Now that they’ve scarpered home, return to the Master Dojo. You should now find Klara/Avery standing on the left. Speak to them and you can rematch them repeatedly, once per day. You don’t get anything extra for winning, but the experience points could be useful.
Pokémon Trainer Klara

| Pokémon | Level | Type |
|---|---|---|
 Drapion Drapion |
65 | Poison/Bug |
 Weezing (Galarian) Weezing (Galarian) |
66 | Poison/Fairy |
 Scolipede Scolipede |
66 | Bug/Poison |
| Slowbro (Galarian) |
67 | Poison/Psychic |
Klara has improved a lot, but compared to Mustard, her team is relatively weak. Don’t expect a challenge, but you may find joy in crushing her.
Drapion is an evolved  Skorupi that’s swapped its Bug-type for Dark. It’s weak to Ground moves only. For attacks, it has a mean Crunch and Poison Fang, plus Ice Fang to grind away Ground-types. You can probably afford to risk a Ground-type; otherwise, Steel-types should be safer.
Galarian Weezing may be her next Pokémon. This posh-looking pollutant is weak to Ground, Psychic or Steel, although some Weezing have Levitate. It can use the Toxic and Protect combo to steadily poison your Pokémon and Heat Wave to annoy Steel-types. Go with a Psychic-type unless you can stand the heat.
Scolipede is a fully evolved  Venipede that’s still Bug and Poison-type. So it’s weak to Fire, Flying, Rock and Psychic. Its arsenal includes Megahorn and Poison Jab for STAB and Smart Strike to punish Rock-types. Go with a Fire or Flying-type if possible.
Finally, Klara has her signature Galarian Slowbro, which she’ll Dynamax right off the bat. As a reminder, its weak to Ground, Ghost and Dark. At its disposal are Poison, Psychic, Water and Fighting moves. Ghost-types are the optimal choice. Also, watch out for Quick Draw, which may let it move first.
Pokémon Trainer Avery

| Pokémon | Level | Type |
|---|---|---|
 Rapidash (Galarian) Rapidash (Galarian) |
65 | Psychic/Fairy |
 Swoobat Swoobat |
66 | Psychic/Flying |
 Alakazam Alakazam |
66 | Psychic |
| Slowbro (Galarian) |
67 | Poison/Psychic |
| ::: |
Similar to Klara, Avery has greatly improved his team, but his power level is far below Mustard’s so it’s unlikely he’ll pose a real challenge.
First up, Avery has evolved his Galarian  Ponyta into Rapidash. It’s gained the Fairy-type, so it’s now weak to Poison, Ghost and Steel. Its attacks include Psychic, Dazzling Gleam and Mystical Fire. Poison and Steel-types won’t like Psychic and Mystical Fire, so use a Ghost-type if you can.
Swoobat is back with a vengeance. As before, it’s weak to Electric, Ice, Rock, Dark and Ghost. Its moveset includes Psychic, Air Slash and Energy Ball. Only Rock-types need to be somewhat afraid, due to its Energy Ball–the other four should have a field day.
Alakazam is a fully evolved  Abra. It’s still a pure Psychic-type, so you don’t need to think too hard, but be careful of its superior offensive stats. Of note, it can use Psychic for STAB, Shadow Ball to hurt other Psychics and Reflect to weaken physical moves. It’s got nothing on Dark-types.
Finally, Avery has brought back his Galarian Slowbro and he’s not afraid to Dynamax it. In case you’ve forgotten, its weak to Ground, Ghost and Dark. For attacks, it can unleash Poison, Psychic, Water and Fighting moves. Ghost-types are the best choice. Be wary of Quick Draw, which may let it move first.
Battle with Honey
Earlier, Honey was looking for kind donors for the dojo. If you manage to donate a not-insignificant total of 1,000,000 Watts, you’ll be given the option to battle Honey when you speak to her. Winning doesn’t net you anything special–it’s mainly for fun and excitement. You can also rematch her once a day.
Dojo Matron Honey

| Pokémon | Level | Type |
|---|---|---|
 Blissey Blissey |
75 | Normal |
 Gallade Gallade |
74 | Psychic/Fighting |
 Salazzle Salazzle |
73 | Poison/Fire |
 Darmanitan (Galarian) Darmanitan (Galarian) |
73 | Ice |
 Togekiss Togekiss |
75 | Fairy/Flying |
 Blastoise (if you chose Blastoise (if you chose  Bulbasaur) Bulbasaur) |
75 | Water |
 Venusaur (if you chose Venusaur (if you chose  Squirtle) Squirtle) |
75 | Grass/Poison |
Yikes, Honey is about as powerful as Mustard. Like her hubby, her team is fairly well-balanced, with plenty of strong Pokémon. You’ll definitely want to bring your A game here.
The first wall you have to climb is Blissey, who’s THE special wall. Absolutely avoid using special attacks on it, unless they target Defense (like Psyshock). Use Fighting-type moves or any physical move for an easy win. It has practically zero offensive presence, but can set up Light Screen.
Next, she may send out Gallade, one of  Kirlia’s possible evolutions. This one’s weak to Flying, Ghost and Fairy. For attacks, it has Psycho Cut for STAB, Throat Chop to deter Ghosts and Swords Dance to boost Attack. Finish it quick with Flying or Fairy-types.
Salazzle is an evolved female  Salandit. It’s weak to Water, Rock and Psychic and extremely weak to Ground. Besides STAB Flamethrower, it carries the annoying Toxic and Protect combo. Ground-types will send it to an early retirement; the other three types should also work wonders.
Galarian Darmanitan is an Ice-type instead of Fire. Although some species can become Ice/Fire after hitting 50% HP. Anyway, Honey’s Darmanitan can use Icicle Crash for STAB, plus Stone Edge, Earthquake and Zen Headbutt for coverage. No type is safe, so just give it your best shot.
Togekiss is a fully evolved  Togepi. Its weaknesses are Electric, Ice, Rock, Poison and Steel. Attack-wise, it can use Dazzling Gleam and Air Slash for STAB, plus Heat Wave to combat Ice and Steel and Aura Sphere to counter Ice and Rock. That leaves Electric and Poison.
Finally, Honey made good on her promise to train the unwanted Kantonian starter. If you chose Bulbasaur, she’ll bring out her Gigantamax Blastoise. Meanwhile, she’ll send out Gigantamax Venusaur if you sided with the Squirtle squad.
Her Blastoise carries Water, Ice and Steel moves. Unless you’re confident your Grass-types can withstand the chill, we suggest electrocuting the oversized turtle. If Blastoise somehow survives 3 turns of Gigantamax, it can use Iron Defense to bolster its Defense stat.
If your opponent is Venusaur, it can use Grass, Poison and Ground moves. Ice, Flying and Psychic-types are recommended. You could even bring a Fire/Flying-type like  Charizard to really rub in the pain. If Venusaur is still around when Gigantamax ends, it can use Amnesia to buff its Special Defense.
Replica Gold Crown and Mark Charm
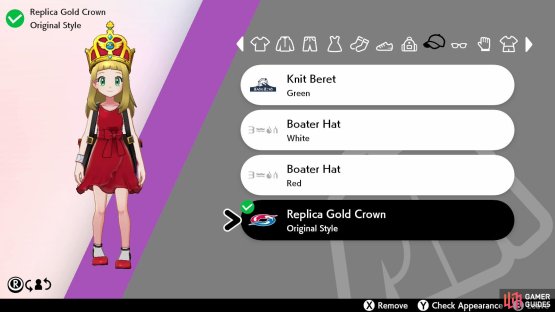
(1 of 2) Wear this to feel like a real king or queen!
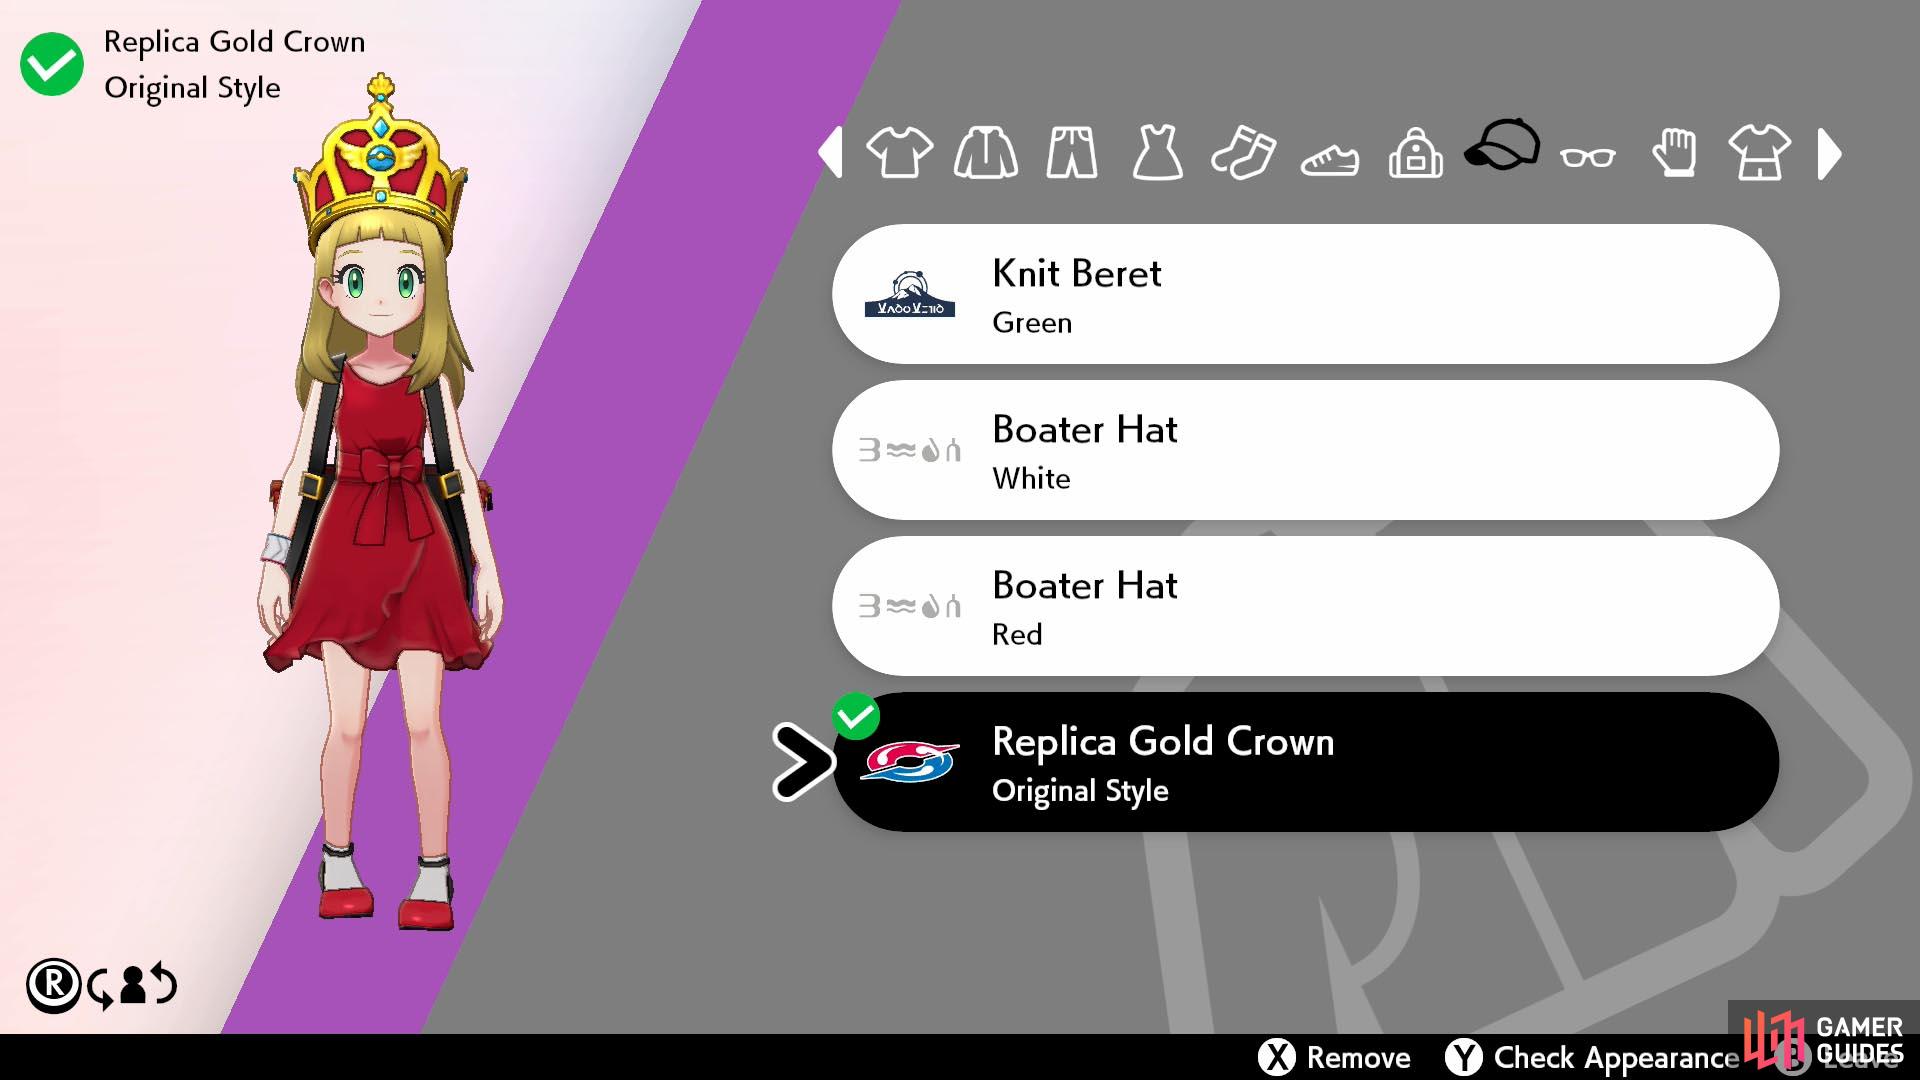

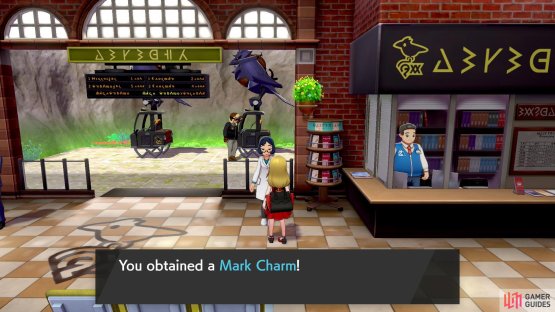
Wear this to feel like a real king or queen! (left), The Mark Charm provides 2 additional rolls for a Pokémon to have a mark. (right)
If you keep up the hard work and manage to record all 210 Pokémon in the Isle of Armor Pokédex ( Zarude isn’t required), don’t forget to report back to the researcher lady in Armor Station. As thanks, you’ll receive an Original-Style Replica Gold Crown that you can wear and a Mark Charm, which is a key item that increases the chance of encountering Pokémon with marks.
No Comments