

After defeating Leon and becoming the Champion, you’ll briefly have a vision of the altar at the endpoint of the Slumbering Weald. Go outside your room to find that Prof… er, ex-Professor Magnolia has come for a visit. She’ll give you a Master Ball, which can catch any wild Pokémon with a 100% chance. Once she’s gone, leave your house.
Outside, head for the entrance to the Slumbering Weald, down below and to the left. From here, make your way to the end of the forest. If you’ve forgotten the route, begin by heading west, then north. At the first fork, follow the left-hand side path. At the second fork, go straight ahead (but both paths will go to the same place). Finally, at the third fork, take the path on the left.
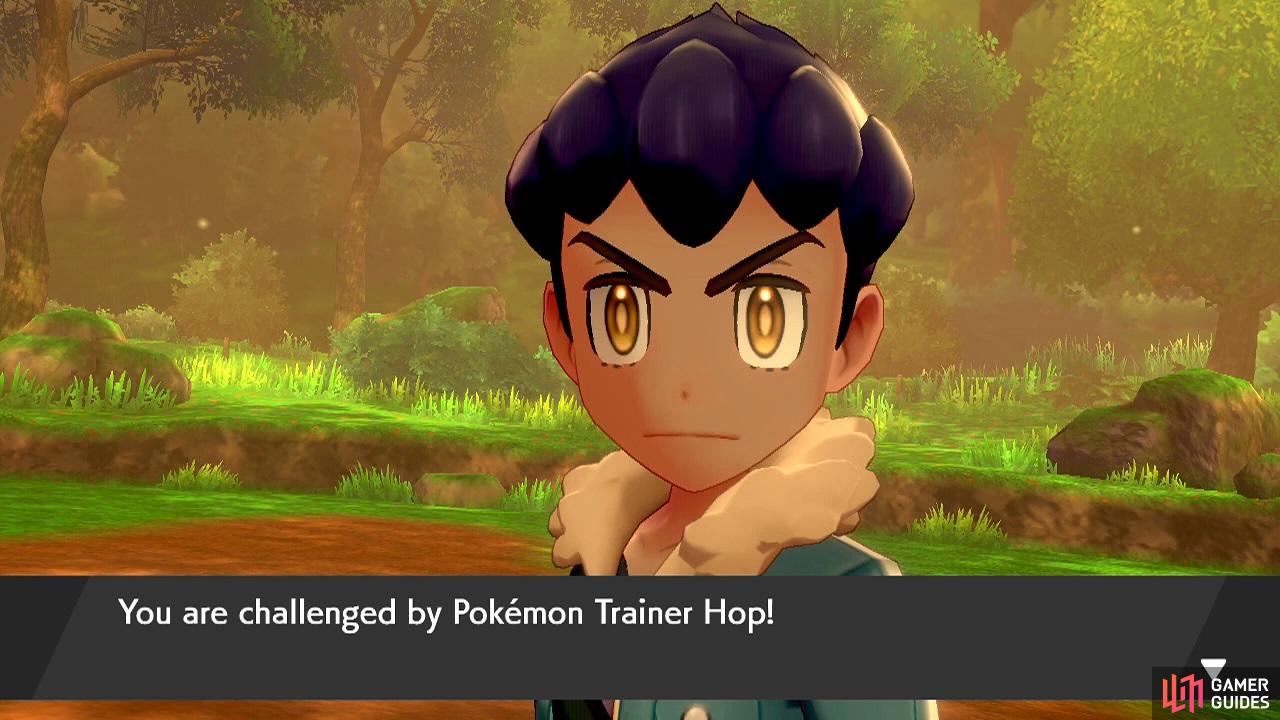
At the endpoint, you’ll find Hop standing in front of the altar. Approach him to trigger a battle, for old time’s sake.
Pokémon Trainer Hop
| Pokémon | Level | Type |
|---|---|---|
 Dubwool Dubwool |
59 | Normal |
 Corviknight Corviknight |
59 | Flying/Steel |
 Pincurchin Pincurchin |
58 | Electric |
 Snorlax Snorlax |
58 | Normal |
 Cramorant Cramorant |
58 | Flying/Water |
 Inteleon (if you picked Inteleon (if you picked  Grookey) Grookey) |
60 | Water |
 Rillaboom (if you picked Rillaboom (if you picked  Scorbunny) Scorbunny) |
60 | Grass |
 Cinderace (if you picked Cinderace (if you picked  Sobble) Sobble) |
60 | Fire |
Hop’s team is largely changed since you fought him during the Champion Cup, but he’s re-added his Cramorant from his more experimental days. Anyway, you’ve fought Hop numerous times and you just defeated Leon, so this battle should be pretty easy.
Like last time, Hop will lead with Dubwool. It can use Cotton Guard to increase its Defence by a whopping 3 stages, Double Edge and Headbutt for STAB and Double Kick to try and get around Rock and Steel-types. Use a Fighting-type if you can or a strong special attacker. Note that it’s got nothing to handle Ghosts.
The ever-reliable Corviknight makes a return. For attacks, it has Brave Bird and Steel Wing for STAB–the former can hit pretty hard. Plus it can use Scary Face to greatly lower Speed. Melt it with Fire-types or zap it with Electric-types.
Pincurchin has dropped Curse in favour of all offensive moves. It can use Zing Zap for Electric-type STAB, Poison Jab (Poison, obviously), Bubble Beam (Water) and, if nothing else works, Fury Attack (Normal). Despite the threat of Bubble Beam, Ground-types are the best ones for the job.
When you get to Snorlax, it can be somewhat hard to take down, but just keep at it. Similar to last time, it has no STAB moves, only coverage ones. On top of Steel, Ground and Fighting moves, it has also learned Crunch (Dark), which Ghost-types won’t like. Give it a good Fighting-type punch to the face.
As mentioned, Hop has brought back his Cramorant from retirement! This ravenous bird can use Dive to hide underwater for a turn, while also triggering its Gulp Missile ability. It can also use Drill Peck for Flying-type STAB, Throat Chop and Steel Wing. Electricity is its bane.
Finally, when you get to Hop’s starter, we shouldn’t need to tell you what Pokémon to send out. Although if you’ve just come back after being cryogenically frozen and lost your memory, you’ll want to send out your own starter. So Rillaboom against Inteleon, Cinderace against Rillaboom or Inteleon against Cinderace.
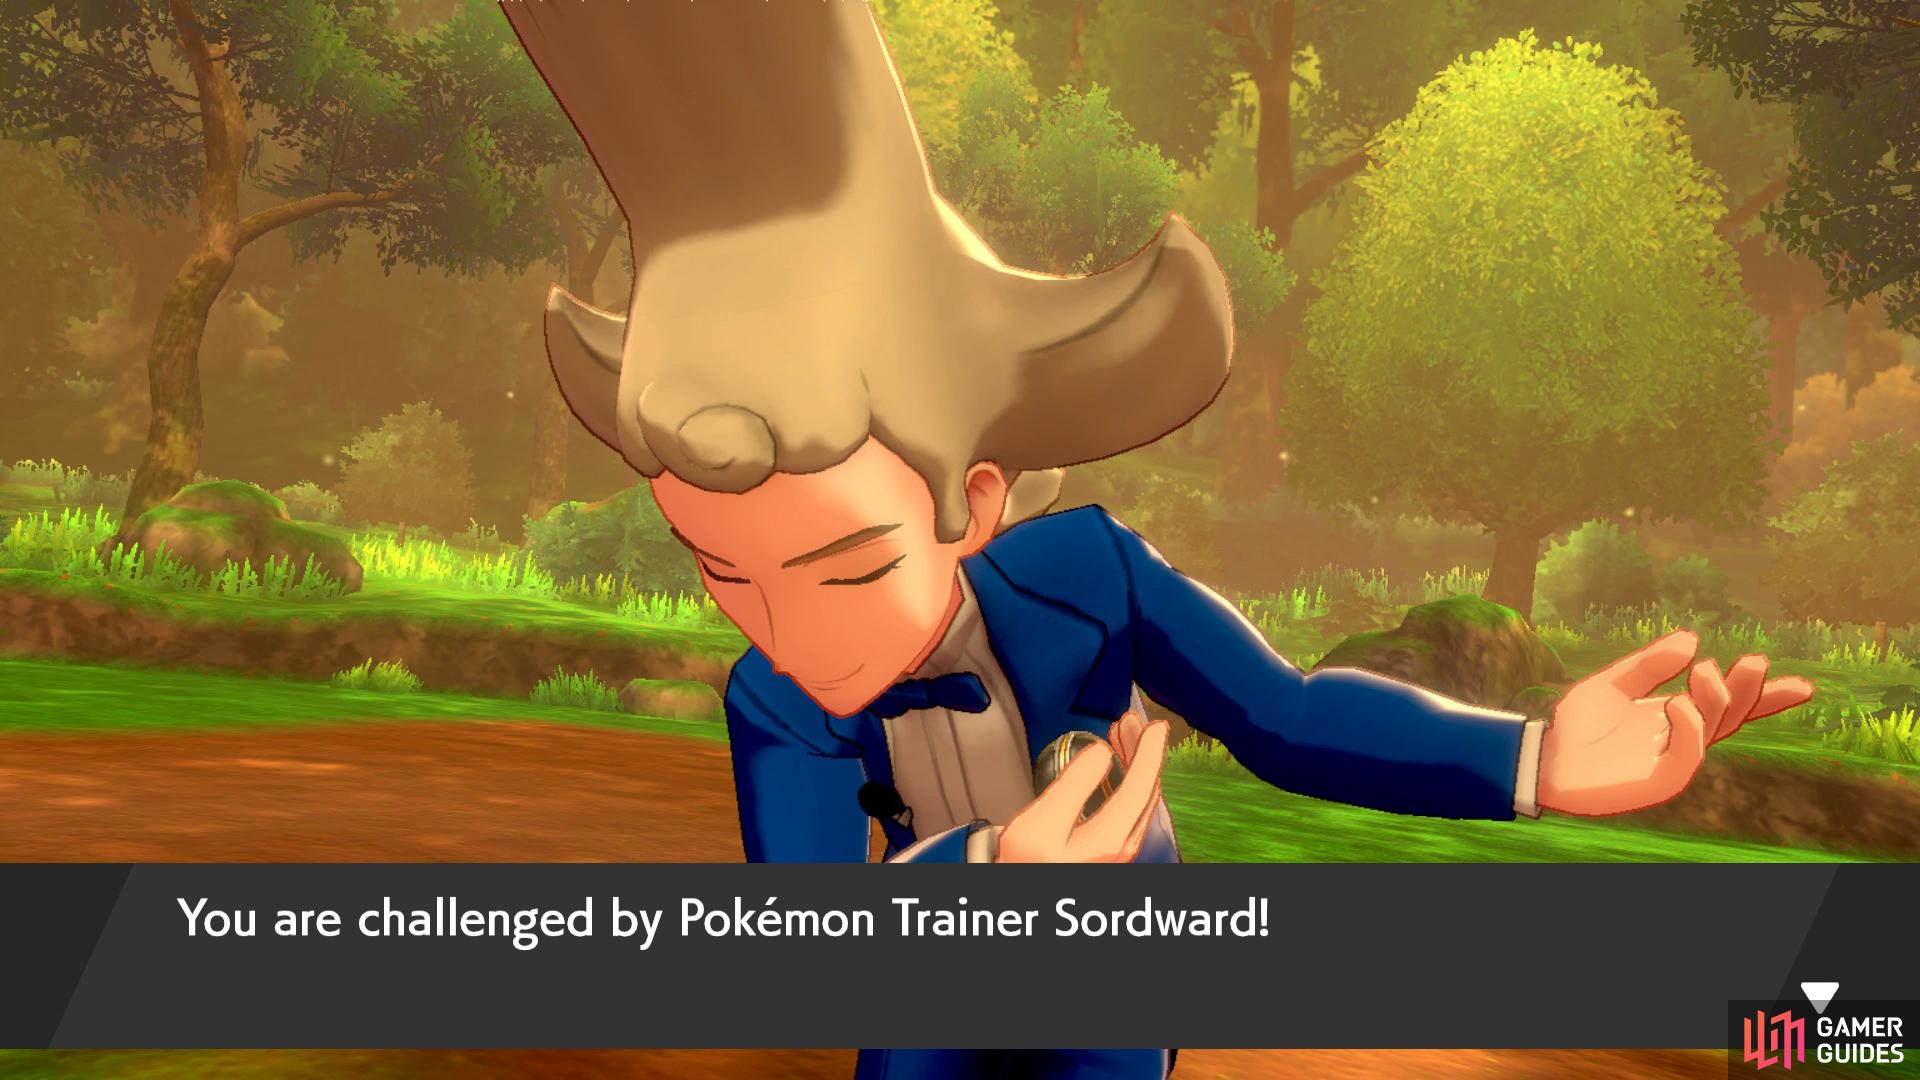
After demonstrating your Champion-level skills to Hop, Sonia will arrive on the scene. As thanks for your hard work, you’ll receive Sonia’s Book from her. Afterwards, go and inspect the gravestone in the middle of the altar to return the ancient weapon you borrowed. A pair of weirdos will turn up and steal the weapons that you placed. You’re not having any of that, right?
Pokémon Trainer Sordward (Sword)
| Pokémon | Level | Type |
|---|---|---|
 Sirfetch’d Sirfetch’d |
60 | Fighting |
 Golisopod Golisopod |
60 | Bug/Water |
 Doublade Doublade |
60 | Steel/Ghost |
 Bisharp Bisharp |
60 | Dark/Steel |
Sordward leads with a Sirfetch’d. Do not underestimate it, because it can easily KO non-resistant Pokémon with Meteor Assault, which is a powerful Fighting-type move that requires the user to recharge afterwards. It can also boost its Attack with Swords Dance. Definitely use Flying, Psychic or Fairy-types if possible.
Next, we’ve got Golisopod, which is another beast if not properly handled. It can use First Impression to score major damage on the first turn, Liquidation for Water-type STAB and Sucker Punch to sneak in an attack before you. Flying-types are recommended; if you’re confident, Electric-types should do OK.
He’s also got a Doublade, which is a literal sword Pokémon! It’s not fully evolved (its final form is  Aegislash, which you fought in Leon’s team), but you don’t want to be careless. The worse thing you can do is give it an opportunity to use Swords Dance. If you have one, use a Fire, Ground or Dark-type.
Finally, Sordward has a Bisharp. Like Sirfetch’d and Doublade, it can use Swords Dance to boost its already high Attack. For attacks, it has Night Slash and Iron Head for STAB, plus Stone Edge to combat Fire-types. Fighting-types are ideal, because they do 4x damage; Fire and Ground also work.
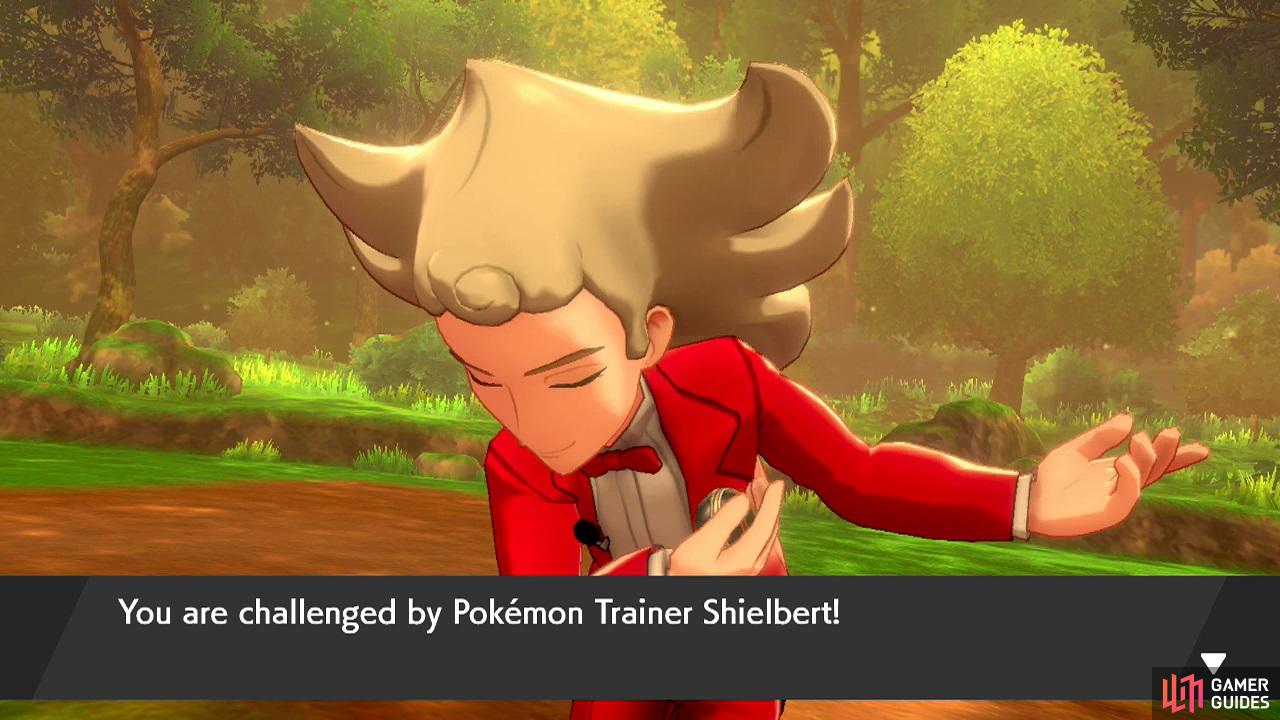
Pokémon Trainer Shielbert (Shield)
| Pokémon | Level | Type |
|---|---|---|
| Sirfetch’d |
60 | Fighting |
 Bronzong Bronzong |
60 | Steel/Psychic |
 Falinks Falinks |
60 | Fighting |
 Klinklang Klinklang |
60 | Steel |
Shielbert leads with a Sirfetch’d, like his brother (did he trade for it?). Similarly, it can use Meteor Assault, which is a devastating Fighting-type move that requires recharging on the next turn. Plus Iron Defence to bolster its Defence. Flying, Psychic or Fairy-types are strongly recommended.
Bronzong is less threatening, but is harder to take down. It can use Light Screen to protect its party from special moves and Hypnosis to send your Pokémon to la la land. Go for a Fire, Ghost or Dark-type; preferably a physical attacker in case it puts up Light Screen.
Falinks, like Sirfetch’d, should not be underestimated. It can use First Impression to deal strong Bug-type damage on the first turn, No Retreat to raise all of its stats, a powerful STAB Close Combat and Megahorn to nail Psychic-types. Unleash a Flying or Fairy-type if you can.
Finally, Shielbert has a Klinklang. Compared to his other Pokémon, it’s kind of underwhelming. It lacks the offense of Sirfetch’d and Falinks and the bulkiness of Bronzong. That said, it can use Shift Gear to up its Attack and Speed, plus Protect to stall for time. Fire, Ground and Fighting-types are all fine choices.
Win against the sword or shield brother and you’ll reclaim the Rusted Sword in Sword or the Rusted Shield in Shield. Sadly, Hop is unable to get back the other weapon. Before you can do anything else, the pair will wisely make their escape. Sonia will offer to take you back to her lab at Wedgehurst. You can accept or head there yourself (it’s the building towards the south-east).
No Comments