

Items
(1 of 2) A Pokémon holding this is unaffected by damage from powder/spore moves and weather.

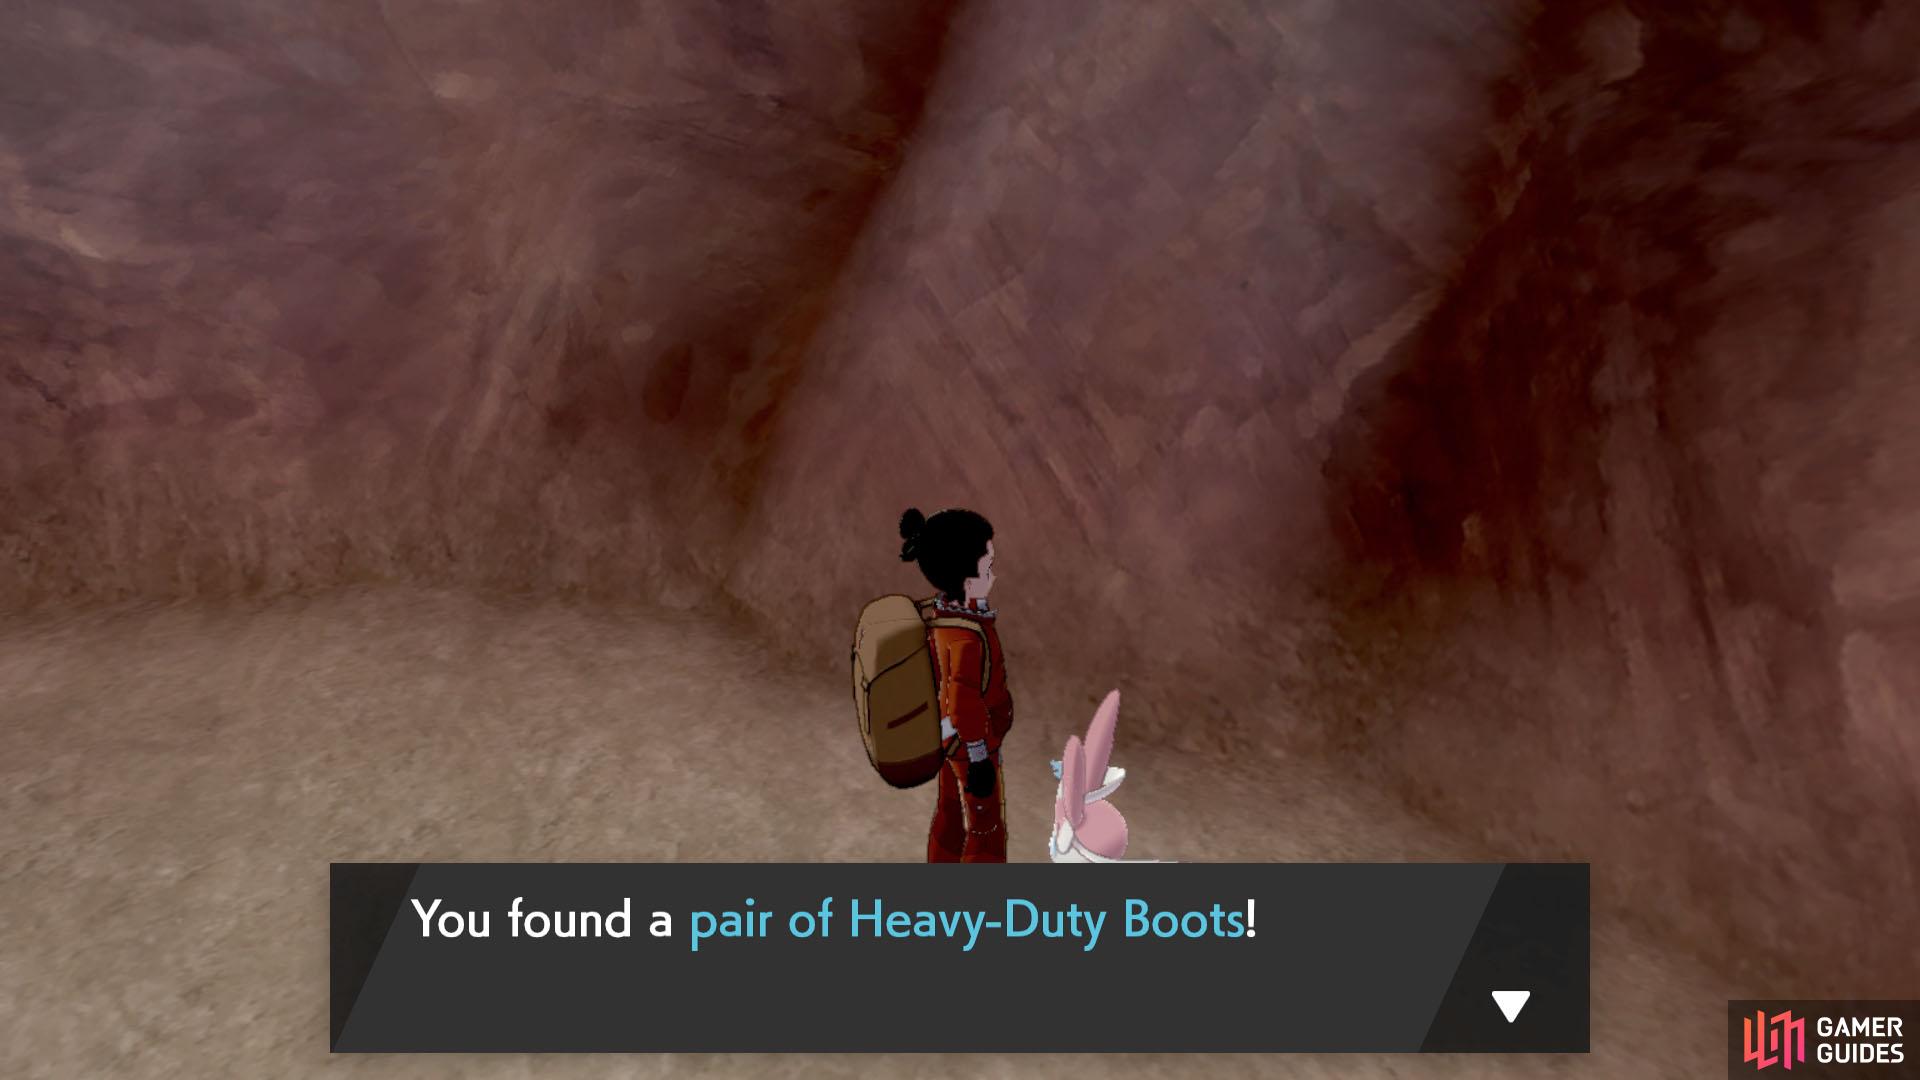
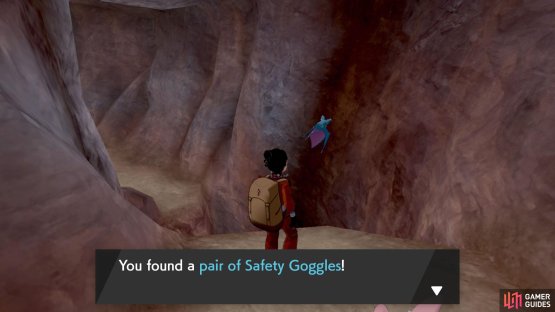
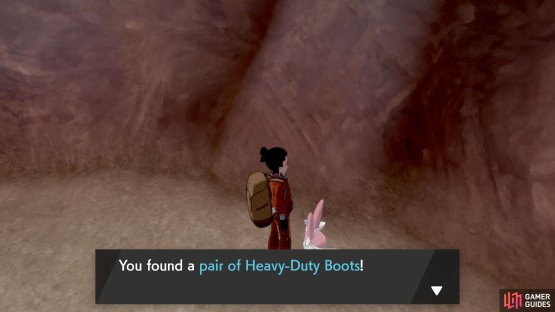
A Pokémon holding this is unaffected by damage from powder/spore moves and weather. (left), Give this to a Pokémon to protect them from entry hazards like Spikes or Stealth Rock. (right)
| Item | Location |
|---|---|
| Dragon Fang | Coming from Snowslide Slope, there’s a cavern with a chasm in the center. Go around the chasm, then follow the path on the left that goes slightly downwards. This item’s sitting at the end, near the gap in the path. |
| Moon Stone | From the cavern with a chasm in the center, follow the right-hand side path that leads outside. You should stumble upon an area with a roaming  Froslass. Go around to the farthest corner to find this item lying near a snow-covered rock. Froslass. Go around to the farthest corner to find this item lying near a snow-covered rock. |
| TR15 Fire Blast | Up ahead, you’ll be back inside the tunnel. First, go down the left-hand side path. You’ll find this item at the end of the ledge overlooking the first section you visited. |
| Safety Goggles | Next, go up the right-hand side path. When the slope levels off, turn left and grab these goggles. |
| PP Up | From your previous position, turn right and follow the steadily declining slope on the right. Unsurprisingly, you’ll find this bottle waiting at the end of the path. |
| Heavy-Duty Boots | Go back and ascend the nearby slope. You should reach an area with a giant pillar near the center and slightly on the right. Turn right and follow the slope all the way down. At the bottom, there’s an exit on the left. Ignore it for now and turn right instead. This item’s relaxing at the back of an otherwise empty room. |
| Rare Candy | Go back and leave the tunnel via the nearby exit. Outside, head through the narrow path on the right, which leads to the final section of the tunnel. Back inside, turn right and go up the slope to find this prize waiting for you. |
| Magmarizer | Beyond, there’s a passage where a  Salamence or Salamence or  Garchomp is prowling. This item’s sitting on the left, above a gap that you can go around. Garchomp is prowling. This item’s sitting on the left, above a gap that you can go around. |
Hidden Items
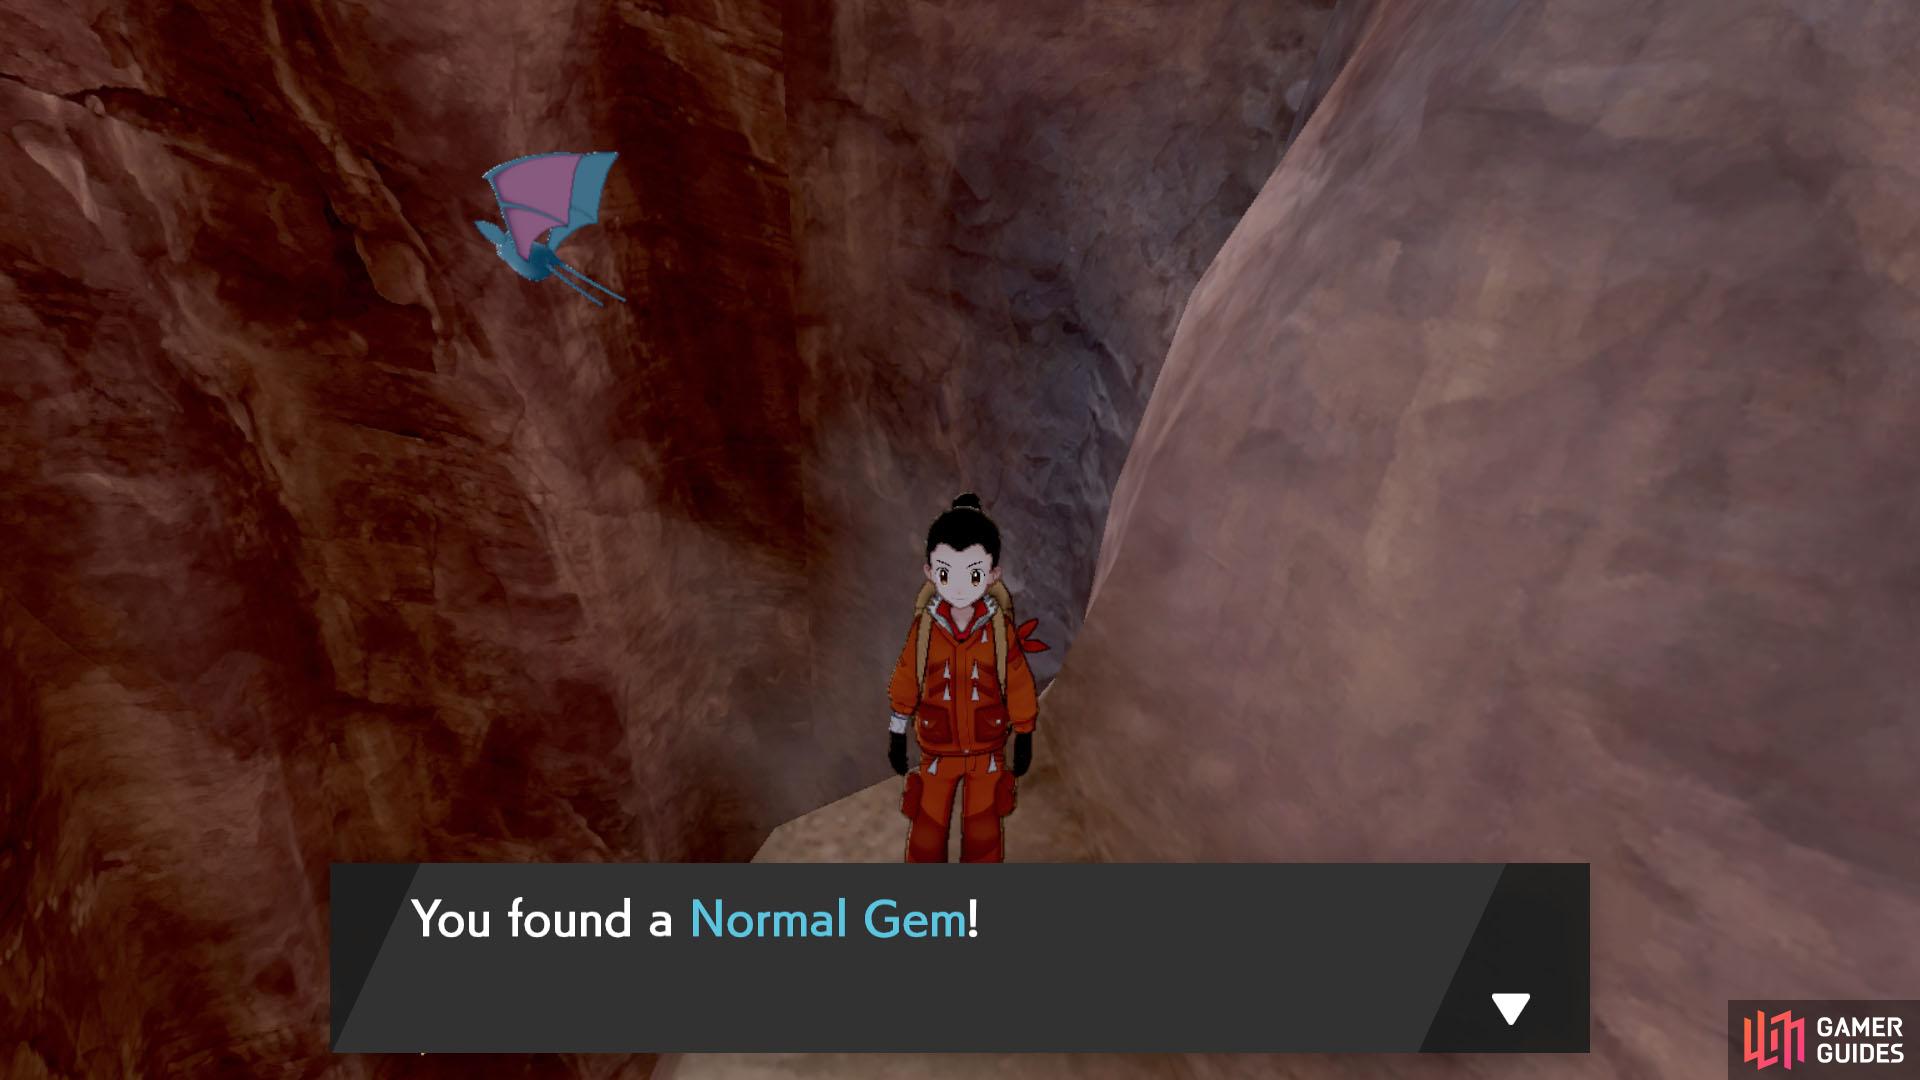
When held, it boosts the power of a Normal-type move by 30% and then disappears. In earlier generations, there were gems for other types as well, eg. Fire Gem.
| Item | Location |
|---|---|
| Stardust, Hard Stone etc. | As you enter from Snowslide Slope, there’s a cavern with a chasm in the center. Go along the left side of the chasm. When you clear the chasm, search between the pair of rocks on the left. |
| Stardust | Also, search the rock to the right of the chasm, about halfway along. |
| Dusk Ball | From the tip of the chasm, start going up the right-hand side path. Search above the rocks on the right, near the edge of the pathway. |
| Never-Melt Ice | Up ahead, you’ll emerge outside. When the snowy slope levels off, turn right, towards where you can see the landscape. Then search the corner where the edge of the path meets the wall. |
| Icy Rock, Quick Ball etc. | Continue anti-clockwise around the path. You’ll reach a fairly wide space, where a Froslass is roaming. In the center, there’s some raised land. Search the side that’s facing the tunnel leading further in. |
| Rare Candy, Star Piece etc. | In the same area, go over and search the rock on the opposite side. There’s a visible item close by on the right. |
| Everstone, Rare Bone etc. | Enter the cave just ahead that leads back inside. Search behind the boulder on the right, near the slope going up. |
| Rare Bone | Follow the left-hand side path that goes downwards. As you turn left, search the corner of the boulder on the right. |
| Normal Gem | Go back and follow the right-hand side path. When the slope levels off, go straight ahead and search the very tip of the path. |
| Max Revive | Go back a bit and follow the remaining path that leads further up. You’ll arrive in a chamber with a giant pillar towards the right. Turn left and go up the slope. Then search the wall on the right, halfway up. |
| Great Ball, Repeat Ball etc. | Turn right from where you arrived at the room with the giant pillar. Follow the slope that leads downwards. You’ll arrive at an area with a roaming  Druddigon. Search the boulder on the left. Druddigon. Search the boulder on the left. |
| Revive | Further down, there’s an area with a playful  Clefable. On the left is an exit that leads outside. Search to the left of the large boulder on the right, next to the cavern wall. Clefable. On the left is an exit that leads outside. Search to the left of the large boulder on the right, next to the cavern wall. |
| Max Ether, Hyper Potion etc. | Head right from the area with the Clefable. You’ll come across a mostly empty room. Search the corner that’s directly ahead. |
| Star Piece, Revive etc. | Return to Clefable’s area and leave the tunnel via the nearby exit. When you emerge outside, search the rock immediately on the left. |
| Stardust, Wishing Piece etc. | Go along the narrow path on the right, which leads back inside the tunnel. Once you’re inside again, turn right and go up the slope. Search the corner on the left, near the visible item. |
| Nugget | Head back down the slope. Then search behind the rock pillar immediately on the right. |
| Stardust | Bravely venture forth through the area with a roaming Salamence or Garchomp. After going past the pillar along the middle of the path and before reaching the exit, search the boulder on the left. |
No Comments