

Kubfu is an infant right now, but all infants grow up.
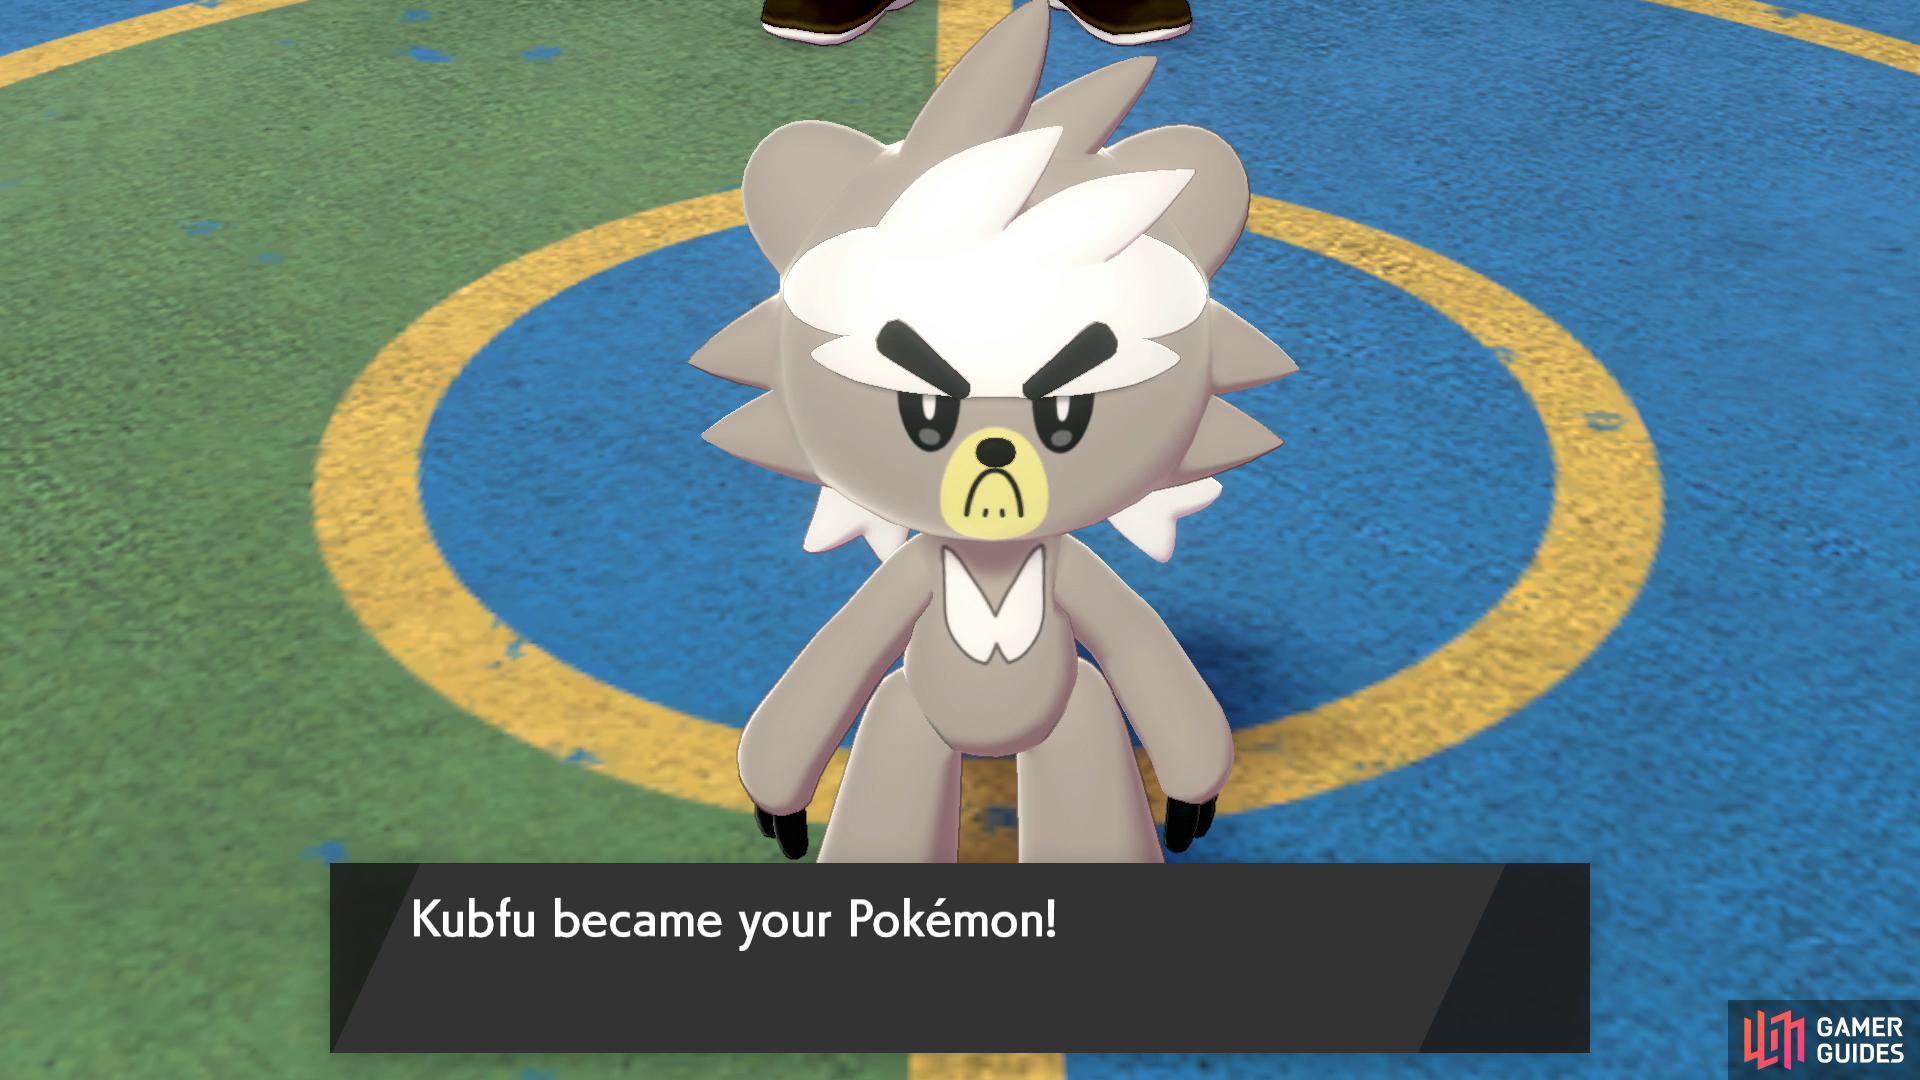
Having completed the three trials of the Master Dojo, Mustard will prepare the dojo’s secret weapon–or, rather, armour–for you. Speak to him in the middle of the dojo. Lo and behold, the armour turns out to be  Kubfu, a new Fighting-type Legendary Pokémon. That said, the Kubfu in front of you has yet to reach its full potential.
Your new task is to take Kubfu with you and improve its friendship. The quickest way is to visit four places on the Isle of Armor with a “great view”. There will be four dojo students standing in these spots–speaking to them will trigger a short cutscene that improves your friendship with Kubfu. These spots are also labelled on the in-game map.
Alternatively, you can build up friendship the old fashioned way, by fighting together with Kubfu and interacting with it in your camp site, etc. That said, since you’re here, we recommend visiting the four scenic spots. It’s more fun that way, right? Regardless, once you think Kubfu’s friendship is high enough, you should report back to Mustard in his room.
Before you leave the dojo, take a moment to speak to Honey, who’s standing by the rest room. You’ll learn that she wants to upgrade the dojo, but is lacking in a key commodity: Watts. If you donate Watts to her, you can unlock various amenities, including a personal hair salon, vending machines, free food, cheaper vitamins and the list goes on.
Spot 1: Brawlers’ Cave
Let’s start with the easiest, shall we?
The first spot we’re going to visit is at Brawlers’ Cave. Of course, feel free to visit them in any order you want. The reason we’re choosing this one is because it’s technically the easiest one. To reach here, simply head into Soothing Wetlands, where you chased after the fast  Slowpoke. If you’ve forgotten, you just turn right after leaving the dojo.
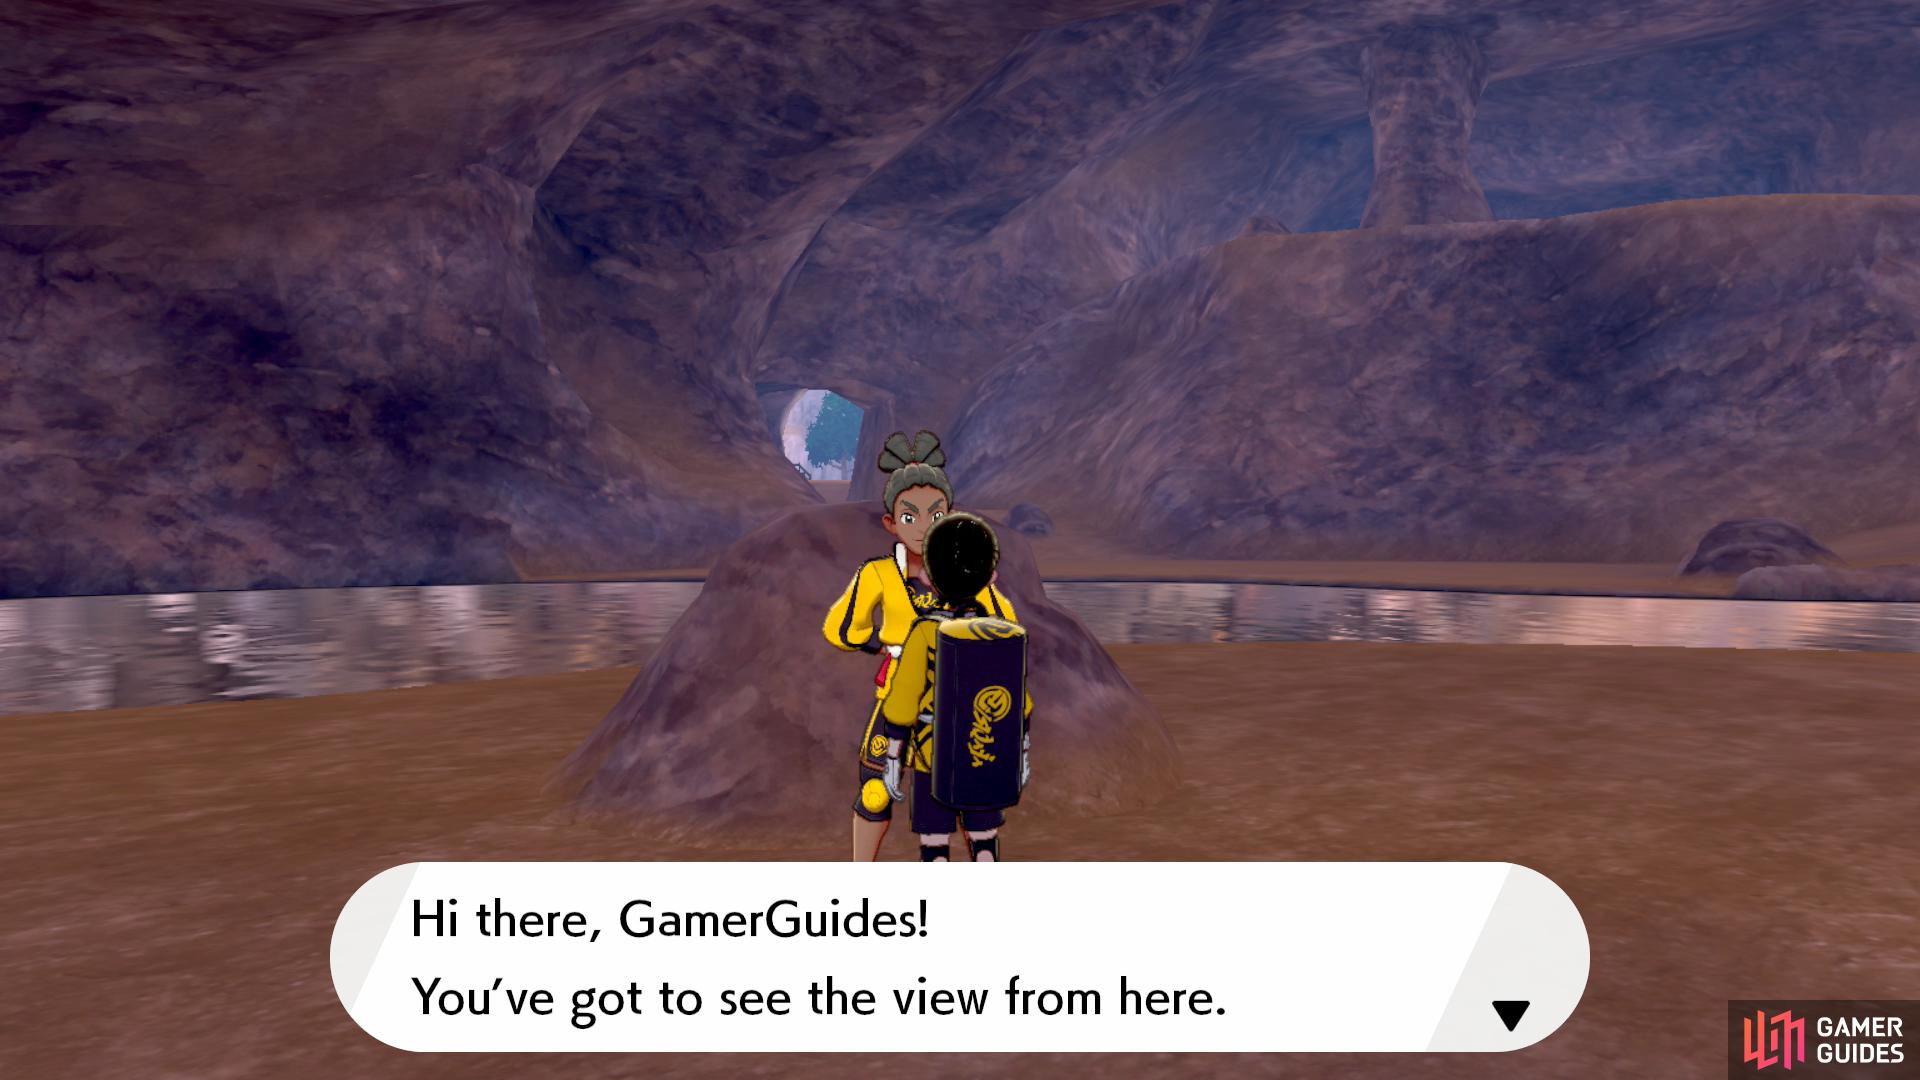
Once you’re in the wetlands, start heading for the centre, then turn right. You should see a cave in the distance. That’s the entrance to Brawlers’ Cave. Inside the cave, keep going forward. Before long, the cave will become more open. In front of you, there should be a dojo student standing next to an underground river. Speak to him with Kubfu in your party.
| Useful Links - Brawlers’ Cave |
|---|
| Overview |
| Overworld Encounter Data |
| Strong Pokémon Data |
| Max Raids |
| Diglett Locations |
Spot 2: Challenge Road
From here, we suggest trekking to nearby Challenge Road. This is where things get slightly tricky if you’re near the beginning of the game.
Route A: If you don’t have the flying taxi, turn around and exit Brawlers’ Cave. Back at the Soothing Wetlands, make your way towards the opposite end of the zone (west on the map, forward from your perspective). Then enter the Forest of Focus, which you should’ve visited during the second trial.
At the forest, follow the same path as before to the Training Lowlands. To jog your memory, ignore the first bridge and keep to the right, until you’ve gone past the body of water. After that, head left where the branch splits and cross the nearby bridge. On the other side, turn right, then take the next left. Finally, cross the third bridge.
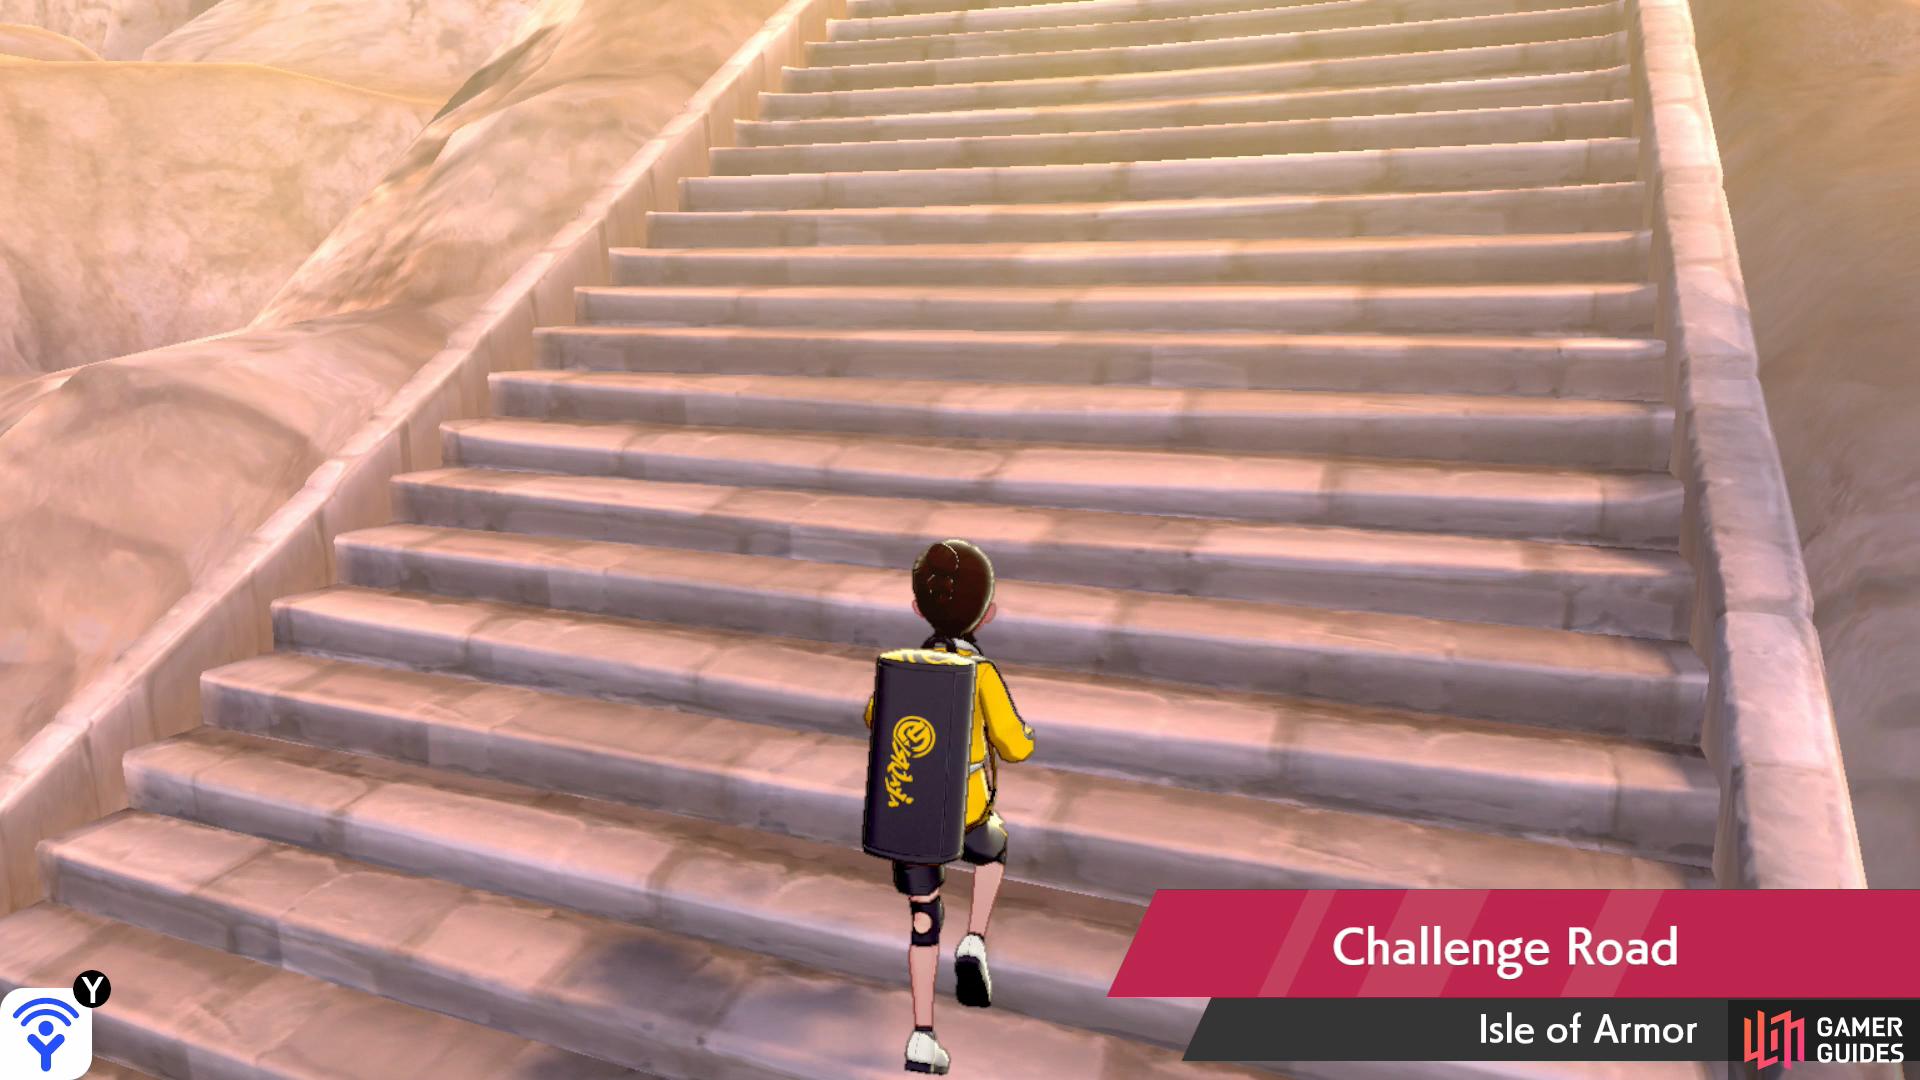
Nothing says “challenge” than a long flight of stairs.
You should be at the Training Lowlands now. Previously, you went down the slope on the left. This time, go right. You should see a flight of stairs in the distance. Go up the stairs. You’ll be at Challenge Road now. At the top of the stairs, continue forward, up another set of stairs. On the left, there should be the dojo student you’re looking for.
Route B: If you have the flying taxi, fly to Training Lowlands. You’ll be in front of the entrance to the Warm-Up Tunnel. Turn around and go forward, through the tall grass, in the direction of the Forest of Focus. After going up the slope, the forest entrance should be on your right. Go left, which will lead you towards Challenge Road. From there, it should be easy.
Route C: If your bike can traverse water, from the Brawler’s Cave “great view” spot, go across the river directly in front of you. On the other side, you can either go left or right. If you turn left, you’ll reach the exit to the Training Lowlands. Outside, the stairs leading to Challenge Road will be on your right. That’s probably the fastest way.
But if you want to take a fun detour that takes you deeper within the cave, turn right instead. Follow the slope as it goes all the way up and around. Eventually, you’ll find an exit that takes you further up Challenge Road. Outside, go up the slope on the left. You’ll be in front of the Tower of Darkness. On your left, you should see the dojo student.
| Useful Links - Challenge Road |
|---|
| Overview |
| Overworld Encounter Data |
| Random Encounter Data |
| Strong Pokémon Data |
| Max Raids |
| Diglett Locations |
Spot 3: Potbottom Desert
This scenic spot is just past where you found your first Max Mushrooms.
If you have access to the flying taxi, use it to fly to the Training Lowlands. You’ll arrive at the entrance to Warm-Up Tunnel. Otherwise, you’ll have to get there by foot, but it’s not too far away.
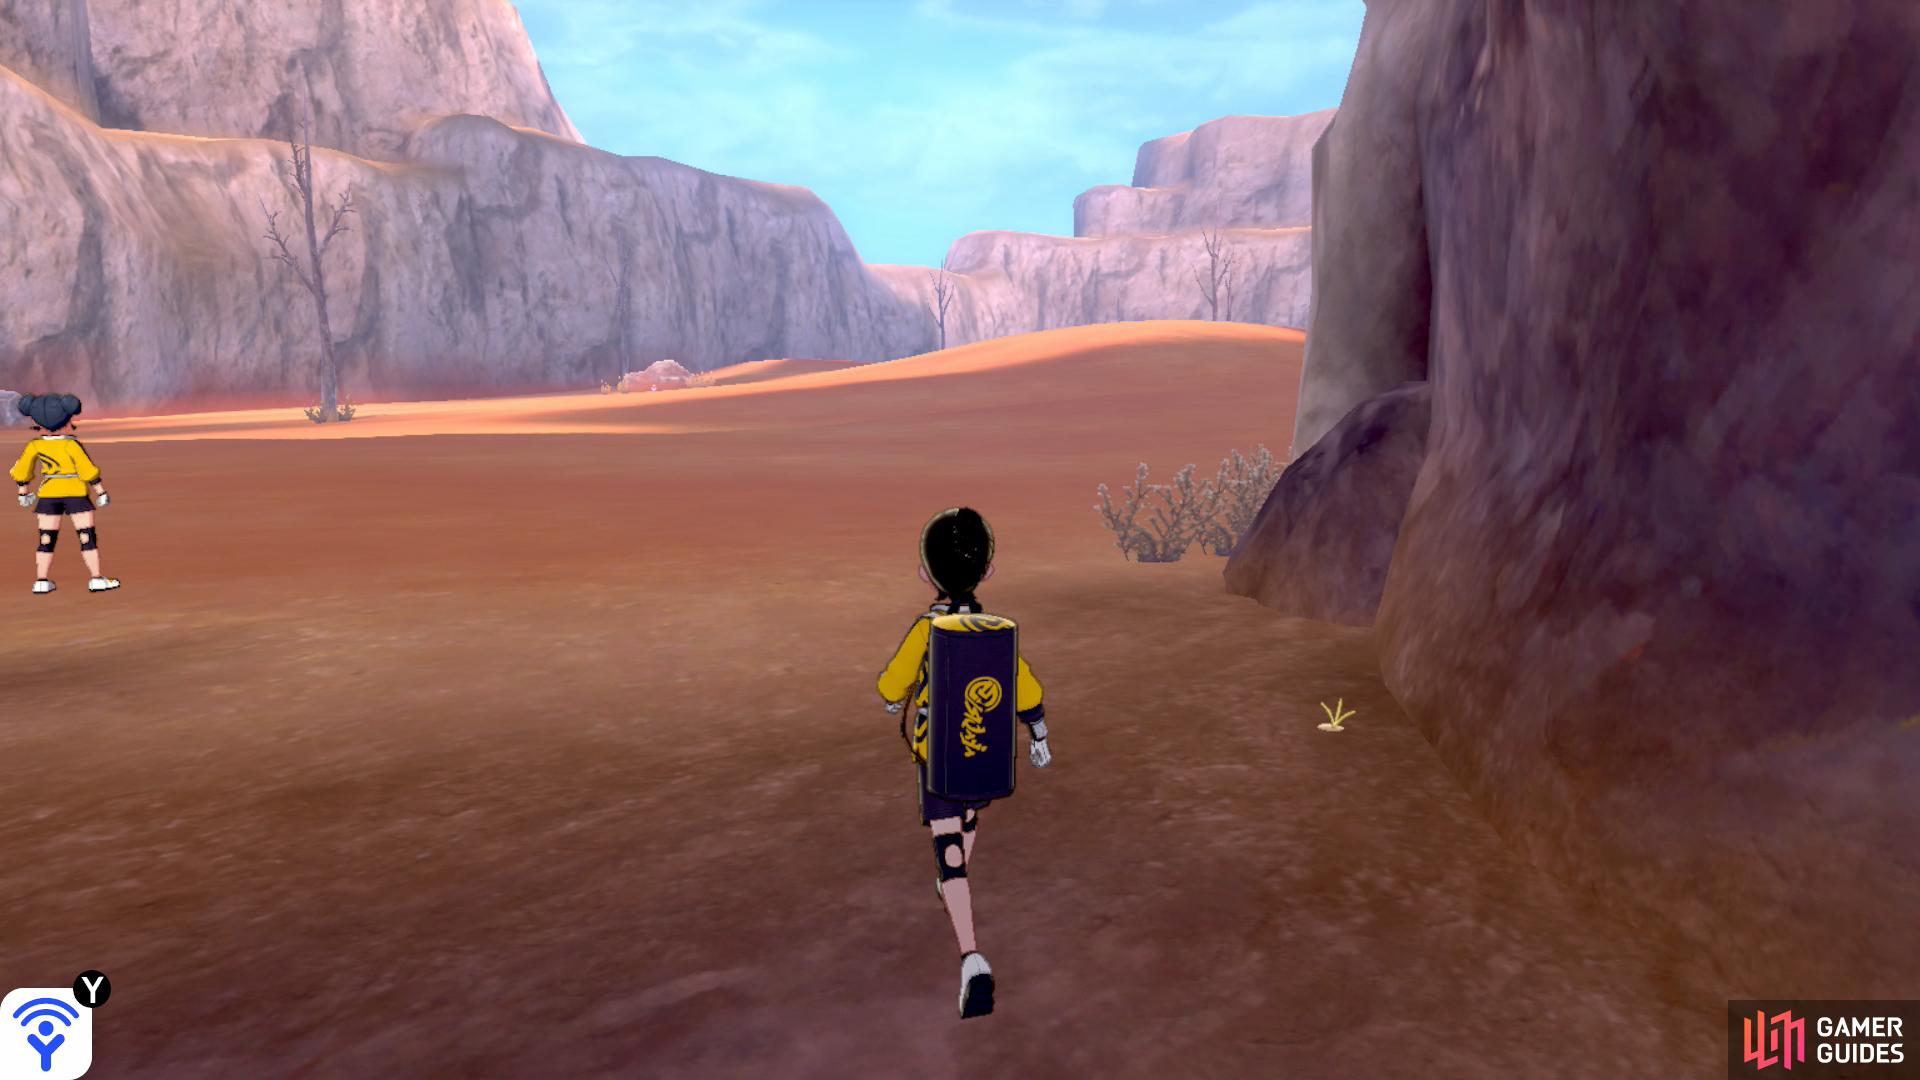
From the Challenge Road scenic spot, go down the nearby stairs and keep going until you reach the Training Lowlands. Next, continue forward, towards the Forest of Focus. Once you’re near the forest entrance, go down the slope on the right. Then turn right and keep marching on, towards the cave in the far-off distance.
Once you’re in front of Warm-Up Tunnel, head through the tunnel like normal. Where you found the Max Mushrooms for the second trial, keep going and you’ll find the exit to Potbottom Desert just around the corner. Past the exit, the third dojo student will be standing nearby on the left. When you’re ready, speak to her to enjoy the desert from where you are.
| Useful Links - Potbottom Desert |
|---|
| Overview |
| Overworld Encounter Data |
| Strong Pokémon Data |
| Max Raids |
| Diglett Locations |
Spot 4: Loop Lagoon
The fourth and final spot is probably the most fiddlesome one. Especially if your bike hasn’t been upgraded so it can traverse water.
Route A: If your bike has NOT been upgraded, go back through Warm-Up Tunnel, towards the Training Lowlands. Once you’re at the lowlands again, carry on going forward, until you arrive at the entrance to the Forest of Focus. Run across the bridge and into the forest. Take the first right, where the berry tree is.
When you reach the next bridge, ignore it and follow the path on the right that goes around. After a while, there should be a river on your left. Further ahead, there’s some tall grass on the right side. Don’t worry, you’re going the right way. Continue forward, towards the third bridge; try to keep close to the river if possible.
You’re roughly halfway there. Don’t give up now!
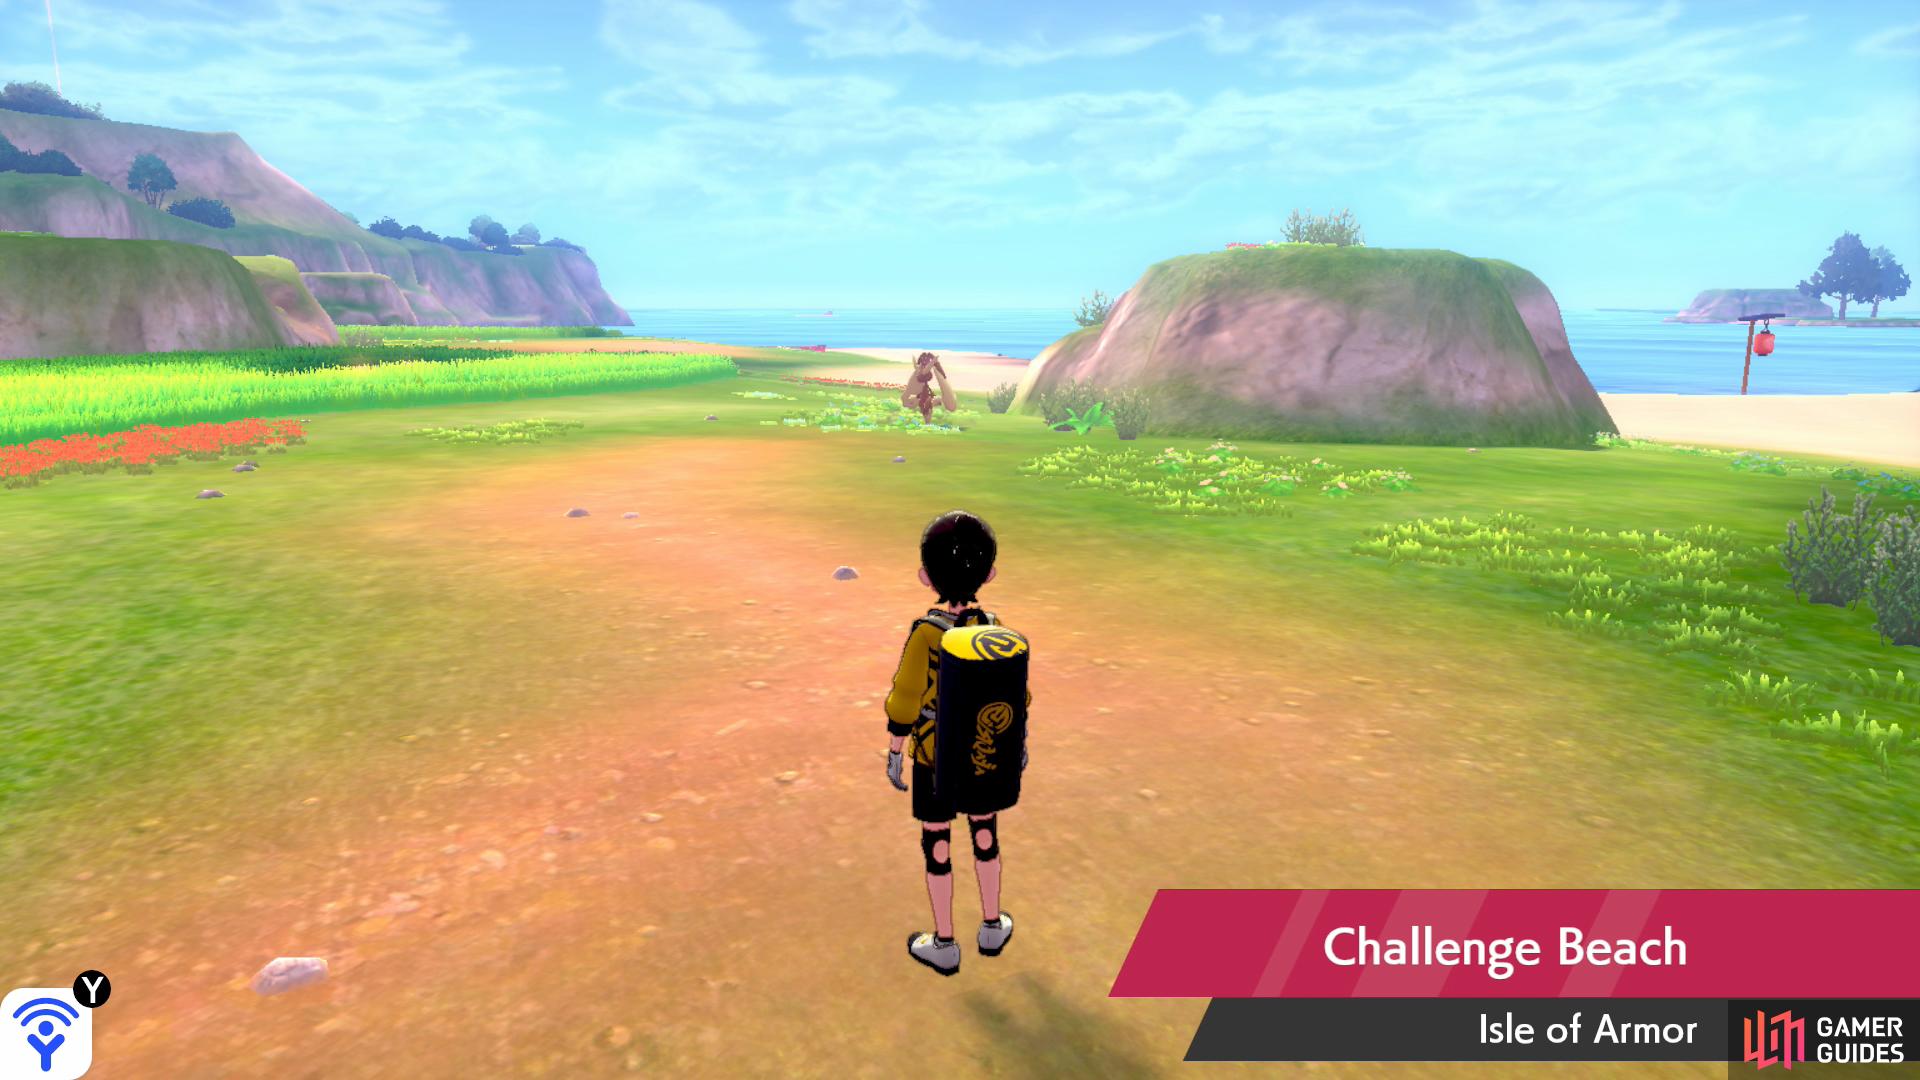
As you get nearer to the bridge, there should be a Pokémon Den above some tall grass. Go past the den and follow the path straight ahead, where there’s a berry tree just before it. Immediately turn left. You should see an exit. Through here, you’ll arrive at Challenge Beach. We still have some distance to cover, but you shouldn’t get lost now.
If you look towards your right, you should see the Tower of Waters. Turn left and begin making your the way to the very end of this zone. When you’re around halfway there, you should see a gaping cave in the distance. Go in that direction. On your left, there should be a river. Across the river is the Soothing Wetlands.
Head inside the cave. You’ll arrive at Courageous Cavern. Just a little bit more and you’re there! Go up towards the Pokémon Den ahead, then turn left, using the natural bridge to cross the river. On the other side, turn right. Now go forward, towards the exit to Loop Lagoon. Upon arrival, you’ll find the final dojo student up ahead.
Route B: If your bike has been upgraded, fly to the Master Dojo. Spin around 180 degrees, then go forward, across the bridge where the  Diglett owner is. Next, turn right and go around (or through) the tall grass, towards the slope that leads to the river’s edge. Enter the river using your bike and turn left into Courageous Cavern.
Keep paddling along the underground river until you reach a stretch of land on the left where you can disembark. Back on dry land, follow the tunnel until you reach a point where the path branches out in multiple directions. Turn left here. You should see an exit up ahead, with another river on the right side. Go this way and you’ll reach the lagoon.
| Useful Links - Courageous Cavern |
|---|
| Overview |
| Overworld Encounter Data |
| Random Encounter Data |
| Strong Pokémon Data |
| Max Raids |
| Diglett Locations |
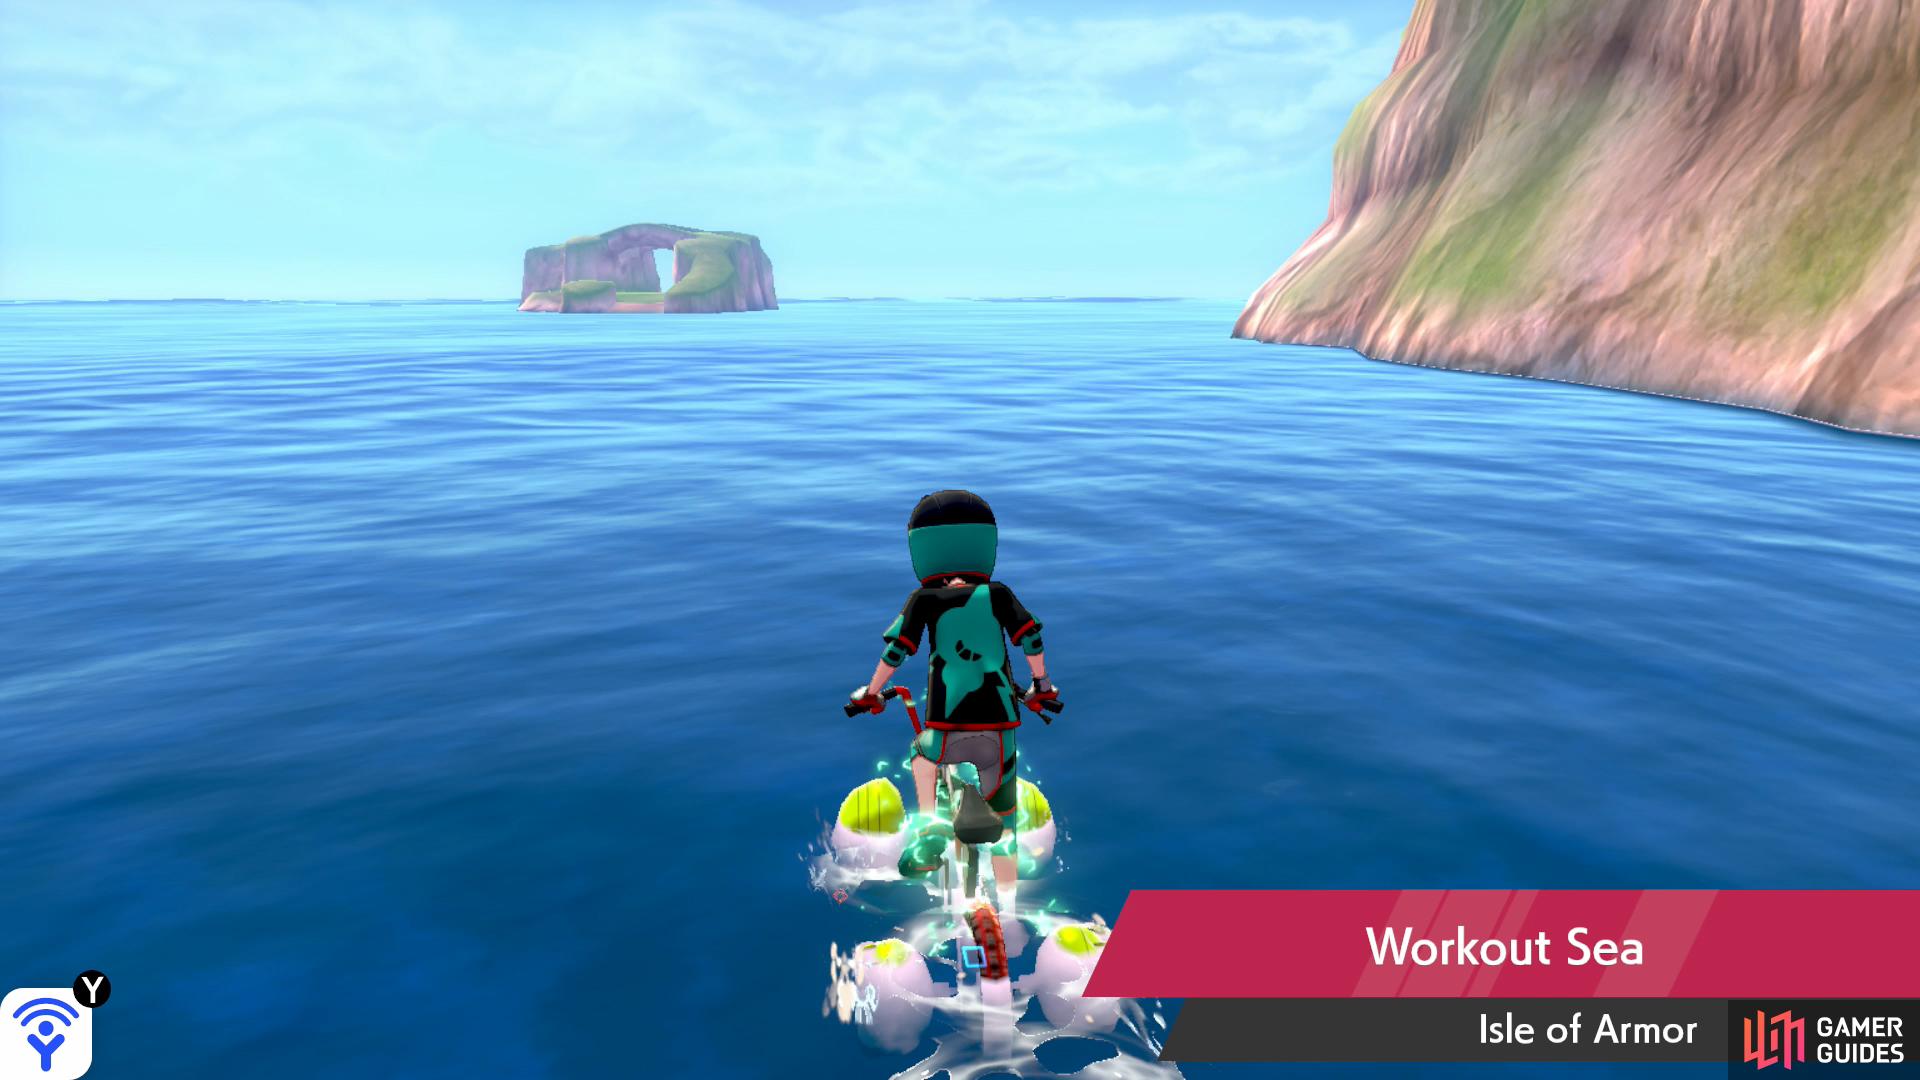
Route C: Alternatively, if you enjoy the ocean spray in your face, fly to the Fields of Honor (Armor Station) instead. Get on your bike and ride straight ahead into the sea. Turn right and begin paddling, while parallel to the shoreline. Shortly after, you should emerge in Workout Sea. Keep going, while hugging the cliff side.
Can you hear it? The sound of a Sharpedo coming at you from a distance?
Eventually, you’ll pass by a small, isolated beach on your right. Beyond here, you’ll arrive in Stepping-Stone Sea. Turn right, while following the cliff. Up ahead, there’ll be a noticeable gap in the cliffs, which you can pass through. On the other side, you’ll finally arrive at Loop Lagoon. Head for the stretch of land along the right side to complete your task.
| Useful Links - Loop Lagoon |
|---|
| Overview |
| Overworld Encounter Data |
| Random Encounter Data |
| Strong Pokémon Data |
| Max Raids |
| Diglett Locations |
Getting Back: If you have the flying taxi, give it a call to immediately return to the Master Dojo. Otherwise, we’re really sorry, but you need to run all the way back to the dojo… First, you need to return to Challenge Beach, then cut through the Forest of Focus. Afterwards, you must plod through the Soothing Wetlands, before finally reaching the Fields of Honor.
The only hard part is navigating the forest, so here are some directions to help you from getting lost. From the Challenge Beach entrance, take the first right. Quickly turn right again, then go across the bridge. From here, look to your right and you should see the exit to the Soothing Wetlands. Phew, almost there!
The Master’s Approval
Once Kubfu is friendly enough, go and speak to Mustard in his room on the right. If you visited all four scenic spots, you’re A-OK. But if you’re unsure, open the camp menu and call Kubfu over for a chat. When you “chat” to Kubfu, if you see at least 3 hearts above Kubfu’s head, that’s the bear–ahem, bare minimum that Mustard asks for.
Mustard will lead you outside, to show you the Towers of Two Fists. On the left is the Tower of Waters, near Challenge Beach. Meanwhile, on the right is the Towers of Darkness, near Challenge Road. Your task is to take Kubfu to one of these towers to undertake a special trial. The important thing is that you can only challenge one of these towers.
No Comments