

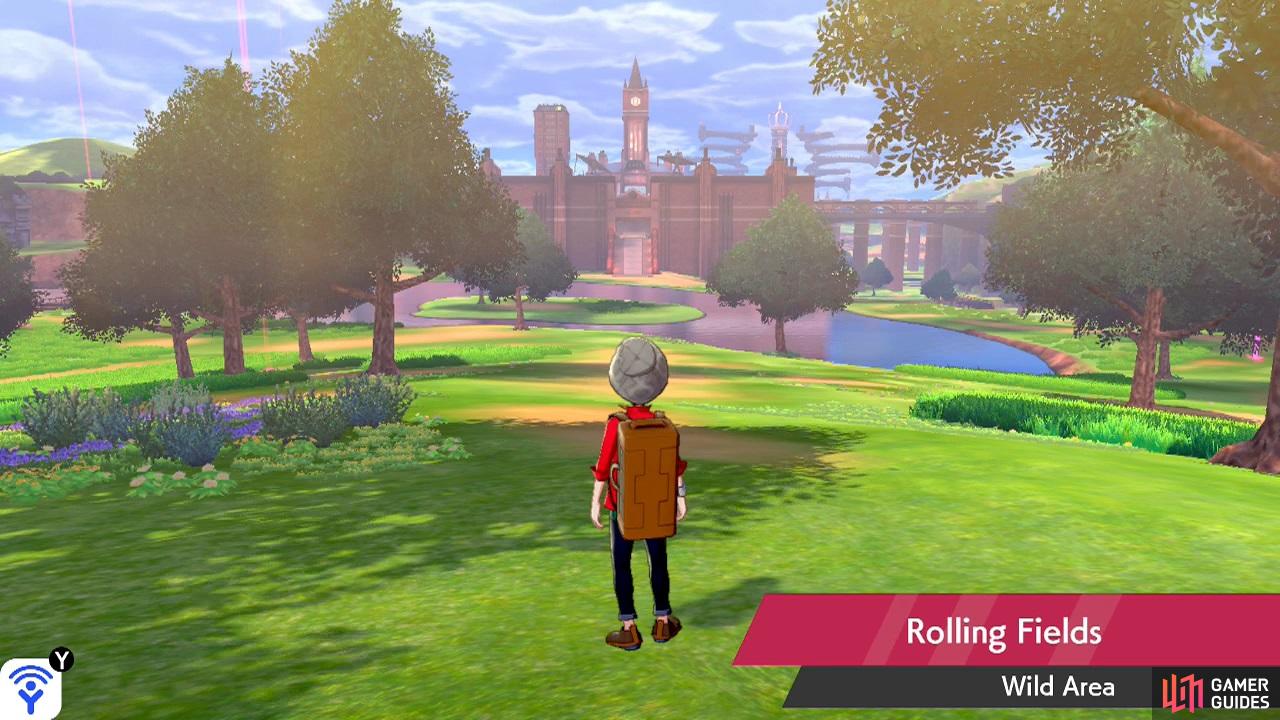
This is the closest thing to “Pokémon of the Wild”.
Welcome to the first major “zone” in the Wild Area. Unlike typical routes and similar areas, the Wild Area is very open-ended. You can travel extremely freely and go in pretty much any direction you want. If you’re not careful though, that means you can easily lose your way… Should that happen, try observing your surroundings. For example, using Motostoke as a reference point.
Also, there’s an abundance of Pokémon, in the tall grass for instance. If you enjoy catching Pokémon, you could be here for a while! However, try not to stray too far. As a rule of thumb, the further you go, the higher Level the Pokémon get (and if they’re too high Level, you can’t catch them). Those of you who love to explore, go nuts! But take caution when dealing with Pokémon deeper within the Wild Area.
That’s the intro out of the way. Time to get moving! Except… which way? Depending on your preferences, your route can vary wildly. On one extreme, you could beeline it straight to the next area; on the other, you could take every detour known to mankind. There’s no wrong way, but we are writing a guide so we need to suggest something at least!
Here’s the route we suggest, although you’re more than welcome to deviate from it (or ignore it altogether). We’ll go for the more “natural” and straight-forward route, which is by heading north from Rolling Fields into East Lake Axewell, where the entrance to Motostoke is. But first, we’ll take a brief detour to pick up an item.
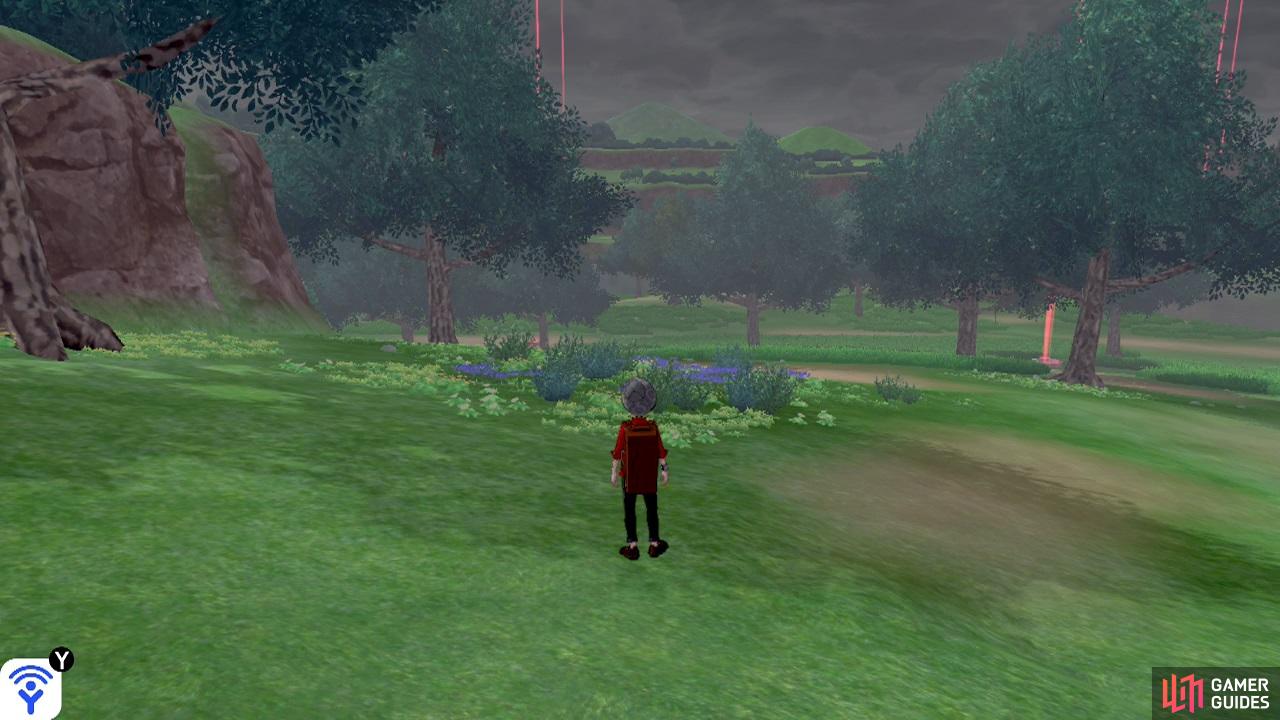
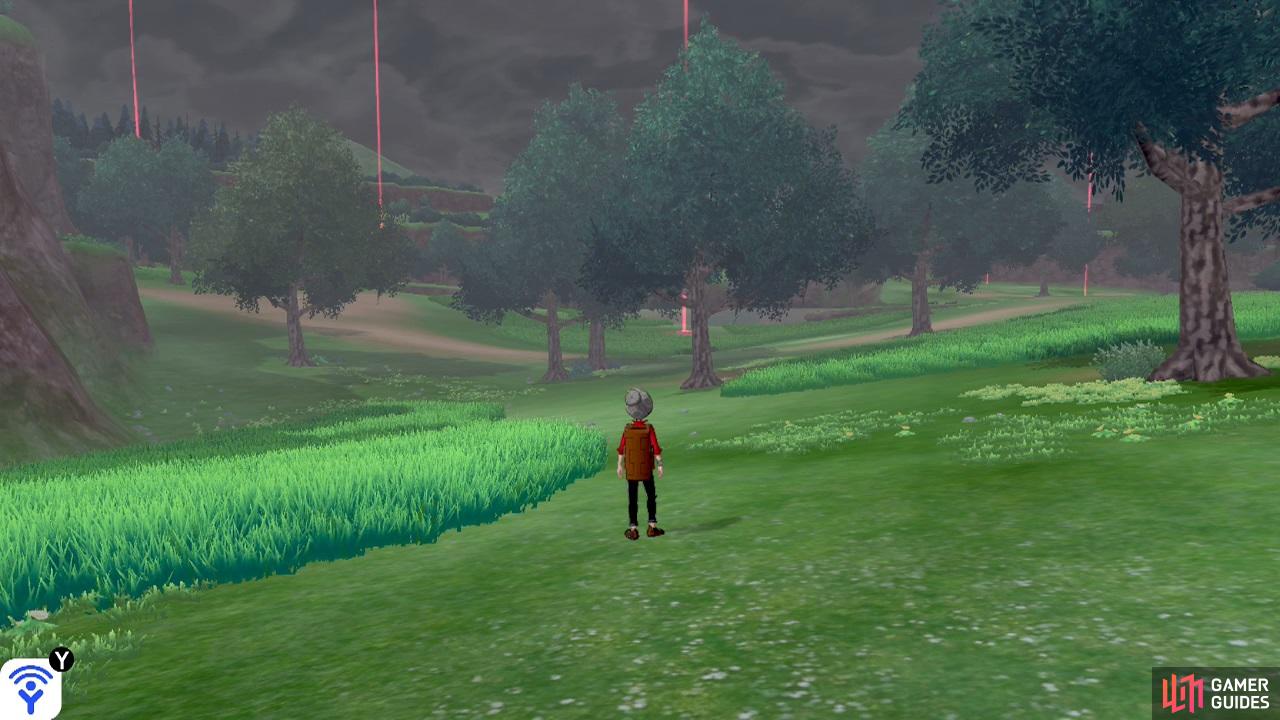
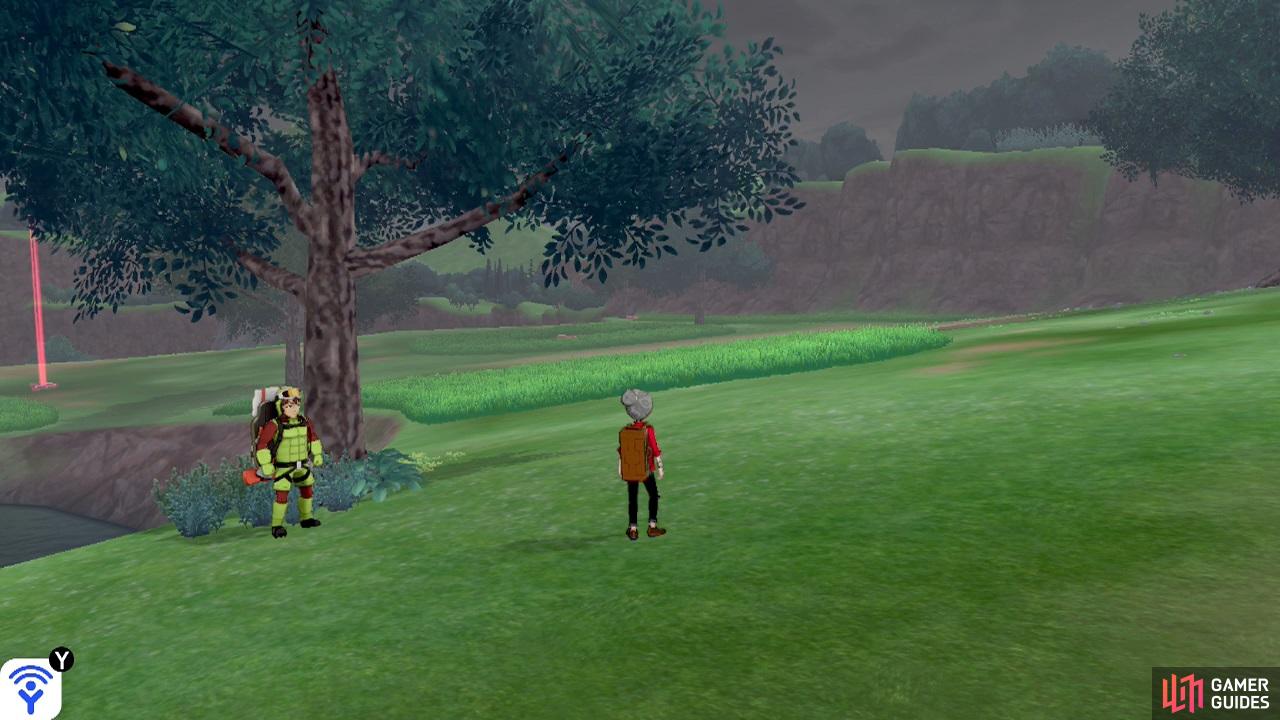
From the Meetup Spot, with Motostoke directly facing north, turn left so you’re facing west. Your view should look like the screenshot above. There should be a small patch of shrubbery just ahead, with a bunch of trees in the distance.
Go over to the shrubbery. There will be three sparkling spots here. Search ‘em to find two hidden jars of Honey and one Poké Ball. Up ahead is an  Onix; this is a strong Pokémon that you don’t want to fight!
Meanwhile, on your left will be the southern wall (if you’re still facing west). Head forward (west), so you’re traveling perpendicular to the southern wall, hugging the wall as close as possible.
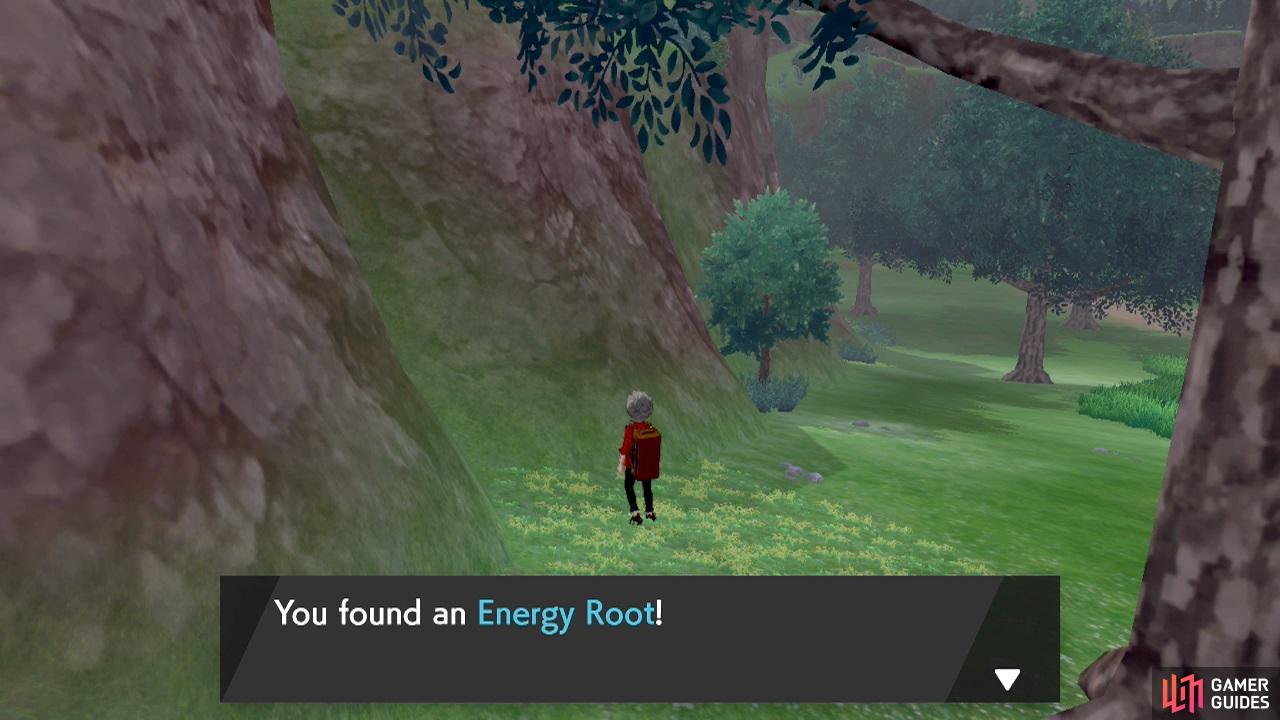
This medicine restores a lot of HP, but lowers your Pokémon’s friendship.
As you approach the first tree, go over to the nearby indented area in the southern wall. There should be a sparkling spot containing a hidden Energy Root.
Continue following the southern wall. As you’re traveling, there will be some tall grass to the right (north) of the southern wall. Keep going until the wall opens up to the left (south). Turn left when this happens.
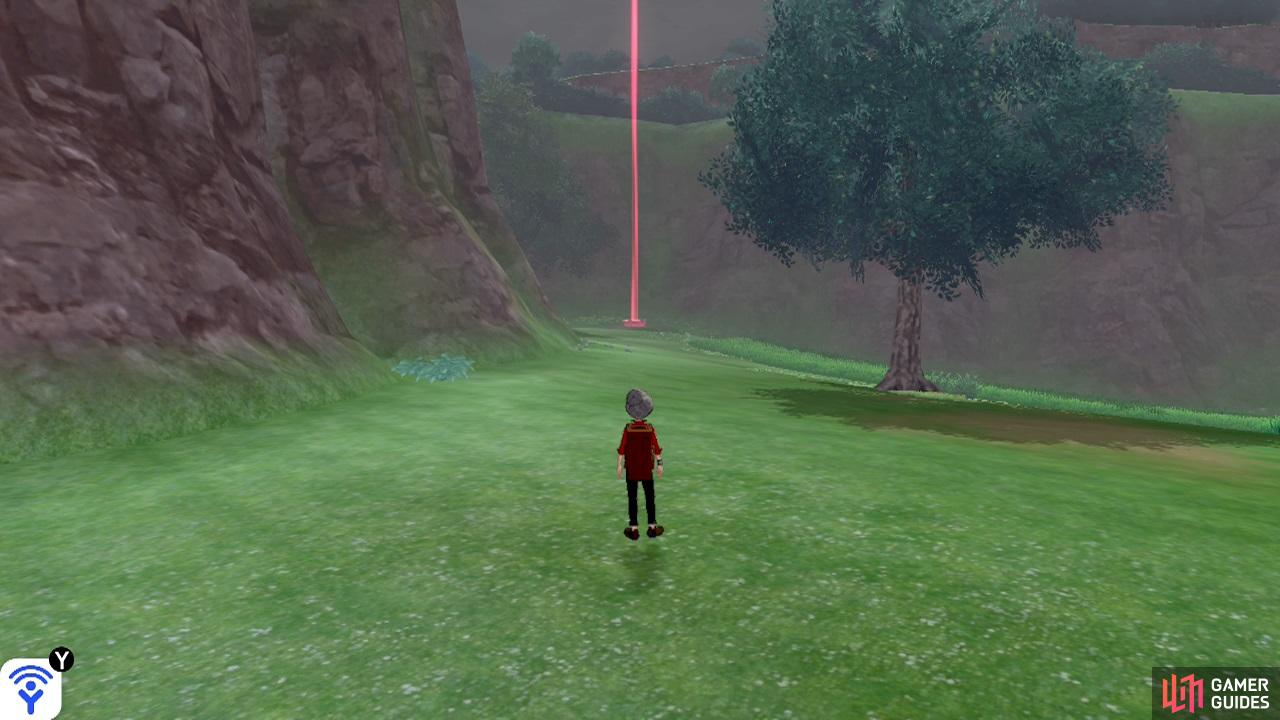
You should see a glowing den in the deepest part of this area. Go that way, but be mindful as you enter. There will be a strong Pokémon here: usually a  Roselia, although it depends on the weather. Unlike the Onix near the beginning, you can actually catch this Pokémon. However, it’s pretty high Level (15), so you must be really skilled or high Level yourself.
In any case, make your way towards the tree and the den at the far end. Check the log next to the tree to find TM84 Tail Slap. That’s the item we’re looking for; now to actually head for Motostoke!
Rotate the camera so it’s facing north (towards Motostoke). Admittedly, it’s kind of hard to see Motostoke from here. But basically you want to see a bunch of trees. In the distance, there should be two dirt paths, one going left (west) and the other right (east). In the middle of these paths is a glowing den. Head forward (north) between the trees, towards the den.
Stop before you reach the wide patch of tall grass surrounding the den. Look for two nearby trees, next to where the path leading left (west) begins. At the base of the right-hand side tree is a sparkling spot. Check it out to find a hidden Tiny Mushroom. Then wade through the tall grass to reach the den.
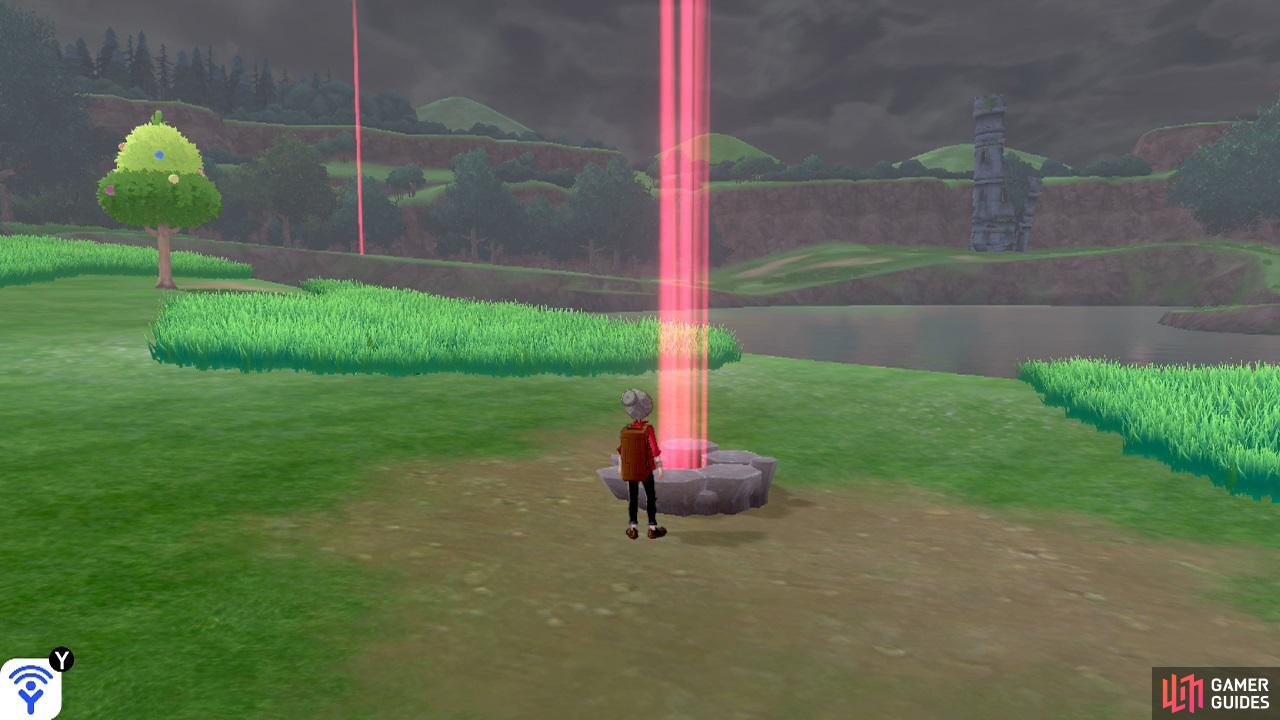
Upon reaching the den, you ought to be able to see a tower-like structure in the distance, on the other side of the lake. That’s the Watchtower Ruins. Meanwhile, towards the top-right corner of the screen should be Motostoke in the distance. Tilt the camera so it moves slightly left. A conspicuous tree should come into view. Let’s go there and have a look!
From the berry tree, spin the camera so it faces the den you came from. You should be facing east now. Return to the den. Now cross through the tall grass directly ahead, to reach the dirt path.
If possible, turn your camera slightly to the right, so that it’s pointing north-east. Assuming Motostoke is visible, you want it to be on the left side of your screen. Meanwhile, there should be what looks like a small mountain directly ahead. Head forward (north-east) along the dirt path. There may be some wild Pokémon at the start of the path.
Check out the next tree on the right side of the path. Behind the tree, there should be a sparkling spot that’s hiding a Tiny Mushroom. Nearby, there will be another strong Pokémon in the middle of the path–usually a  Diggersby. Do not engage it; instead, carefully navigate around it. If it’s safe, go over to the other tree on the right. Search its base for another Tiny Mushroom.
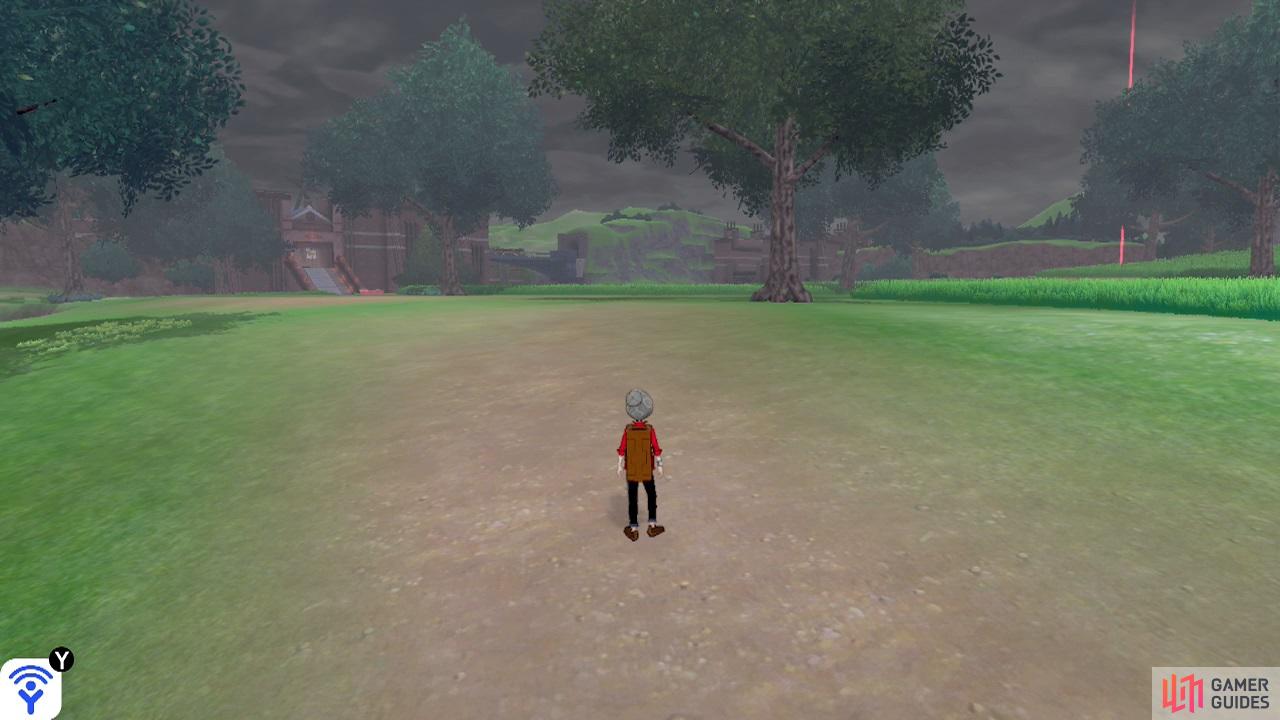
Once you’ve gone past the overwhelming Pokémon, the stairs to Motostoke should be visible in the distance. There will also be a glowing den nearby on the right side. Meanwhile, there’s a bridge along the left side.
Go over to the glowing den. If you head towards the bridge, you’ll arrive at West Lake Axewell, which has higher Level Pokémon. Those of you who are feeling daring can enter West Lake Axewell, then follow the central lake clock-wise to quickly reach Motostoke. However, we’ll be taking the safer, albeit slightly longer, route.

While standing near the den, rotate the camera so it faces east. You want Motostoke to be out of view now; instead, you should see patches of tall grass in front, with a path in-between them. There will also be a fourth strong Pokémon along the left side of the screen–generally a  Ninjask. Confident players can try to catch this one.
Regardless, go forward (east), ideally through the path between the grass. You’ll be traveling along the south side of the central lake. As you get near the end of the patch of tall grass on the right, you may see a  Butterfree flying above. Next, there will be a fairly wide dirt area. In the middle is another strong Pokémon–probably a Diggersby. Whoa, these things are everywhere!
Cautiously go over to the tree ahead, facing the lake. The base of this tree should have two sparkling spots. You know the drill! Search these spots to find two hidden Tiny Mushrooms. Nearby, there might be a fisherman. If you speak to her, you can buy a random item in exchange for some Watts. Usually, it’s a good deal, provided you have ample Watts.
Now head on over to the next tree at the corner of the lake. There will be a man standing next to a tree. This is the Ingredient Seller. Feel free to buy some of his wares. His ingredients can be used to conjure up new recipes when cooking at your camp site. Also, his items will change daily, so you may want to come back here another time.
At this point, you’ll be directly north from the Meetup Spot. Turn your camera right (towards the south) and you should see the entrance to the Meetup Spot in the far off distance. If you need to rest up, now’s your chance to run back there and speak to the lady by the train station. Then to get back here again, just run straight north (towards the lake).
From the ingredient seller, turn the camera so it’s facing east. There should be a stretch of tall grass in front of you, by the corner of the lake. Go forward and follow the path as it bends to the left (north). You can either cut through the tall grass or go around it from the right (south). If avoiding the grass, watch out for another strong Pokémon–possibly a Diggersby.
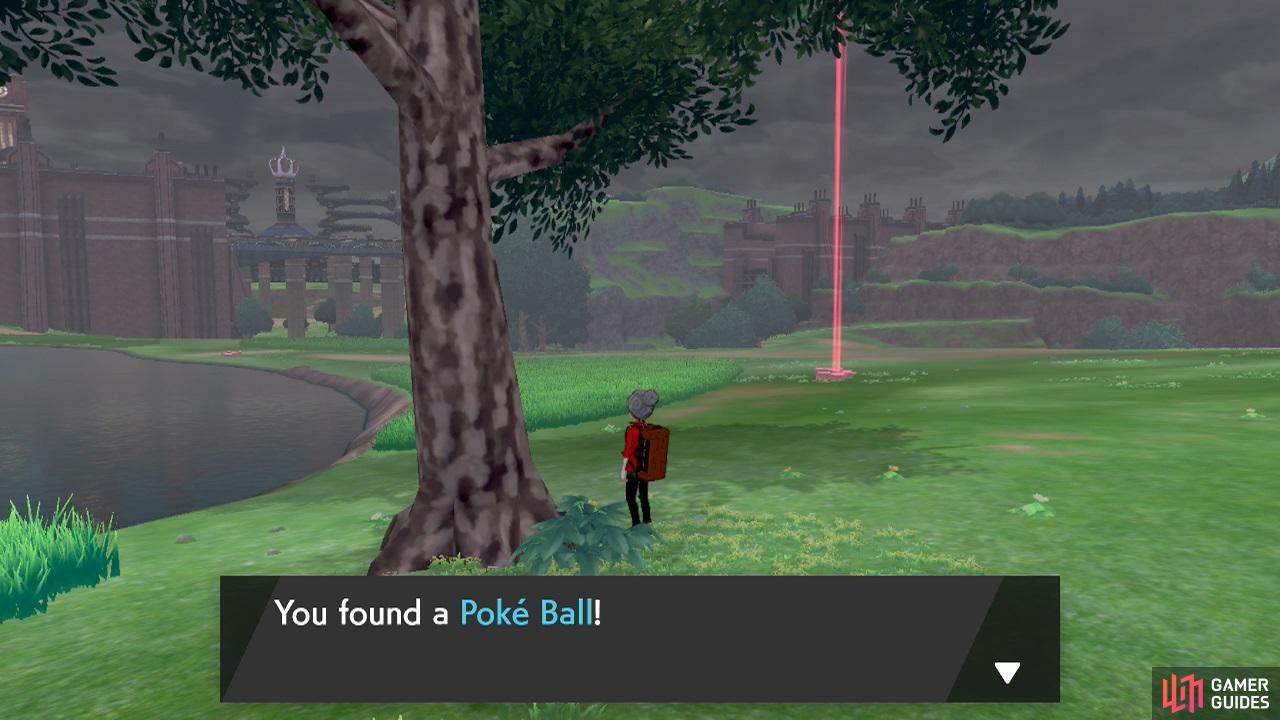
Stop when you reach the next tree by the lakeside. Make sure you’re facing north (towards the general direction of Motostoke). Up ahead, there should be some tall grass next to the lake and a glowing den to its right (east). Search the tree to find a hidden Poké Ball. Now head for the glowing den. There may be a strong Pokémon around (for example a  Mudsdale), so be careful.
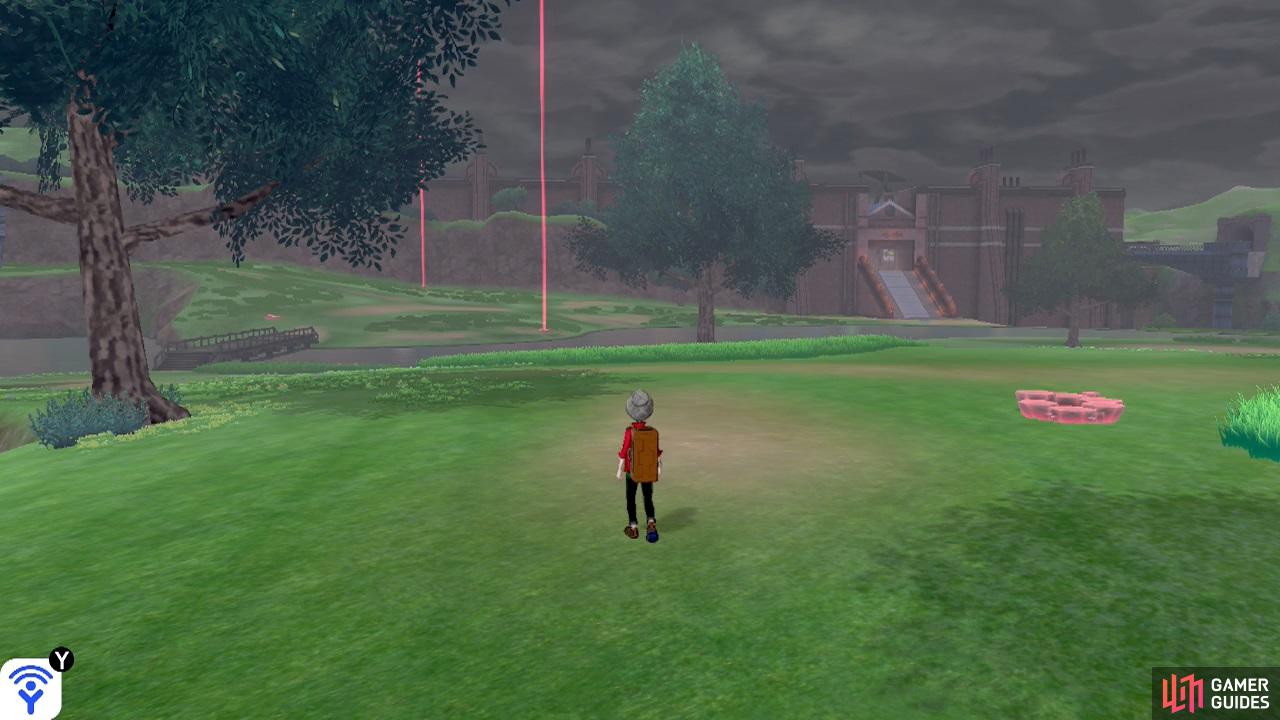
Motostoke is getting closer and closer! From this den, you should see a dirt path up ahead. Go forward (north) towards that path, then follow it in the direction of Motostoke. Keep an eye out for the trees on the right side of the path. Once you get near enough to the trees, there should be a person standing in front of the left-hand side tree. Speak to her for a battle.
Pokémon Breeder Chloe

Wow, this lady has all three Galarian starter Pokémon! They’re also significantly higher Level than your last battle with Hop. So be careful–and don’t hesitate to come back later if you don’t think you’re ready. That said, if you’ve been catching plenty of Pokémon, this shouldn’t be an impossible affair.
 Grookey is a Grass-type and thus weak to Fire, Flying, Ice and Bug. Obviously, if you have
  Scorbunny, this will be easy. Common Pokémon you could use include
  Rookidee and
  Blipbug. If it’s sunny, there’s also
  Vulpix/
 Growlithe from Rolling Fields.
Fire-type Scorbunny is weak to Water, Rock and Ground. Likewise,  Sobble users will shine here. Otherwise
  Chewtle is a great choice. If it’s raining or there’s a thunderstorm, you can catch
  Wingull in Rolling Fields as well.
Lastly, we have the Water-type Sobble, who’s weak to Grass and Electric. Sounds like it’s Grookey time! Alternatively,  Yamper will zap the sad boy silly.
  Seedot or
  Lotad are decent choices as well.
After defeating Chloe or otherwise, continue following the dirt path towards Motostoke. As you approach the next glowing den by the lakeside, you will transition into the next area.
No Comments