

Because one mine wasn’t good enough!
Wild Pokémon - Overworld
| Pokémon | Type | Encounter Rate |
|---|---|---|
 Stunfisk Stunfisk |
Ground/Steel | Fixed |
 Drednaw Drednaw |
Water/Rock | Fixed |
 Gastrodon Gastrodon |
Water/Ground | Fixed - Requires  Rotom Bike Upgrade Rotom Bike Upgrade |
 Shellos Shellos |
Water | 25% |
 Wimpod Wimpod |
Bug/Water | 25% |
 Binacle Binacle |
Rock/Water | 15% |
 Scraggy (Sword only) Scraggy (Sword only) |
Dark/Fighting | 15% |
 Croagunk (Shield only) Croagunk (Shield only) |
Poison/Fighting | 15% |
 Noibat Noibat |
Flying/Dragon | 10% |
 Chewtle Chewtle |
Water | 5% |
 Shuckle Shuckle |
Bug/Rock | 5% |
Wild Pokémon - Random Encounters
| Pokémon | Type | Encounter Rate |
|---|---|---|
| Wimpod |
Bug/Water | 20% |
| Noibat |
Flying/Dragon | 20% |
| Scraggy (Sword only) |
Dark/Fighting | 15% |
| Croagunk (Shield only) |
Poison/Fighting | 15% |
| Binacle |
Rock/Water | 10% |
| Shuckle |
Bug/Rock | 10% |
| Shellos |
Water | 10% |
| Chewtle |
Water | 10% |
| Stunfisk |
Ground/Steel | 5% |
Wild Pokémon - Fishing


The next Gym is actually back at Motostoke, but the Gym Leader is currently away. Apparently, you can find him here. From the Hulbury entrance, begin heading east. You’ll come across a bunch of Pokémon, with a large pond on the right. Next, head south–or try to, at least. Before you can get anywhere, you’ll run into that snarky kid again.
Pokémon Trainer Bede
| Pokémon | Level | Type |
|---|---|---|
 Solosis Solosis |
21 | Psychic |
 Gothita Gothita |
22 | Psychic |
 Ponyta (Galarian) Ponyta (Galarian) |
22 | Psychic |
 Hatenna Hatenna |
23 | Psychic |
Looking at his lineup, Bede clearly fashions himself as a Psychic-type trainer. All of his Pokémon are weak to Bug, Ghost and Dark-types. If you have a Dark-type, they’re ideal, since they take no damage from Psychic moves. Otherwise, all of his Pokémon have yet to evolve and are thus relatively frail, although they can hit hard!
As a reward for winning, you’ll be given Bede’s League Card. Next, head south as you originally planned. Be careful as you approach the corner, because there’s a sneaky Galarian Stunfisk poking out from the ground. To the right is a trainer you’ll have to beat to get past.
Worker Francis
| Pokémon | Level | Type |
|---|---|---|
 Carkol Carkol |
21 | Rock/Fire |
Francis has an evolved  Rolycoly, which has gained the Fire-type. It’s therefore incredibly weak to Water and Ground. Fighting and Rock-types are also very good.
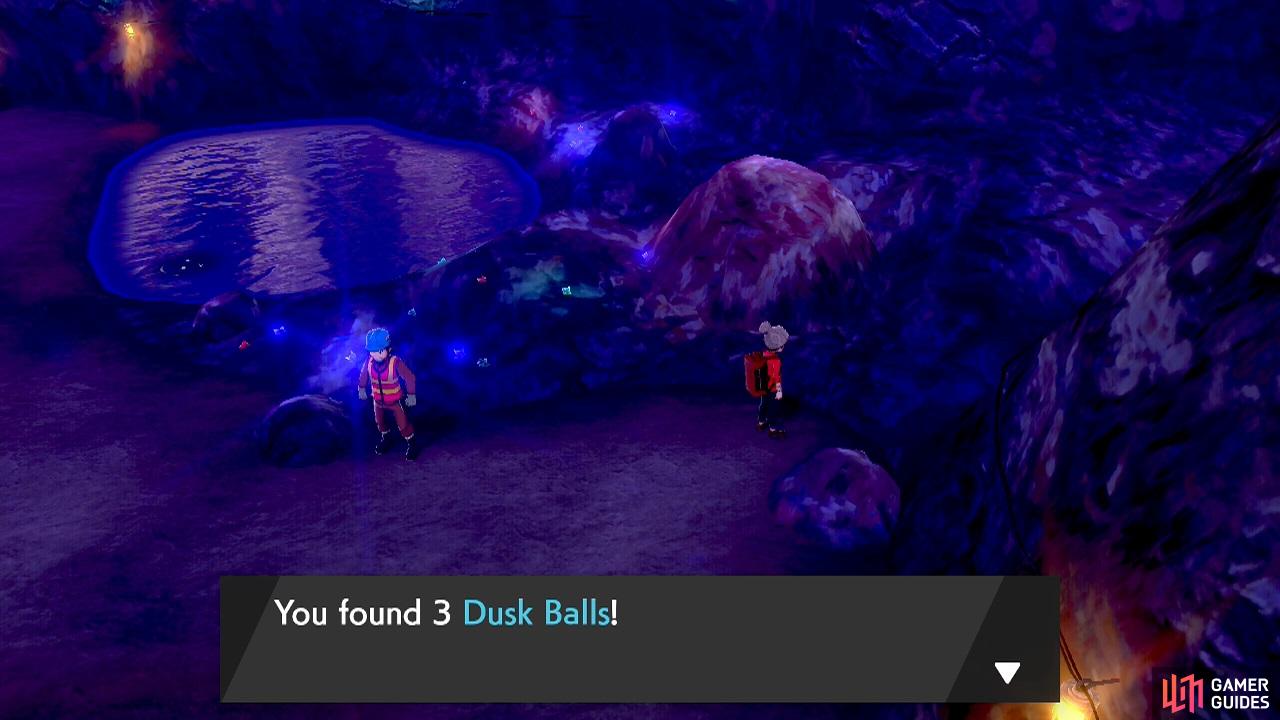
Dusk Balls are more effective in dark places (like this mine) or during night time.
Scoop up the 3 Dusk Balls on the right. Then continue south, along the next pond. Be careful of multiple Galarian Stunfisk hiding in the ground. Once you’ve gone past the pond, there’s a trainer below looking around for a fight.
Worker Yvonne
| Pokémon | Level | Type |
|---|---|---|
 Roggenrola Roggenrola |
20 | Rock |
 Timburr Timburr |
21 | Fighting |
Nothing that should surprise you here. Roggenrola falls to Water, Grass, Ground, Steel or Fighting-types. Meanwhile, Timburr doesn’t like Flying, Psychic or Fairy-types.
Go over and retrieve the Grip Claw to Yvonne’s left. Next, follow the path south, then west. Again, there’s a pesky Galarian Stunfisk hidden around here. Soon, you’ll run into those Team Yell goons. Are you ready to give them a good beatin’?
Team Yell Grunt and Team Yell Grunt
| Pokémon | Level | Type |
|---|---|---|
 Linoone (Galarian) Linoone (Galarian) |
22 | Normal/Dark |
 Pancham Pancham |
21 | Fighting |
 Thievul Thievul |
21 | Dark |
 Liepard Liepard |
22 | Dark |
You’ll be joined by Hop for another Multi Battle. Hop will send out his trusty  Wooloo first. The first grunt will use Galarian Linoone, followed by Pancham. Meanwhile, the second grunt uses Thievul and then Liepard. Linoone is an evolved
  Zigzagoon, while Liepard is an evolved
  Purrloin. Both retan the same weaknesses though.
Ideally, you want to use Fighting, Bug or Fairy Pokémon; Fighting deals 4x damage against Linoone, while Fairy also hurts Pancham. Either way, focus on Thievul first as it can use Snarl to hit both you and Hop, plus it can boost its damage with Nasty Plot. From there, you might as well take down Liepard as well, so you can gang up on the first grunt.
Once the coast is clear, go west. Check out the Drednaw wandering around! Also, search the equipment on the left to find some hidden Stardust. Next, head south. You’ll reach another pond, with paths going left and right. Go left first. Hopefully you spot the Galarian Stunfisk hiding here. Search the minecart at the end for some Soft Sand.


(1 of 2) Give this to a Pokémon to make their Ground moves slightly stronger.
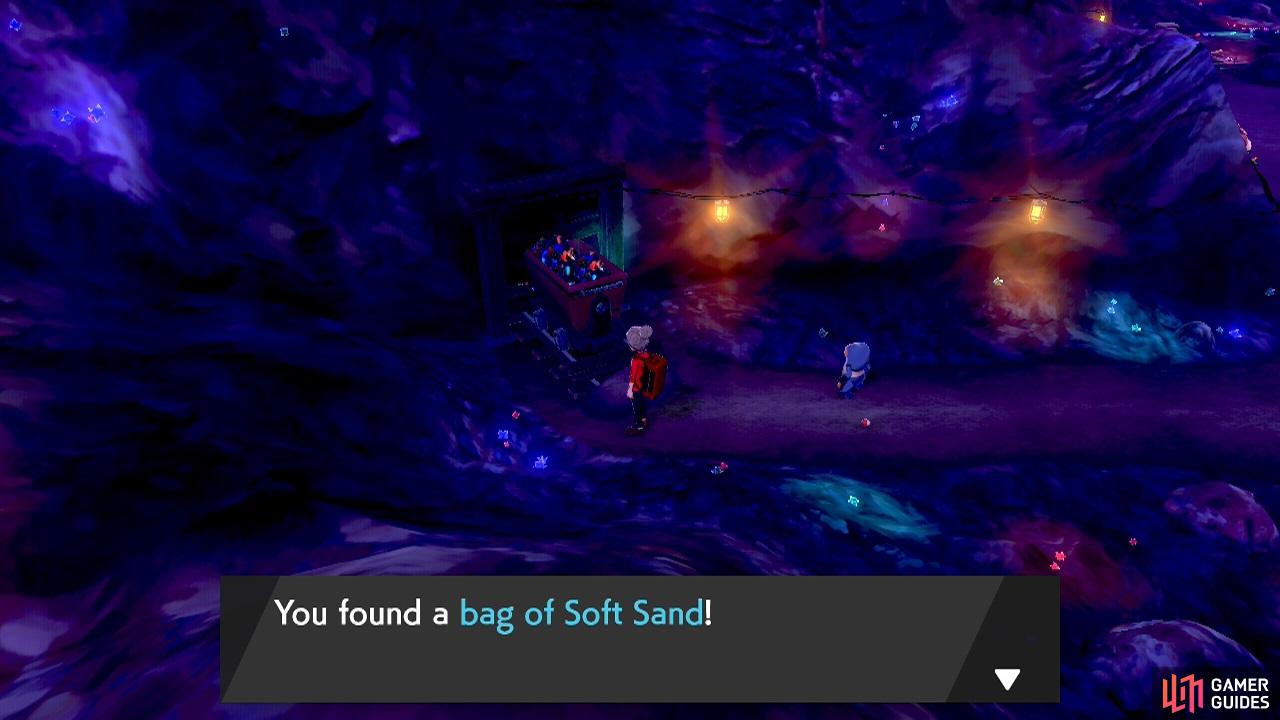
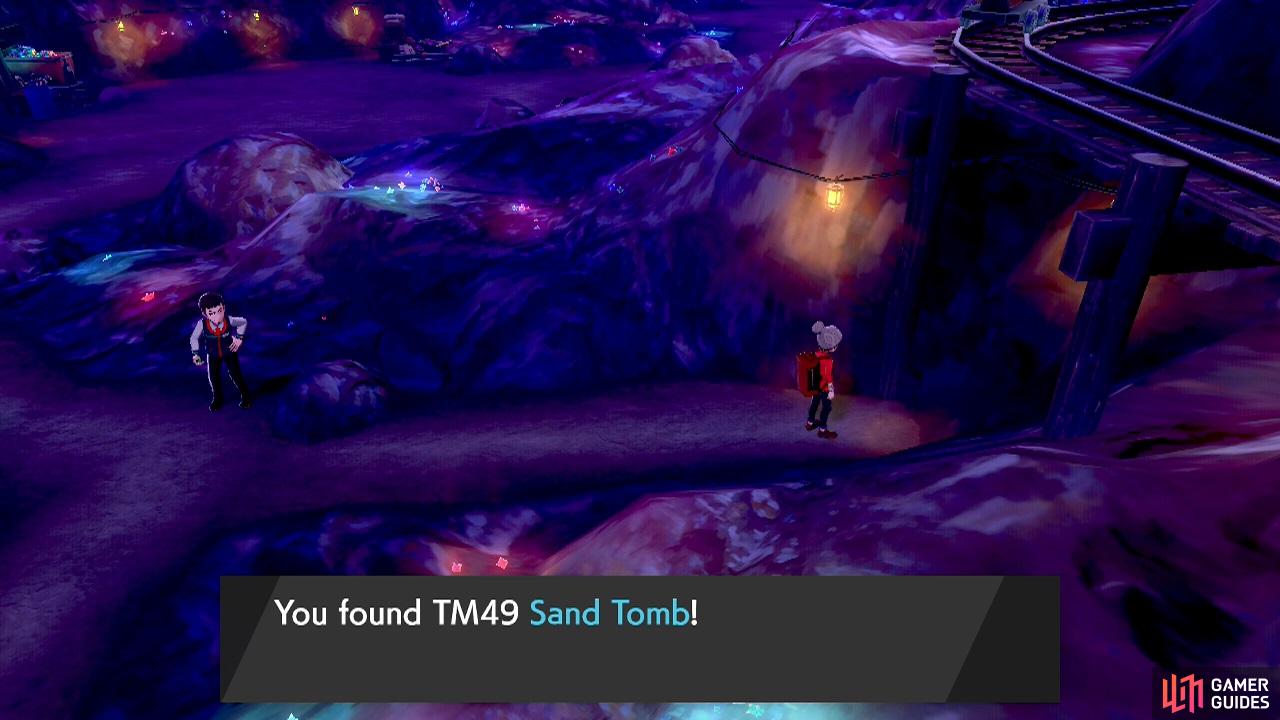
Give this to a Pokémon to make their Ground moves slightly stronger. (left), Sand Tomb traps the foe and inflicts residual damage for 2 to 5 turns. (right)
Next, head east. There will be a T-junction, with a trainer standing at the top. If you’re good, you can sneak past him without a fight. When he’s looking right, run south. Stay there until he looks left, then go up and turn right. Grab TM49 Sand Tomb at the end of this path.
Rail Staff Vincent
 Drilbur should be an easy one. It’s a Ground-type and weak to Grass, Water and Ice.
  Onix is slightly tougher. This rock snake takes quadruple damage from Water and Grass and double damage from Ice, Ground, Steel and Fighting.
In any case, head south from the T-junction. Then travel west, being mindful of the Galarian Stunfisk that think they’re smart. Eventually you’ll reach a cavern, where Hop’s waiting. Here, you’ll become acquainted with Kabu, the Fire-type Gym Leader, who you’ll be facing very soon. Once he’s gone, Hop will lead you straight outside.
No Comments