

This tournament has gathered many powerful trainers from the main story and the DLC.
This event can only be started after you’ve completed both the Isle of Armor and the Crown Tundra story quests. Once you’ve handed the Legendary Clue? to Peony in the Max Lair, you’ll receive a call from Leon the moment you step back outside. He’ll usher you to Wyndon Stadium, where you fought to become the Champion.
Whenever it’s convenient, call a flying taxi to Wyndon Stadium, aaaaaall the way to the north. Leon will be waiting for you by the reception desk. Speak to him and he’ll take you to the Battle Court, where a whole bunch of familiar faces have gathered. Nod away at all the chit chat; eventually, Leon will show up to explain the details.
In the Galarian Star Tournament, trainers will team up in groups of two to wage Multi Battles. Once the explanation is over, you’ll be brought to the foyer to choose a partner. Right now, you can only pick Marnie or Hop. There isn’t a wrong choice, so go with your favourite, or pick Hop since he has  Zacian/
 Zamazenta.
Once you’ve selected a partner, chat to the fella behind the reception desk to get signed up. You’ll be shown the tournament brackets. Then you’ll be dropped in the locker room, in front of the entrance to the Battle Court. When you’re ready, proceed through the door to get things started. Remember to check that your party is at full health!
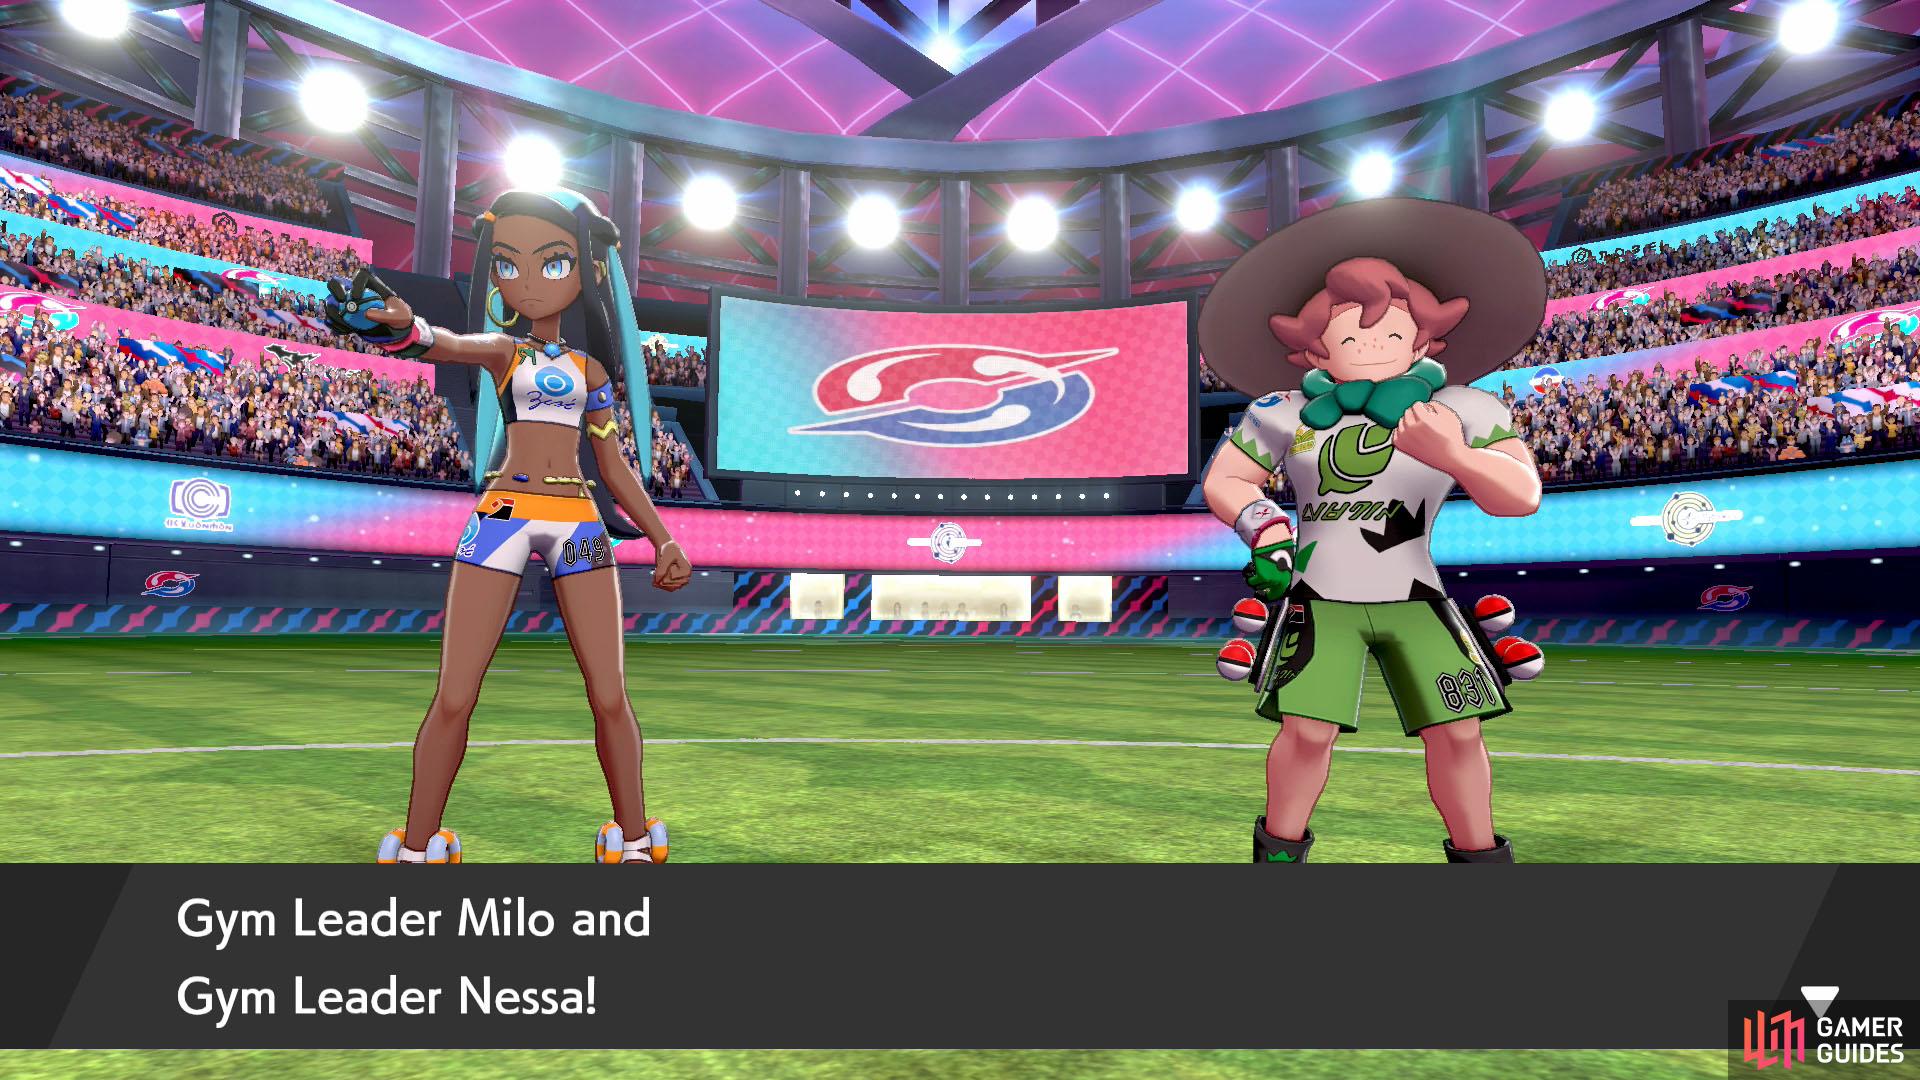
Gym Leader Milo and Gym Leader Nessa
Milo
| Pokémon | Level | Type |
|---|---|---|
 Shiftry (Sword) Shiftry (Sword) |
72 | Grass/Dark |
 Ludicolo (Shield) Ludicolo (Shield) |
72 | Water/Grass |
 Cherrim Cherrim |
73 | Grass |
 Flapple (Sword) Flapple (Sword) |
74 | Grass/Dragon |
 Appletun (Shield) Appletun (Shield) |
74 | Grass/Dragon |
Nessa
Your first opponents are the first two Gym Leaders you fought. Together, they make quite a formidable team. Nessa’s Water-types cover for Milo’s Grass-types and if you wanted to use a Grass-type to take down Nessa first, she’s sent out a Bug/Water to mess up your plans.
First into the ring are Shiftry or Ludiculo from Milo and  Golisopod from Nessa. Expect a Fake Out from Milo’s Pokémon, which causes a flinch on turn one. If you’re daring, you could Dynamax immediately, to become immune to flinching. Golisopod also has a turn one move in First Impression, except this may do more than annoy.
To start off, we recommend fielding a Flying-type, since both Milo and Nessa’s first Pokémon are weak to it. This will also prevent Golisopod from using First Impression on you, but if you’ve partnered with Marnie, it may hurt her  Morpeko. Remember that dropping Golisopod below half HP will cause it to switch out.
Next up are Cherrim and  Toxapex. Cherrim is pretty weak, but it can set up Sunny Day to spam Solar Beam. Doing so will temporarily weaken Nessa’s damage though… Toxapex is bulky and can use Baneful Bunker to protect itself and poison any Pokémon that touches it. Use a Psychic-type if you can; you could even show off your Galarian
  Articuno.
Lastly, you’ll end up facing Flapple/Appletun and  Drednaw. Given the chance, the Gym Leader will always Dynamax their final Pokémon. Once it reaches this stage, pay attention to the battle messages, telling you which trainers can Dynamax on the current turn, so you can plan accordingly.
Against the apple dragons, Ice-types are king in terms of damage. But if Drednaw is around, its Rock move can be damaging. A safer choice would be a Fairy-type. For Drednaw itself, your own Grass-type would be perfect. Failing that, go with a Fighting-type if you have one;  Urshifu (Single Strike Style) or Zamazenta can cause a real dent.
Gym Leader Gordie and Gym Leader Bea (Sword)
Gordie
Bea
Gordie and Bea are the Sword-exclusive Gym Leaders. The former leans towards defence, while the other focuses on sheer strength. Put them together and what do you have? Actually, we’re not quite sure.
Anyway, you’re up against  Shuckle and
  Hawlucha from the onset. Shuckle barely deals any damage, but it can slow your team down with Sticky Web and Rock Tomb. Plus Stealth Rock to damage Pokémon that switch in. Hawlucha is all damage and Swords Dance. If you have to focus on one, go for Shuckle.
If you’ve partnered with Hop, his  Dubwool will be a liability. It’s rubbish against Shuckle and weak to all of Bea’s Pokémon. Don’t expect it to last long. Hopefully he’ll bring out his Legendary next! As for Marnie, her Pokémon are all weak to Bea, except
  Grimmsnarl, but at least her Morpeko can do something about Shuckle and Hawlucha.
Gordie and Bea’s second choices are  Tyranitar and
  Falinks. Unlike Shuckle, Tyranitar can cause some major damage and it also creates a Sandstorm when it enters the field. Falinks can use No Retreat to boost all of its stats, but like its name suggests, it cannot switch out. Tyranitar’s already done its damage with Sand Stream, so aim for Falinks first.
For their finishing act, Gordie has a  Coalossal, while Bea has a
  Machamp; both are capable of Gigantamaxing. Coalossal is slow but sturdy; it’s immensely weak to Water and Ground-types. As for Machamp, it’s also slow, but packs a punch, with a strong selection of coverage moves. The only thing it hasn’t accounted for is Fairy-types.
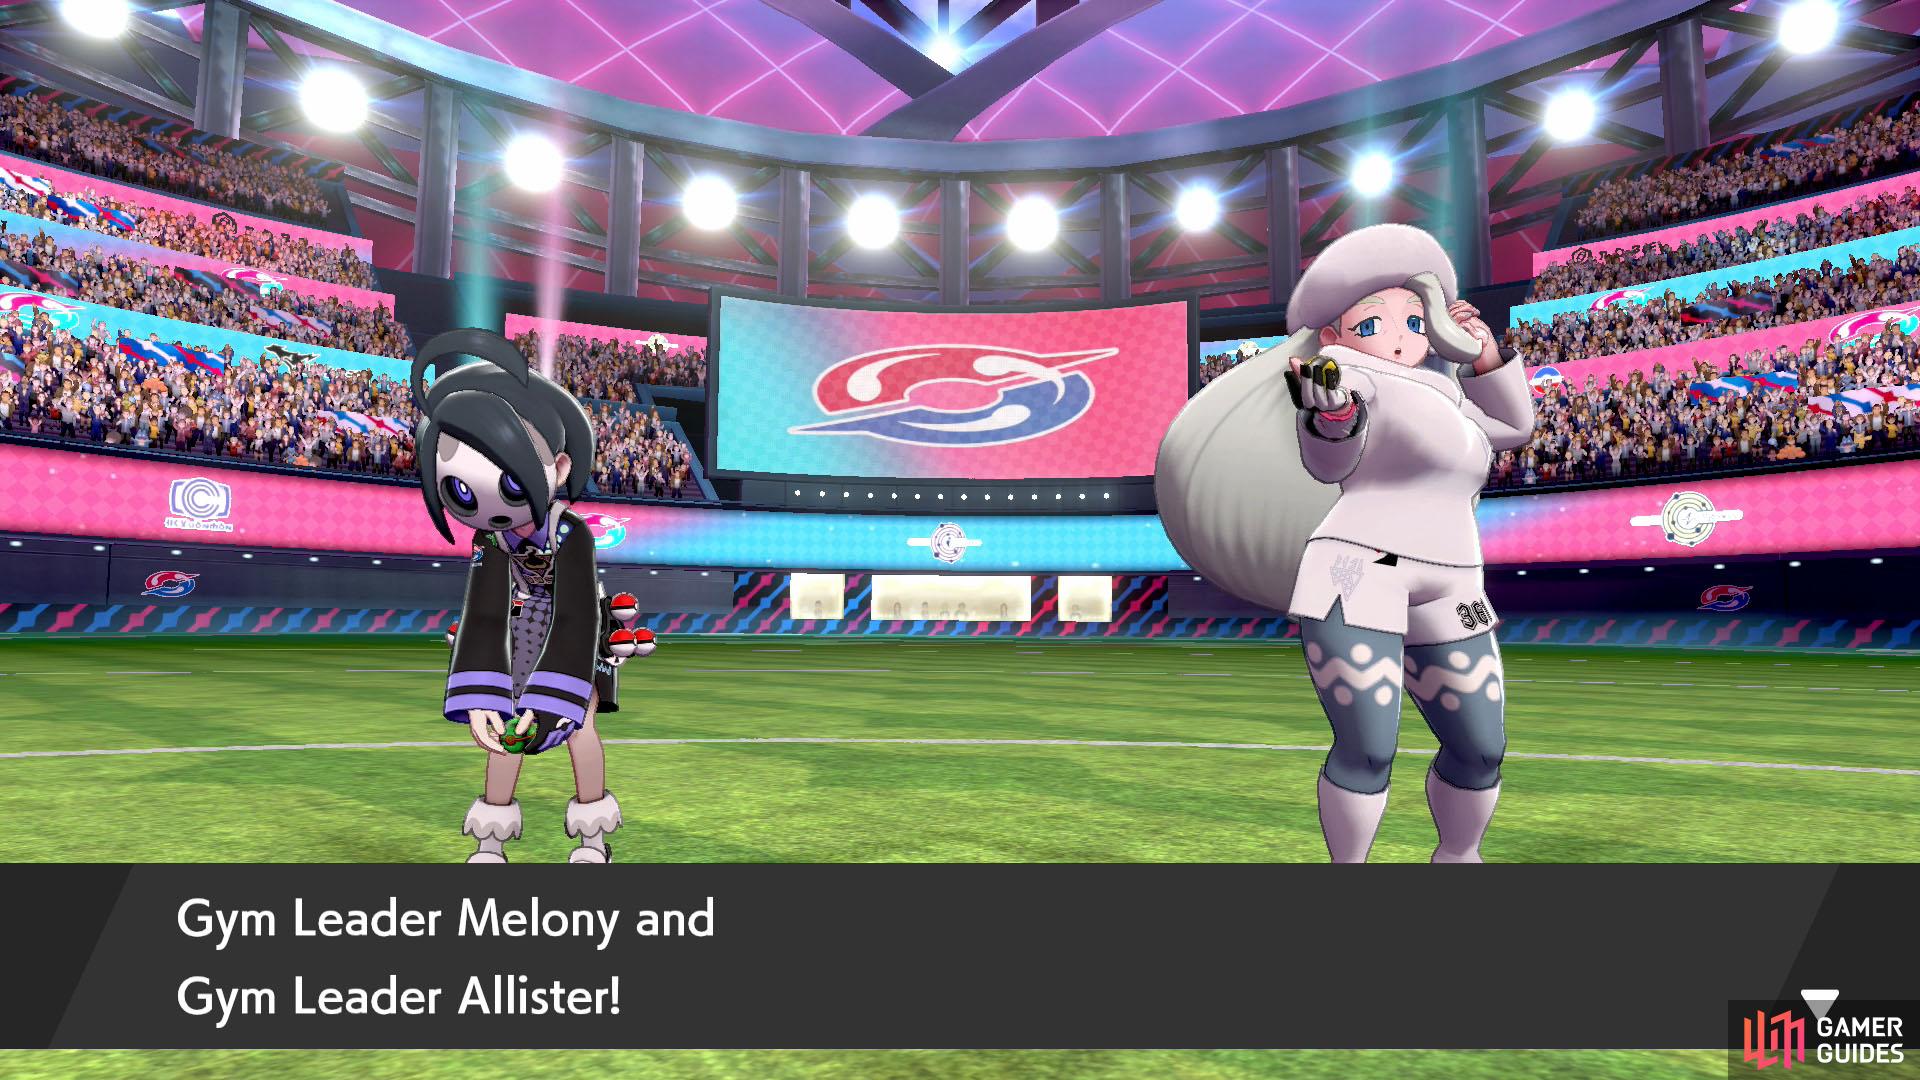
Gym Leader Melony and Gym Leader Allister (Shield)
Melony
| Pokémon | Level | Type |
|---|---|---|
 Mr. Rime Mr. Rime |
72 | Ice/Psychic |
 Darmanitan (Galarian) Darmanitan (Galarian) |
73 | Ice |
 Lapras Lapras |
74 | Water/Ice |
Allister
These two are the Gym Leaders exclusive to Shield. Unlike Milo and Nessa, they don’t really compliment each other, so you’ve got more freedom with how to handle them.
To begin, the pair will send out Mr. Rime and  Dusknoir. If you’ve partnered with Hop, you’ll want to focus on Dusknoir first, as Dubwool can’t hurt it. We recommend leading with a Dark-type, since they’re strong against both. If you chose Single Strike Style for your Urshifu, it can handle everything by itself.
Next, you’ll fight Galarian Darmanitan and  Cursola. This time, a Fire, Rock, Fighting or Steel-type will hurt Darmanitan the most. Keep in mind that Darmanitan will become an Ice/Fire-type should it fall below 50% HP. In that scenario, Rock-types will deal quadruple damage. Meanwhile, its Fire and Steel weaknesses will be replaced with Water and Ground.
Finally, the Gym Leaders will send out Lapras and  Gengar. As before, the Gym Leader will Dynamax their last Pokémon if it’s their turn to Dynamax; refer to the message when the turn begins. Or if you missed the message, check if you can Dynamax or not. If you can Dynamax, Melony can; otherwise, it’ll be Allister.
Lapras can use Life Dew to heal itself and its partner. If it Gigantamaxes, it can use G-Max Resonance to halve damage received by its team for 5 turns. Definitely try and get rid of Lapras first, using Electric or Fighting-types. Gengar is your standard fragile but fast attacker. In Double and Multi Battles, they’re easier to take down. Try and smite it with a Dark-type.
Pokémon Trainer Leon and Gym Leader Raihan (Partner is Hop)
Leon
Raihan
Whew, if you partnered with Hop, you’ll be up against the former Champion and his bitter rival turned friend. This is probably one of the tougher fights you’ll have, but the numbers are on your side (since you can send out 6 Pokémon of your own). Plus Hop has an immensely powerful Legendary Pokémon at the back.
Leon will open with  Aegislash, while Raihan sends out
  Flygon. Aegislash is a tough cookie, switching between defensive and offensive forms by using King’s Shield (which changes it to Shield form) or attacking (which changes it to Blade form). Try to combat it with a special attacker to ignore the Attack drop from King’s Shield. Recommeded types are Fire, Ground and Dark.
As for Flygon, it can create a sandstorm and attack all Pokémon (including Leon’s) with Earthquake. Ice-types will crush Flygon like a fly, but they’re susceptible to Aegislash. Likewise, Fairy-types don’t like the taste of steel. If you’re uncertain, go with a neutral Water-type. If you partnered with Hop, his Dubwool can’t hit Aegislash (or Leon’s next Pokémon).
Next, you’ll face Leon’s  Dragapult and Raihan’s
  Goodra–both dragons. Dragapult is a speedy damage-dealer, but it’s fragile. If you’re concerned about eating damage, target it first. We suggest fielding a Fairy-type, since they’re strong against both dragons. Otherwise, a Dark-type would work well here.
Meanwhile Goodra doesn’t do nearly as much damage, but it can heal its team using Life Dew. With good planning, you should outdamage the healing. When it comes to fighting it, Fairy and Ice-types are the way to go, but the former should be cautious of Sludge Bomb. By the way, this Goodra doesn’t know any Dragon-type moves.
To conclude the battle, Leon will send out his fave,  Charizard, while Raihan will fall back on
  Duraludon. A Rock-type can easily deal with Charizard, although they’re in danger with Duraludon around. A safer approach would be a Water or Electric-type. For Duraludon, Ground or Fighting are best. Or you can target its woeful Sp. Defense.
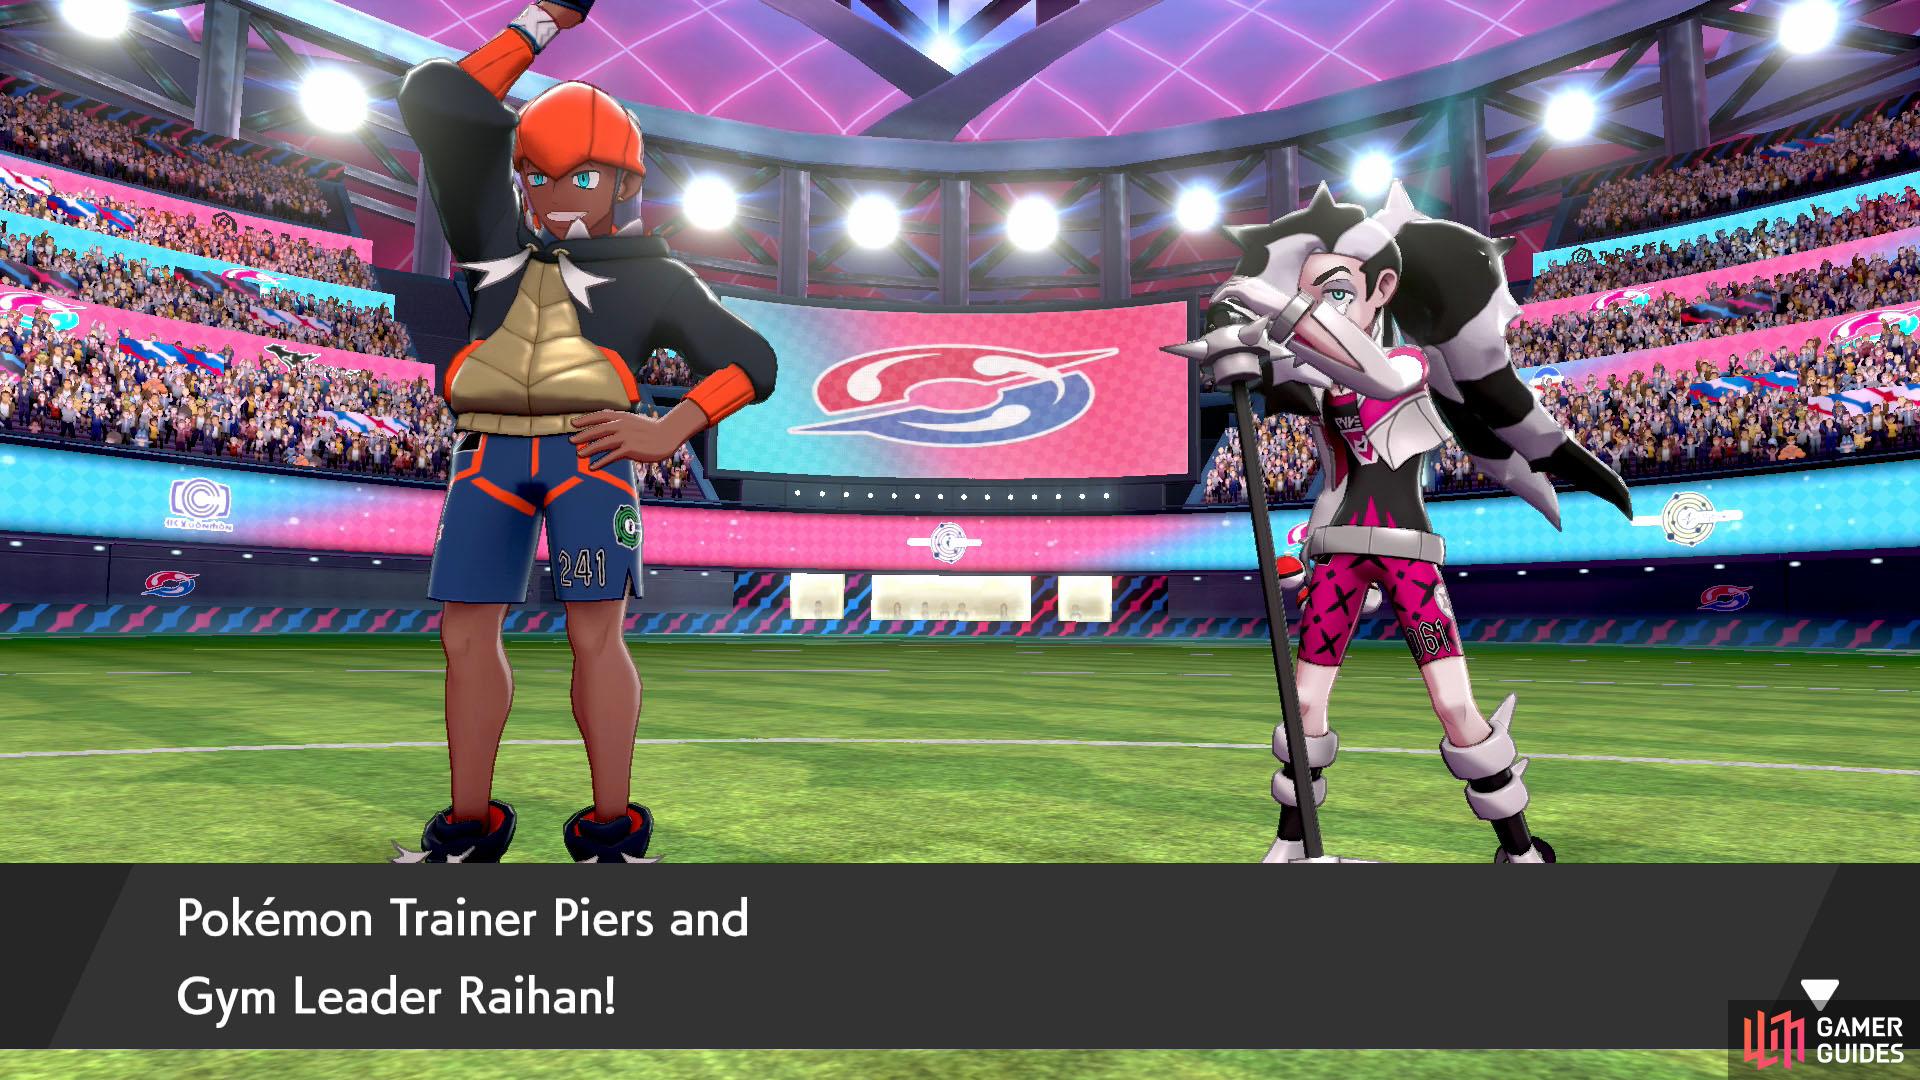
Pokémon Trainer Piers and Gym Leader Raihan (Partner is Marnie)
Piers
| Pokémon | Level | Type |
|---|---|---|
 Skuntank Skuntank |
73 | Poison/Dark |
 Toxtricity Toxtricity |
73 | Electric/Poison |
 Obstagoon Obstagoon |
74 | Dark/Normal |
Raihan
In this final battle, you’re up against Marnie’s big brother and the guy who’d rather be fighting Leon. With their conflicting personalities and agendas, it’s no wonder there’s a lack of cohesion between their teams. Also, Piers won’t Dynamax, since it’s not his cup of tea.
The battle will start with Skuntank and Flygon. The former can be a nuisance with Toxic, which causes deadly poison, and Snarl, which lowers your side’s Sp. Attack. Only Ground-types are super-effective, but keep in mind that Flygon is immune. As for Flygon, it can set up Sandstorm and use Earthquake, but it’ll hurt Piers. Nail it with an Ice-type if possible.
Next, Piers may send out Toxtricity, while Raihan always sends out Goodra. If you have a Ground-type, keep it in play since they deal quadruple damage to Toxtricity. Psychic-types are also safe to use for now. Meanwhile, Goodra won’t like Ice or Fairy-types. It can use Life Dew to heal itself and its teammate, so it’s a smart idea to focus your efforts on it.
To finish off, Piers may send out Obstagoon, while Raihan has a Gigantamax-capable Duraludon. Since it won’t Dynamax, Piers’s Obstagoon is an easy target. Still, don’t be careless. Use a Fairy-type if you can. Fighting-types deal spectacular damage, but be cautious of Obstruct, which negates damage and lowers your Defense.
Against Duraludon, Fighting and Ground-types are generally the way to go. Since Obstagoon is also weak to Fighting, you may want to stick with that. If neither are applicable, you can brute force it by using your strongest neutral special attacks. Seeing as Duraludon has downright shameful Sp. Defense. Note that it has Rock and Fighting moves.
After the Tournament
Once you’ve won the tournament, Leon will make his closing speech. That marks the end of the Galarian Star Tournament. Did you have fun? However, they wouldn’t go to all that effort just to have one tournament… No, from now on, you can challenge the Galarian Star Tournament as many time as you want!
Cue the end credits. Sadly, you can’t skip these, so either sit tight for several minutes, or leave to make a brew or something.
When you return, you’ll be back at the lobby of Wyndon Stadium. In recognition of your victory, you’ll be awarded a Sport Uniform and, wait for it, 1 million Poké Dollars. Don’t spend it all at once! In addition, the Ball Guy will give you a random reward, just like when you win a regular tournament here.
No Comments