

Route 9 (Circhester Side)
The weather is going to be pretty cold from here on out.
Wild Pokémon - Overworld
| Pokémon | Type | Encounter Rate |
|---|---|---|
 Glalie Glalie |
Ice | Fixed |
 Pelipper Pelipper |
Water/Flying | 40% |
 Mareanie Mareanie |
Poison/Water | 35% (Sword), 5% (Shield) |
 Gastrodon Gastrodon |
Water/Ground | 15% |
 Jellicent Jellicent |
Water/Ghost | 5% (Sword), 35% (Shield) |
 Pyukumuku Pyukumuku |
Water | 5% |
Wild Pokémon - Random Encounters
| Pokémon | Type | Encounter Rate |
|---|---|---|
 Cramorant Cramorant |
Flying/Water | 40% |
 Octillery Octillery |
Water | 30% |
 Kingler Kingler |
Water | 25% |
 Pincurchin Pincurchin |
Electric | 5% |
Wild Pokémon - Water
| Pokémon | Type | Encounter Rate |
|---|---|---|
| Pelipper |
Water/Flying | 40% |
 Qwilfish Qwilfish |
Water/Poison | 30% |
 Mantyke Mantyke |
Water/Flying | 25% |
| Jellicent |
Water/Ghost | 5% |
Wild Pokémon - Fishing
| Pokémon | Type | Encounter Rate |
|---|---|---|
| Octillery |
Water | 60% |
 Wishiwashi Wishiwashi |
Water | 30% |
| Pyukumuku |
Water | 10% |
As you arrive from the north, head south for a good distance, then go across the bridge. On the left, is a trainer you can fight. She’ll be looking from west to south. But you can avoid her if you run west while she’s looking in that direction. Anyway, even if you go past her, there’s not much you can do just yet.
Fisher Harriet
| Pokémon | Level | Type |
|---|---|---|
 Barraskewda Barraskewda |
39 | Water |
 Lanturn Lanturn |
39 | Water/Electric |
Barraskewda is an evolved  Arrokuda. It can use Aqua Jet to try and attack first and Dive to hide underwater for one turn. Meanwhile, Lanturn is an evolved
  Chinchou. Like its prior form, its weak to Grass and Ground only. Watch out for its annoying Confuse Ray.
Carry on south from the bottom of the bridge. Soon, you’ll reach the number 9 signpost on your right. Over here, there’s a patch of tall grass. Step into the grass and head for the top-right corner for a Max Potion. Afterwards, continue south again. Along the right, there’s a trainer walking up and down. Be careful as she’ll spin around when changing direction.
Dancer Zoe
Galarian  Darumaka is an Ice-type instead of a Fire-type; Sword players can find it in the cold part of Route 8.
  Bellossom is one of two possible evolutions of
  Gloom (the other being
  Vileplume). It loses the Poison-type to become a pure Grass Pokémon.
Route 9 (Circhester Bay)
At long last, you’ll gain the ability to travel across water!
Wild Pokémon - Overworld
| Pokémon | Type | Encounter Rate |
|---|---|---|
 Grapploct Grapploct |
Fighting | Fixed |
 Clobbopus Clobbopus |
Fighting | 30% |
| Octillery |
Water | 24% |
 Toxapex Toxapex |
Poison/Water | 20% (Sword), 5% (Shield) |
 Barbaracle Barbaracle |
Rock/Water | 10% (Sword), 20% (Shield) |
 Bergmite Bergmite |
Ice | 15% (Sword), 20% (Shield) |
 Dhelmise Dhelmise |
Ghost/Grass | 1% |
Wild Pokémon - Random Encounters
| Pokémon | Type | Encounter Rate |
|---|---|---|
| Cramorant |
Flying/Water | 40% |
| Gastrodon |
Water/Ground | 30% |
 Inkay Inkay |
Dark/Psychic | 25% |
| Pincurchin |
Electric | 5% |
 Greedent Greedent |
Normal | Berry Tree - 100% |
Wild Pokémon - Water
| Pokémon | Type | Encounter Rate |
|---|---|---|
 Wailmer Wailmer |
Water | 40% |
| Mantyke |
Water/Flying | 35% |
 Remoraid Remoraid |
Water | 15% |
 Mantine Mantine |
Water/Flying | 10% |
Wild Pokémon - Fishing
| Pokémon | Type | Encounter Rate |
|---|---|---|
| Mantyke |
Water/Flying | 50% |
| Wailmer |
Water | 34% |
| Mantine |
Water/Flying | 10% |
 Wailord Wailord |
Water | 5% |
 Lapras Lapras |
Water/Ice | 1% |
This is where Route 9 really begins. Keep going and you’ll find Team Yell being their usual selves.
Team Yell Grunt
You should be familiar with Galarian  Linoone; it takes 4x damage from Fighting and 2x damage from Bug and Fairy. Be wary of Counter, which can deal double the physical damage back.
  Pangoro is an evolved
  Pancham; it receives 4x damage from Fairy and 2x damage from Flying and Fighting. This one can use Bullet Punch to slap a Fairy before they can attack.
As a reward for shooing away Team Yell, your  Rotom Bike will be upgraded. Now you can ride it across water! To do so, just get on the bike like normal and its tire floats will automatically inflate when you ride into water. If you’re curious, head north back to the first section of Route 9. Go left from the bottom of the bridge, then ride the Rotom Bike into the river.
Follow the river west. Before you reach the next bridge, there’s a space below for you to get back on land. Here, follow the incline south-east, but move slowly if possible. At the top, there’s a Level 55 Glalie, which you currently can’t catch. Go past it and retrieve the TM64 Avalanche from the floor. Then hurry back to Circhester Bay, where we left off previously.
From where you received the bike upgrade, there are two directions you can go. Directly south, which is the obvious route. Or west, if you go back a bit. Let’s go west first. Make sure you’re on your bike, then enter the water. Follow the water and you’ll soon reach a small section of land. Grab the Zoom Lens here, then return to the guy who upgraded your bike again.
Now head south into the water. You’ll be in a fairly wide space teeming with aquatic wildlife. On the right, there’s an octopus-like creature lying in wait. If you’re brave, head over towards the octopus and then follow the narrow path east. You can also engage the octopus if you’d like–it’s a Level 50 Fighting-type Grapploct.
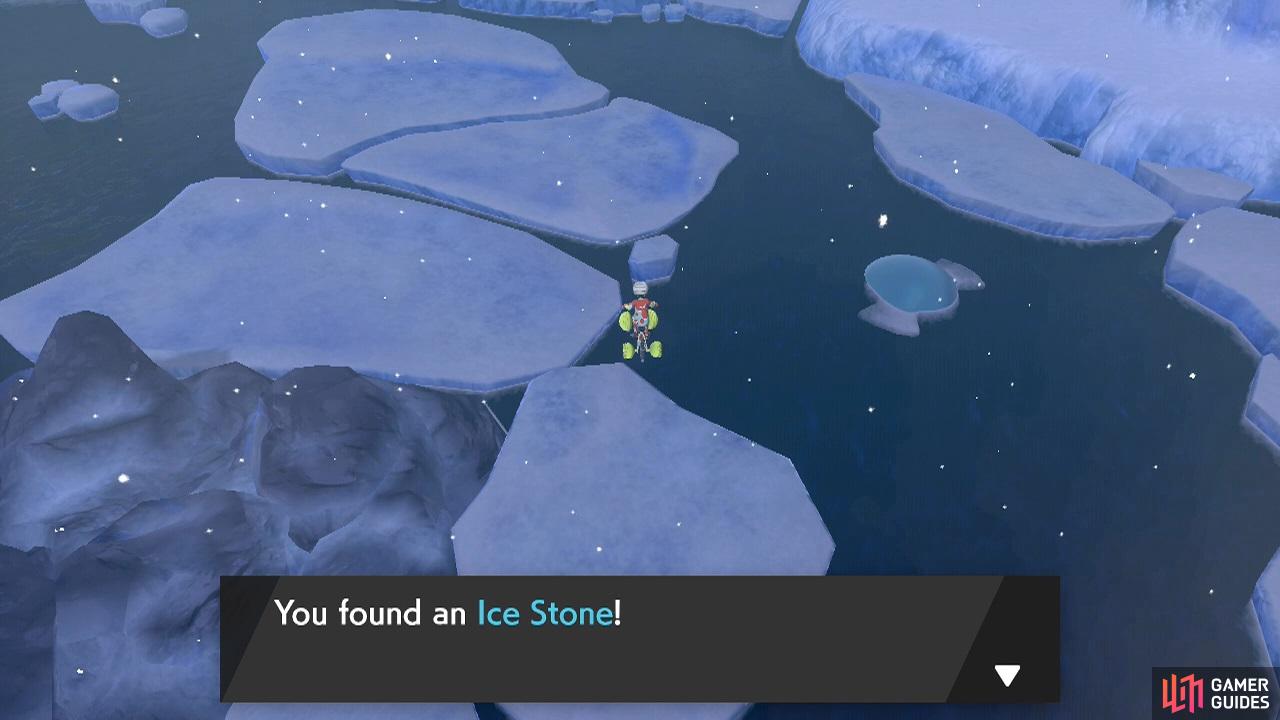
The Ice Stone evolves Galarian Daramuka, plus Eevee into Glaceon.
When the path widens slightly, search the top-right corner for a hidden Big Pearl. Next, continue south through the path. You’ll arrive at a small space with some wild Water Pokémon. Search the glaciers to the left to find an Ice Stone. After that, keep going south. You’ll enter a bigger space, with a few mini icebergs dotted around.
On the left is a large island that you can land on. Just be mindful of a fisherman standing along the north–she can see you if you swim too close.
Fisher Marina
Qwilfish can be found swimming in the first area of Route 9, near Circhester. It’s weak to Electric, Ground and Psychic. Pyukumuku is a funny little thing. It can’t attack at all, but it can punish opponents with Counter. Also, when it’s KO’d, its opponent will suffer the same damage inflicted by the last move. So try to weaken it first.
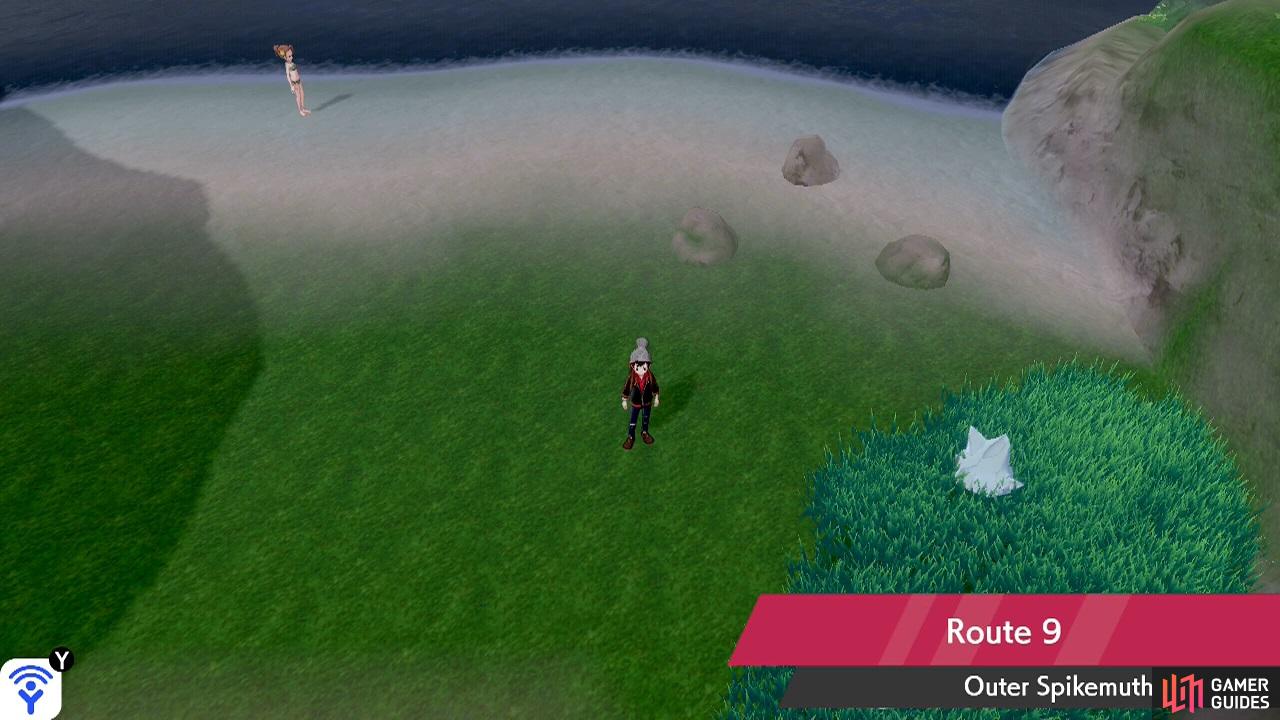
You can keep going, but for now, go west back to land. Over here, there’s some tall grass along the north side, to the left of the fisherman. Step into the tall grass and search the space where the grass hasn’t grown for a hidden Never-Melt-Ice. Next, leave the tall grass, then head west. Soon, you’ll discover a camp site located in the middle of the island.
If you need a break, you can now fly away to wherever you want, then fly back to this camp site. When you’re ready, head directly left from the tent. Search the nearby dead end to find a Rare Candy. Now return to the east side of the island and enter the water again. You could also travel west, but there’s a Black Belt that way. Plus we’ll be coming back here soon.
From the east side of the island, head south through the water. You’ll reach a small, sandy island. Here, there’s a trainer standing towards the middle, below a big rock. He’s looking for trainers to walk between the two sides of the island. But you could just swim around the island. Anyway, his details are below.
Swimmer Jacob
| Pokémon | Level | Type |
|---|---|---|
 Cloyster Cloyster |
39 | Water/Ice |
This may not be your first time fighting a Cloyster. If you’re unsure, it’s weak to Grass, Electric, Rock and Fighting. Try to field a special attacker, as it melts to special moves.
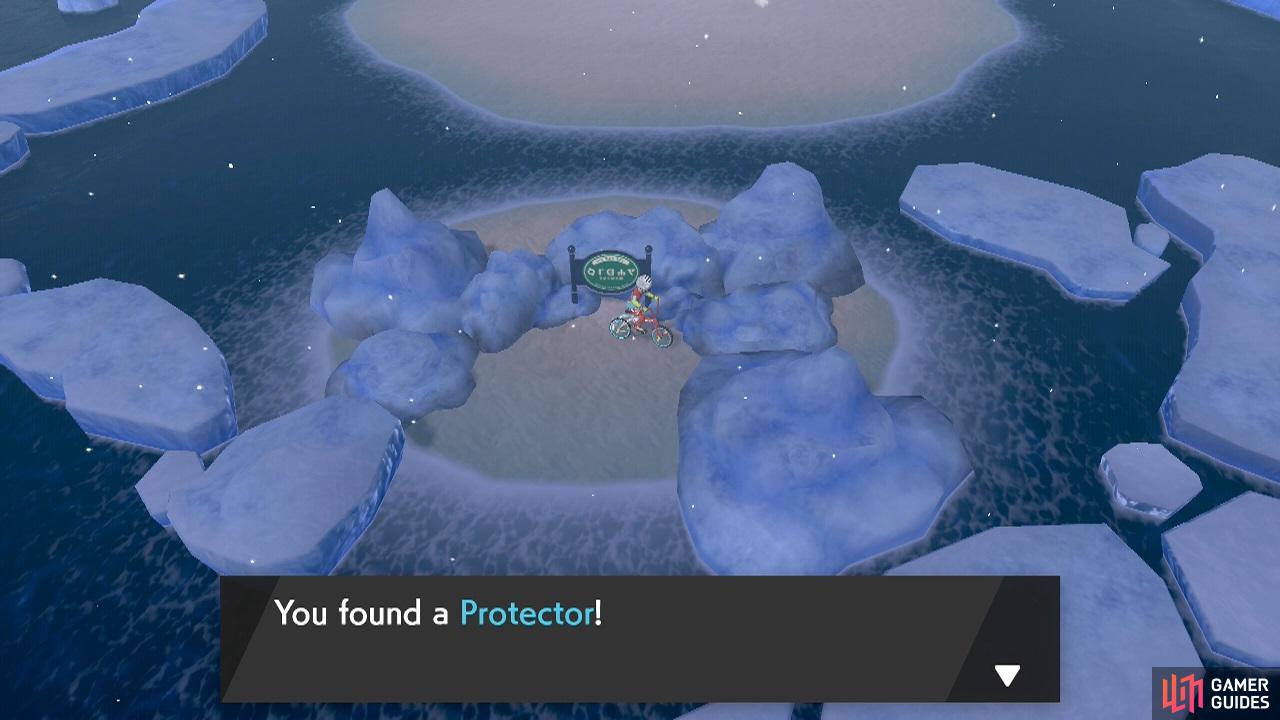
Make a Rhydon hold this and then trade it to evolve it into Rhyperior.
From this small island, you can head south (via its west side) or east (via its east side). Let’s go east first. Over here, there’s a Grapploct swimming around a small iceberg. Further east, there’s a medium-sized island, with a small space where you can land. Pick up the Protector from this island, then go west back to the island where Jacob is.
From Jackob’s island, head south through the water. In this next area, there are a bunch of submerged rocks dotted around. A third Grapploct will be circling one of the inner rocks. Keep going south, then head east when there’s an opening. Over here, there’s a medium-sized island with a berry tree in the centre. Also, there’s a trainer walking from left to right, by the water’s edge.
Swimmer Scarlett
Remoraid is a fish Pokémon commonly found jumping through the water; it evolves into Octillery. Mantine can also be found jumping around, alongside its unevolved form, Mantyke. If you need to know, Mantine takes 4x damage from Electric and 2x damage from Rock.
Once your curiousity has been sated, go west back to the area with submerged rocks, then continue west from there. Very soon, along the south, you’ll find a shore to land on. If you leave the water and follow the land south from here, you’ll reach Spikemuth. But we’re only halfway done exploring here! If you want to keep exploring, carry on west along the north of the shoreline.
After a while, go through the gap in the rocks to the north. Up here, there’s small shore with a trainer walking around from left to centre. Be careful as he can see you coming from the water when he changes direction.
Swimmer Logan
| Pokémon | Level | Type |
|---|---|---|
| Wishiwashi |
40 | Water |
| Wailord |
40 | Water |
Wishiwashi is a tiny fish Pokémon that can become much bigger (and stronger) by gathering together many, many friends. But if you lower its HP below 25%, it will return to it small and weak form. Wailord is an evolved Wailmer; you can even fish up Wailord from this route!

(1 of 2) This hold item boosts the power of a Normal-type move, but disappears after the move is used.
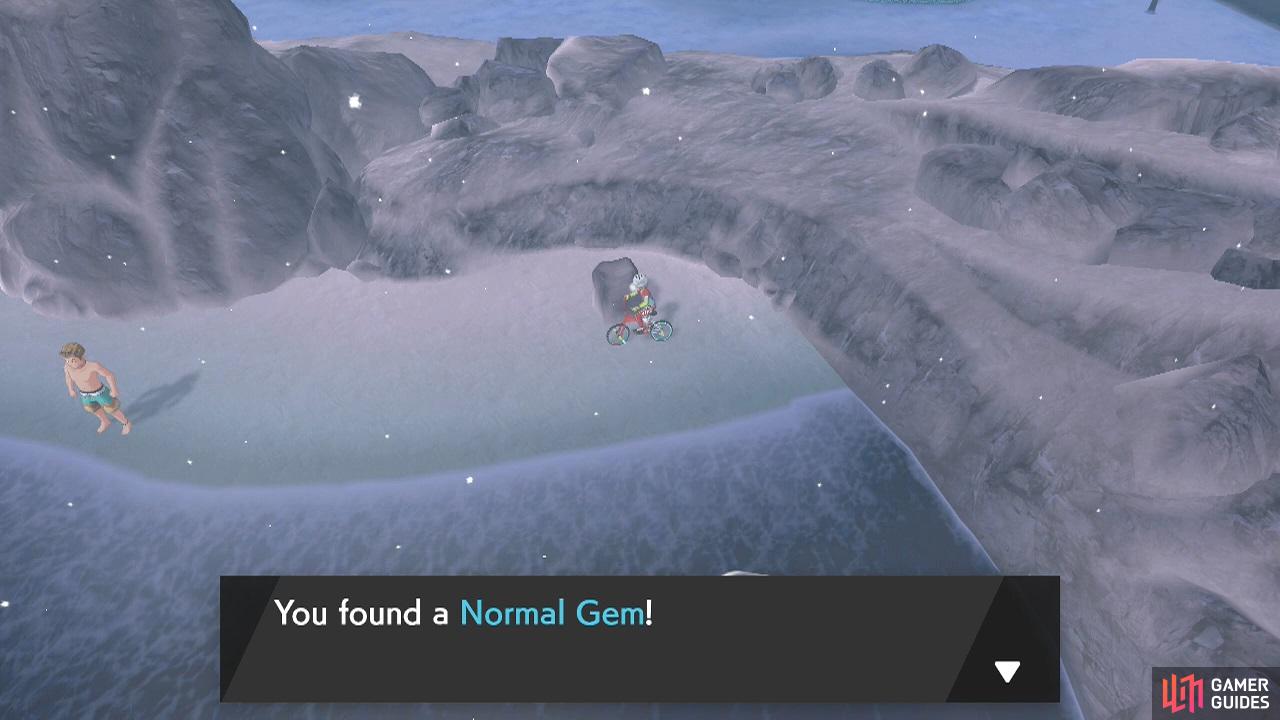
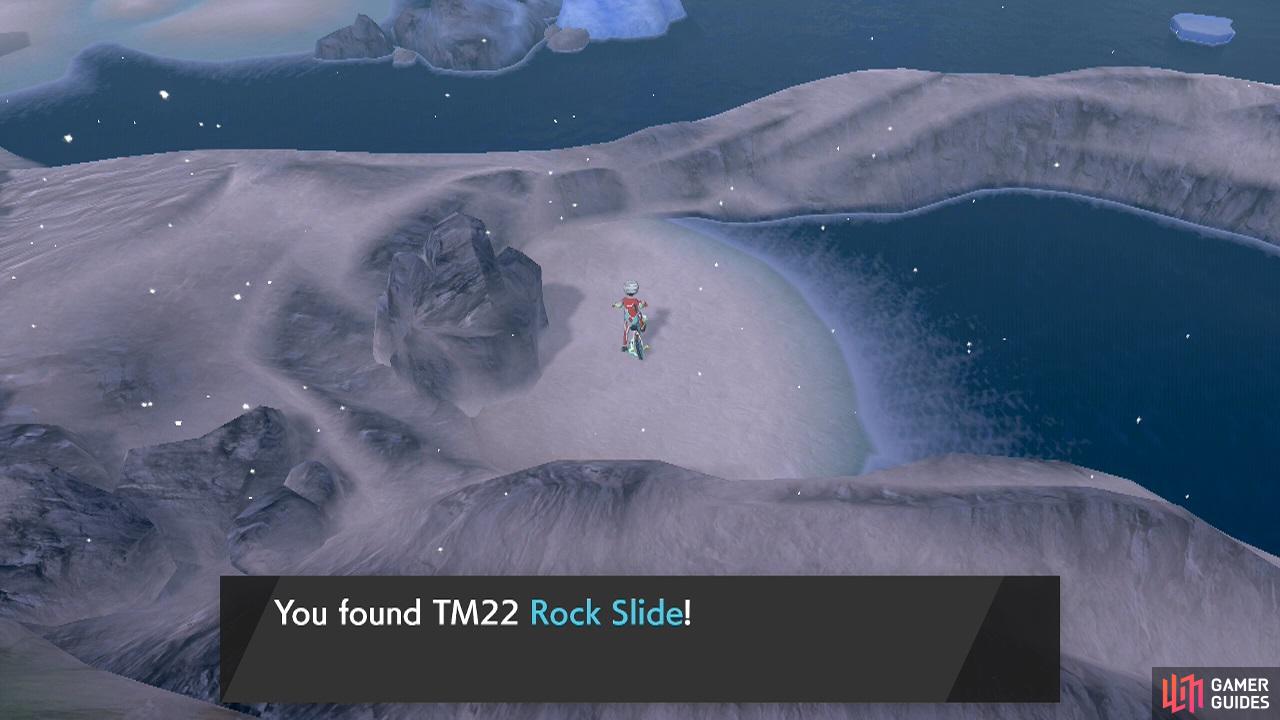
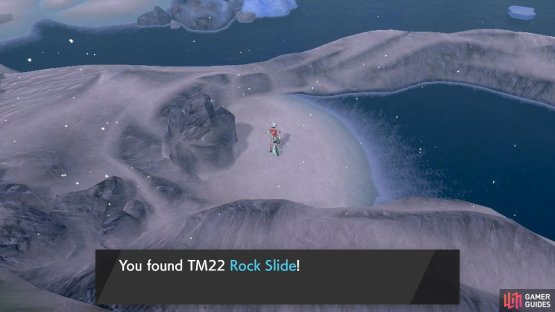
This hold item boosts the power of a Normal-type move, but disappears after the move is used. (left), Rock Slide hits all opposing Pokémon and can cause flinching. (right)
Land on the shore, then search the rock on the right for a hidden Normal Gem. Next, return to the water and continue traveling west again. Around here, there are a few more submerged rocks, with a path going north guarded by a swimming Grapploct. We’ll be going there soon, but first carry on west. At the far end, there’s a small area of land where you can scoop up TM22 Rock Slide.
Now swim north through the narrow path. If you’re quick, you can avoid the Grapploct by going past when it’s at the bottom-most part of its swimming route. On the other side, there are some glaciers ahead. If you go right, you can land on the western side of the large island with the camp site. You’ll also end up on the left of the Black Belt from before.
Black Belt Reece
Some Fighting-types for a change!  Sawk is only found in the wild in Sword. This one can use Counter to deal double the physical damage back. Similarly, you can only catch
  Throh in Shield. There’s not much to say about this one.
From the western side of the large island, head all the way west. Eventually, you’ll reach a secluded beach, where a couple are standing. Don’t worry, they’re not going to fight you. Speak to the woman to receive TM45 Dive. Then go left and pick up the 3 Dive Balls from the corner. Afterwards, head north back into the water.
Further north, there’s a very small shore, where a Black Belt is walking around. If you’re not gunning for a fight, be careful you don’t get too close, because he might see you when he’s turning.
Black Belt Carter
| Pokémon | Level | Type |
|---|---|---|
| Grapploct |
41 | Fighting |
Hopefully you’re aware that Grapploct is a pure Fighting-type and not a Water-type at all, despite what you might think. We also recommend catching one on this route if you can!
If you’ve defeated Carter or aren’t afraid of getting close, swim north past his shore, then change direction and head east. Alternatively, you can swim east before reaching Carter’s shore, then go north at the branching path and head east from there. Over here, there’s a small iceberg in the middle of the path. Go past the iceberg, then go inside the narrow path to its south-east.


(1 of 2) What’s better than a Pearl?
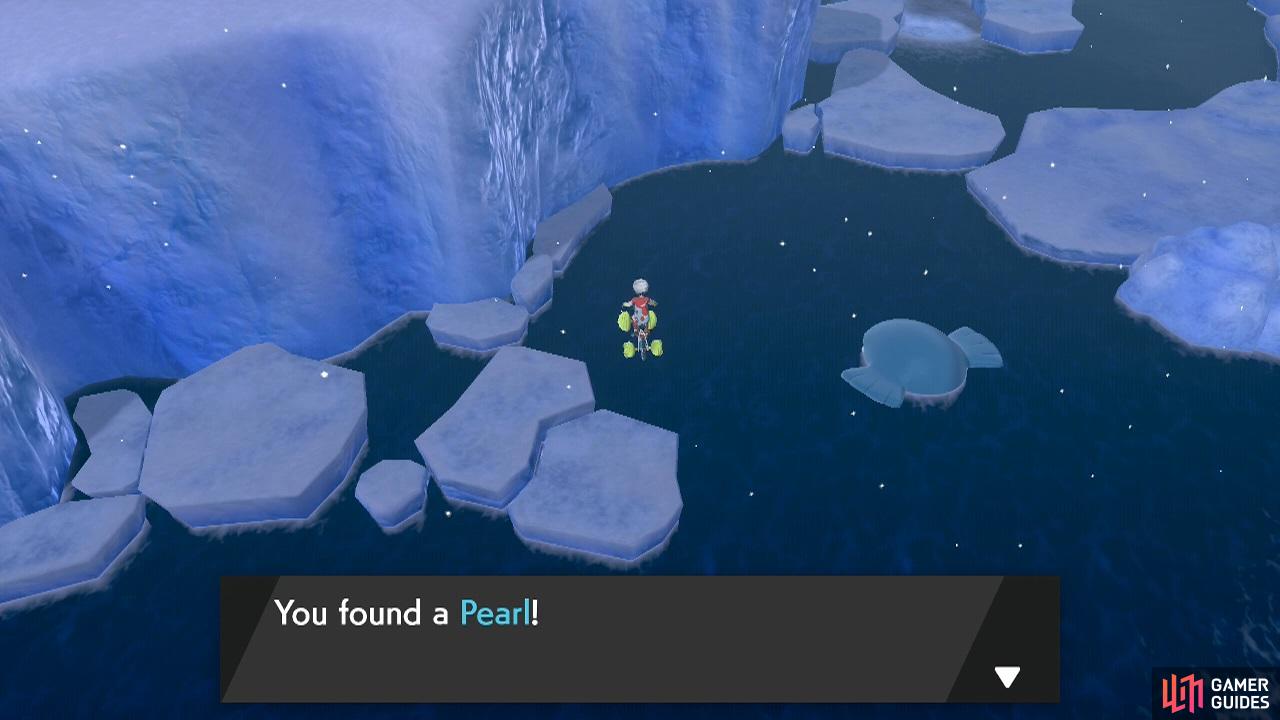
What’s better than a Pearl? (left), A Big Pearl! There are also Pearl Strings. (right)
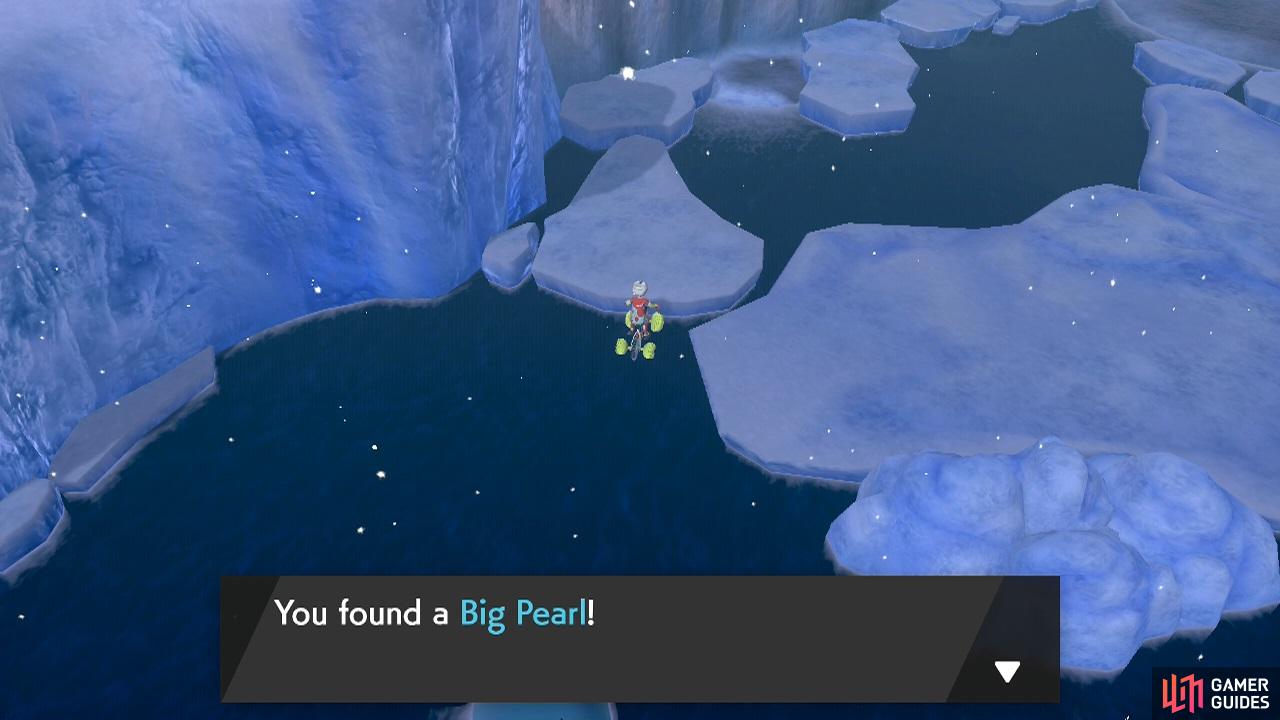
Pick up the Max Revive at the end, then return to the water. Swim north towards the wall of a big glacier. Search the smaller glaciers on the left to find a hidden Pearl. Then search the glaciers on the right for a Big Pearl. Guess what? That’s everything to see here! If you continue east from here, you’ll end back at the start.
Instead, head west, then make your way back to the wide shoreline, which leads to Spikemuth, towards the south. Note that going south from the small iceberg near here will send you towards another Grapploct. When you reach the shoreline again, there’s a trainer along the left side.
Swimmer Layla
| Pokémon | Level | Type |
|---|---|---|
| Toxapex |
39 | Poison/Water |
Toxapex is an evolved Mareanie; you can catch both of them on (different parts of) this route. Anyway, it’s weak to Electric, Ground and Psychic. Watch out for Baneful Bunker, which works like Protect, but inflicts poison if its opponent uses a contact move.
Search the shore near this trainer to find a hidden Big Pearl. Then go right and search the halfway point for a hidden Pearl. Meanwhile, south-east from here, there are three rocks in a triangle formation. Investigate the middle of this triangle to find a buried Max Elixir. Finally, walk a couple of paces south to transition to the next area.
Route 9 (Spikemuth Side)
From freezing cold weather to overcast. Could be worse!
Wild Pokémon - Overworld
| Pokémon | Type | Encounter Rate |
|---|---|---|
| Bergmite |
Ice | 40% |
| Clobbopus |
Fighting | 30% |
| Mareanie |
Poison/Water | 24% |
| Toxapex |
Poison/Water | 5% |
| Dhelmise |
Ghost/Grass | 1% |
Wild Pokémon - Random Encounters
| Pokémon | Type | Encounter Rate |
|---|---|---|
 Perrserker Perrserker |
Steel | 40% |
 Thievul Thievul |
Dark | 30% |
 Liepard Liepard |
Dark | 25% |
 Morpeko Morpeko |
Electric/Dark | 5% |
| Greedent |
Normal | Berry Tree - 100% |
When you arrive here from Circhester Bay, there will be tall grass along the east side, then some tall grass towards the west, with a path in-between, leading to the south. After a while, the path will end, but if you keep going for a little longer, you’ll be free of the grass. On the other side, you’ll be in a very spacious area. If you check the signpost, Spikemuth is to the east.
First, go left from the end of the tall grass. Step through the tall grass on the left side of the fence, then grab the Scope Lens at the end. Go left again. Ahead, there are two trainers getting ready to pounce. Or you can walk behind the right-hand side trainer.
Music Crew Owen and Andrea
| Pokémon | Level | Type |
|---|---|---|
 Toxtricity Toxtricity |
41 | Electric/Poison |
 Maractus Maractus |
41 | Grass |
No matter how you slice it, this is a Double Battle. Toxtricity is an evolved  Toxel. It’s still Electric and Poison and thus takes 4x damage from Ground and 2x damage from Psychic. Maractus is a Grass-type you can encounter on Route 6. Toxtricity can use Toxic, so you may want to defeat it first.
Either way, past these trainers, there’s a berry tree on the left and a small patch of tall grass on the right. Once you’re done here, go back down. Further left is the Route 9 Tunnel. If you go that way, you can reach the other half of Route 7 and return to Hammerlocke. You can have a look if you want, but we’ll be going there later.
Make your way east, towards Spikemuth. Unfortunately, somebody thought it’d be smart to close the shutter so nobody can get in. Thankfully, a local comes to your assistance. Before going anywhere, go up and search the junk to the left of the tall grass near the shutters to find 3 Dire Hits. Now go through the narrow path below the shutters and to the left.
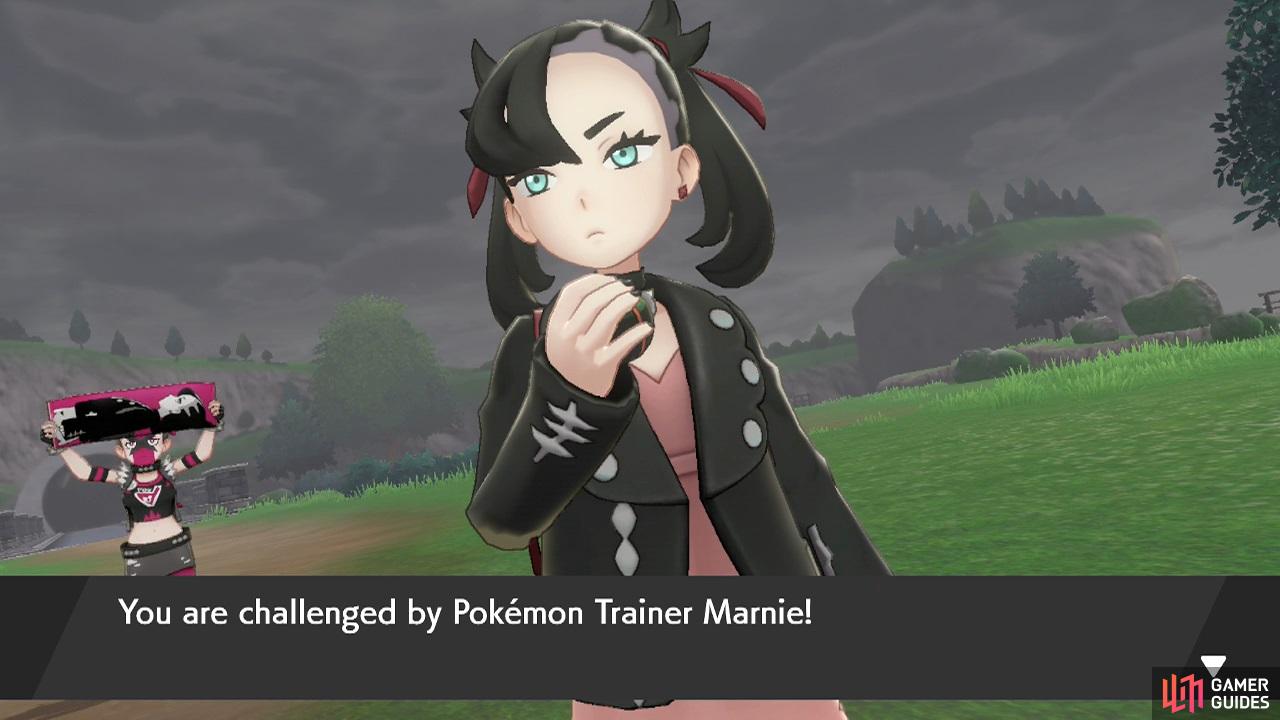
When the path ends, you’ll be reunited with Marnie. Before approaching her, go left and then search the corner up ahead for 3 Guard Specs. Now speak to Marnie. She’ll show you the way in, but first you have to battle her.
Pokémon Trainer Marnie
| Pokémon | Level | Type |
|---|---|---|
| Liepard |
42 | Dark |
 Toxicroak Toxicroak |
43 | Poison/Fighting |
 Scrafty Scrafty |
43 | Dark/Fighting |
| Morpeko |
44 | Electric/Dark |
Marnie has evolved two of her Pokémon and added in a Liepard to the mix. If you didn’t know, Liepard is an evolved  Purrloin. Marnie’s can use Fake Out for a turn 1 flinch and Sucker Punch to attack first if your Pokémon has selected an attacking move. It can also use Nasty Plot, which is completely useless…
Next, she may send out Toxicroak, an evolved  Croagunk. It takes 4x damage from Psychic and 2x damage from Flying and Ground. It can use Sucker Punch like Liepard, although it doesn’t benefit from STAB. Finish it quick or it might use Swagger to cause confusion.
Her third Pokémon is Scrafty, an evolved  Scraggy. It takes 4x damage from Fairy and 2x damage from Fighting and Flying. As if one Swagger user wasn’t bad enough, this Scrafty is carrying Swagger as well.
Finally, she still has Morpeko, her signature Pokémon. Every turn, it switch between two forms. But it doesn’t matter right now. Hit it with Ground, Fighting, Bug or Fairy moves if possible.
After the battle, Marnie will let you into Spikemuth. When you’re ready, follow her north.
No Comments