

To unlock all the trainers, you need to finish the tournament a total of 15 times.
After completing your first Galarian Star Tournament, whenever you’re itching to battle with another trainer by your side (and also earn experience and money at a faster rate), you can speak to the receptionist at Wyndon Stadium to challenge the tournament anew.
Since you’ve reached this point, you should have zero problems winning the tournament again. Keep in mind your opponents only have 3 Pokémon each, while you can send out up to 6, so you’ve got the numerical advantage. Plus you’ve likely got lots of super-strong Legendary Pokémon at your disposal–and there ain’t no better time to use ’em!
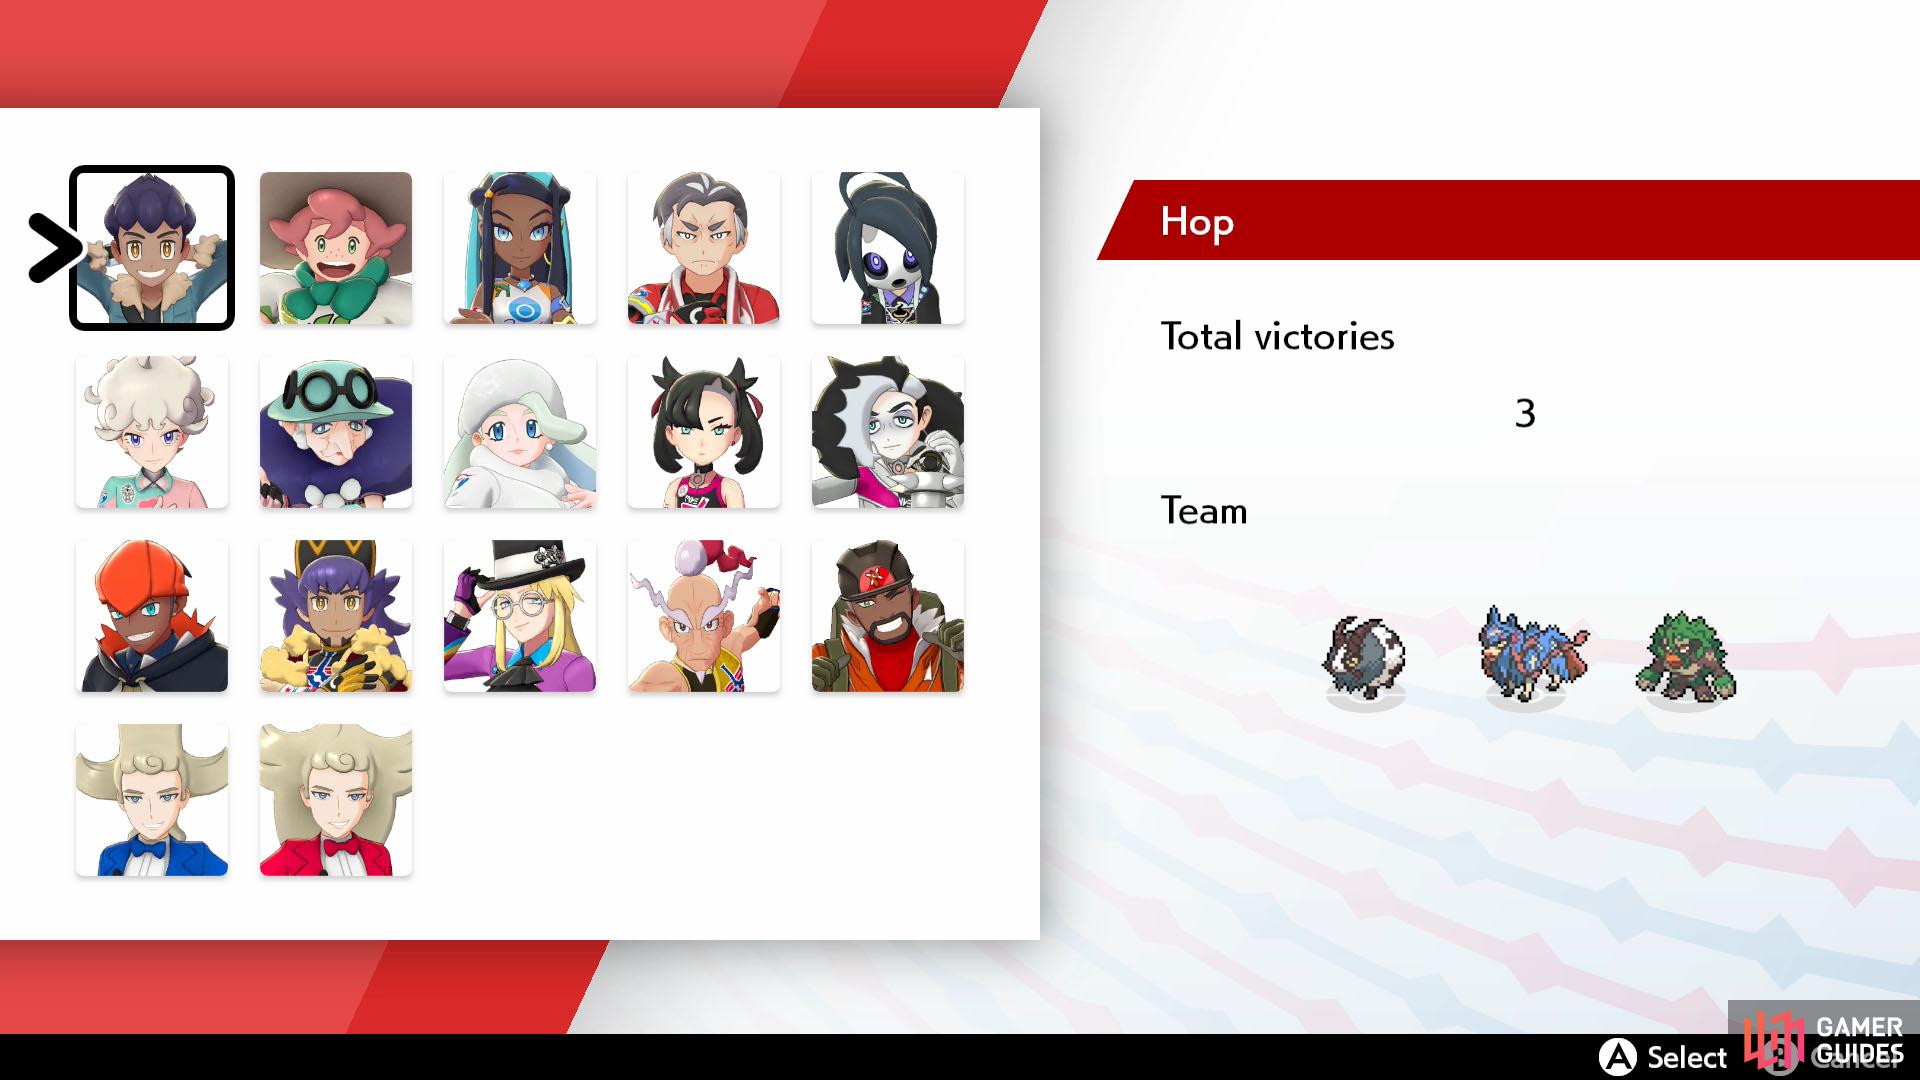
Initially, you can only partner with a few trainers. But once you’ve battled some more, new trainers will be added. Below is a list of the trainers you can partner with or fight.
Pokémon Trainer Hop
| Pokémon | Level | Type |
|---|---|---|
 Dubwool Dubwool |
69 | Normal |
 Zamazenta (Sword) Zamazenta (Sword) |
70 | Fighting/Steel |
 Zacian (Shield) Zacian (Shield) |
70 | Fairy/Steel |
 Inteleon (picked Inteleon (picked  Grookey) Grookey) |
70 | Water |
 Rillaboom (picked Rillaboom (picked  Scorbunny) Scorbunny) |
70 | Grass |
 Cinderace (picked Cinderace (picked  Sobble) Sobble) |
70 | Fire |
Hop starts off with a pretty rubbish Dubwool. If it manages to get off Cotton Guard, it can tank some physical hits. However, he more than makes up for it with his Legendary Pokémon Zamazenta or Zacian. Awesome if he’s your partner; pretty scary if he’s a foe. Finally, he has his fully evolved starter, which he’ll gleefully Gigantamax.
Gym Leader Milo
| Pokémon | Level | Type |
|---|---|---|
 Shiftry (Sword) Shiftry (Sword) |
72 | Grass/Dark |
 Ludicolo (Shield) Ludicolo (Shield) |
72 | Water/Grass |
 Cherrim Cherrim |
73 | Grass |
 Flapple (Sword) Flapple (Sword) |
74 | Grass/Dragon |
 Appletun (Shield) Appletun (Shield) |
74 | Grass/Dragon |
Milo has a nice and simple team. Shiftry and Ludiculo can both use Fake Out, which is sure to annoy their opponent. Cherrim is notable for setting up Sunny Day, which mostly benefits Fire-types and lets Grass-types spam Solar Beam or Solar Blade. His apple dragon can remove status ailments when it Gigantamaxes.
Gym Leader Nessa

Nessa can be a reliable partner and a stubborn opponent.  Golisopod likes to surprise its foe by using First Impression. But it only works on its first turn. However, it can use it again if it comes back in after Emergency Exit triggers.
  Toxapex can protect and poison with Baneful Bunker, then double the pain with Venoshock. Ouch.
Gym Leader Kabu
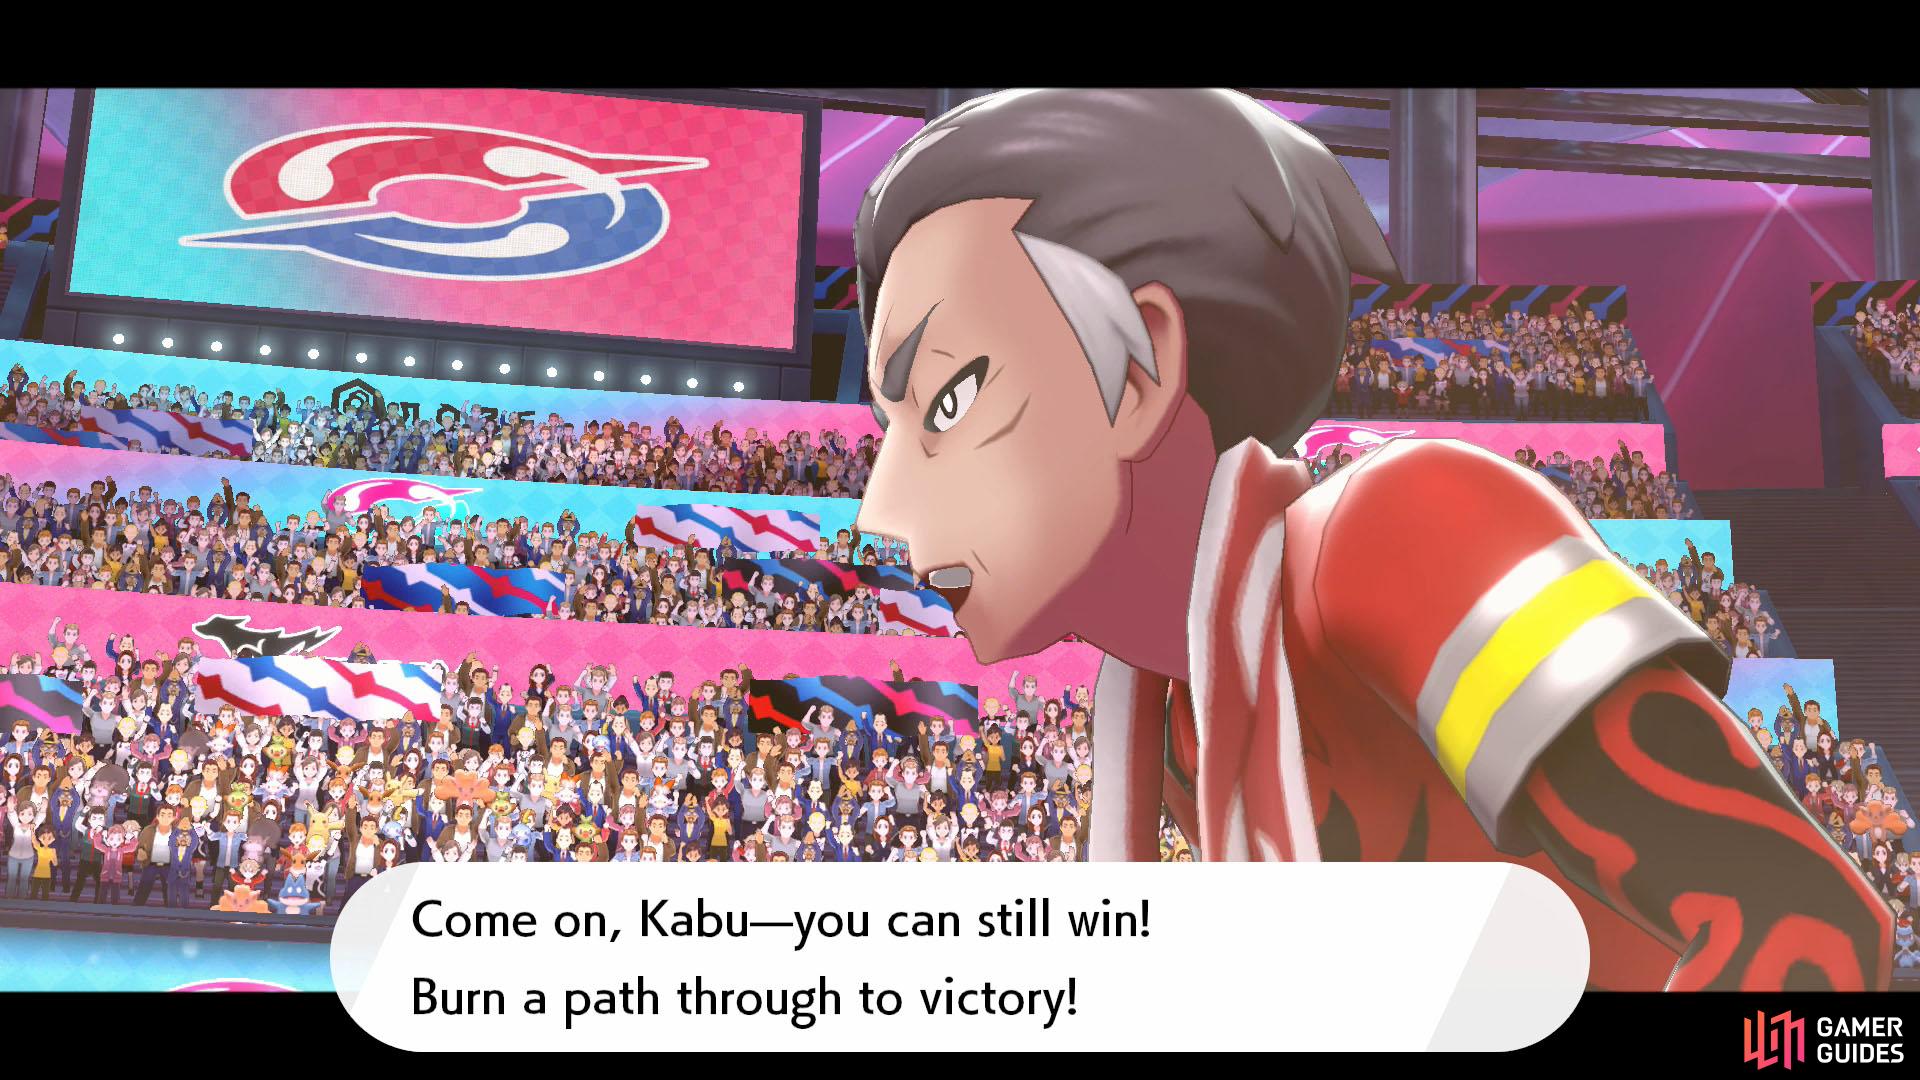
| Pokémon | Level | Type |
|---|---|---|
 Torkoal Torkoal |
72 | Fire |
 Arcanine Arcanine |
73 | Fire |
 Centiskorch Centiskorch |
74 | Fire/Bug |
Kabu’s here to heat things up! Torkoal has the Drought Ability, which makes it sunny straight away. This will boost the damage of Fire-types, while greatly weakening Water-types. Even better (not if he’s your opponent), it can use Stealth Rock to damage opposing Pokémon that switch in. Also, Arcanine has Intimidate, which lowers the opposing team’s Attack.
Gym Leader Bea (Sword only)
Bea has a no-nonsense line up.  Hawlucha can use Swords Dance to bolster its Attack; but it can backfire terribly if High Jump Kick misses.
  Falinks can boost all of its stats with No Retreat, but it won’t be able to switch out (not that the AI would do this). Lastly,
  Machamp is the epitome of brute force. Hey, sometimes brawn is all you need.
Gym Leader Allister (Shield only)
Allister may be timid, but his spooky buddies aren’t.  Dusknoir has some nice coverage moves and can Disable an opponent’s move.
  Cursola can use Strength Sap to defang physical attackers and Amnesia to tank special hits. Finally,
  Gengar is a great attacker, although it doesn’t have much staying power. It can use Hypnosis to delay an opponent.
Gym Leader Bede
| Pokémon | Level | Type |
|---|---|---|
 Mawile Mawile |
72 | Steel/Fairy |
 Rapidash (Galarian) Rapidash (Galarian) |
73 | Psychic/Fairy |
 Hatterene Hatterene |
74 | Psychic/Fairy |
Bede has brought his newfound Fairy friends to play. Mawile has Intimidate to lower the opposing team’s Attack on the first turn. Galarian Rapidash has the new Pastel Veil Ability that prevents itself and its allies from being poisoned. Lastly, Hatterene can confuse both opponents if it uses its unique Gigantamax move.
Pokémon Trainer Opal
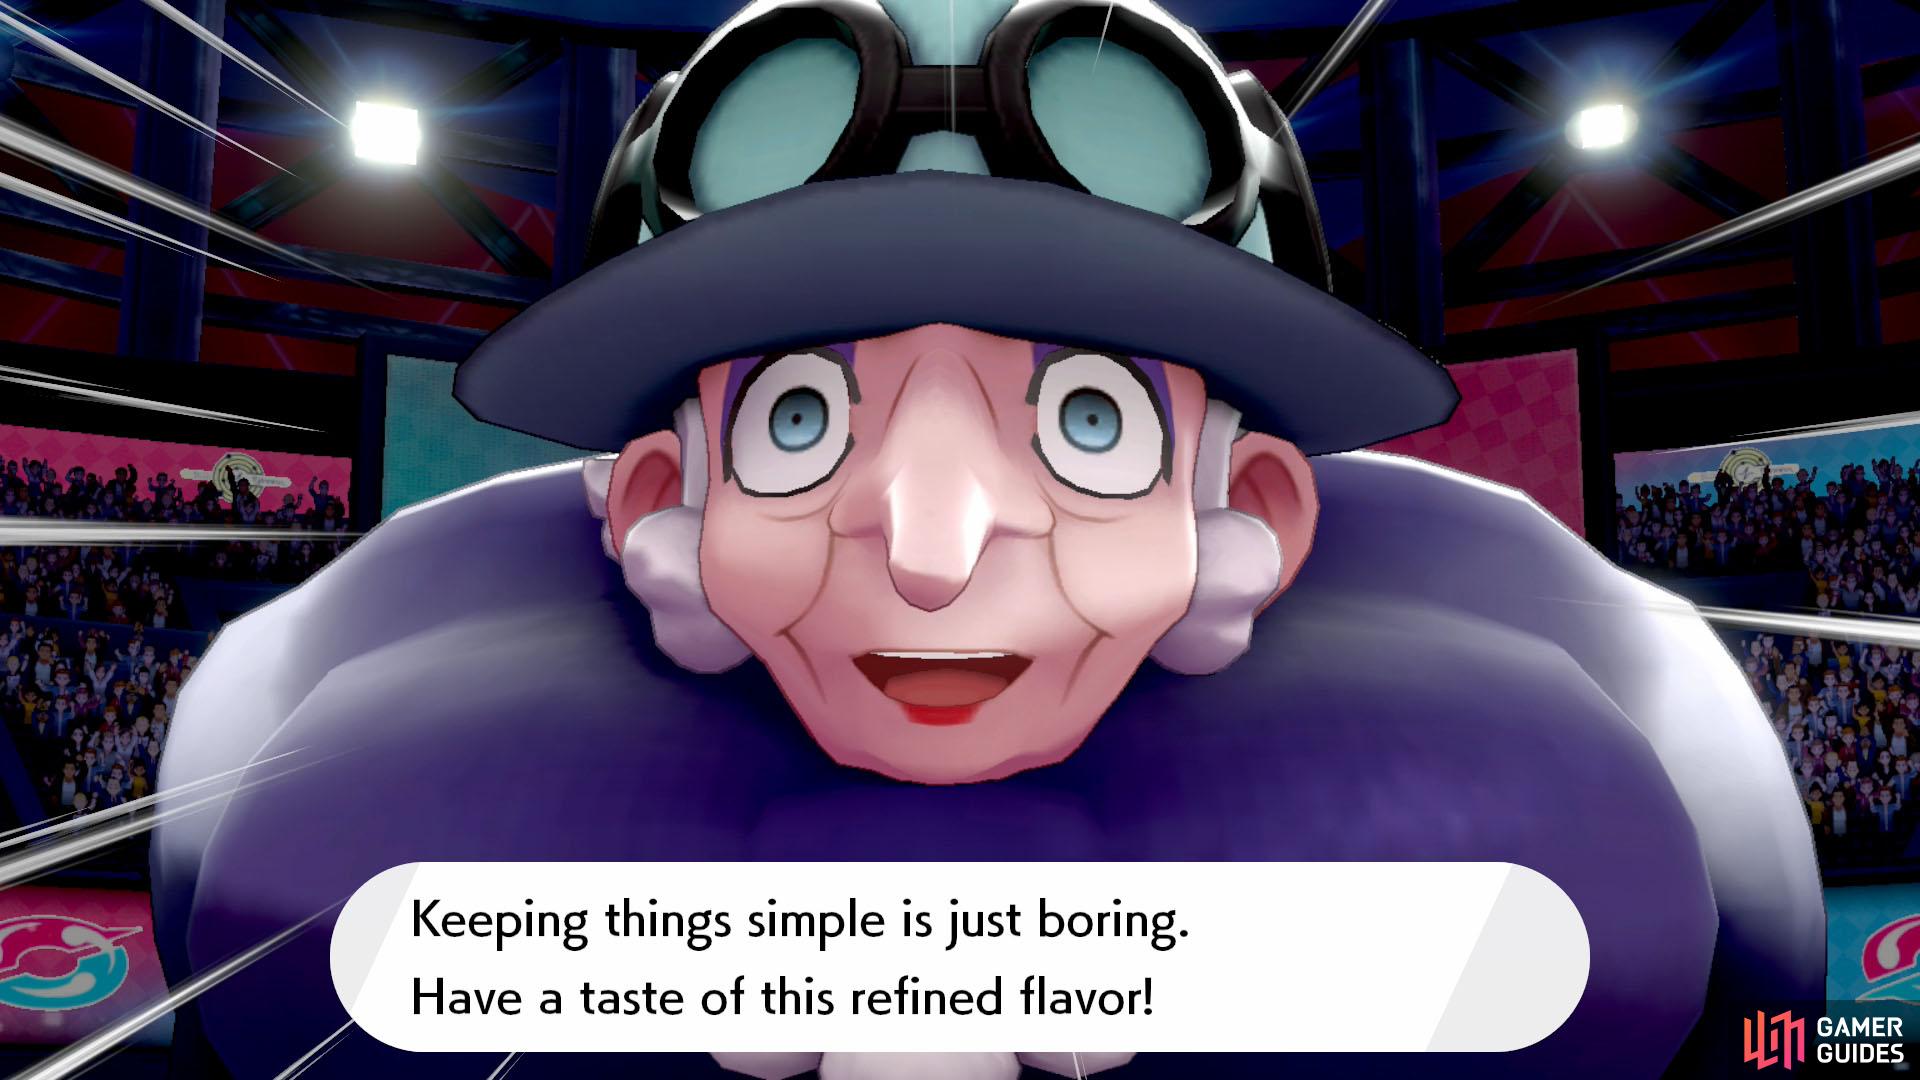
Opal has apparently come out of retirement to show you young’uns a thing or two. Her Galarian  Weezing is carrying the obnoxious Toxic and Protect combo. If that fails, she’ll fall back on
  Togekiss, which can put up Reflect. As for
  Alcremie, it can boost its ally’s offensive stats with Decorate or heal its team with its Gigantamax move.
Gym Leader Gordie (Sword only)
The Rock-type Gym Leader opens with  Shuckle, which supports its team with moves that lower speed, negate Abilities and damage switch-ins. It won’t do much damage by itself, but it’s a great support.
  Tyranitar is much more menacing and will create a Sandstorm when it enters. Last but not least,
  Coalossal is notable for its Tar Shot, which make its foes weak to Fire.
Gym Leader Melony (Shield only)
| Pokémon | Level | Type |
|---|---|---|
 Mr. Rime Mr. Rime |
72 | Ice/Psychic |
 Darmanitan (Galarian) Darmanitan (Galarian) |
73 | Ice |
 Lapras Lapras |
74 | Water/Ice |
Ice-type Melony has brought along a zany Mr. Rime. If she’s your opponent, be wary as it can use Nasty Plot to boost its damage. Next, she’ll unleash Galarian Darmanitan, which transforms into an Ice/Fire-type after losing 50% HP. Her biggest trump card is Lapras, which can halve damage received with its Gigantamax move.
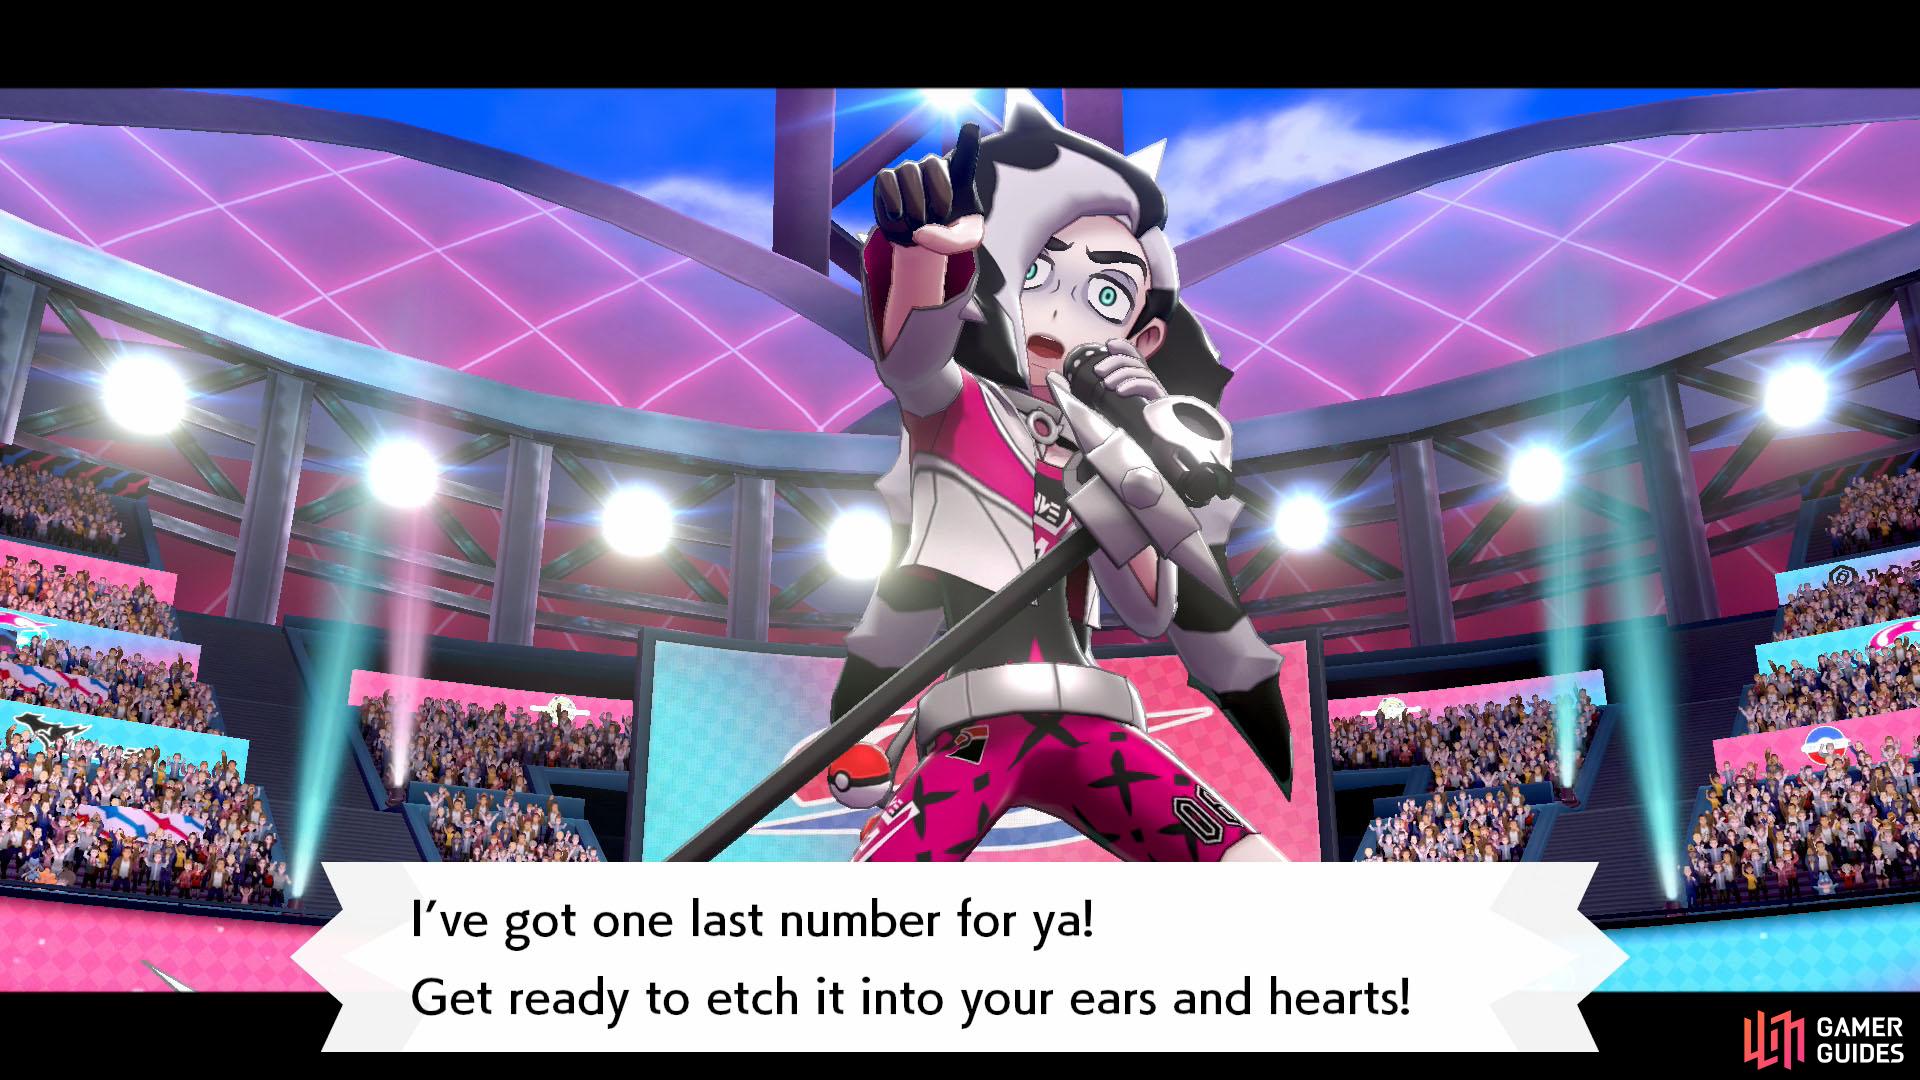
Gym Leader Marnie
| Pokémon | Level | Type |
|---|---|---|
 Morpeko Morpeko |
73 | Electric/Dark |
 Scrafty Scrafty |
72 | Dark/Fighting |
 Grimmsnarl Grimmsnarl |
74 | Dark/Fairy |
The new Gym Leader of Spikemuth leads with the cute but quick-to-anger Morpeko. It likes to spam Aura Wheel, which alternates between Electric and Dark damage. She’s also got a Scrafty, which is carrying some useful coverage moves. When pushed to a corner, she has a Grimmsnarl capable of Gigantamaxing.
Pokémon Trainer Piers
| Pokémon | Level | Type |
|---|---|---|
 Skuntank Skuntank |
73 | Poison/Dark |
 Toxtricity Toxtricity |
73 | Electric/Poison |
 Obstagoon Obstagoon |
74 | Dark/Normal |
The previous Gym Leader of Spikemuth is also here, whether he likes it or not. His first ‘mon, Skuntank knows Toxic, which inflicts deadly poison, and Snarl, which lowers the opposing team’s Sp. Attack. Unlike the other trainers, his second Pokémon isn’t fixed. Also, he won’t Dynamax his last Pokémon, so he’s less of a threat.
Gym Leader Raihan

Leon’s eternal rival is skilled at Double Battles, but what about Multi Battles? His  Flygon can create a Sandstorm and it also likes to use Earthquake. If he’s your partner, you may want to use a Flying or Levitate Pokémon to avoid being hurt. To make up for this, his
  Goodra can heal its team using Life Dew.
Pokémon Trainer Leon
The previous Champion is one of the strongest trainers in this tournament. Be cautious if he’s your enemy.  Aegislash can swap between defensive and offensive forms, weakening its foe should they strike its King’s Shield.
  Dragapult is fast and can do a lot of damage. Like in the regular tournament, Leon will rely on his
  Charizard at the end.
Gym Leader Klara (Sword only)
| Pokémon | Level | Type |
|---|---|---|
 Slowking (Galarian) Slowking (Galarian) |
68 | Poison/Psychic |
 Scolipede Scolipede |
69 | Bug/Poison |
 Slowbro (Galarian) Slowbro (Galarian) |
70 | Poison/Psychic |
Klara has achieved her goal of becoming the Poison-type Gym Leader! Her Galarian Slowking can use Eerie Spell, which depletes its opponent’s PP. Scolipede is quite speedy, despite its size, and has some solid coverage moves. To finish off, she has a Galarian Slowbro, which she can Dynamax. As a reminder, its Quick Draw lets it move first on occasions.
Gym Leader Avery (Shield only)
| Pokémon | Level | Type |
|---|---|---|
| Slowbro (Galarian) |
70 | Poison/Psychic |
 Alakazam Alakazam |
69 | Psychic |
| Slowking (Galarian) |
68 | Poison/Psychic |
Avery, the new Psychic-type Gym Leader is very similar to Klara. He too has a Galarian Slowbro, except he sends it out first. Be wary of its Shell Side Arm, which targets your weaker defensive stat. In the middle is Alakazam, which is fast and strong and can set up Reflect. Finally, he has a Galarian Slowking that can get really biiiiig.
Dojo Master Mustard
| Pokémon | Level | Type |
|---|---|---|
 Mienshao Mienshao |
80 | Fighting |
 Kommo-o Kommo-o |
80 | Dragon/Fighting |
 Urshifu (if you cleared Tower of Waters) Urshifu (if you cleared Tower of Waters) |
80 | Fighting/Dark |
| Urshifu (if you cleared Tower of Darkness) |
80 | Fighting/Water |
Other than Leon and possibly Hop, Mustard is a contender for strongest trainer here. His Mienshao has some strong moves and can annoy with Fake Out. His second pick, Kommo-o is slow but powerful and is immune to sound-based moves. When it’s time for the closing act, he’ll send out the Urshifu form that you didn’t choose–and he’ll Gigantamax it if he can.
Pokémon Trainer Peony
| Pokémon | Level | Type |
|---|---|---|
 Perrserker Perrserker |
74 | Steel |
 Aggron Aggron |
74 | Steel/Rock |
 Copperajah Copperajah |
74 | Steel |
When he’s not trying to appease his daughter, this former Steel-type Gym Leader can show up at the stadium. Perrserker is all about attack, although it can plan a safe retreat with U-Turn. Aggron you’ll have seen before. Again, it’s entirely focused on attack. Same deal with Copperajah–and you can bet he’ll Gigantamax it when the opportunity arises.
Pokémon Trainer Sordward
| Pokémon | Level | Type |
|---|---|---|
 Sirfetch’d Sirfetch’d |
65 | Fighting |
| Golisopod |
65 | Bug/Water |
 Bisharp Bisharp |
65 | Dark/Steel |
Um, who invited this guy to the party? Sirfetch’d looks silly as always, but it packs a mighty Meteor Assault. So mighty it needs to rest afterwards. Like Piers, the order that Sordward sends out his next Pokémon can differ. It may be Golisopod or it could be Bisharp. Likewise, he won’t Dynamax his last Pokémon (or he rather, he can’t).
Pokémon Trainer Shielbert
| Pokémon | Level | Type |
|---|---|---|
| Sirfetch’d |
65 | Fighting |
 Bronzong Bronzong |
65 | Steel/Psychic |
 Klinklang Klinklang |
65 | Steel |
Of course, if Sordward is here, Shielbert can’t be too far behind, eh? Shield-hair also leads with Sirfetch’d, except it prioritises defense over attack. Next, he’ll send out Bronzong and Klinklang in the order that’s most effective against his opponent. When he’s reached his last line of defence, don’t expect him to Dynamax his Pokémon.
No Comments