

We hope you like water, because you’re liable to get drenched here!
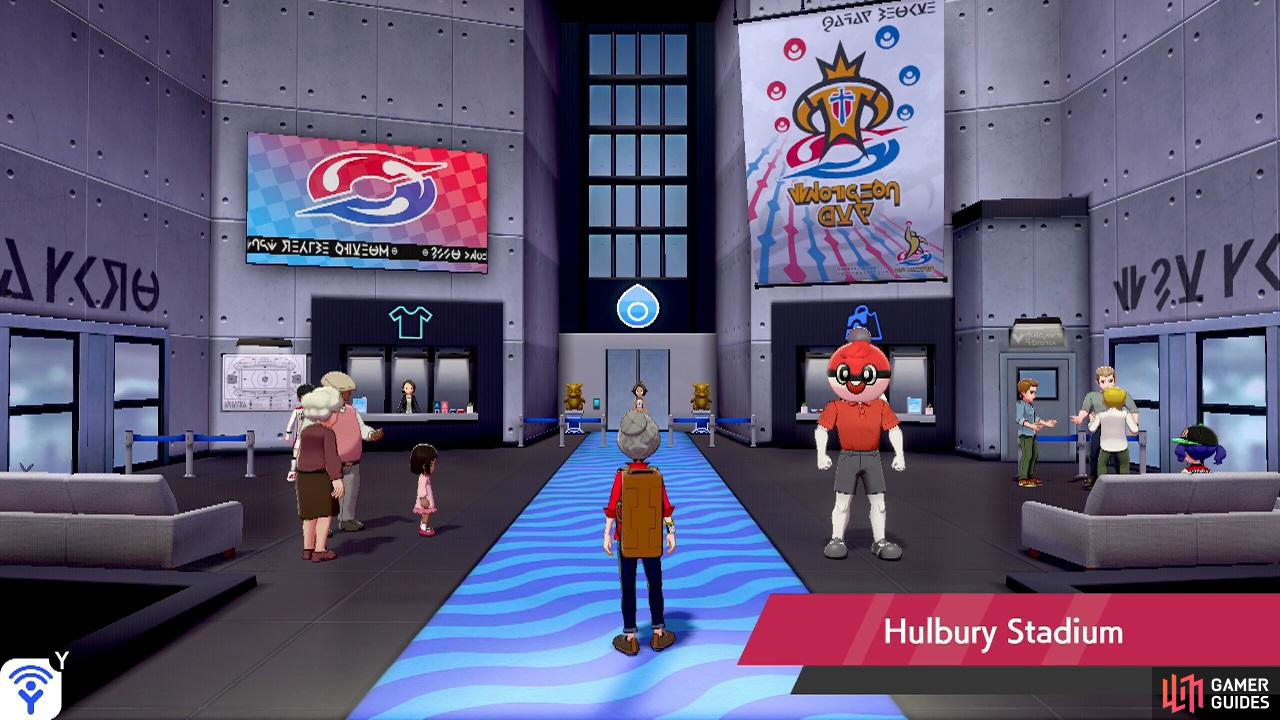
As you enter, chat to the ever-friendly Ball Guy to receive a rare Lure Ball. Not to be mistaken for the similar Net Ball, these are good for catching Pokémon obtained by fishing. If you’re ready to proceed, speak to the staff member in the center. You’ll don your Gym uniform and begin the Gym mission.
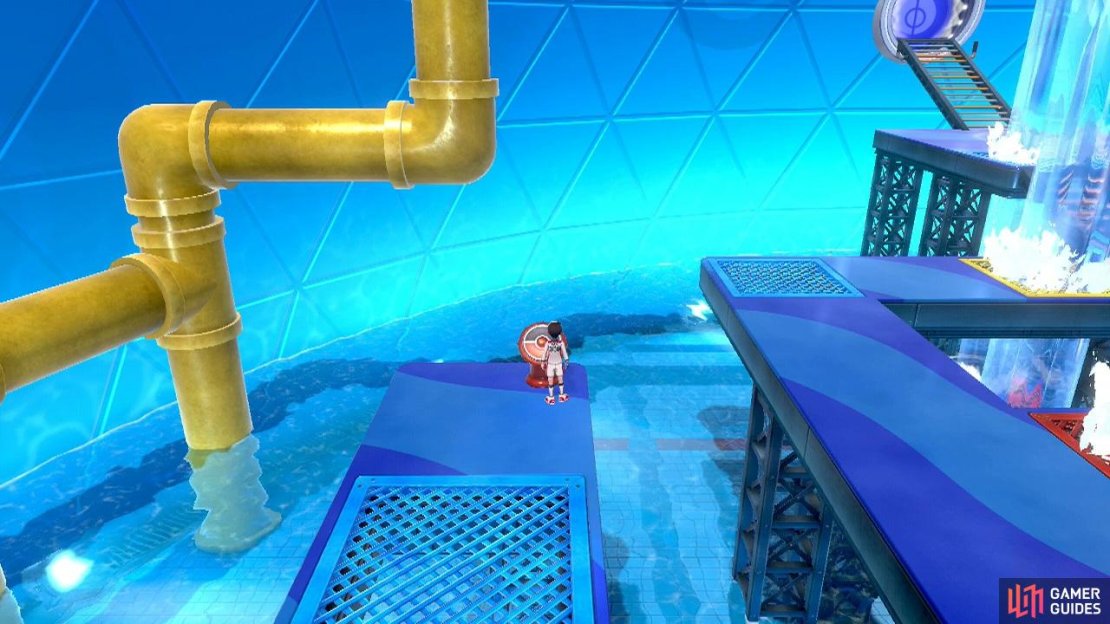
Pay attention to the colour of the switches and the colour of the gratings on the floor.
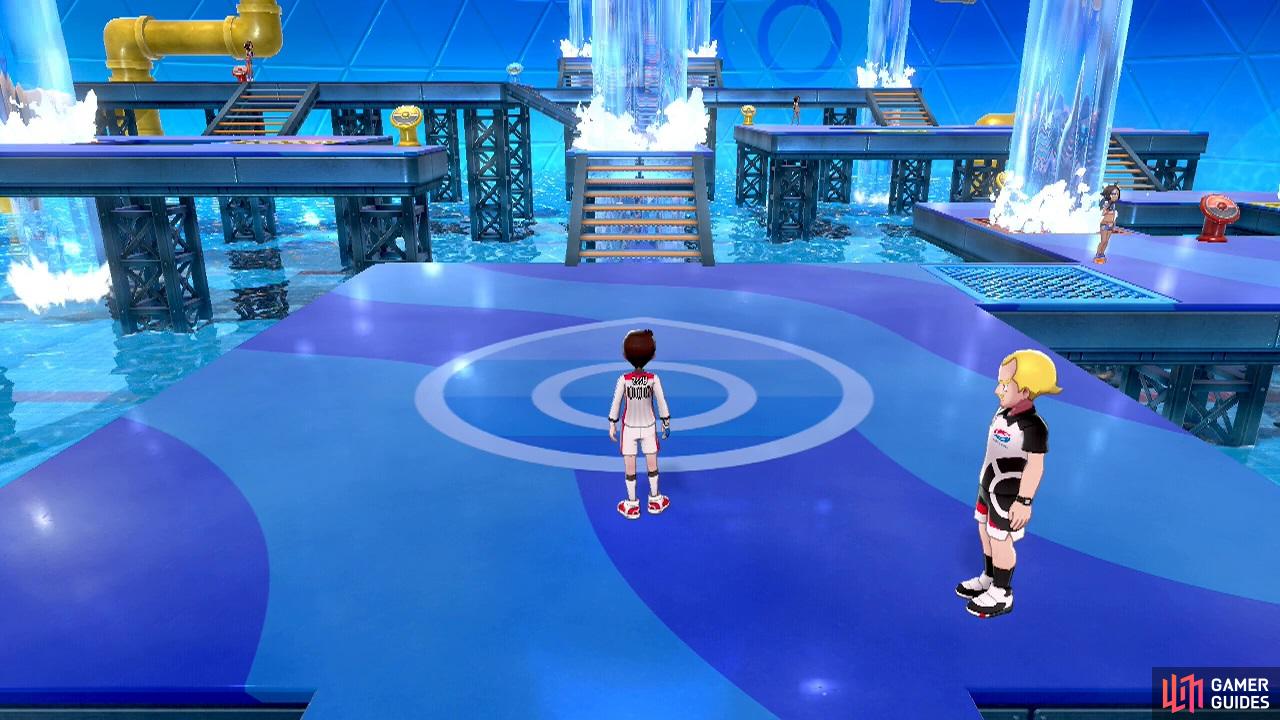
Your mission today is to navigate a maze while turning on and off water flowing from pipes in the ceiling. You’ll find various coloured switches; pressing these switches will alter the states of water flowing into grating of the same colour as the switch. Anyway, head east from the entrance. Just past the blue grating is your first Gym trainer, who you cannot avoid.
Gym Trainer Julia
| Pokémon | Level | Type |
|---|---|---|
 Tympole Tympole |
21 | Water |
This is a weak tadpole Pokémon that mainly serves as a warm up. Blast it with your Grass or Electric-type.
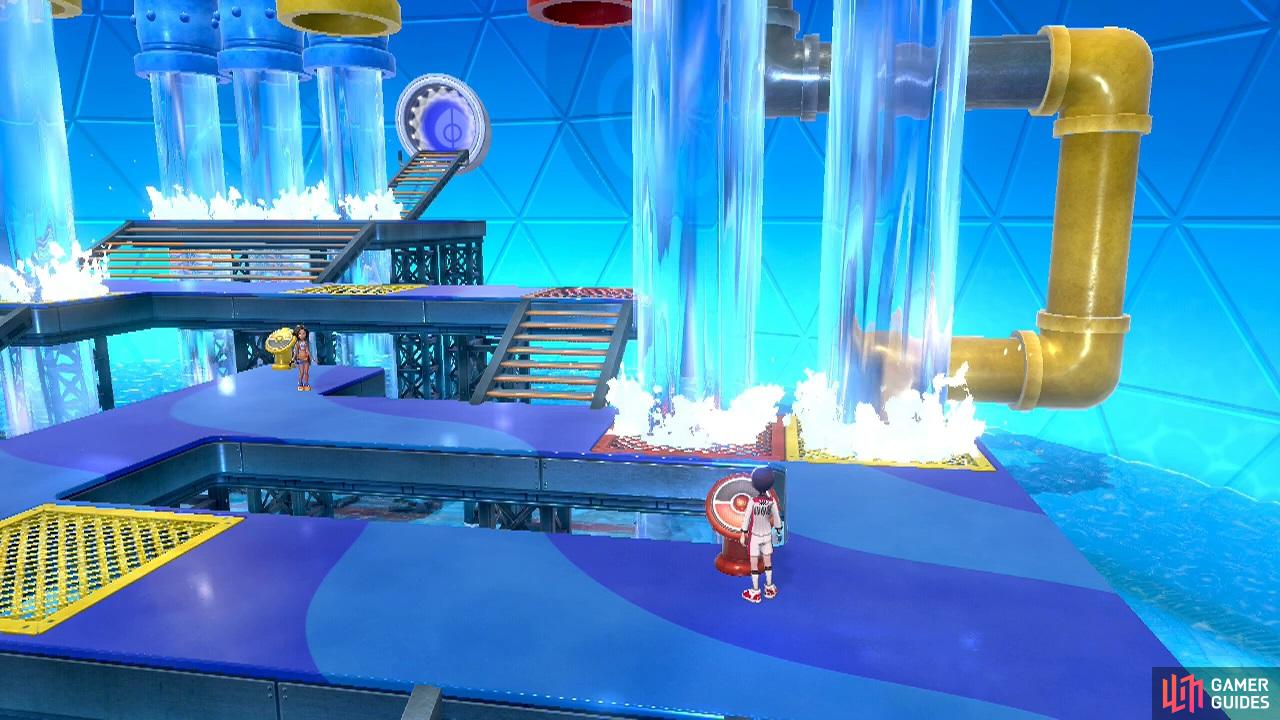
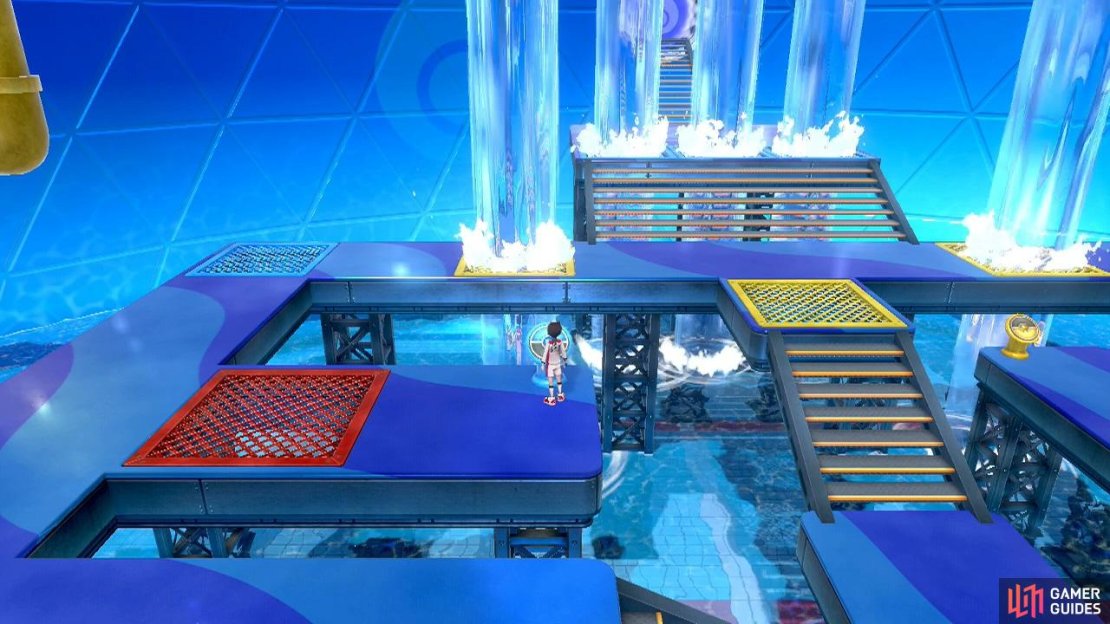
Past Julia, there’s a red switch. Press it and water will stop flowing into the red grating on the left. But it will obstruct the red grating on the right. That’s fine. Go past the red grating on the left and push the yellow switch. This will stop the water on the opposite side. Now go back and press the red switch again. If done correctly, you can walk across the red and yellow gratings.
Next, go up the steps. There will be a red switch here, but do not press it (yet)! Instead, walk around to the right, then go across the yellow and red gratings. Over on the left, there’s another Gym trainer that cannot be skipped.
Gym Trainer Heather


A pair of crustacean Pokémon. They’re both pure Water, so a good chance to practice your match-ups.
After pushing the yellow switch, travel anti-clockwise back to the red switch that you skipped.
Go over and push the yellow switch behind Heather. This will remove the flow of water towards the north and south, while blocking the yellow grating that you came from. Go south, then east. You should be back at the second red switch. Now you may press it. This should block the red grating just above you, but it will release the red grating further north.
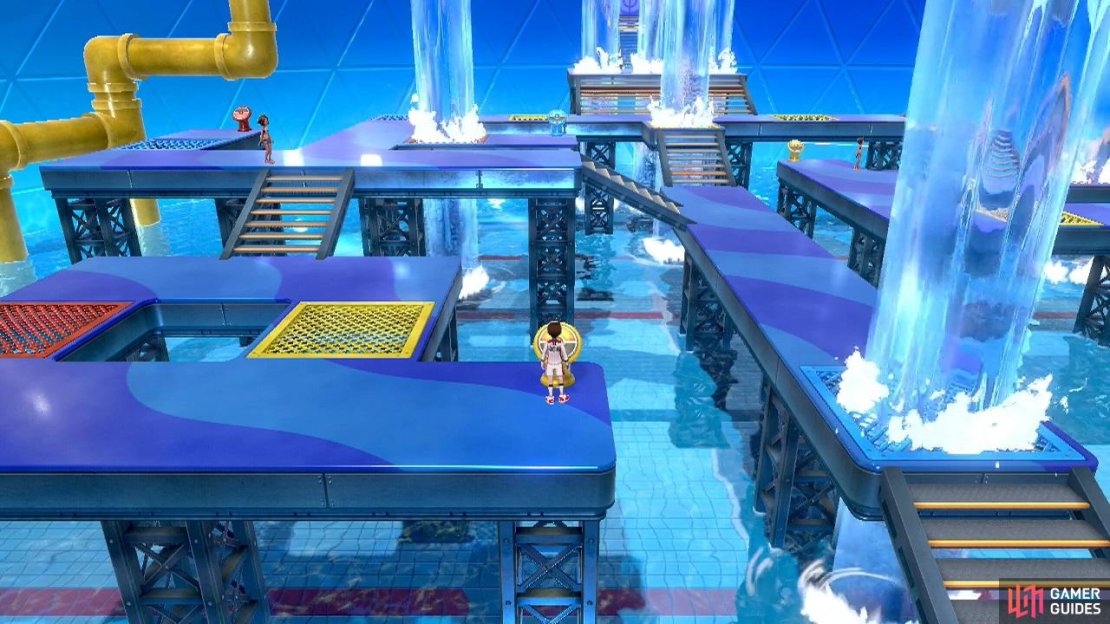
Return to where Heather’s standing, then go up the steps on the right. If you followed the steps properly, you can walk across the red and yellow gratings up here. Head all the way west, behind the water flowing through the yellow grating in the middle. Then proceed south when you reach the next corner. This next part trips up a lot of players.
There will be a third Gym trainer, standing above some yellow steps, looking to and fro. She’s standing there for a reason. You can either battle her or quickly run past her when she’s looking down. Either way, go down the yellow steps.
Gym Trainer Lynn


More pure Water-types. Hopefully you’re breezing with your Grass or Electric-types.
(1 of 3) Step 1: Go down the yellow steps and press the yellow switch first.
After going down the steps, there should be a red grating on the left and a yellow grating on the right. Both gratings should be accessible. If not, it means you need to go back and press the red switch to the north-west of Lynn. Anyway, go past either grating and press the yellow switch in the corner. This will block the yellow grating, but you can escape via the red grating.
Return to Lynn, then go across the blue grating on the left and give the red switch a friendly poke. This will open up the red grating to the right, but it will block the red grating to the south. Go back to Lynn, then push the blue switch on the right. This will open up the row of blue gratings in front of the exit. Now head east from Lynn. Go down the side steps.
If you pushed all three switches in the correct order (yellow, red and then blue), you should be able to head all the way north to the exit. On the other side, you’ll be inside the stadium, in the entrance tunnel. As before, run up to the stadium grounds to start the Gym Leader battle.
Gym Leader Nessa
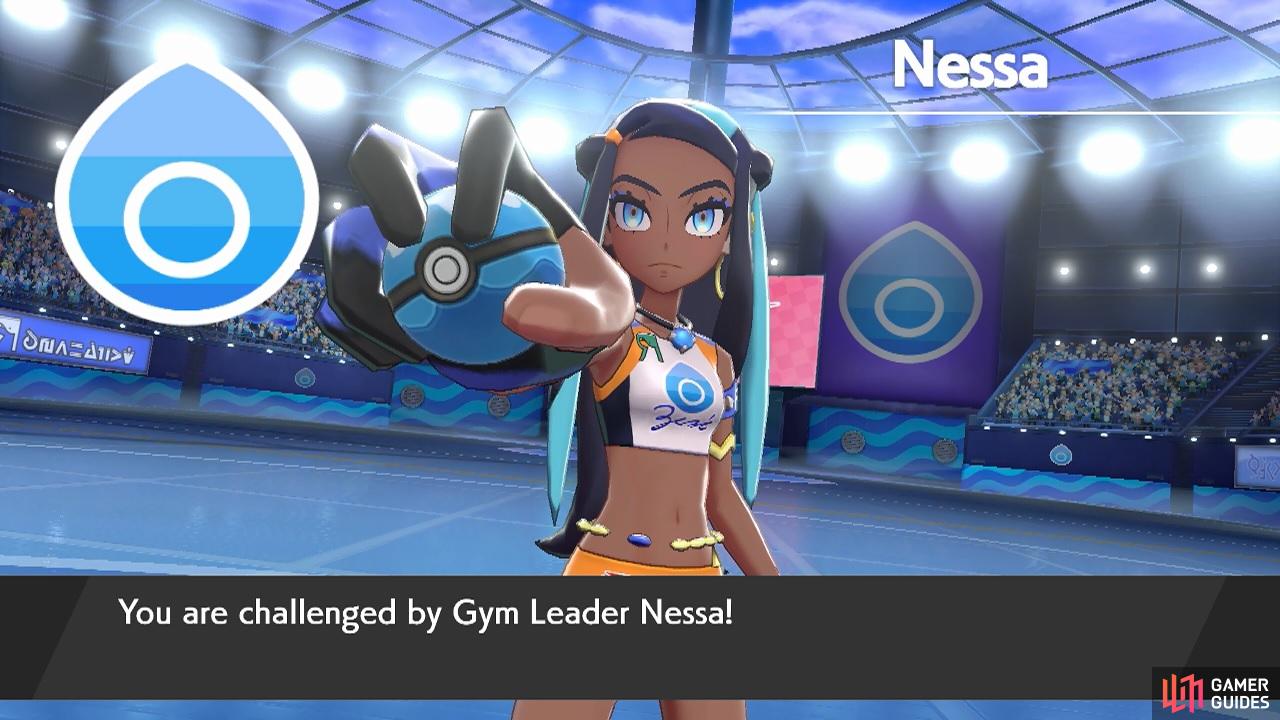


Nessa leads with two pure Water-types. If you have both a Grass and Electric-type, you could consider using your Electric-type first, so your Grass-type remains healthy. Otherwise, let her have it!
When you get to her final Pokémon,  Drednaw, that’s when you should be careful. Like Milo, Nessa will Dynamax her Drednaw on its first turn. Ideally you want to Dynamax your Grass-type at the same time or earlier. You could Dynamax an Electric-type, but Grass will resist its Max Geyser, while dealing 4 times damage back.
Turn the tides against Nessa and you’ll receive the Water Badge. When you return to the lobby, you’ll also be given TM36 Whirlpool and a Water Uniform. Head outside the stadium when you can. Outside, Oleana will give you a friendly reminder to visit Chairman Rose at the seafood restaurant. You’ll receive Rose’s League Card from her as well.
Head south back towards the Pokémon Center, then turn right to find the restaurant. You can’t miss it, what with the fans waiting outside. Inside, go over to where Rose, Oleana and Sonia are waiting. When the conversation is over, Sonia will give you TM79 Retaliate. After Sonia leaves as well, exit the restaurant yourself.
Outside, you’ll bump into Hop. He’ll tip you off that the next Gym Leader, Kabu, is somewhere inside Galar Mine No. 2. You can get there by following the main road east. Previously, there was a Team Yell Grunt in the way, but they’re long gone by now.
No Comments